
How to add embroidery on crochet
Embroidery is a great way to embellish your crochet fabric. Using a few simple stitches to add embroidery on crochet, you can create colour and texture in your fabric well after you’ve fastened off.
You can use embroidery to create interesting patterns on a plain background, or to add a small detail to a pocket, collar or bag. In this tutorial, we're going to show you three of the most common ways of working embroidery on crochet.
1. Cross stitch – One of the most popular embroidery stitches, each cross stitch uses one square of the base fabric, which means it’s an easy way to create all sorts of motifs, patterns and lettering.
2. Back Stitch – Often used with cross stitch designs to form lines and details in the patterns, backstitch can also be used by itself to create lettering and lines, as well as to seam fabrics together.
3. French Knot – It may look like a simple little dot, but don’t underestimate the power of French knots! They’re brilliant for creating eyes and other round shapes, as well as texture if they’re in large groups.
What you'll need to embroider on crochet
First, you’ll need a tapestry needle – these come in various different forms, but make sure the eye of the needle is large enough to accommodate the thread or yarn you’re going to use to make the stitches. Use a blunt needle for embroidery that’s worked over whole crochet stitches. Use a sharp needle for embroidery where you need to pierce the fabric.
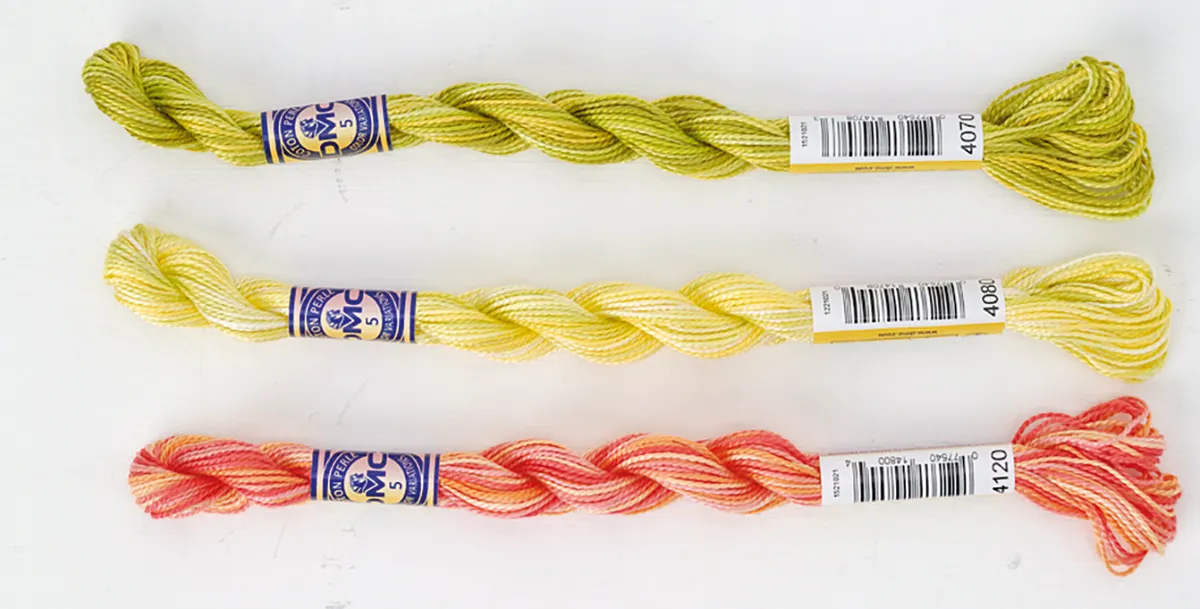
Second, you’ll need some yarn for embroidery, approx 50cm (20in) long. You can embroider using specialist threads, such as stranded cotton or silk, or use a yarn from your stash – a smooth yarn will give you better stitch definition for your embroidery.
Top tips for successful embroidery on crochet
Before adding embroidery to your crochet fabric, there are a few things to consider. It’s best that your base crochet fabric is plain and not too fuzzy, so choose smooth yarns and avoid novelty yarns.
Double crochet is a great stitch for creating a fabric with a naturally square grid pattern that you can easily work into – if you’re making cross stitches, each cross can be worked over one dc stitch. It’s also important to make sure your crochet fabric is fairly dense so that the embroidery stitches have a firm base for you to work them into.
Adding embroidery stitches to your crochet fabric will make the fabric (or areas of it) much firmer and reduce its elasticity. This could end up distorting the fabric, but there are steps you can take to avoid this. Make sure you work the embroidery stitches evenly and don’t pull too tightly on the thread or yarn. It’s a good idea to work a test piece of your embroidery pattern on a swatch of your fabric, to give you the chance to practise and get the look right.
Before you start working on any embroidery pattern or motif, plan out where you’re going to place the stitches. Count the crochet stitches in the motif, then count the stitches in the base fabric, then place stitch markers into the fabric to help guide you with where to place your stitches. It’s a good idea to start each motif in the centre and work outwards, to avoid handling your stitches.
Start your crochet embroidery by inserting the thread or yarn through the eye of the needle and securing it at the back of one of the fabric pieces, at the point where you want to start the embroidery pattern.
Try to avoid making knots, which can distort the stitches. It’s best to weave the thread or yarn into the back of the fabric stitches, and then you can start your embroidery. When you’ve finished your stitches, make sure you weave in the ends of the thread or yarn.
To create good embroidery, always work the stitches from the right side of the fabric and be consistent. You can work your stitches over one crochet stitch…

…or over two crochet stitches…
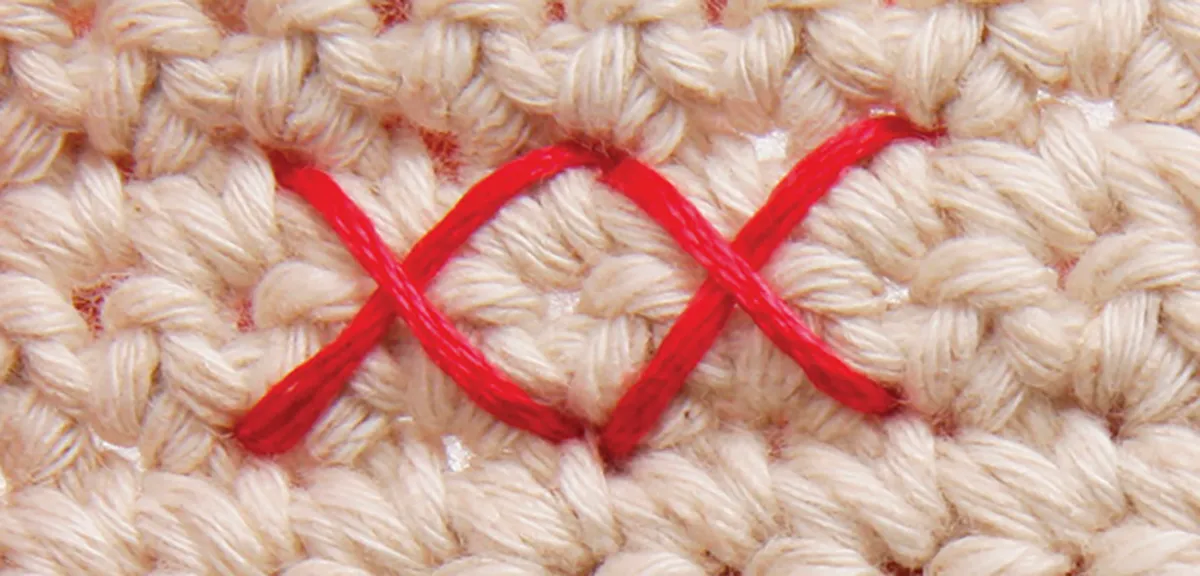
…but you need to create a uniform look. With cross stitch, you need to work the first diagonal of all the cross stitches in the same direction and then work the second diagonal in the other direction, to give a smooth look to your embroidery.
Finally, check the washing instructions for the thread or yarn you want to use for the embroidery, to avoid colours that run in the wash.
Now that we've covered the important bits, let's learn how to add embroidery on crochet!
How to cross stitch on crochet
Step 1
To start off, weave the thread or yarn into the back of the crochet fabric so it’s secure.
Bring the needle from the back to the front of the fabric, at the place where you wish to start your cross stitch. For consistency, start each cross stitch in the bottom-left corner of the ‘square’ where you wish to place the stitch (1). Push the needle down into the top-right corner of the square, to form a diagonal line (2).

Step 2
Bring the needle up in the bottom-right corner of the square (3), then insert the needle into the top-left corner of the square (4).

Step 3
Pull the thread through the fabric to create a cross.

Step 4
Repeat from step 1.

How to do a backstitch on crochet
Step 1
Backstitch is a very handy technique to learn, both for embroidery and for seaming together your crochet fabrics. It’s often used in cross stitch designs, to add outlines, details and other straight lines, after the main motif has been worked in cross stitches.
Bring the needle from the back to the front of the fabric, one hole to the right of where you wish to start your backstitch line (1). Push the needle into the fabric one stitch to the left (2).

Step 2
Bring the needle from the back to the front of the fabric two stitches to the right (3). Then push the needle back into the fabric one stitch to the left (4).

Step 3
This will join up the line.

Step 4
Repeat from step 2, moving horizontally, vertically or diagonally, to create a line as long as you need it to be.

How to do a French knot on crochet
Step 1
A classic embroidery stitch, French knots form a raised dot on your fabric. They’re handy for all sorts of things, especially making eyes. It’s best to use a sharp needle for these stitches.
Bring the needle from the back to the front of the fabric, at the position where you wish to place your French knot. Using your thumb and forefinger, hold the thread as it comes out of the fabric – keeping it taut, twist the needle around the thread three times, as shown in the image.

Step 2
Insert the needle back into the crochet fabric, very close to where it came out (you’ll need to pierce the fabric).
Step 3
Hold the thread taut and push the twists of thread so they sit right up next to the fabric.
Step 4
Pull the needle through gently to form a knot on the surface of the fabric.
Discover how to add embroidery on crochet
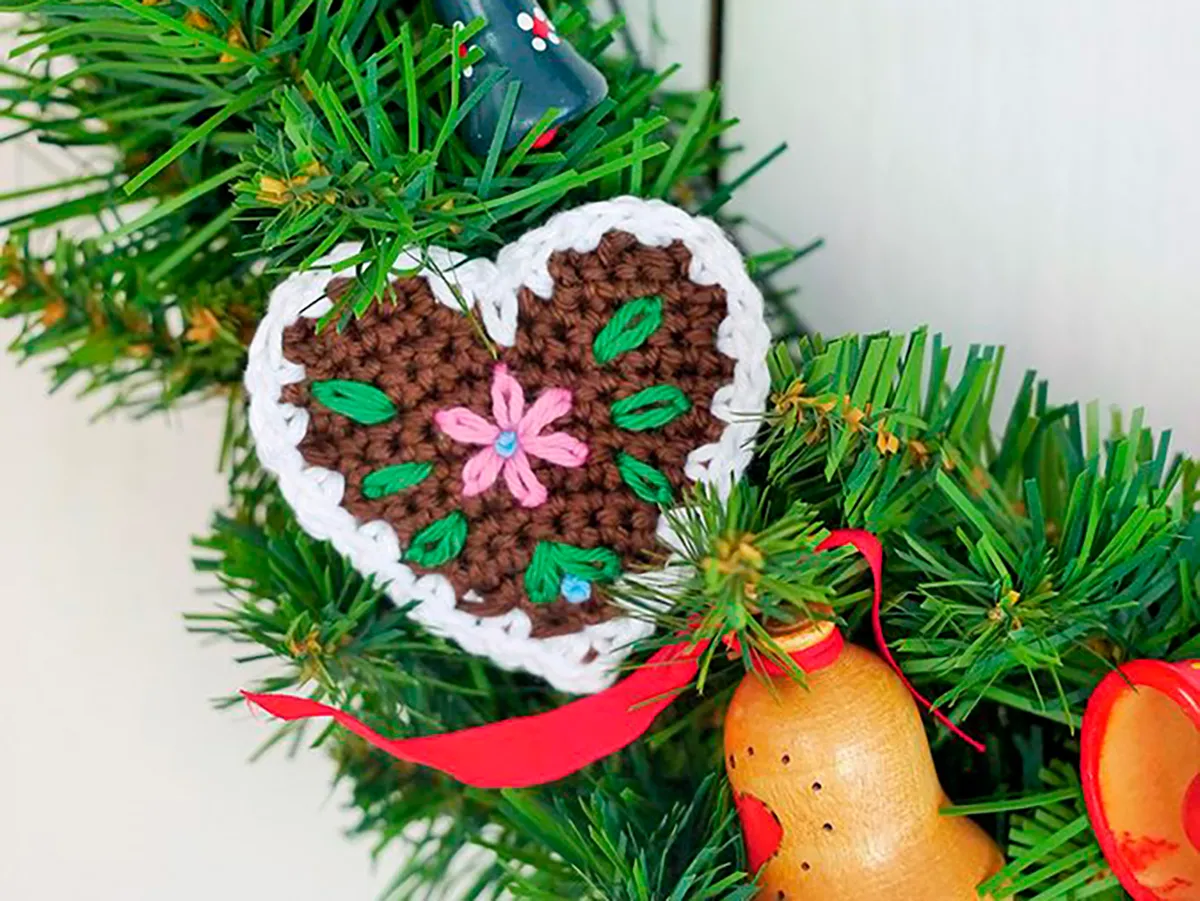
Once you know how to add embroidery on crochet, you can have lots of fun embellishing your projects. From stitching cute faces on amigurumi to jazzing up plain garments and accessories, you'll find plenty of ways to use your new skills.
Learn new stitches with us
Take the technique further with this cute crochet Christmas heart. You'll learn how to embroider blanket stitch, satin stitch and more!
Read more:

