You’ve mastered the basics, but what next? Level up your knitting with our 10 tried-and-tested tips and tricks.
1. Knit those swatches
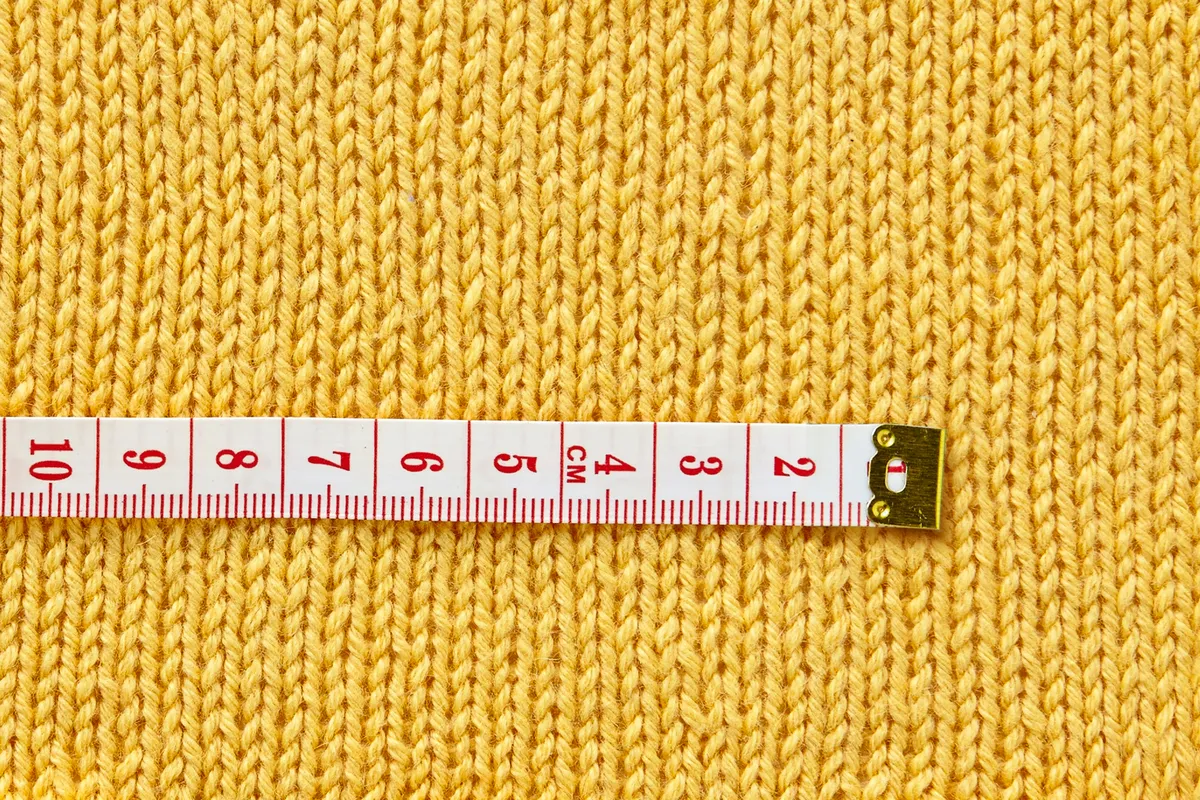
We know, big groan! But swatches really are vital to achieving a properly-fitting knit. A tiny difference in your tension can have a massive impact on your project. Luckily, for smaller projects like hats and mitts, you can get away without a swatch as the tension is less noticeable. Different kinds of needles can affect the tension, and knitting in the round can also produce a tighter tension. Aim to knit a 20x20cm swatch. Count the stitches and rows over several areas and take an average for your tension – don’t rely on one measurement. Start every big project with a swatch and you’ll never have to wear a hilariously-sized jumper again!
2. Read your stitches
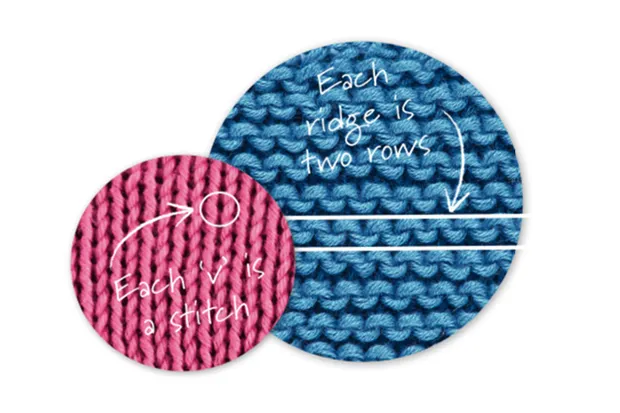
Can’t remember if you increased two rows ago or ten? Time to learn to read your stitches! Reading stitches in knitting means you can stay on track and spot mistakes. In stocking stitch, every ‘v’ shape represents a stitch. In garter stitch, every horizontal ridge represents two rows. Yarnovers look like a sloping stitch until you work back across them, when they form a hole. M1 and kfb look like twisted stitches. K2tog leans right and skpo and ssk both lean left. Looking out for these details will help you decipher what’s going on when you forget what row you’re on!
3. Don't get twisted
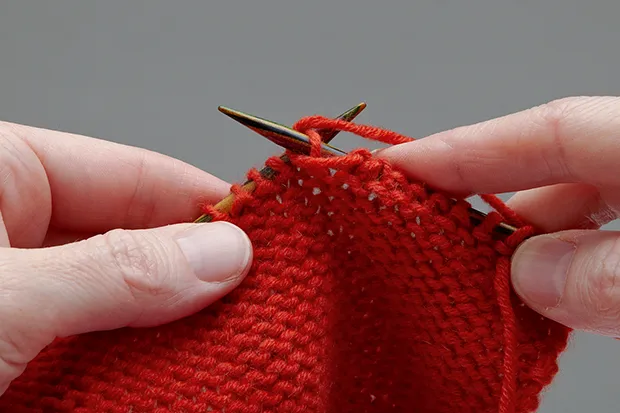
Picking up dropped stitches untwisted is easier as the loops are bigger. On the next row work into the back of each stitch to retwist it. This is also how combination knitting works. Combination knitting may help if your knit rows in stocking stitch appear slightly tighter than your purl rows. To try it, wind your yarn clockwise from bottom to top when purling, rather than anti-clockwise from top to bottom, which will make your purls a bit tighter. Then, on knit rows, knit into the back of the stitches to retwist them. Your stocking stitch will be super smooth and even!
4. Quit weaving in your ends!
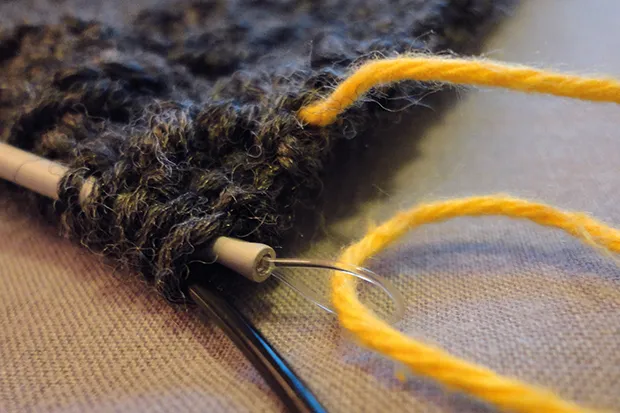
No, really! If you shuddered at the thought of weaving in ends (and I’m betting you did), then this tip is for you. Spit splicing (or water splicing if you’re feeling fancy) is perfect for joining ends of non-superwash wool or alpaca, allowing you to start new balls mid-row. To splice two ends, fray each one so that about 5cm is loose, cut back half the plies and twine them around each other. Wet the join with warm water and quickly rub it back and forth in your palms. The ends should felt together, creating a bond. If your yarn isn’t suitable then we might have spoken too soon about that “quit weaving in your ends” thing...
5. Mark it out
Use stitch markers between lace and cable repeats. Start armhole cast offs at the same point on both sides of a cardi, by looping short lengths of yarn through the first stitch to mark your place. Insert lifelines by running a contrasting length of yarn through the stitches on your needles, using a tapestry needle (go around stitch markers or you won’t be able to move them up a row). Then, you can unravel without losing yarnovers, which have a tendency to disappear when being ripped back!
6. Just one more row, I swear...
RSI is a big problem for us knitting addicts. Switching up your style of knitting can often be a real help. Try continental style, with your yarn in the left hand, combination style (see tip 3), or even learn Portugese style, with your yarn around your neck. Your tension will probably be looser to start, but it’ll get better with practice. Don’t forget to take regular breaks and stretch too, and if you ever feel tingling from your shoulders to your fingers, then it’s time to rest!
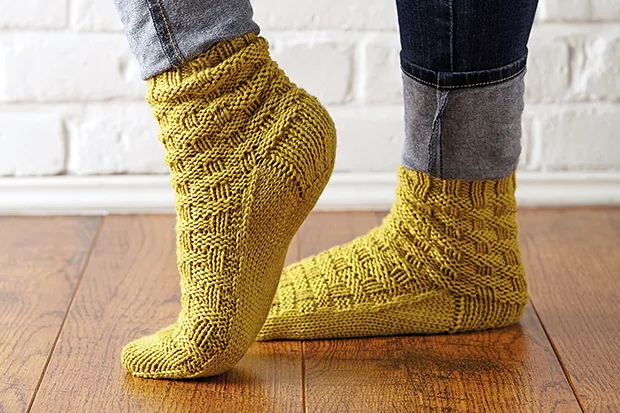
7. Say bye to holey feet
Fed up with annoying gaps at the corners of your heel gusset? Pick up one extra stitch around each of these two corners and include them in the stitches being decreased for the gusset. Socks can often get ladders where two DPNs or circular needles meet. To get rid of them, move a few stitches every few rounds. Your ladder will spiral, rather than disappear completely, but will be easier to get rid of with a little soaking in wool wash after you’ve finished.
8. Learn how to fix those mistakes
Spotted an error or a dropped stitch? Don’t unravel! Instead, work to the stitch on your current row, directly above. If you’ve dropped a stitch, use a crochet hook to pick it up, then chain back up to the current row, and place the new stitch on your needle. For a mistake, unravel the stitches above down to that point. Use your hook to correct the error, then work back up. It’s easier to work stitches one at a time, bottom to top, rather than all the botched stitches row by row.
9. Work that bargain
Well done, you bagged a real deal on that fab aran yarn! Now to make it work for your DK pattern. Firstly, calculate the number of stitches you’ll need for the bust in your chosen yarn, and then find the size with the number of stitches closest to that. So to use an aran yarn for a DK pattern (18 sts per 10cm), for a garment with a 100cm bust, find the size closest to 180 sts total for the front and back, following any length measurements for your true size. This even works to make children’s garments in adult sizes by sizing up from 4ply to aran!
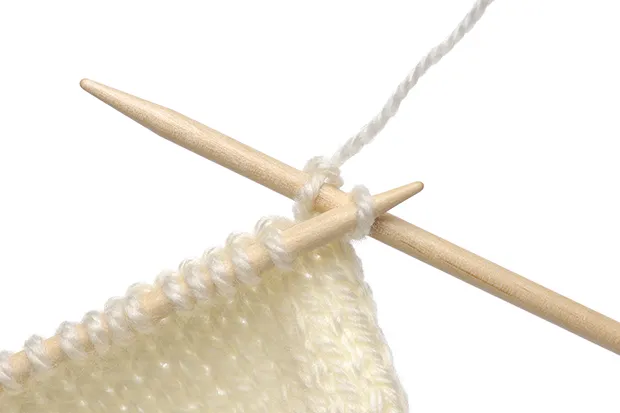
10. Cast off in style
Does that loose stitch at the end of every cast off annoy you, too? To tighten things up, work a k2tog or p2tog over those last two stitches instead! This also works for grafting. When casting off in the middle of a row or round, avoid the gap at the start by working kfb or pfb into the first stitch of the cast off, then casting off these two stitches as normal. The extra stitch you’ve made fills in the gap between the last stitch and the start of the cast off.
Want more tips? Find all our full set of how to knit tutorials here