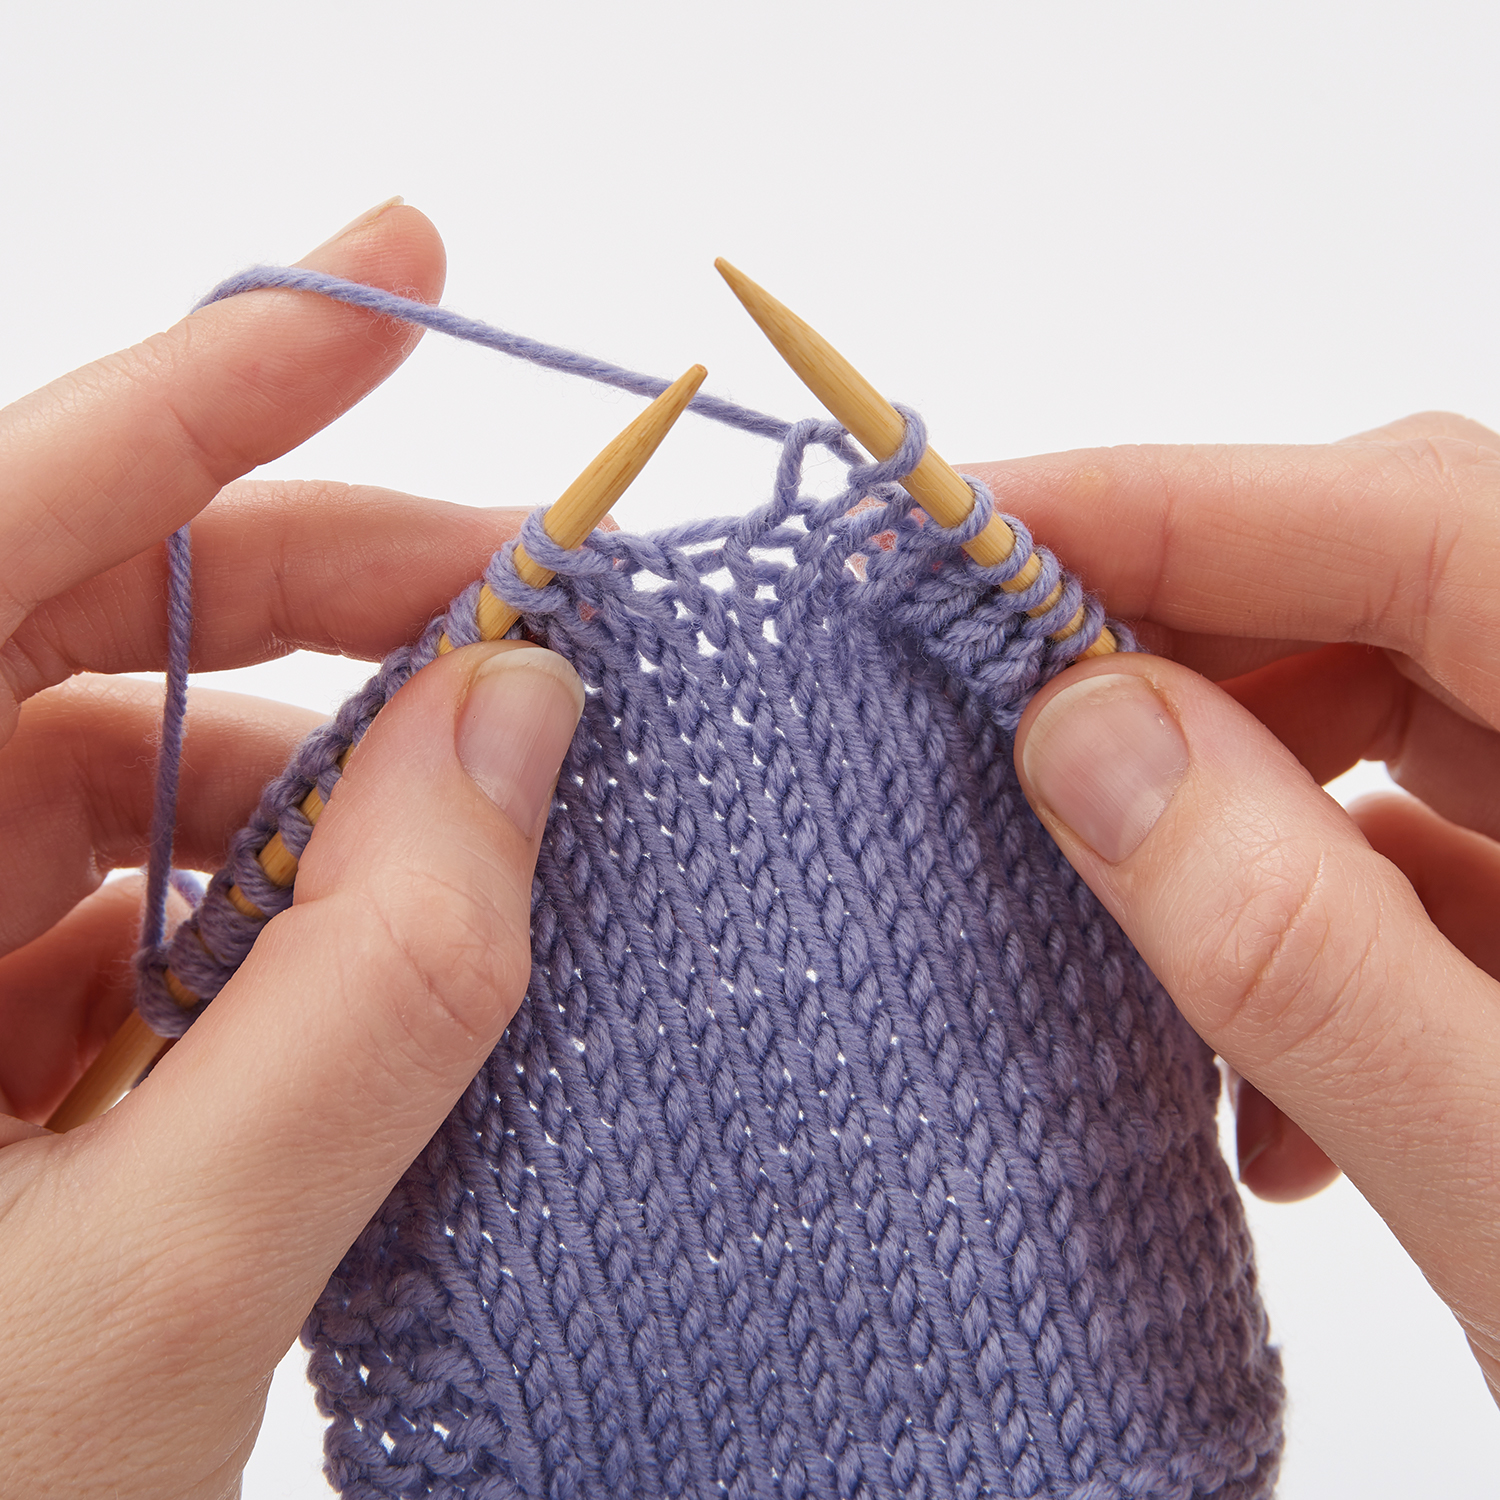
How to do Continental Knitting

Try Continental-style knitting and discover how to knit faster, more neatly, and with a lot less strain on your hands. Our expert, Rosee Woodland, shows you how it's done…

6 issues of Simply Knitting magazine for £14.99|Save 72%

Published: February 8, 2021 at 2:37 pm

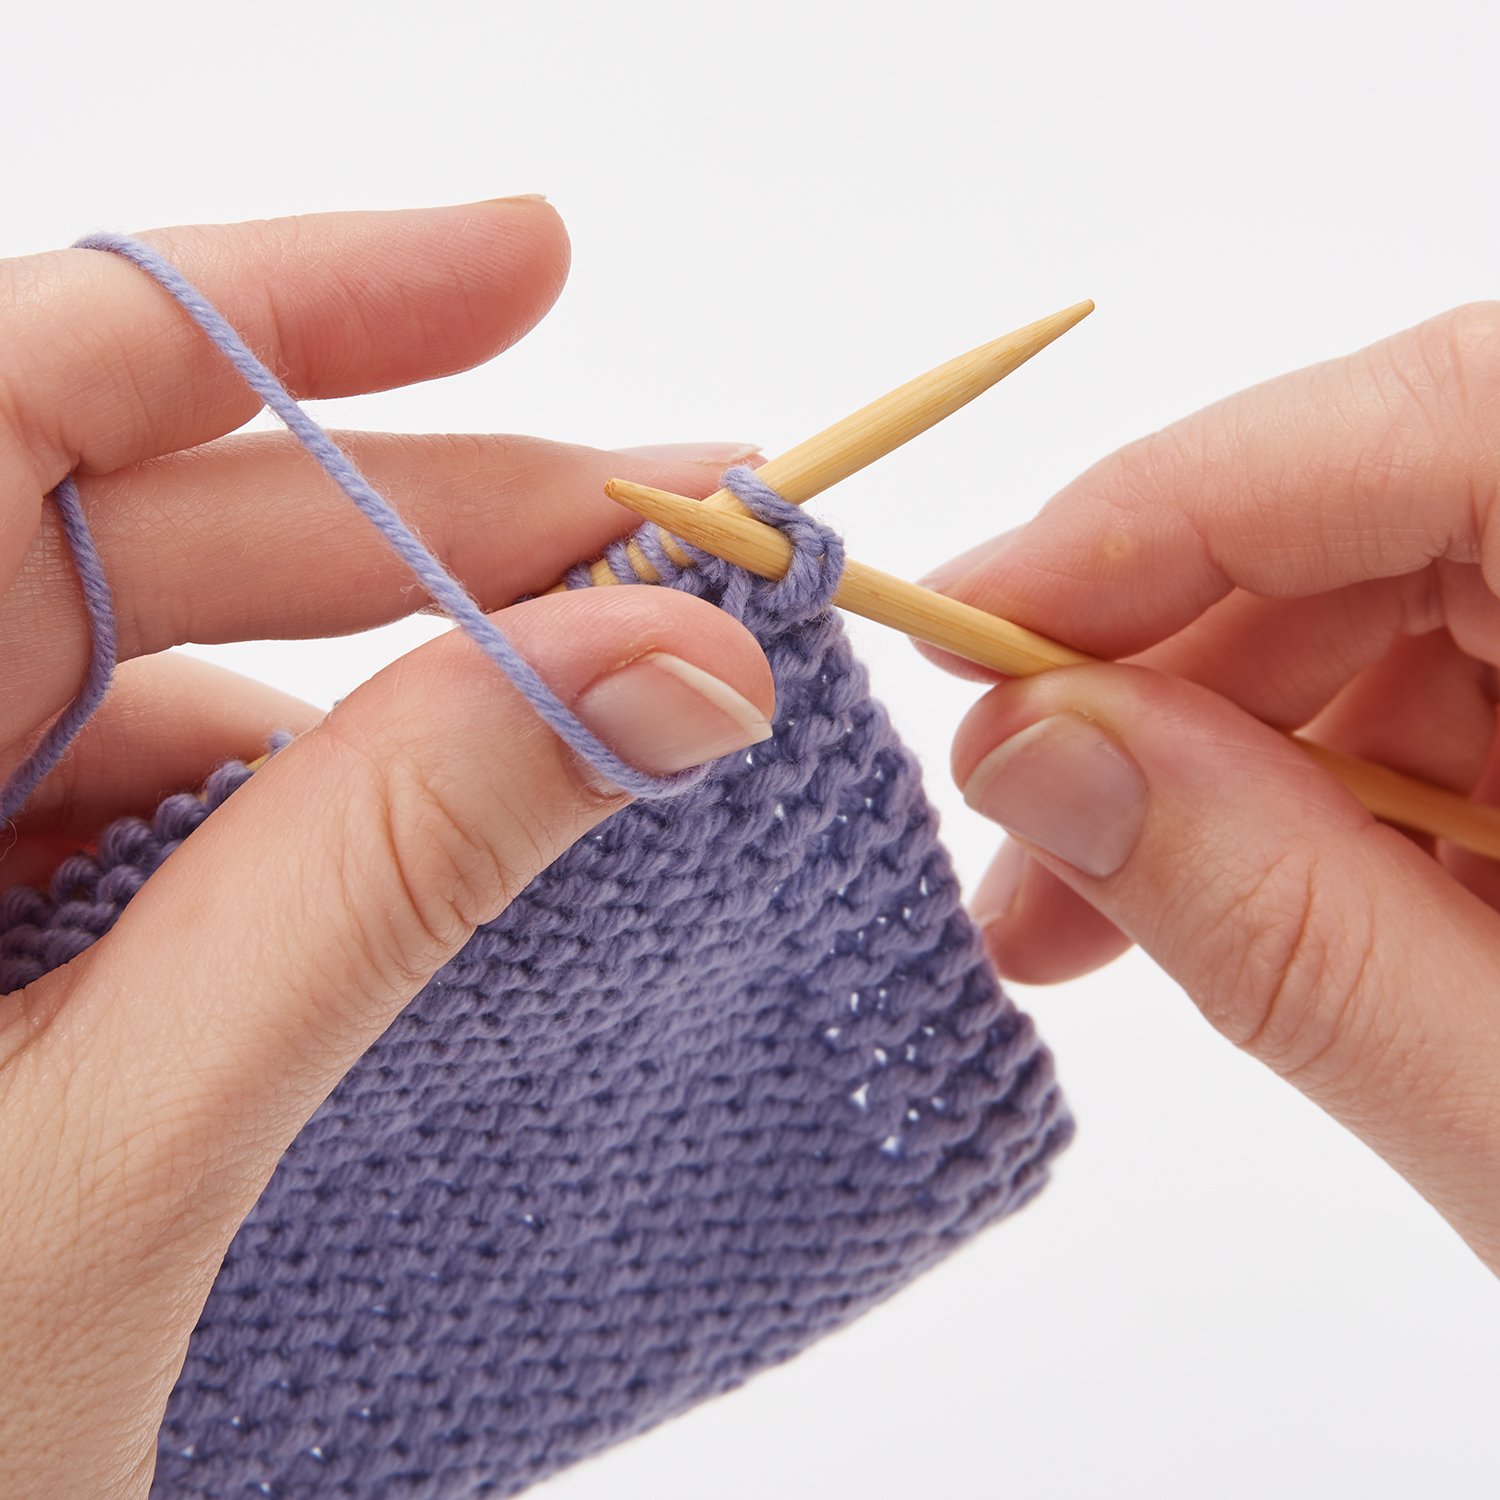
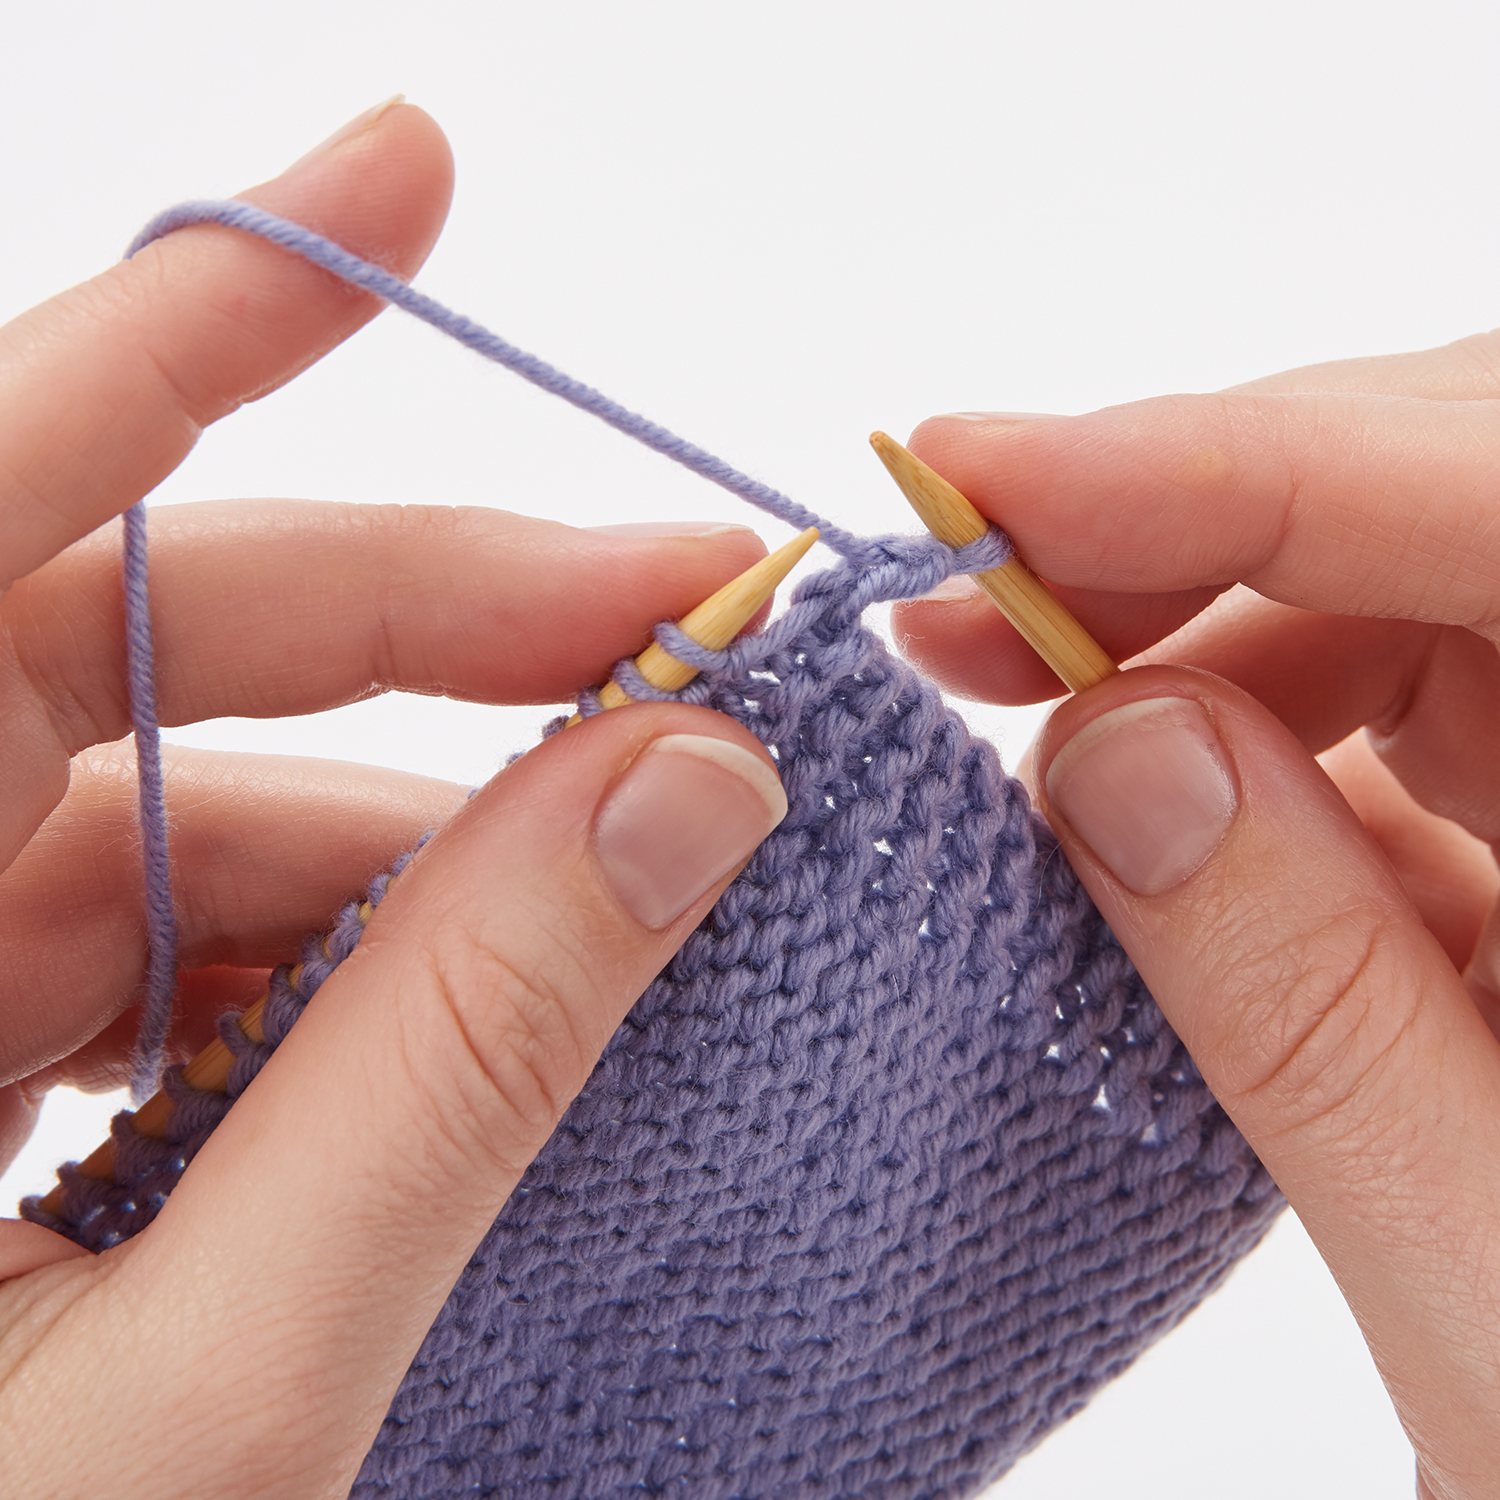
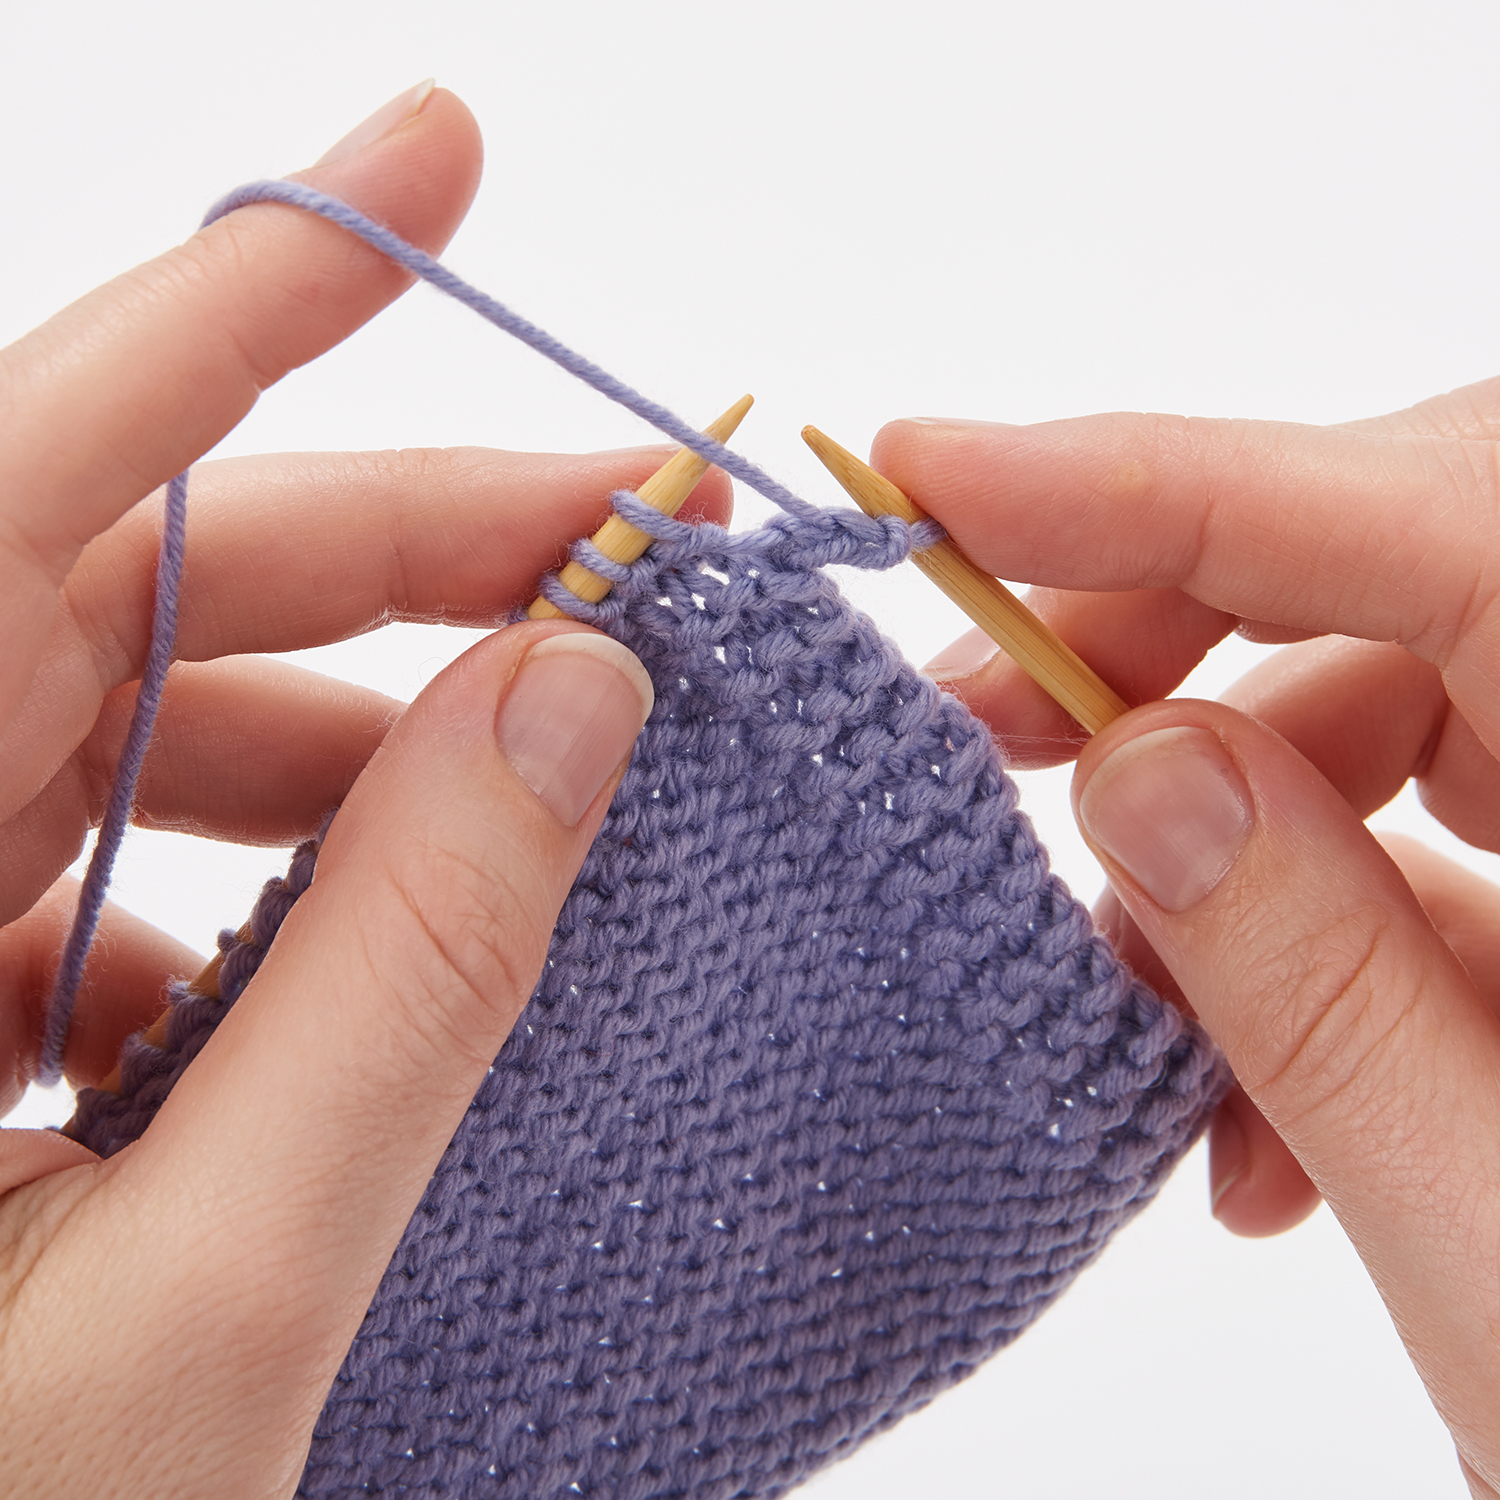
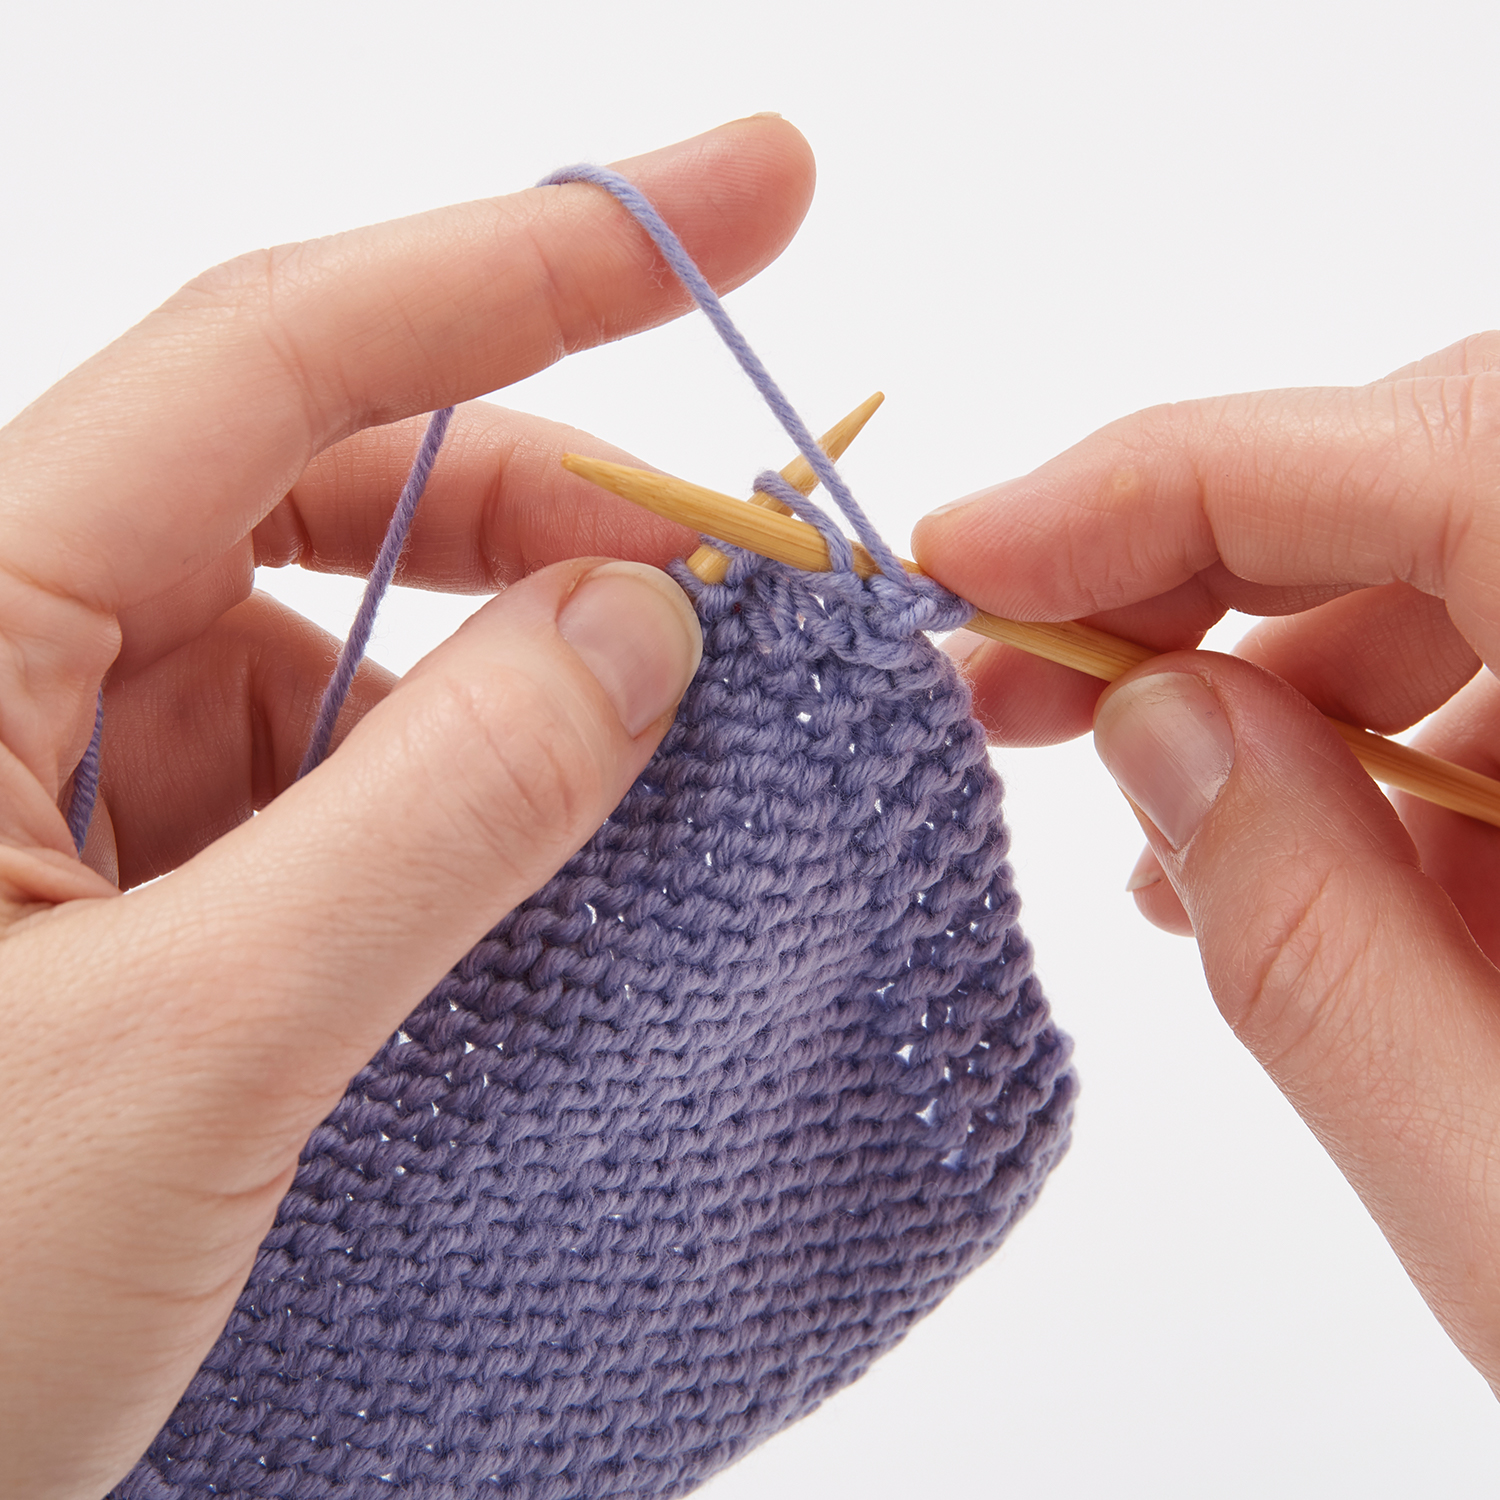
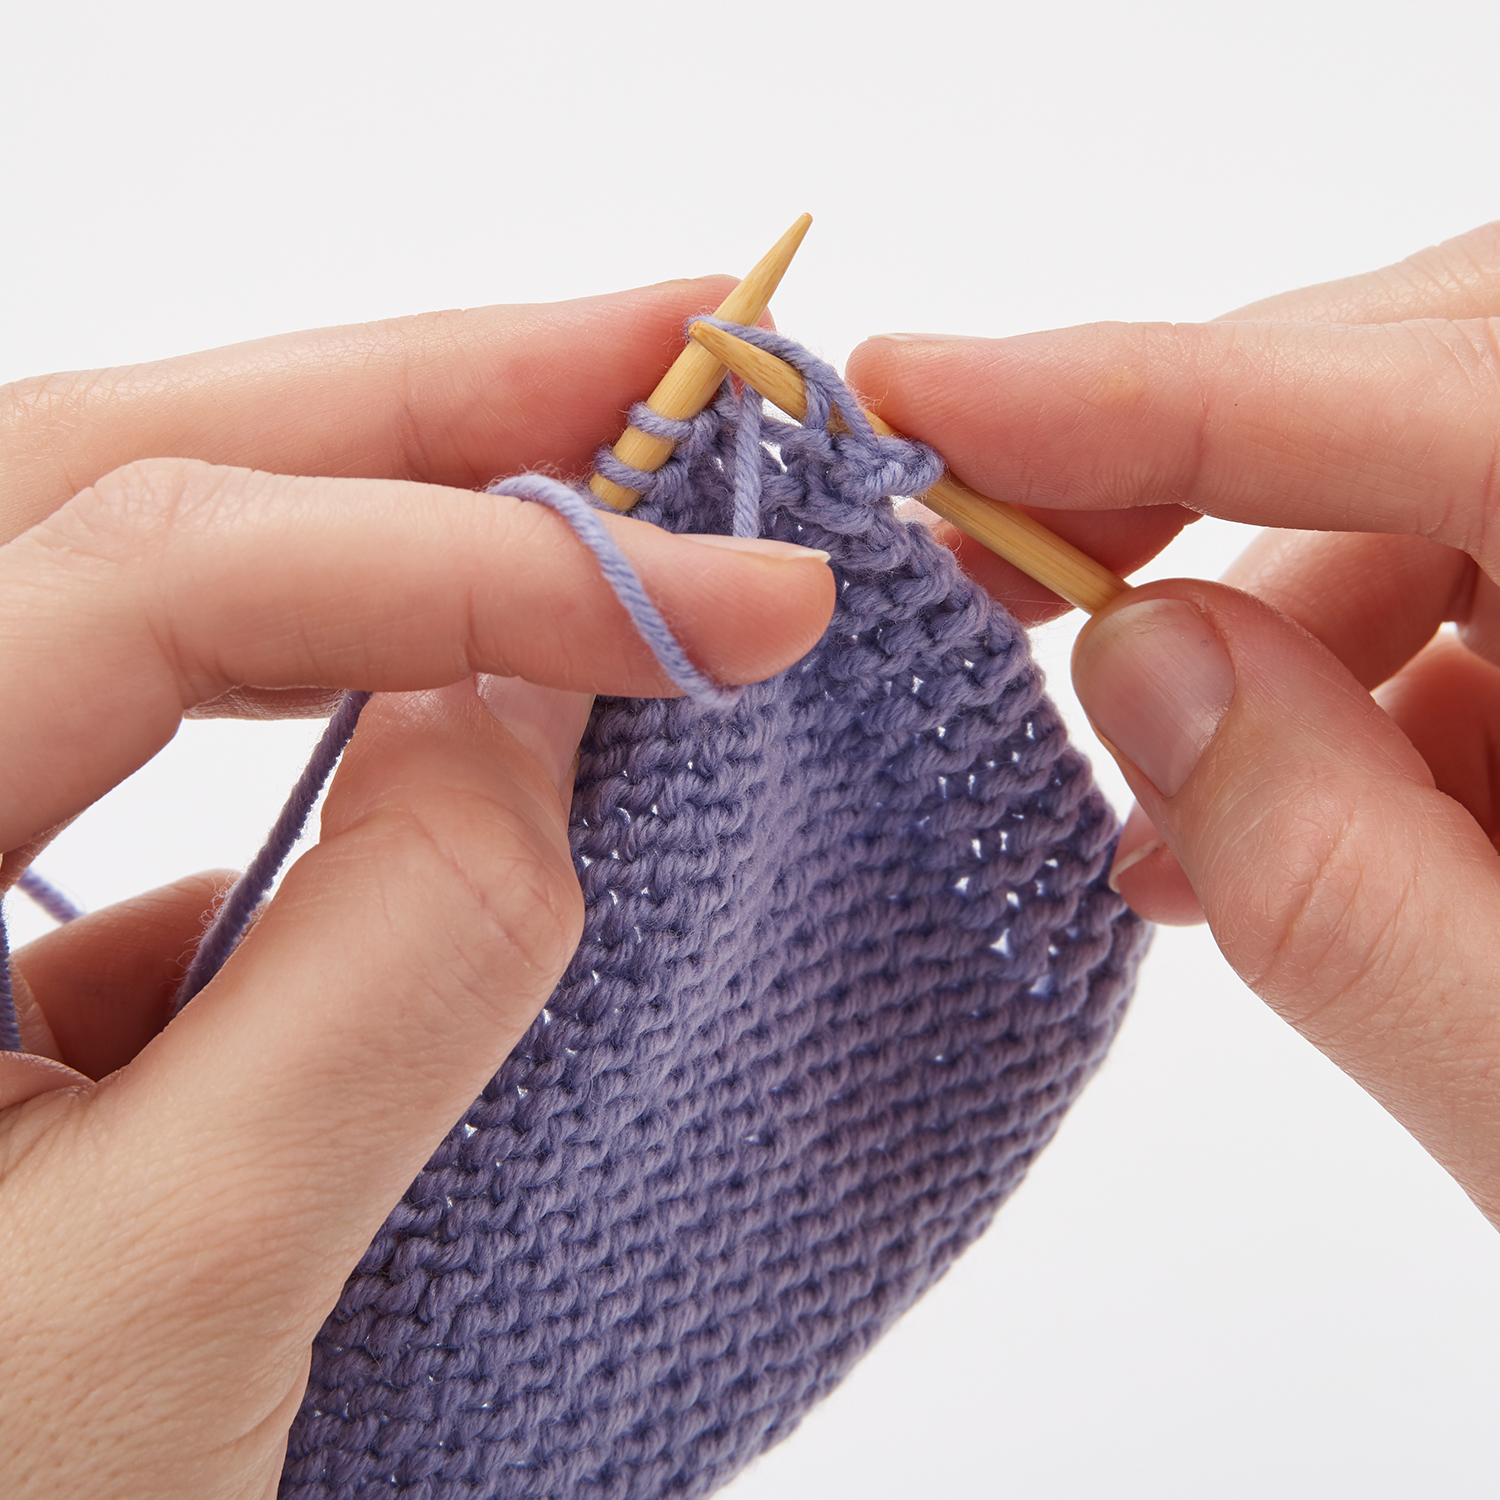
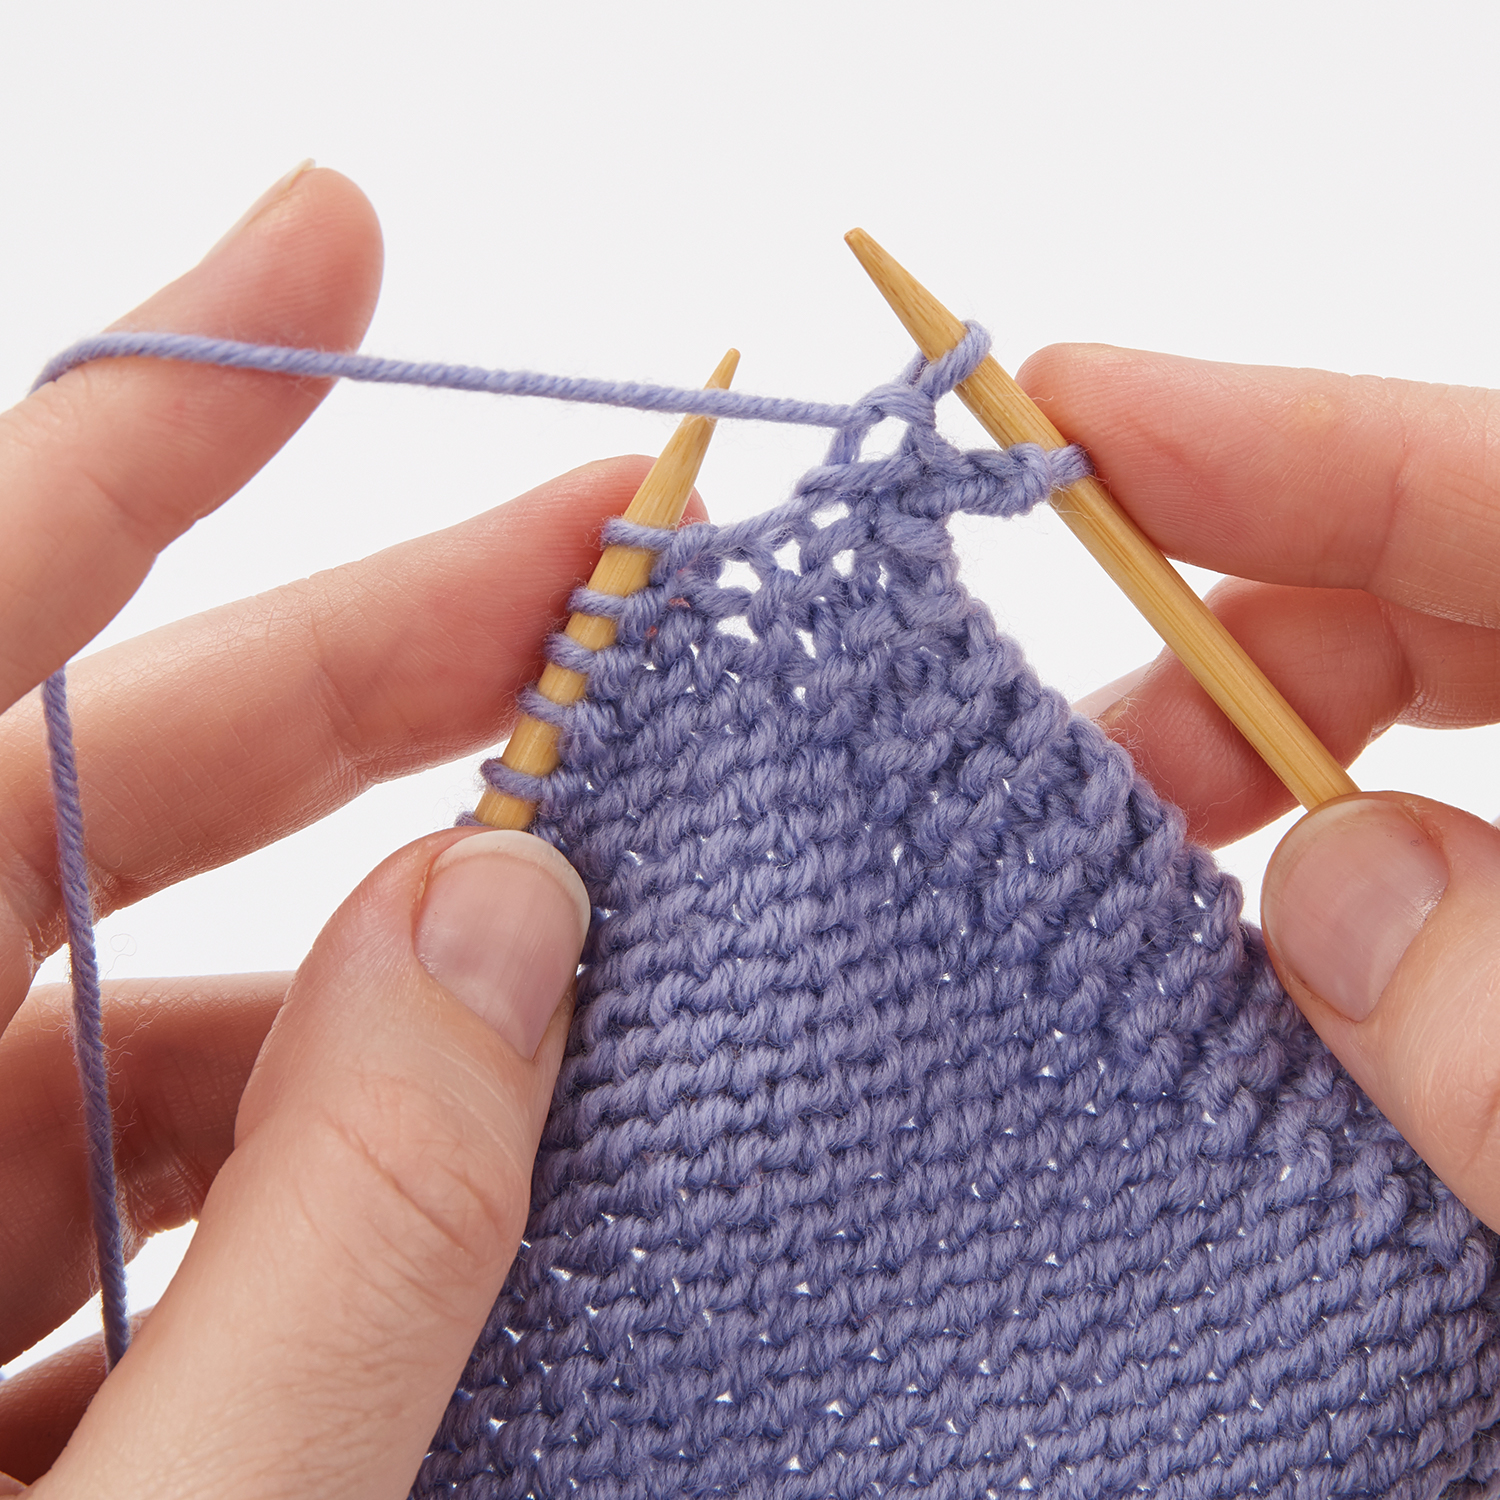
Have you ever spotted someone knitting, but looking almost like they’re knitting backwards? Then you’ve probably already seen Continental knitting in action. British knitters were traditionally taught to knit with the yarn in their right hand, ‘throwing’ the yarn around the working needle. But across the Channel, knitters mainly worked with yarn in their left hand, ‘picking’ the working yarn, and typically knitting faster and with more ease. Sound too good to be true? Well, it does take a little practice to switch styles, but it’s definitely worth a go. Here’s how…

Why should I try Continental knitting?

Although the world’s fastest knitter, Shetland’s Hazel Tindall, uses British-style knitting, for your average knitter, Continental style is usually faster. This is because the movement used to make a stitch the Continental way is smaller, making a shorter distance between the start and finish point of each stitch. Many modern knitters are also switching to Continental-style knitting because they find it’s kinder to their hands and arms, particularly when knitting for long periods – the smaller, shorter movements create less stress. Continental-style knitting also makes stranded colourwork a cinch, as you can hold a colour in each hand, keeping your knitting neat and preventing your colours getting tangled.

How hard is it to switch?

If you’ve been comfortably knitting British style for years, switching to Continental style may seem like too much bother. While the technique used feels fairly intuitive to most knitters, you are likely to notice a significant change in tension at first. This is totally normal and the only way to get back to a ‘normal’ tension is with practice. This will take a different amount of time for each knitter, so it’s not a good idea to embark on a big project where the finished size is critical, for example a garment, as your tension will probably change over the course of the project. However, a blanket, or even a scarf will show the change in tension fairly minimally. Don’t make a pair of socks, one in British style and one in Continental style, as you will almost certainly find one of the pair is too big! Many knitters find that even with practice their Continental-style knitting remains a little looser, so if this applies to you, remember to go down a needle size to get the correct tension, and always swatch for anything that needs to fit someone.

Can I change to continental mid project?

Generally speaking, it’s best to use a single ‘main’ style for each project. However, there are some instances where British style knitting can feel easier than Continental style. Some knitters find that casting on and off, and picking up stitches are all easier British style, and it’s fine to switch for sections like this, where a different technique is needed, but generally it’s best to use the same method for a particular section, for example, borders, or long pieces of stocking stitch.

How to get the correct tension

If you’ve been knitting in the British style for years, you probably tension your yarn in your right hand without even thinking about it. How you do it will be completely unique to you. So how do you tension your yarn in your left hand for Continental knitting? Again, just like British-style knitting there is no one right way of tensioning your yarn. Just to get you started, here’s one of our favourite techniques for wrapping the yarn in your left hand in a way that allows the yarn to flow smoothly through your fingers, while still giving you control over your knitting. Read our step by step guide below.
How to get the correct tension

Step 1

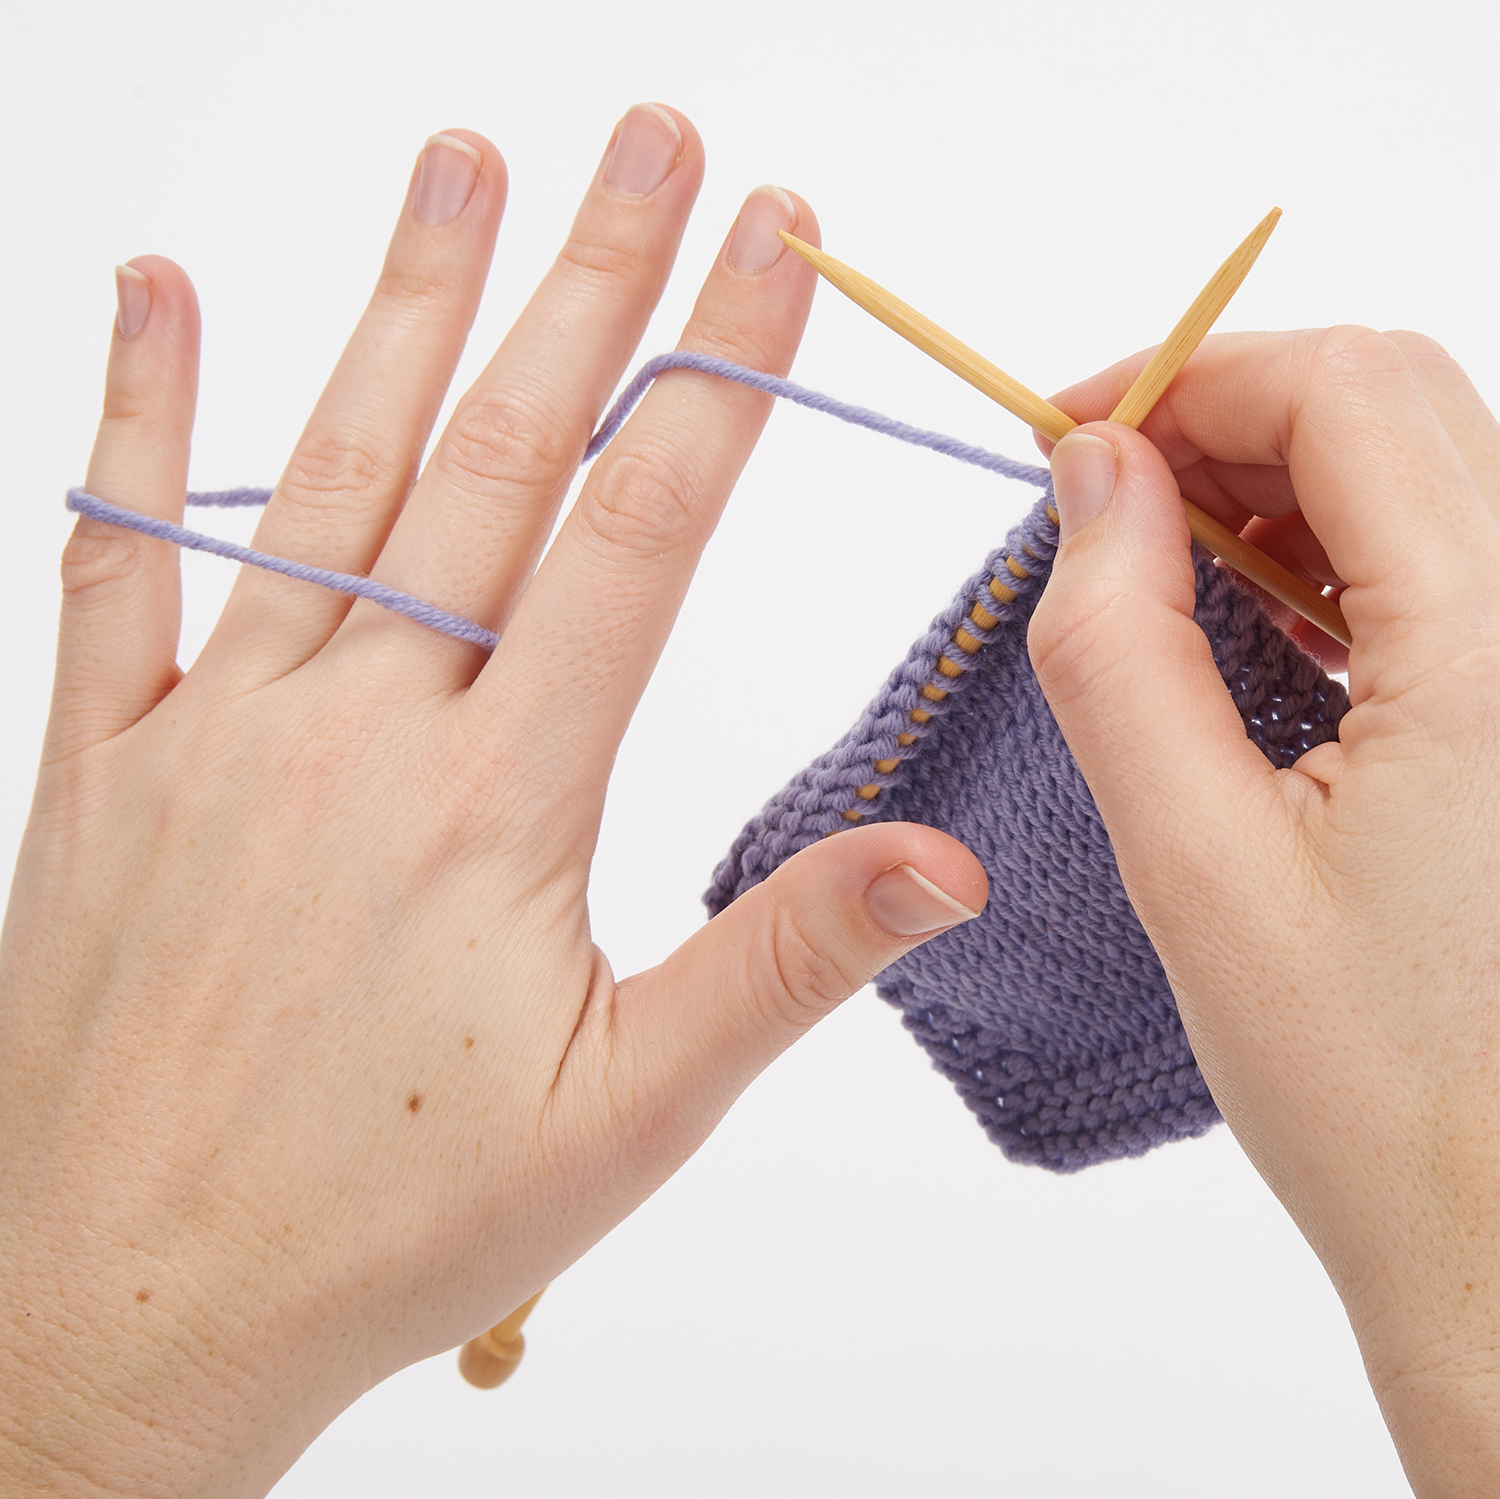
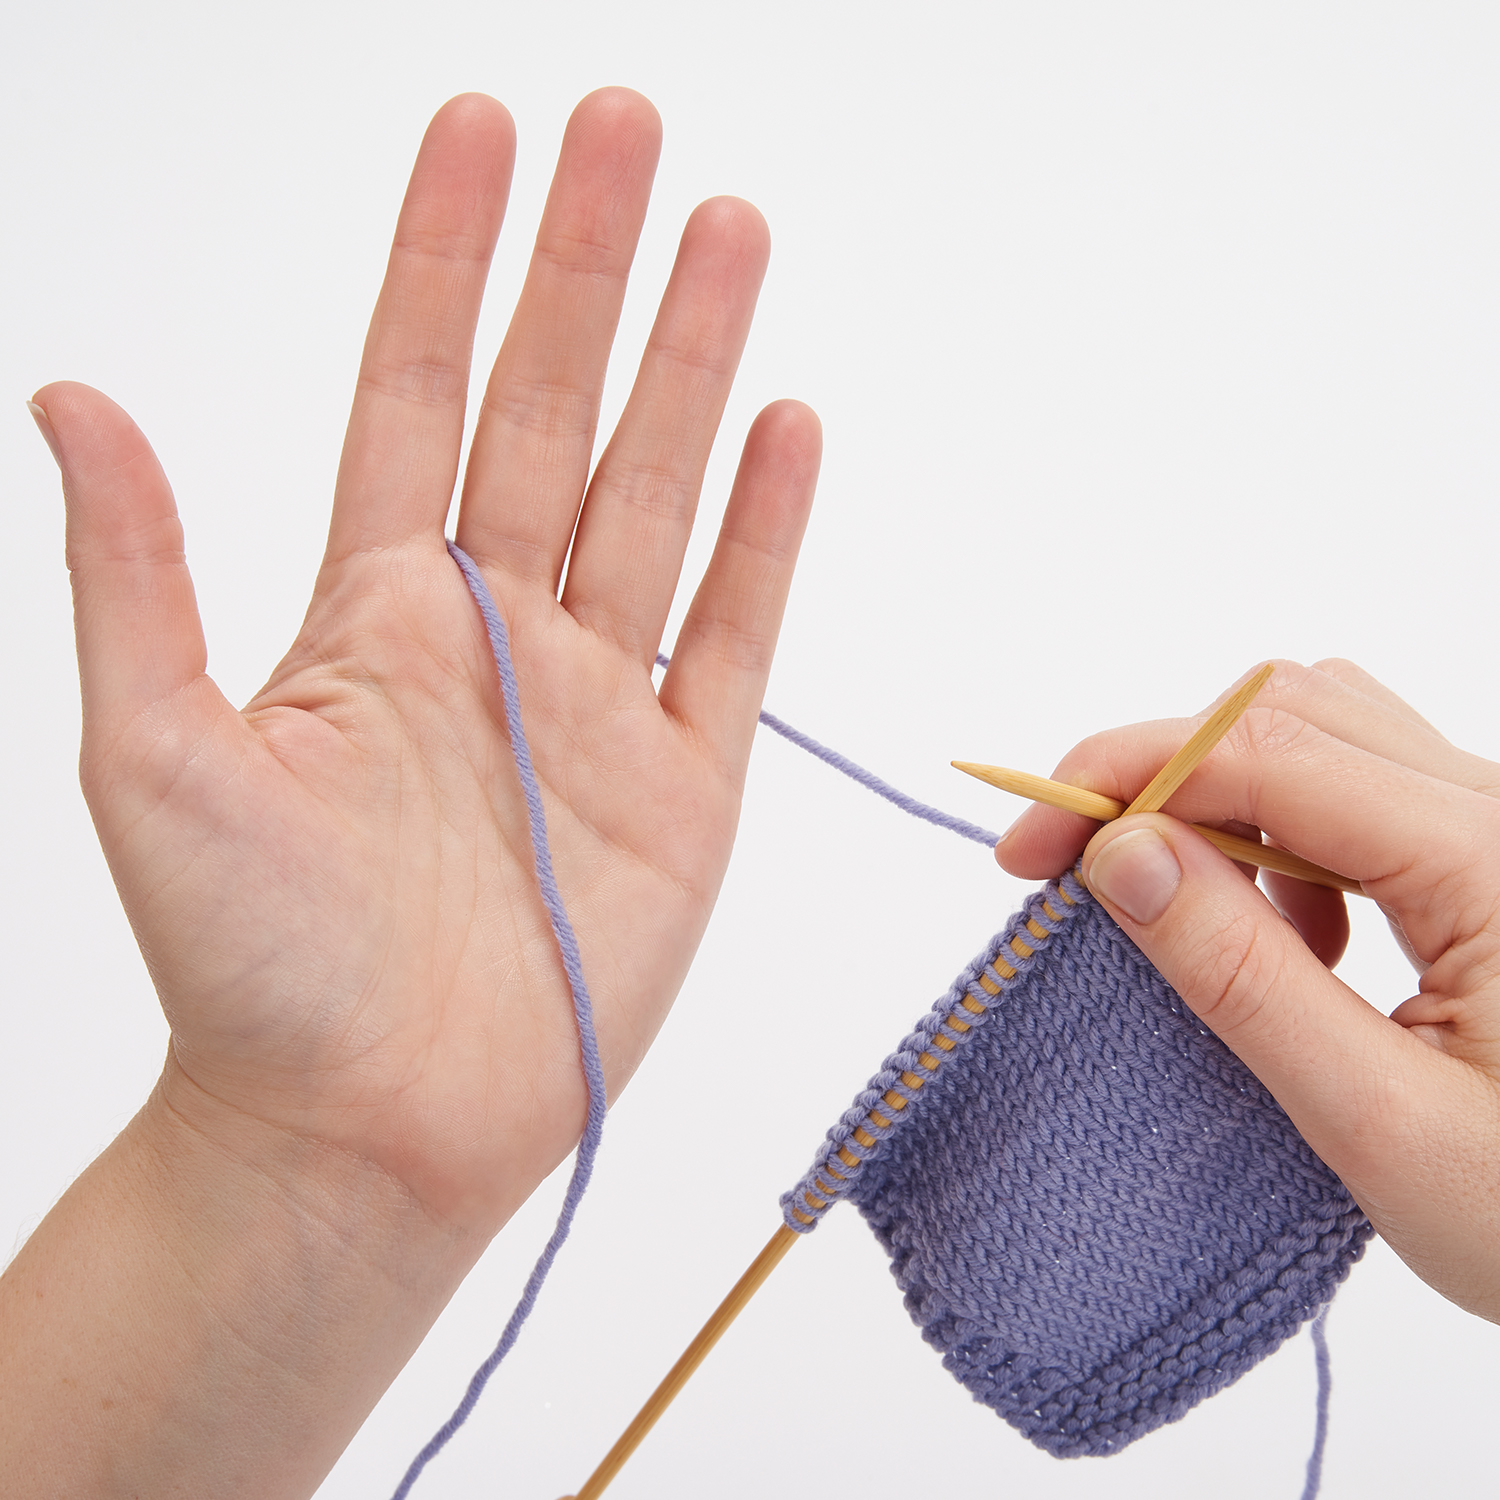
With your left palm facing upwards, take the working yarn from front to back, between the index and middle finger on your left hand. Your needles and any working project will be behind your hand at this point, held by your right hand.

Continental knitting tension step 1

Step 2

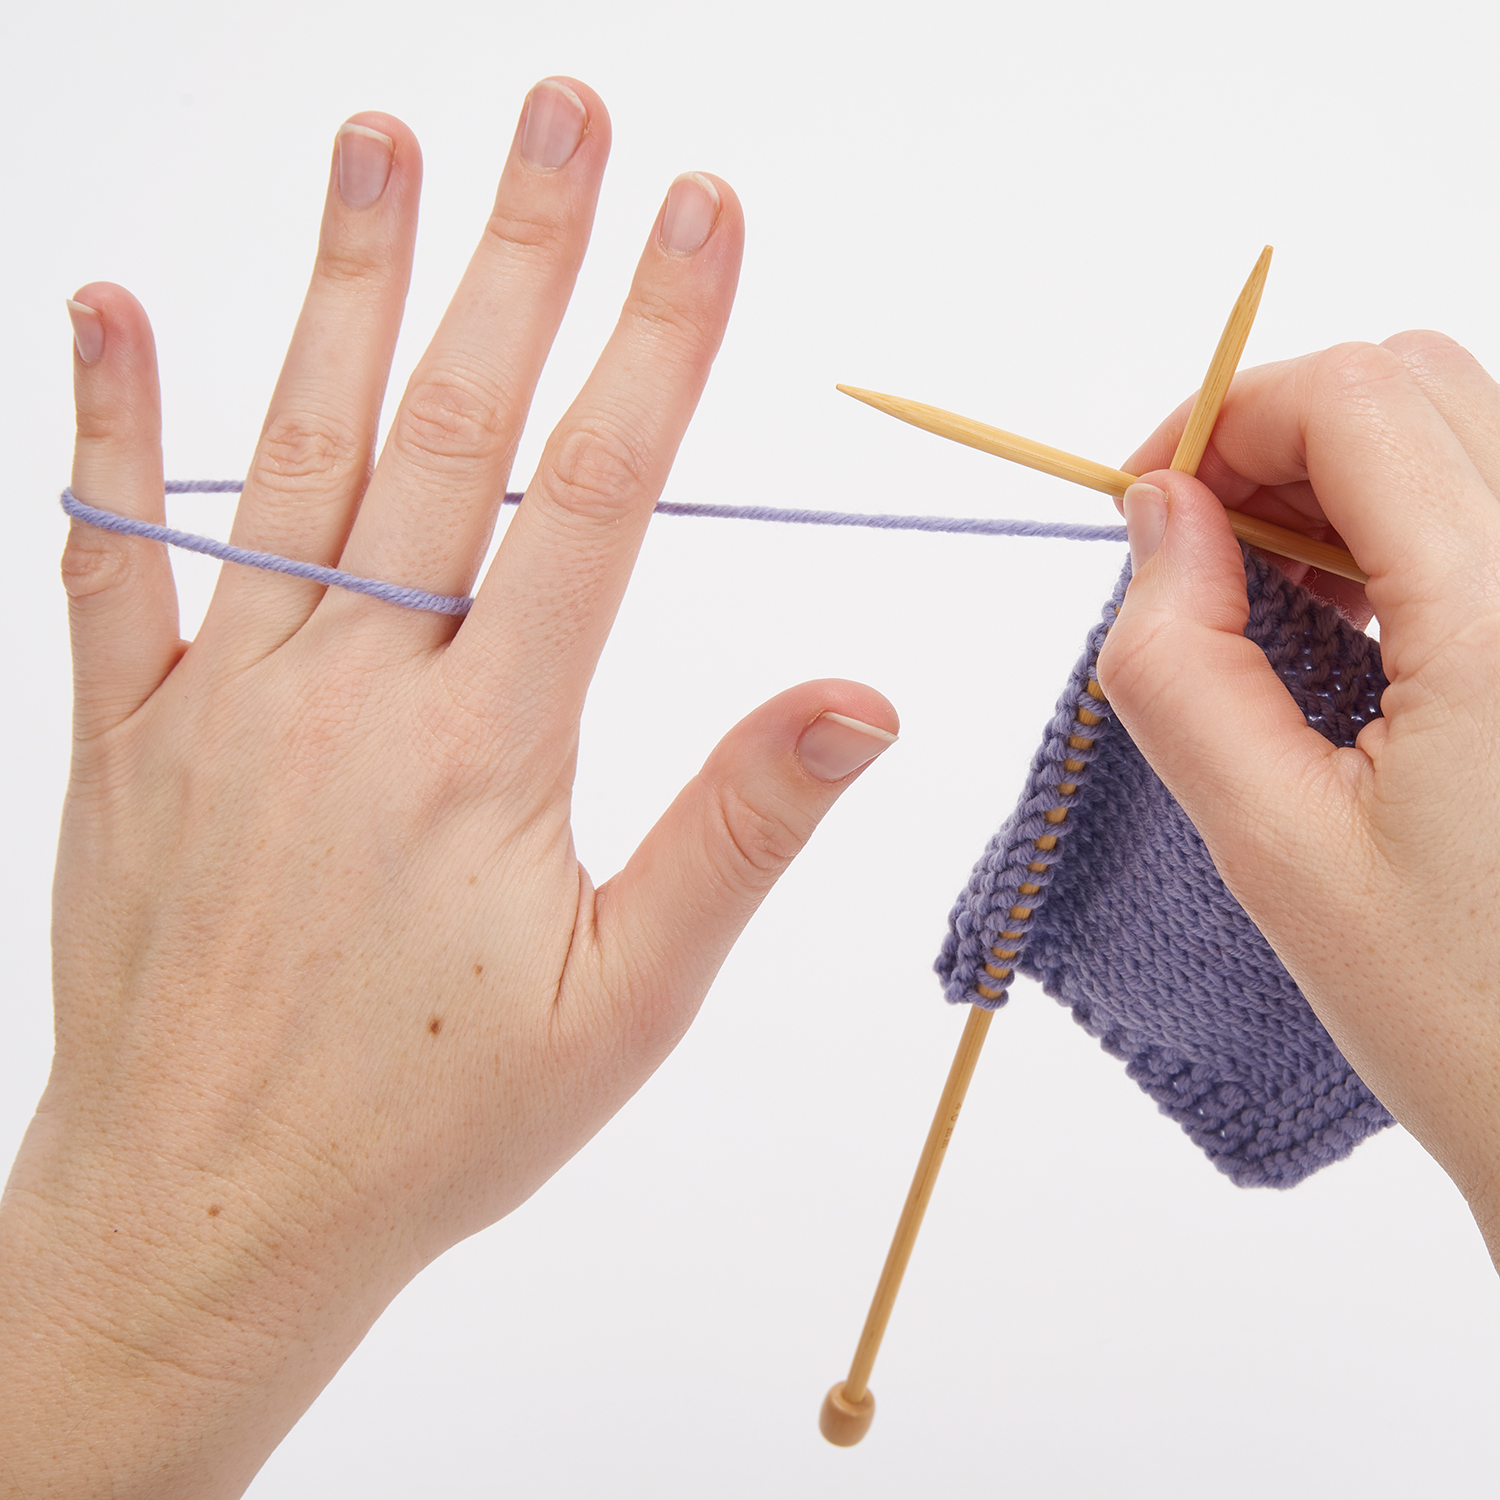
Now turn your left hand inwards so your palm is downwards. You’ll see the yarn running from the gap between your index and middle fingers towards the outer edge of your left hand.

Continental knitting tension step 2

Step 3

Slip your index finger under the working yarn that’s now running under your palm. This allows you to finesse your tension. Grab your needle in your left hand. You’re now good to go!

Continental knitting tension step 3

how ot cast on continental knitting

Step 1

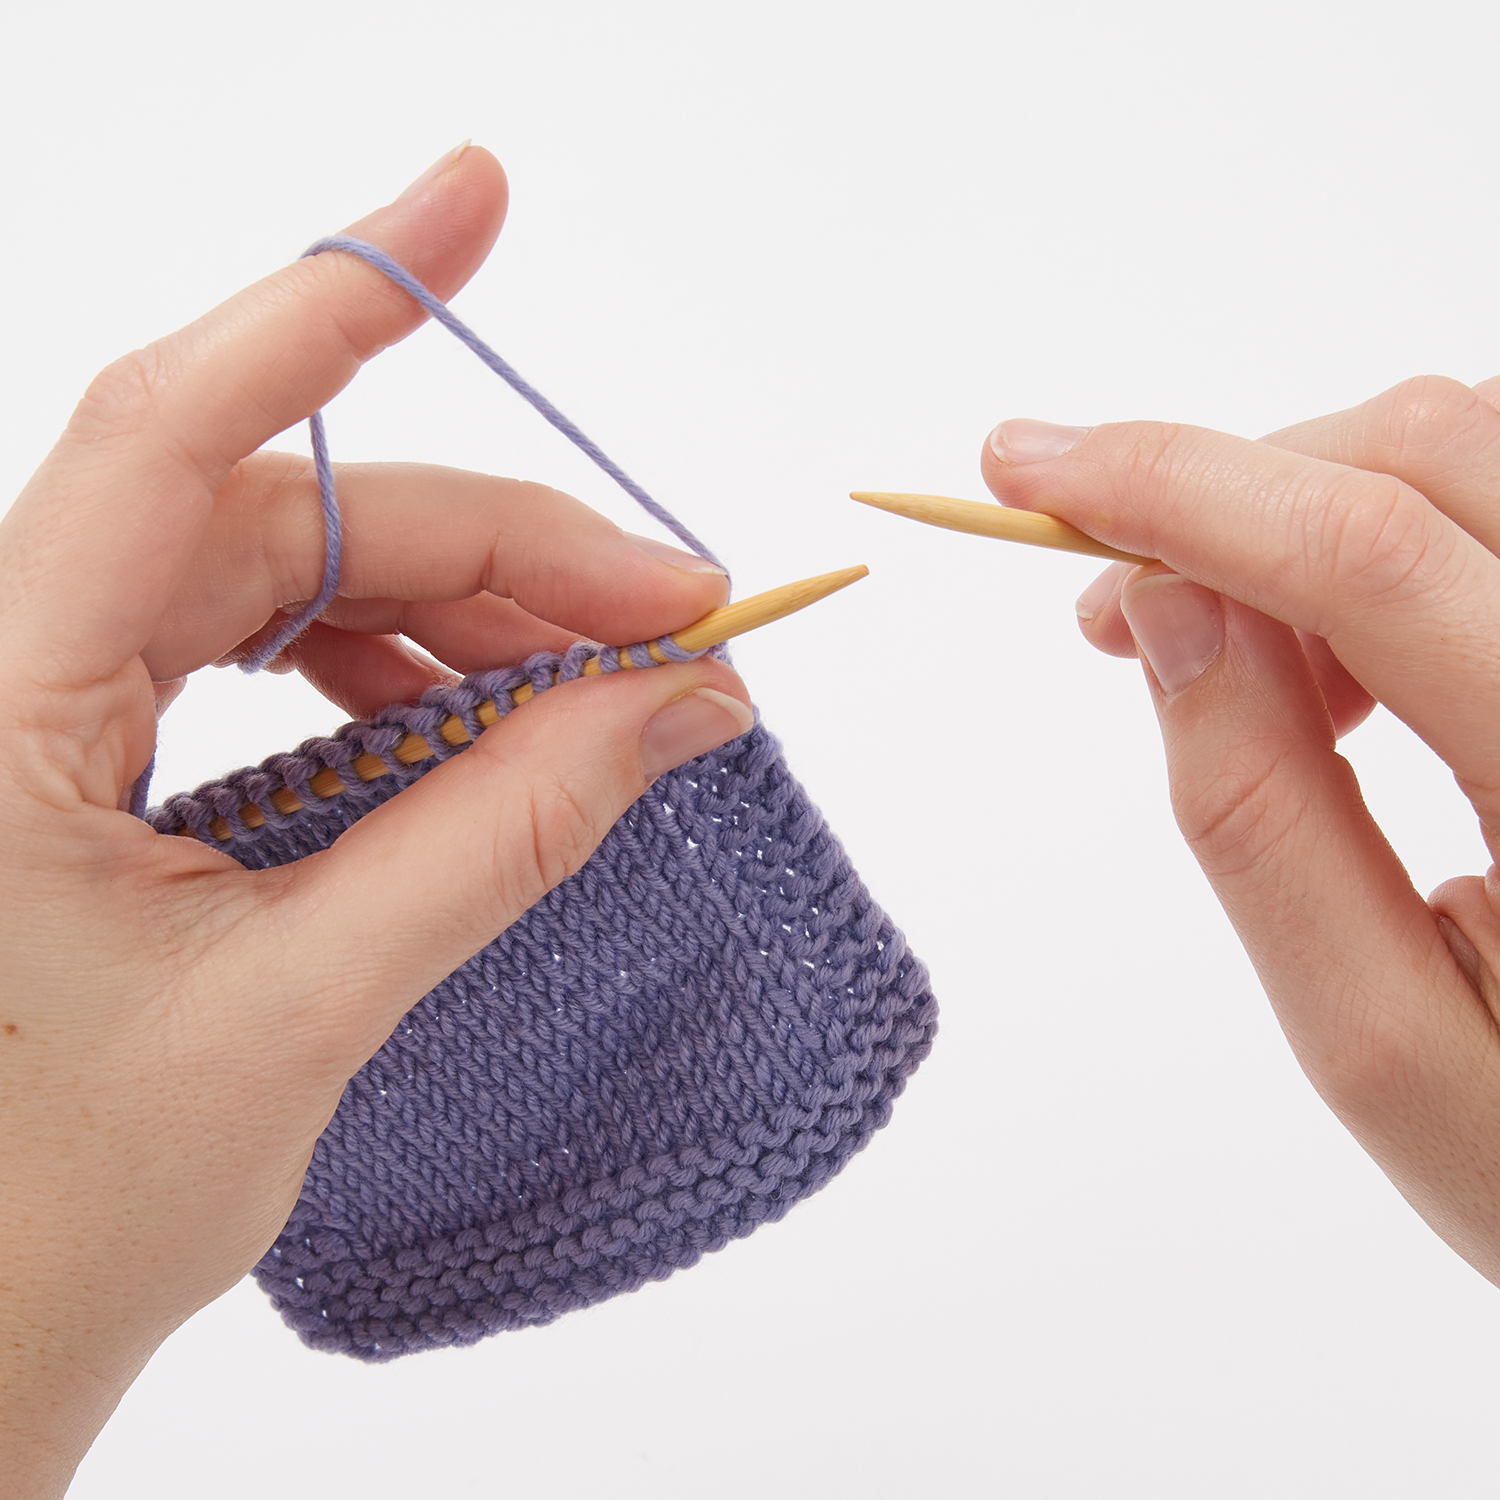
Once you’ve got your yarn tensioned correctly it’s time to knit! Take it slowly for the first few stitches and rows, watching your tension as you go.

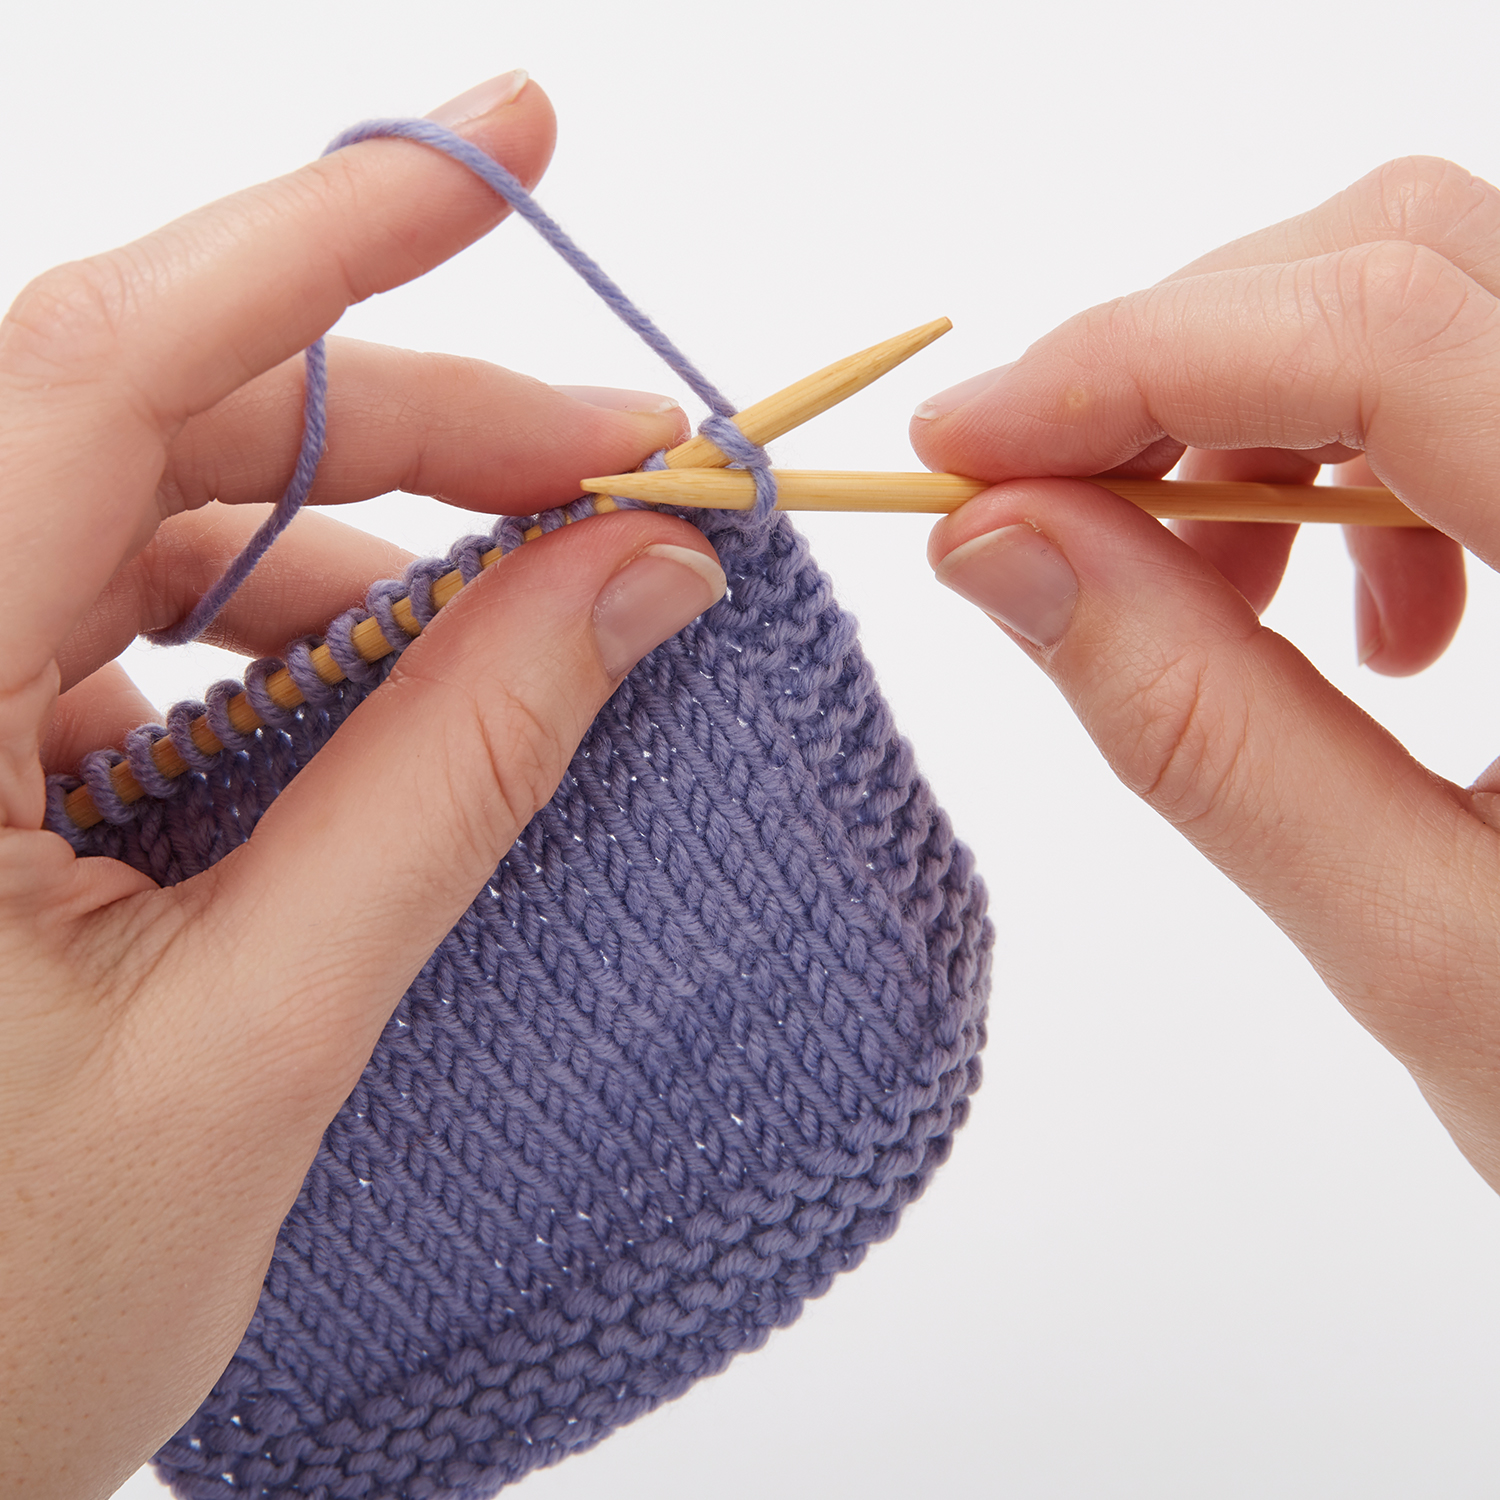
The first stitch can be slightly tricky to work in Continental knitting, as you need an extra bit of tension to get going at the start of each row. To counter this, take your middle finger and extend it to help tension the working yarn immediately next to where it joins your left needle.

Continental knitting step 1

Step 2

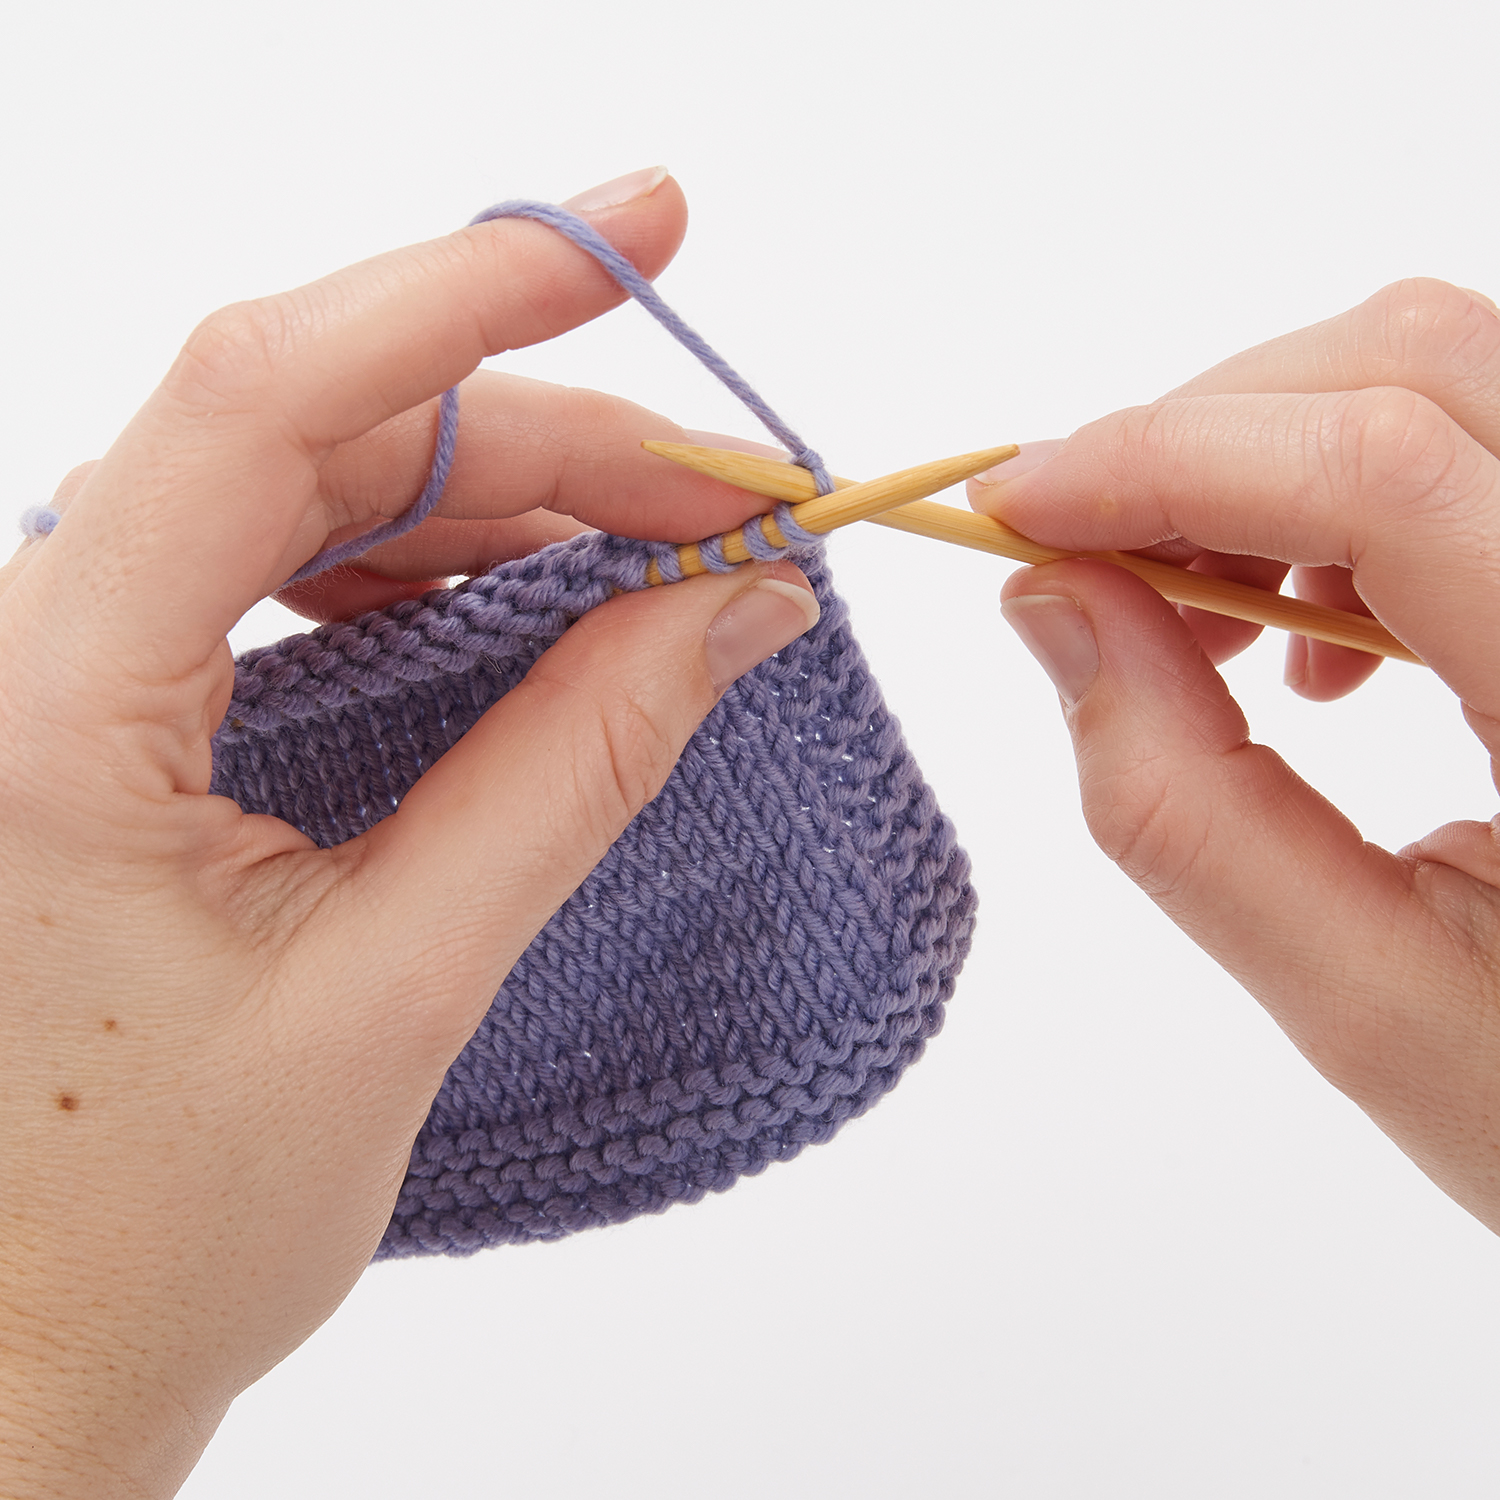
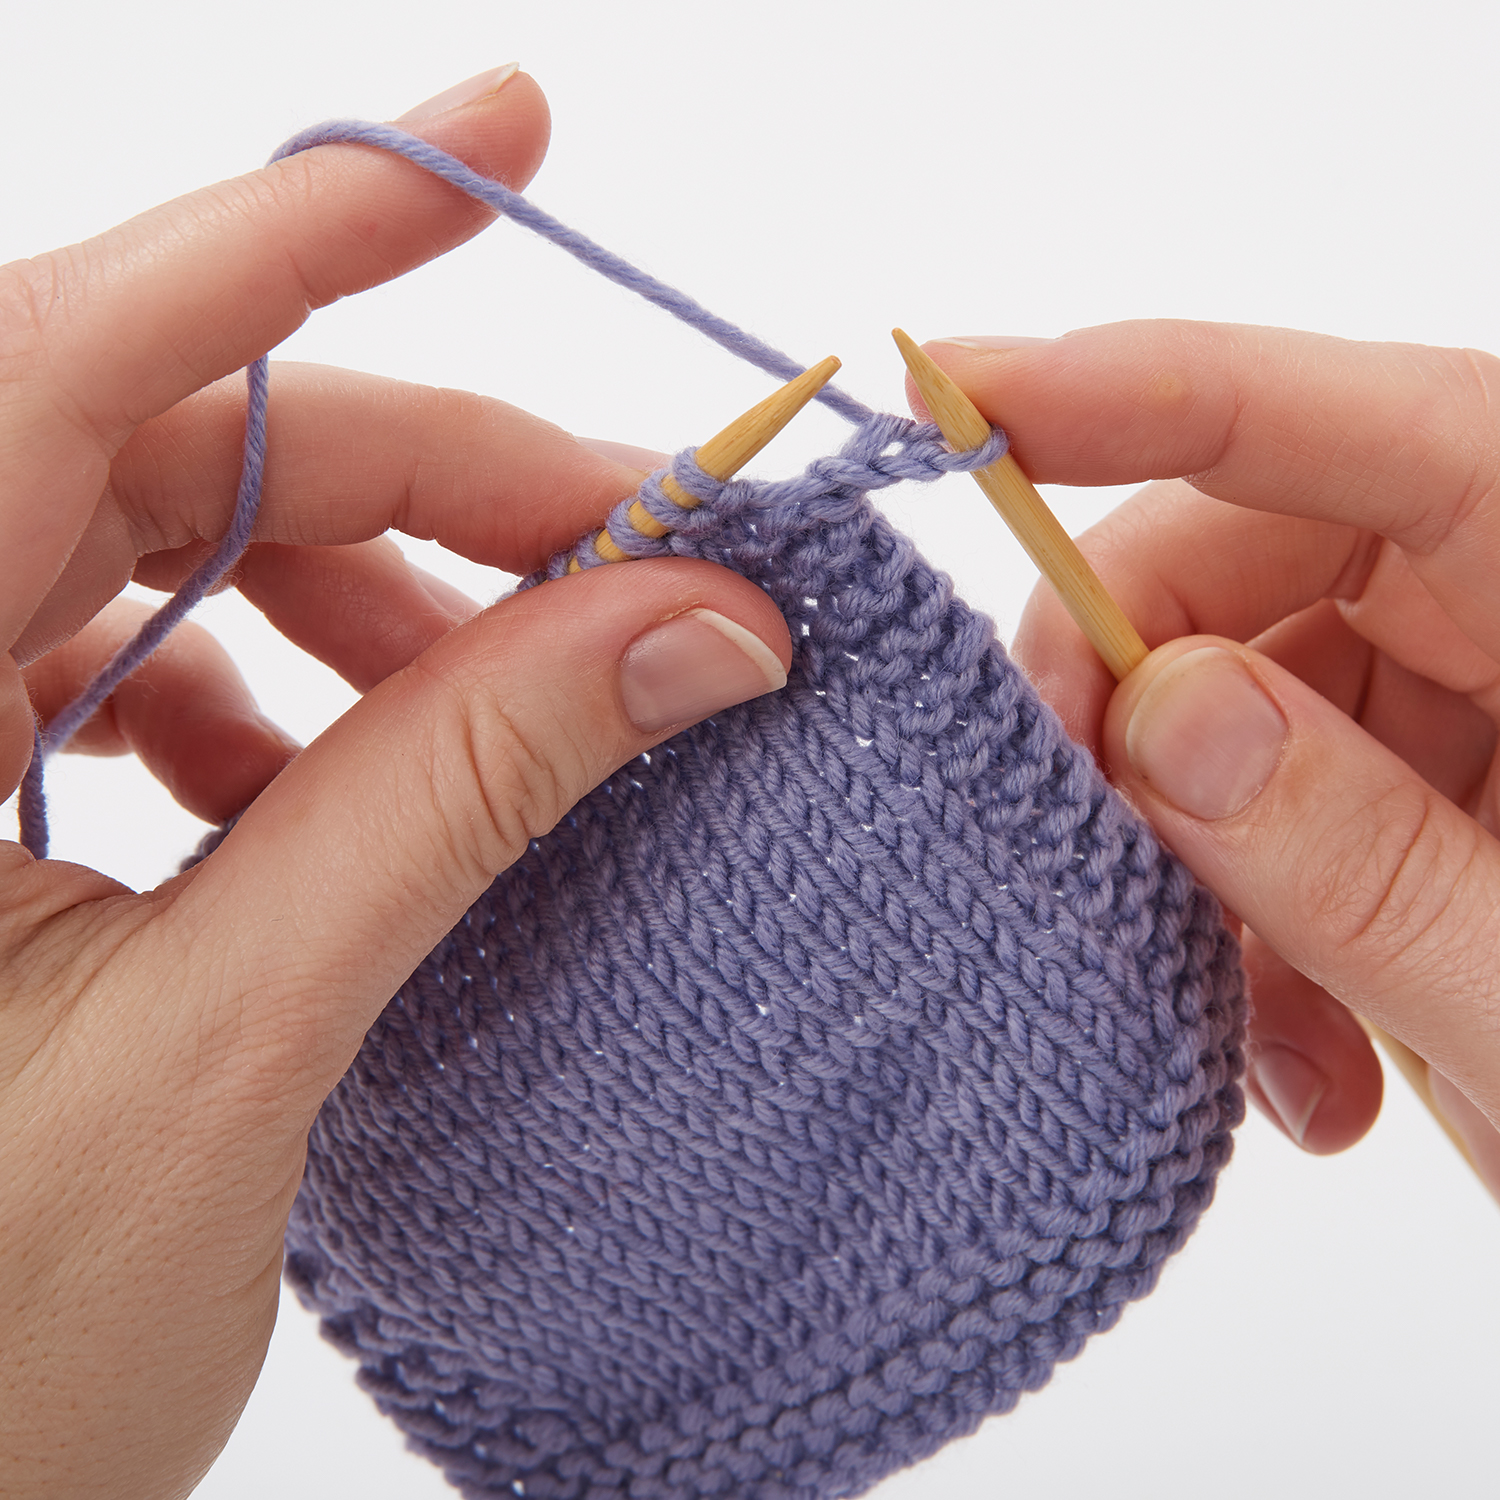
Start knitting by inserting your right needle into the first stitch on your left needle working from front to back.

Continental knitting step 2

Step 3

Take your right needle around the back of the working yarn…

Continental knitting step 3

Step 4

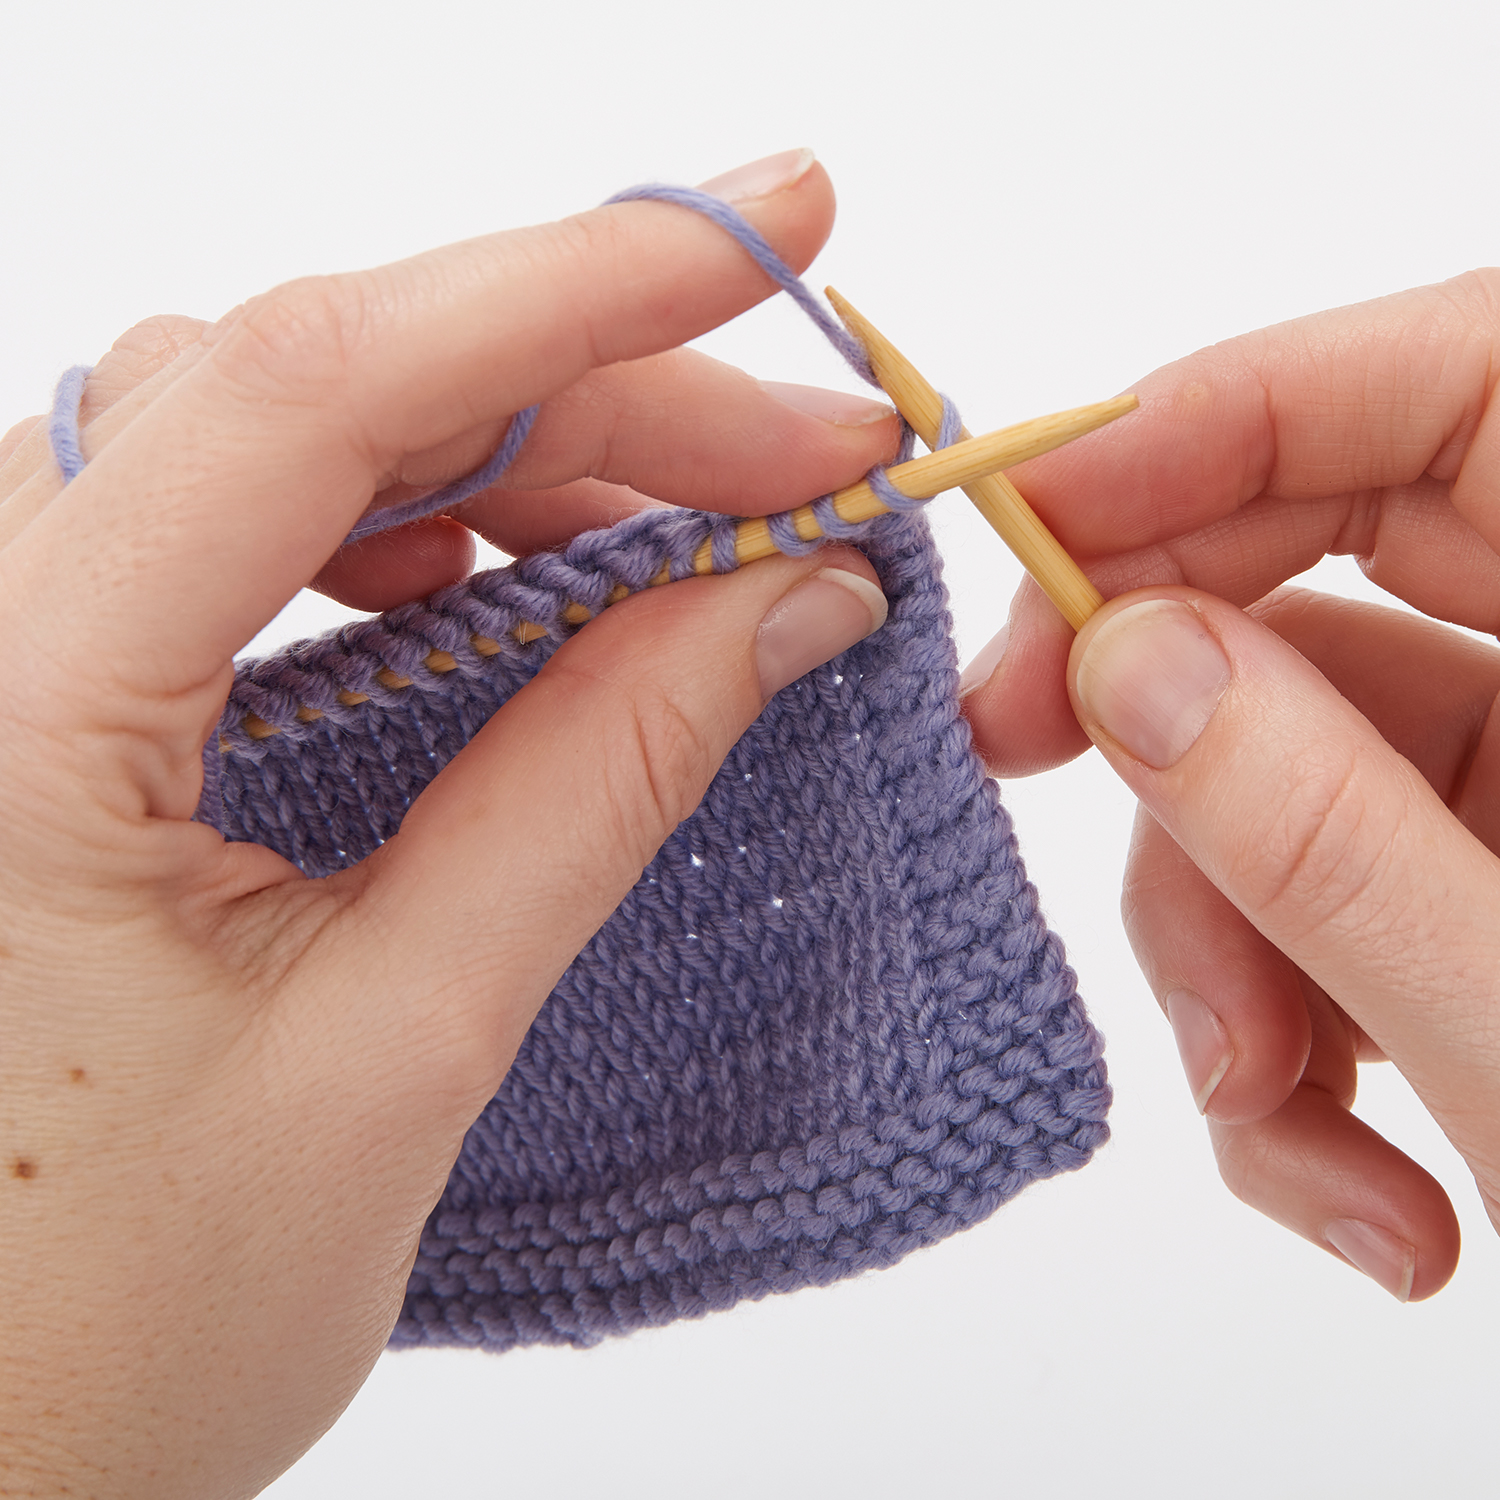
…grab the working yarn with your right needle, pull it through the stitch…

Continental knitting step 4


Step 5

… and then pull the whole stitch off your left needle. Repeat the last four steps until the end of the row and you’ve worked a whole row Continental style!

Continental knitting step 5

Continental purling

Step 1

While Continental knitting usually feels fairly straightforward to most knitters, Continental purling can feel a little more challenging at first.

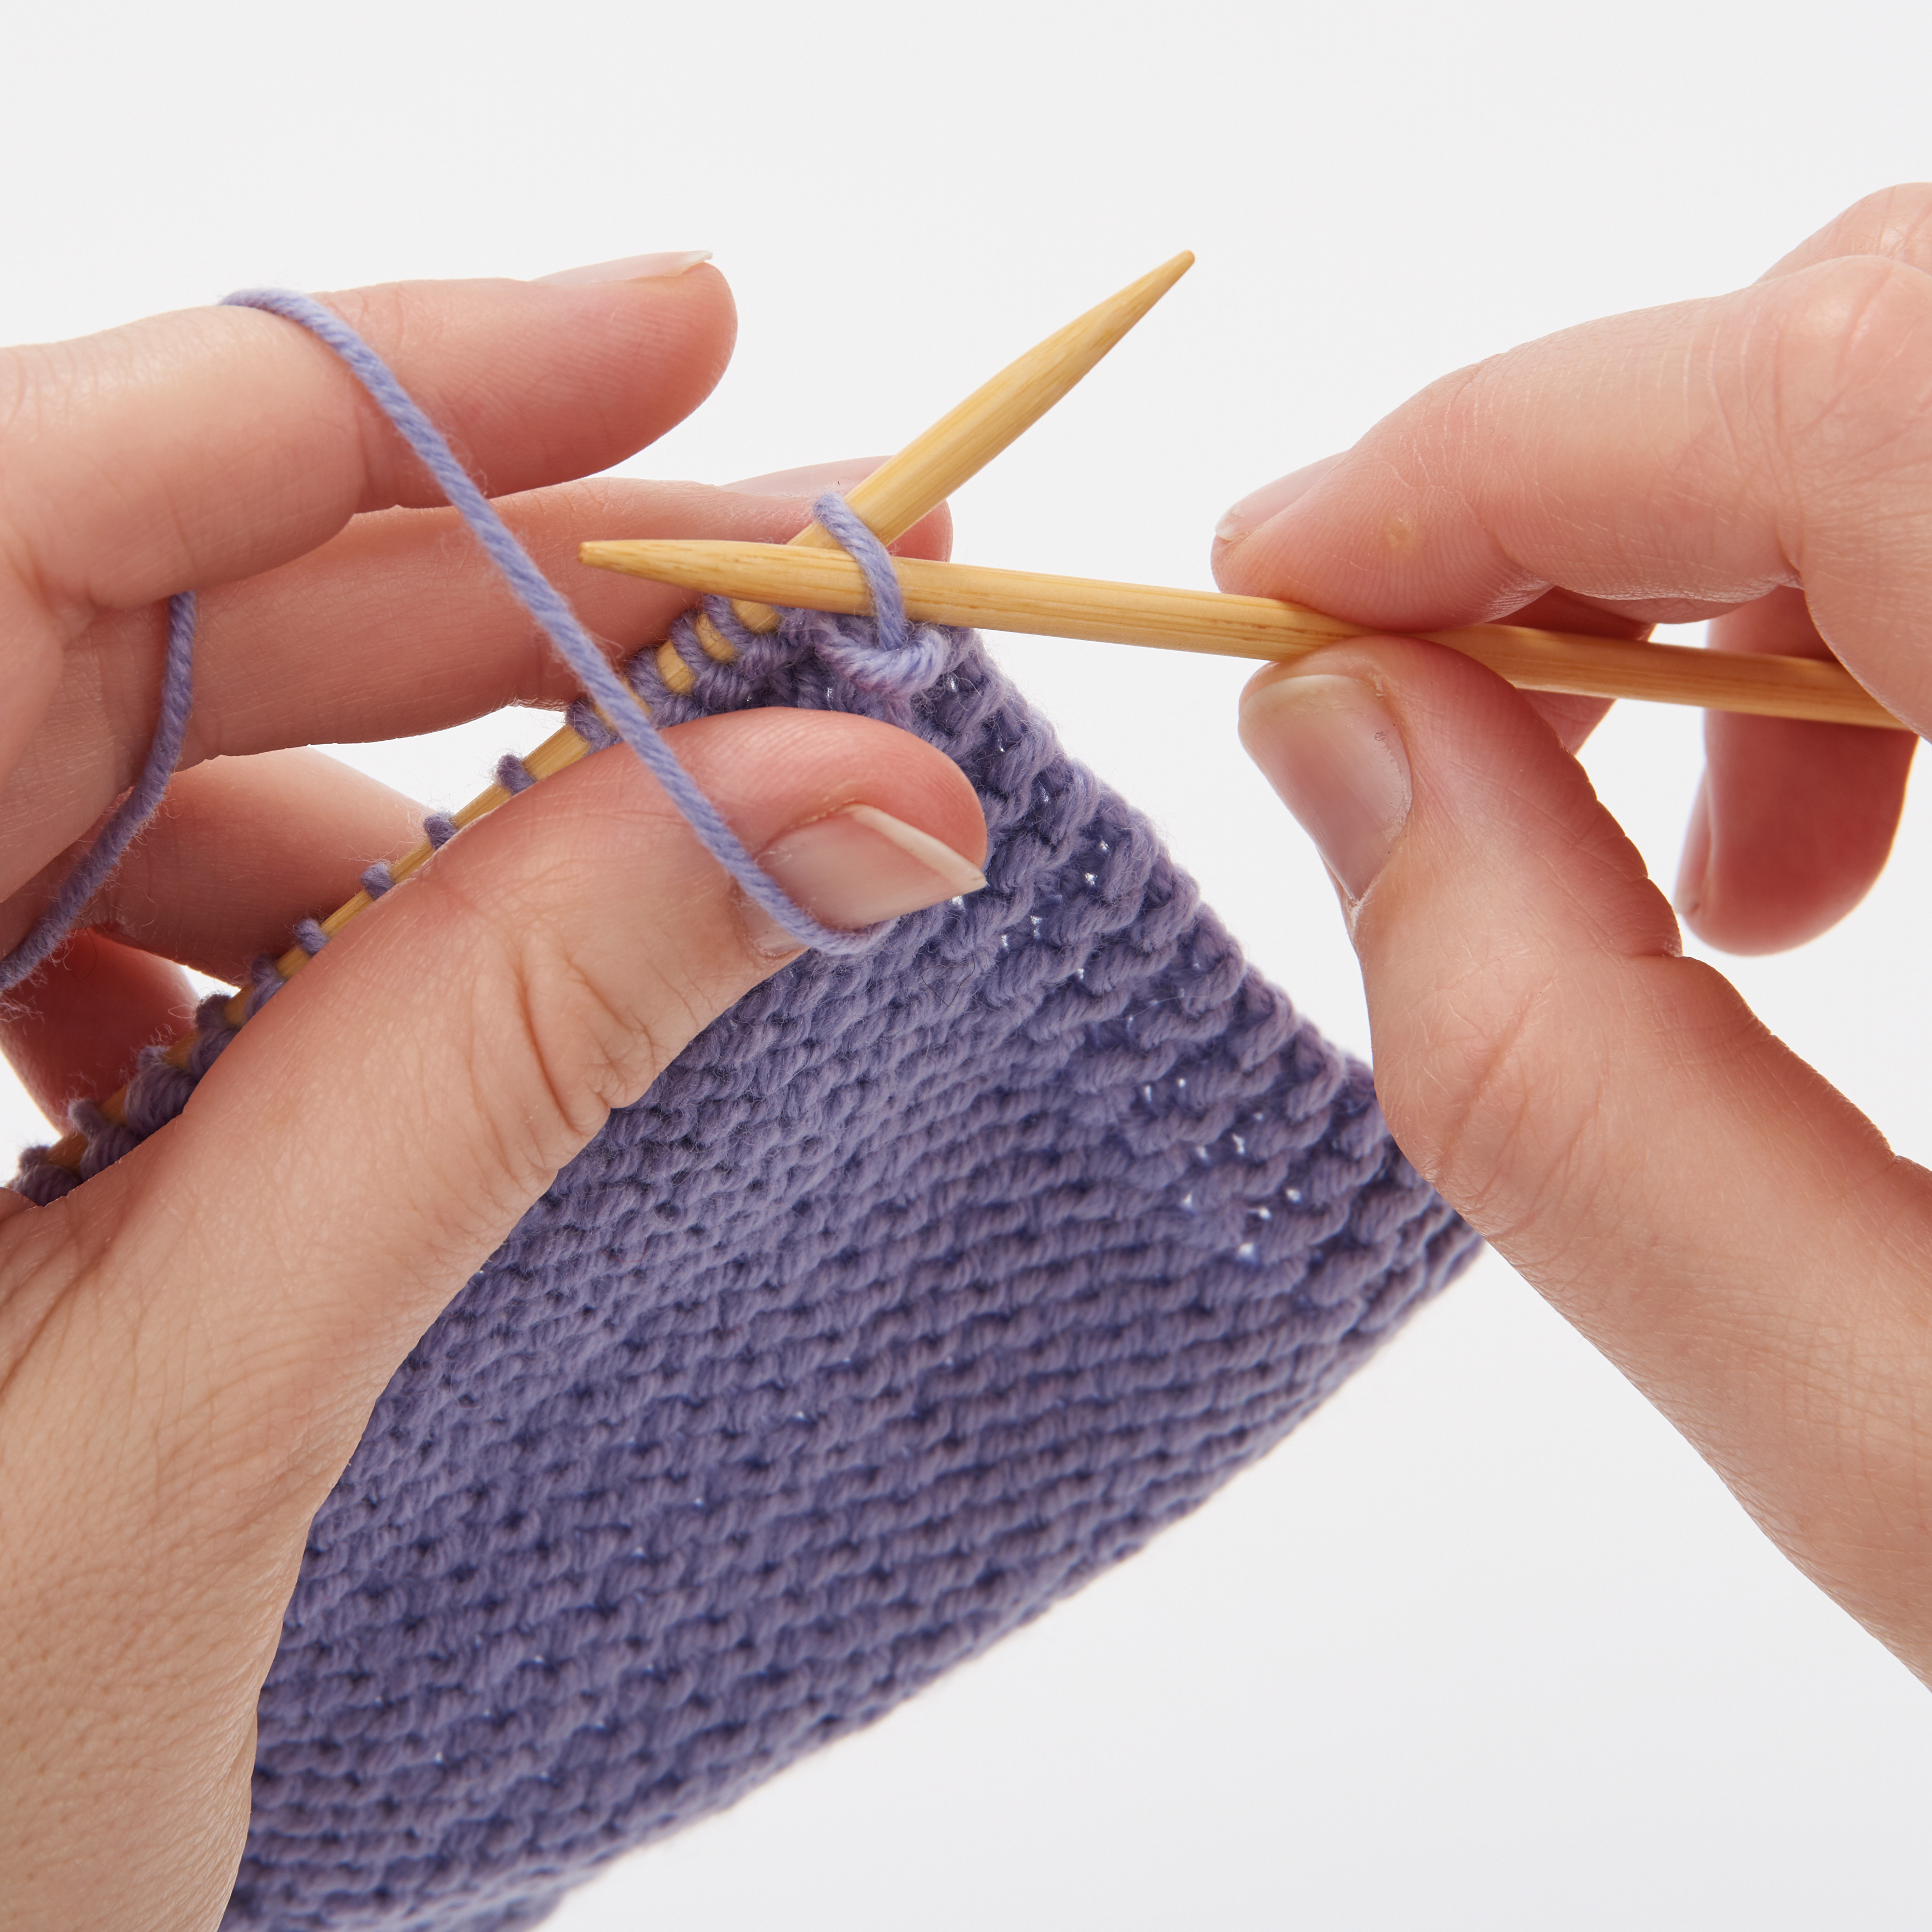
Tension your yarn as before, but this time use your thumb to add extra tension to the first stitch of the row…

Continental purling step 1

Step 2

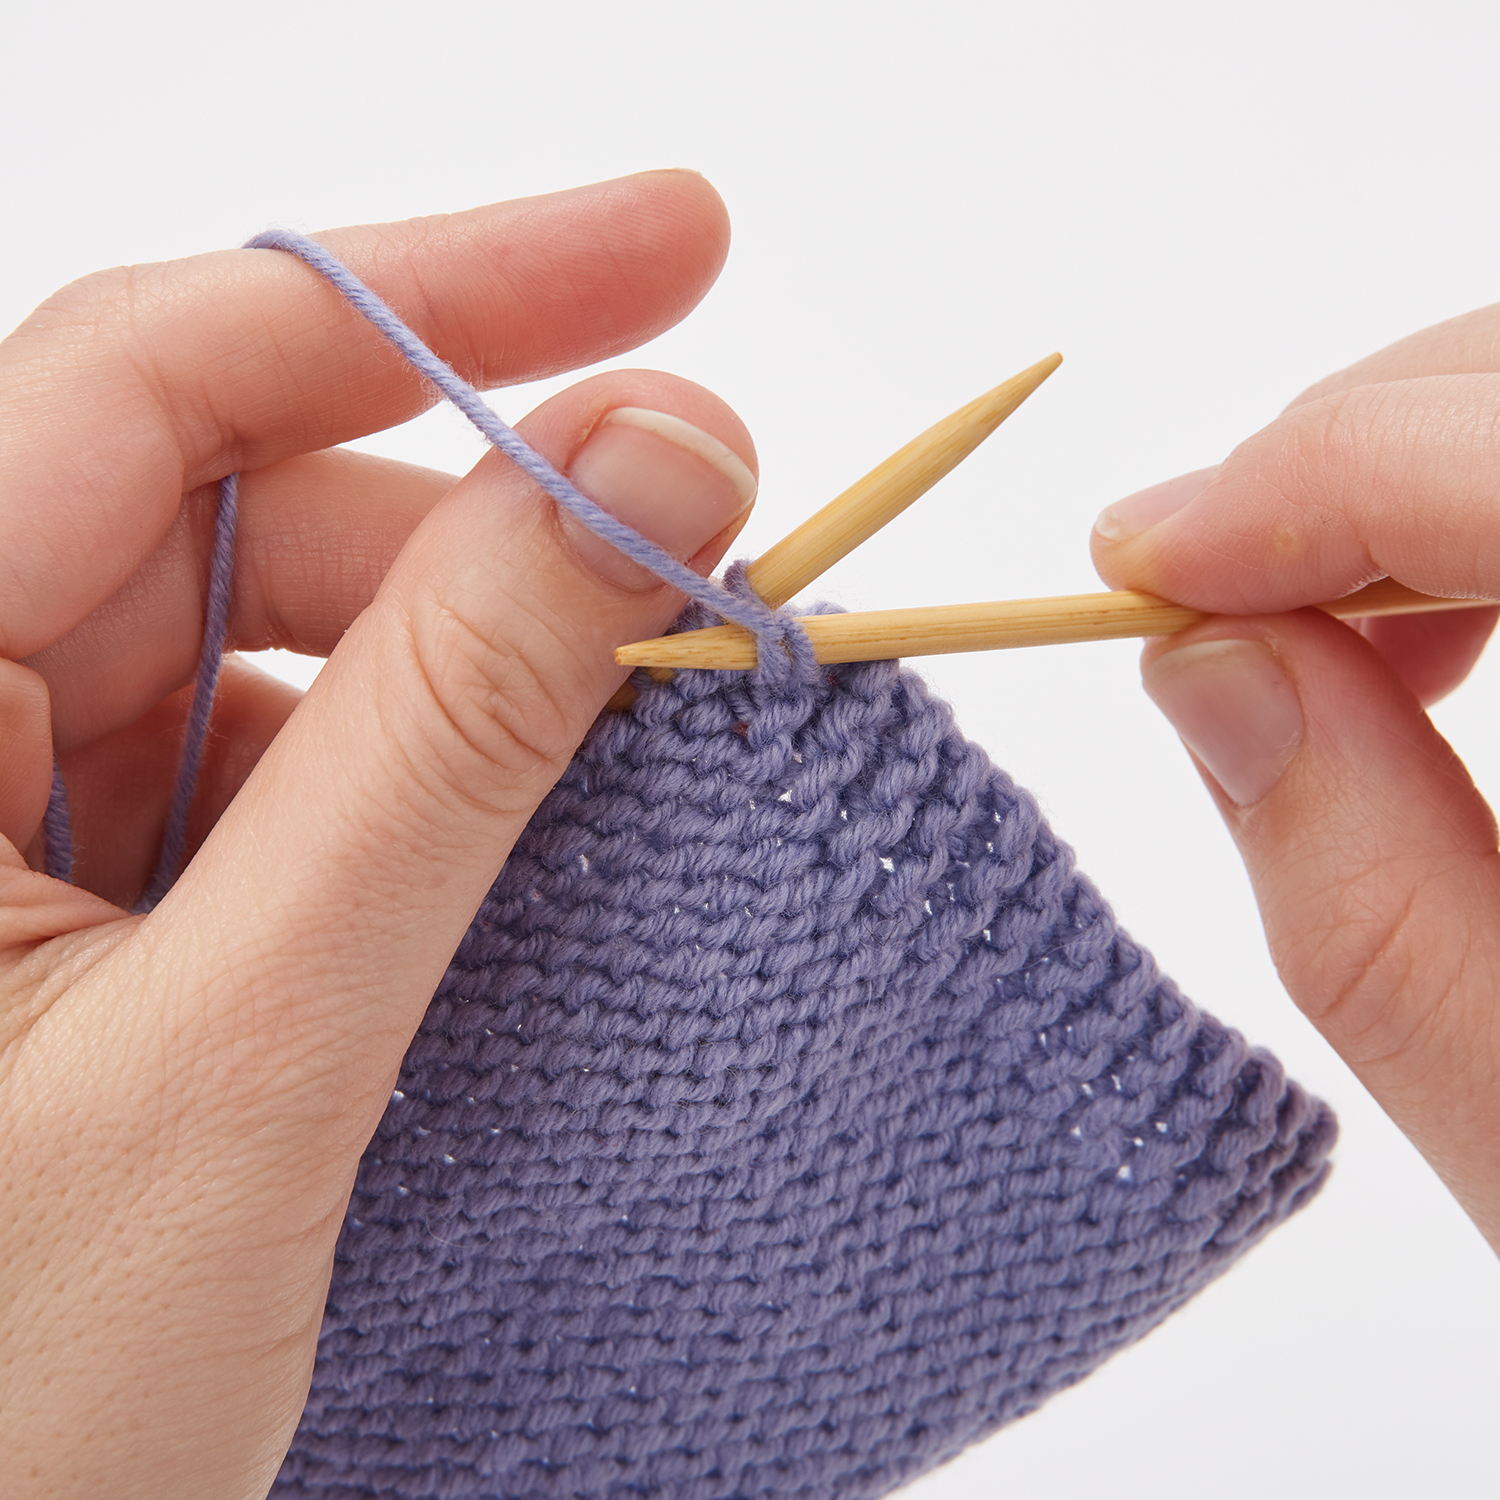
… then use your thumb to lift the working yarn above the stitch on the left needle. Insert your right needle purlwise into the stitch on the left needle.

Continental purling step 2


Step 3

Use your thumb to wind the yarn around the stitch on the left needle anti-clockwise…

Continental purling step 3

Step 4

And lift the new stitch off the left needle.

Continental purling step 4

Step 5

For your next and all following purl stitches, work as follows: lift your left index finger a little, so that it’s above your left needle.

Continental purling step 5

Step 6

Insert your right needle purlwise into the stitch on the left needle.

Continental purling step 6

Step 7

Bring your left index finger down so that the yarn tensioned on it wraps anti-clockwise around the stitch on your left needle.

Continental purling step 7

Step 8

Then lift the new stitch off the left needle. Repeat the last four steps until the end of the row and you’ve worked a whole row of Continental knitting.

Continental purling step 8

Continental style: two-handed colourwork

Step 1

One of the most useful tricks with Continental knitting is using it when working stranded colourwork. Normally, when working this style of patterning, commonly known as fair isle, you hold both yarns in your right hand and switch between using them as the colour pattern dictates. However, this can make it difficult to keep the stranding consistent. To get the best results in this style of patterning you need to always hold the contrast colour below the main colour in each row or round, so that it stands out well – this is known as colour dominance or yarn dominance. If you can knit Continental style then you can keep the two yarn colours separate, allowing you much more control by having one strand in each hand. Work your main colour in your preferred style – whether that’s British or Continental, and use the other style for your contrast colour. The first time you knit like this it can feel a bit like trying to pat your head and rub your tummy at the same time so don’t be disheartened if it takes a little practice. Scroll down to find out how it's done.

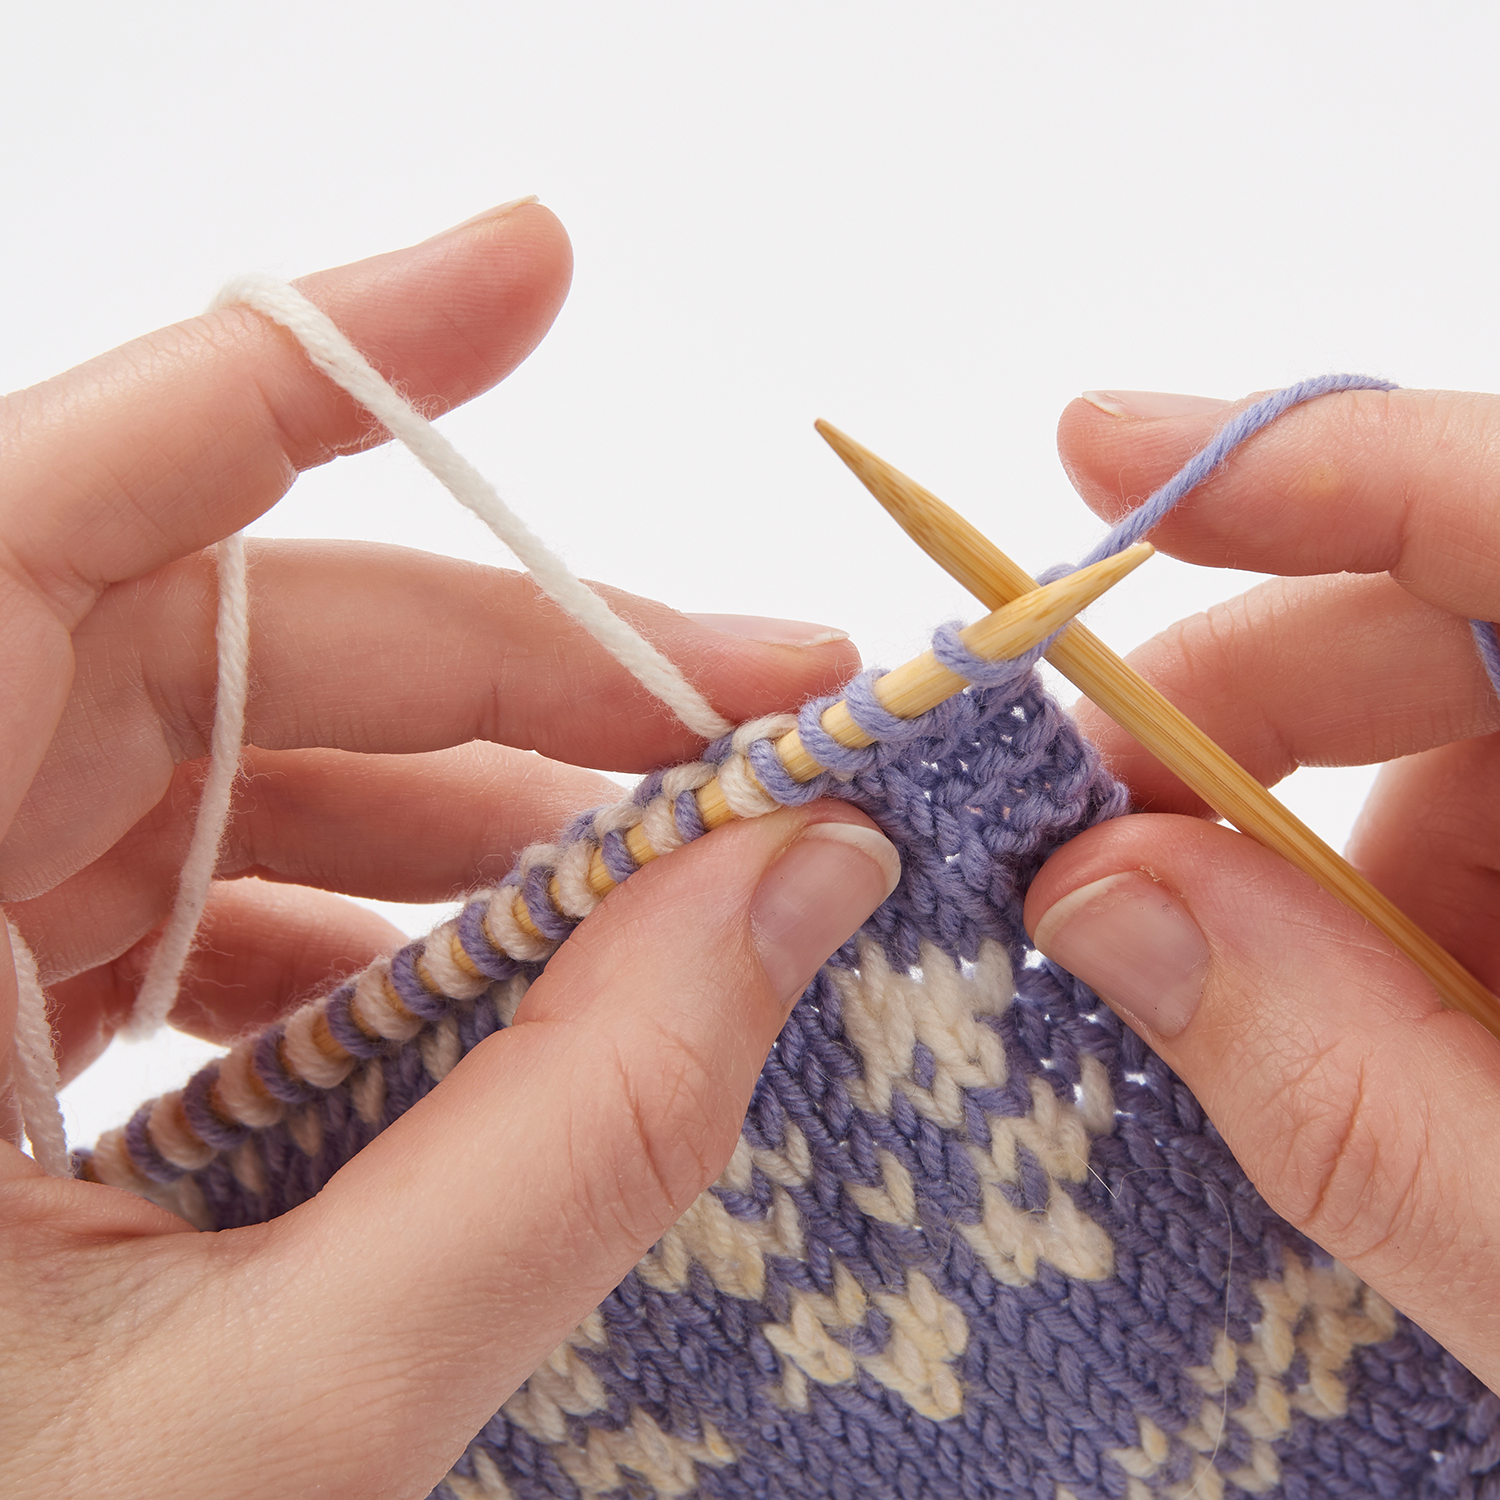
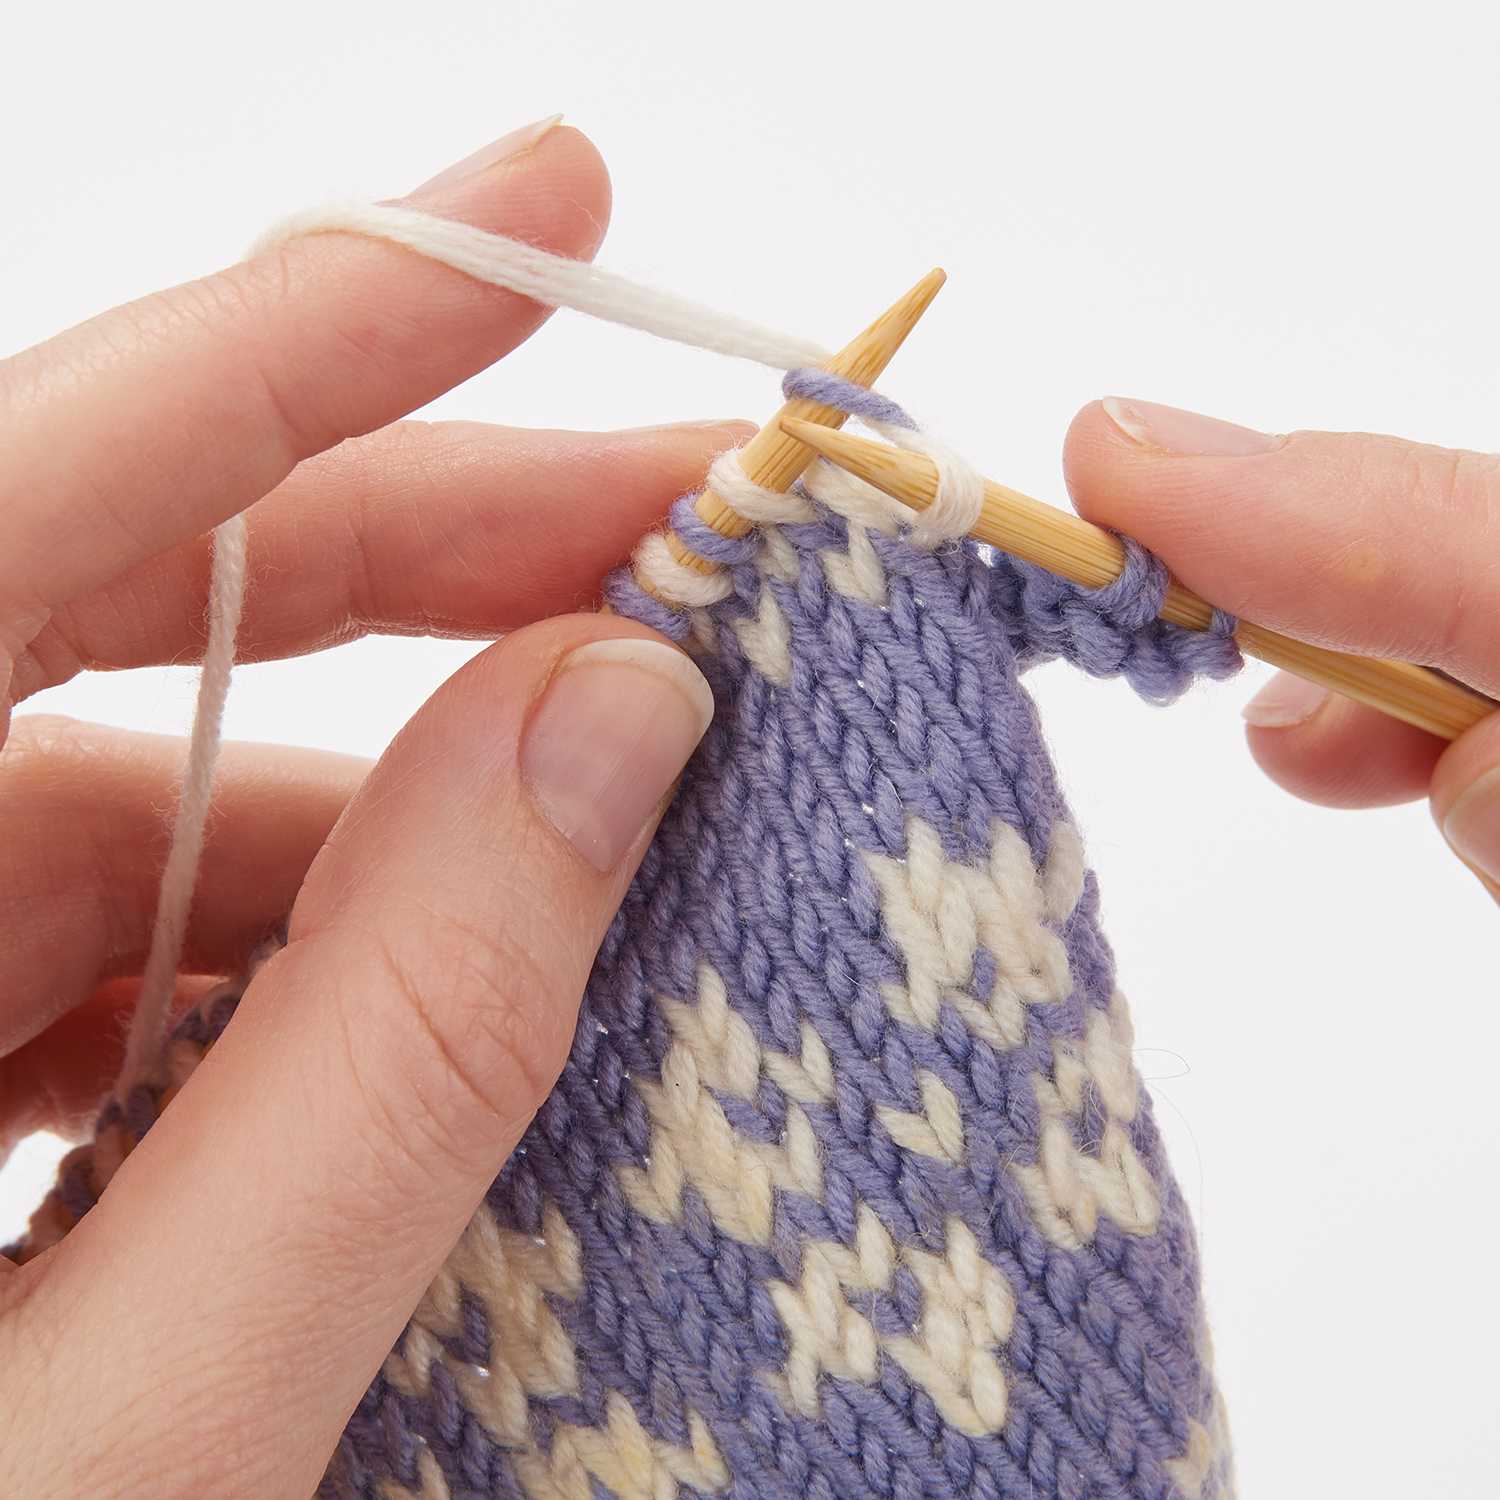
Begin by tensioning both your yarns – one around each hand, using your preferred methods.

Two handed colourwork 1

Step 2

Make your first stitch in your main colour, using either British or Continental knitting. Continue as set until you get to your first contrast colour stitch.

Two handed colourwork 2

Step 3

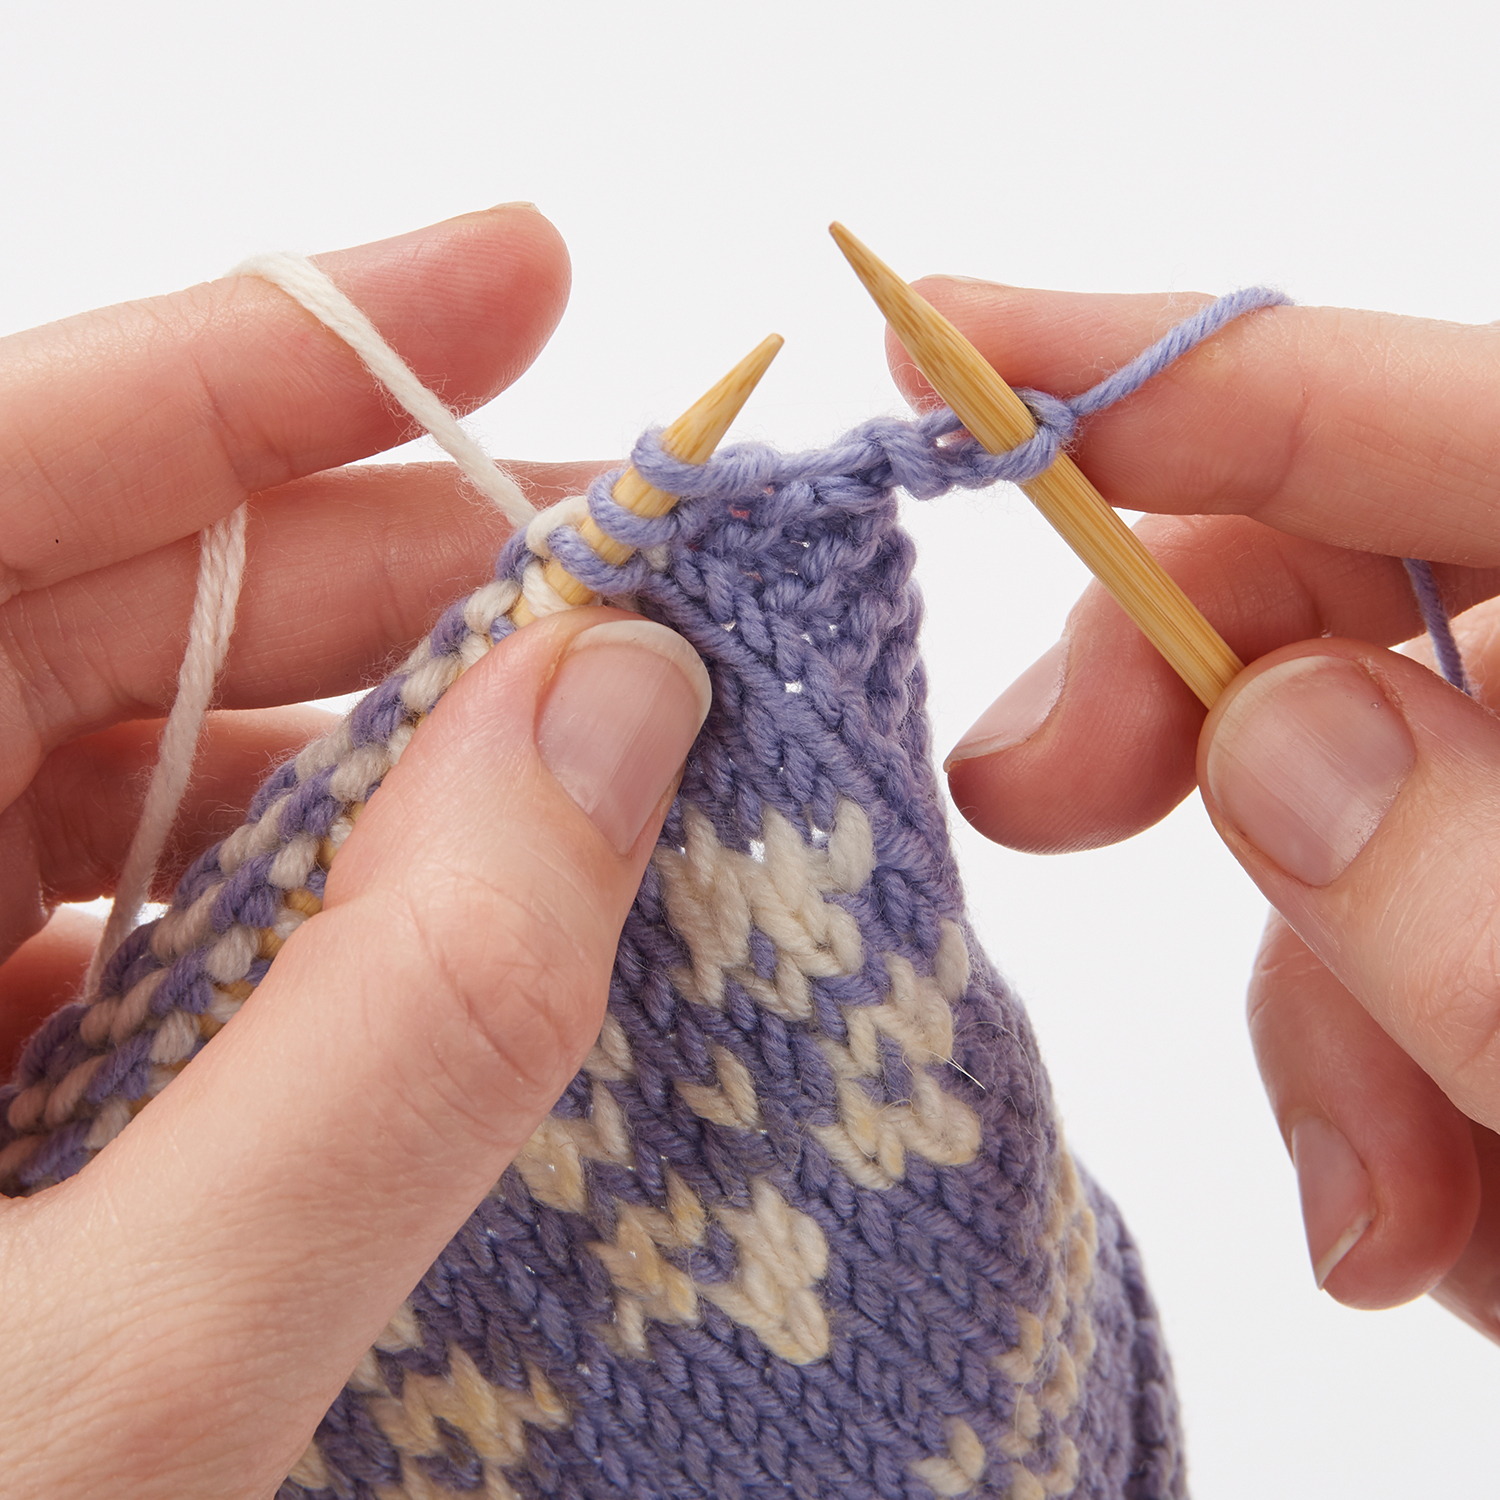
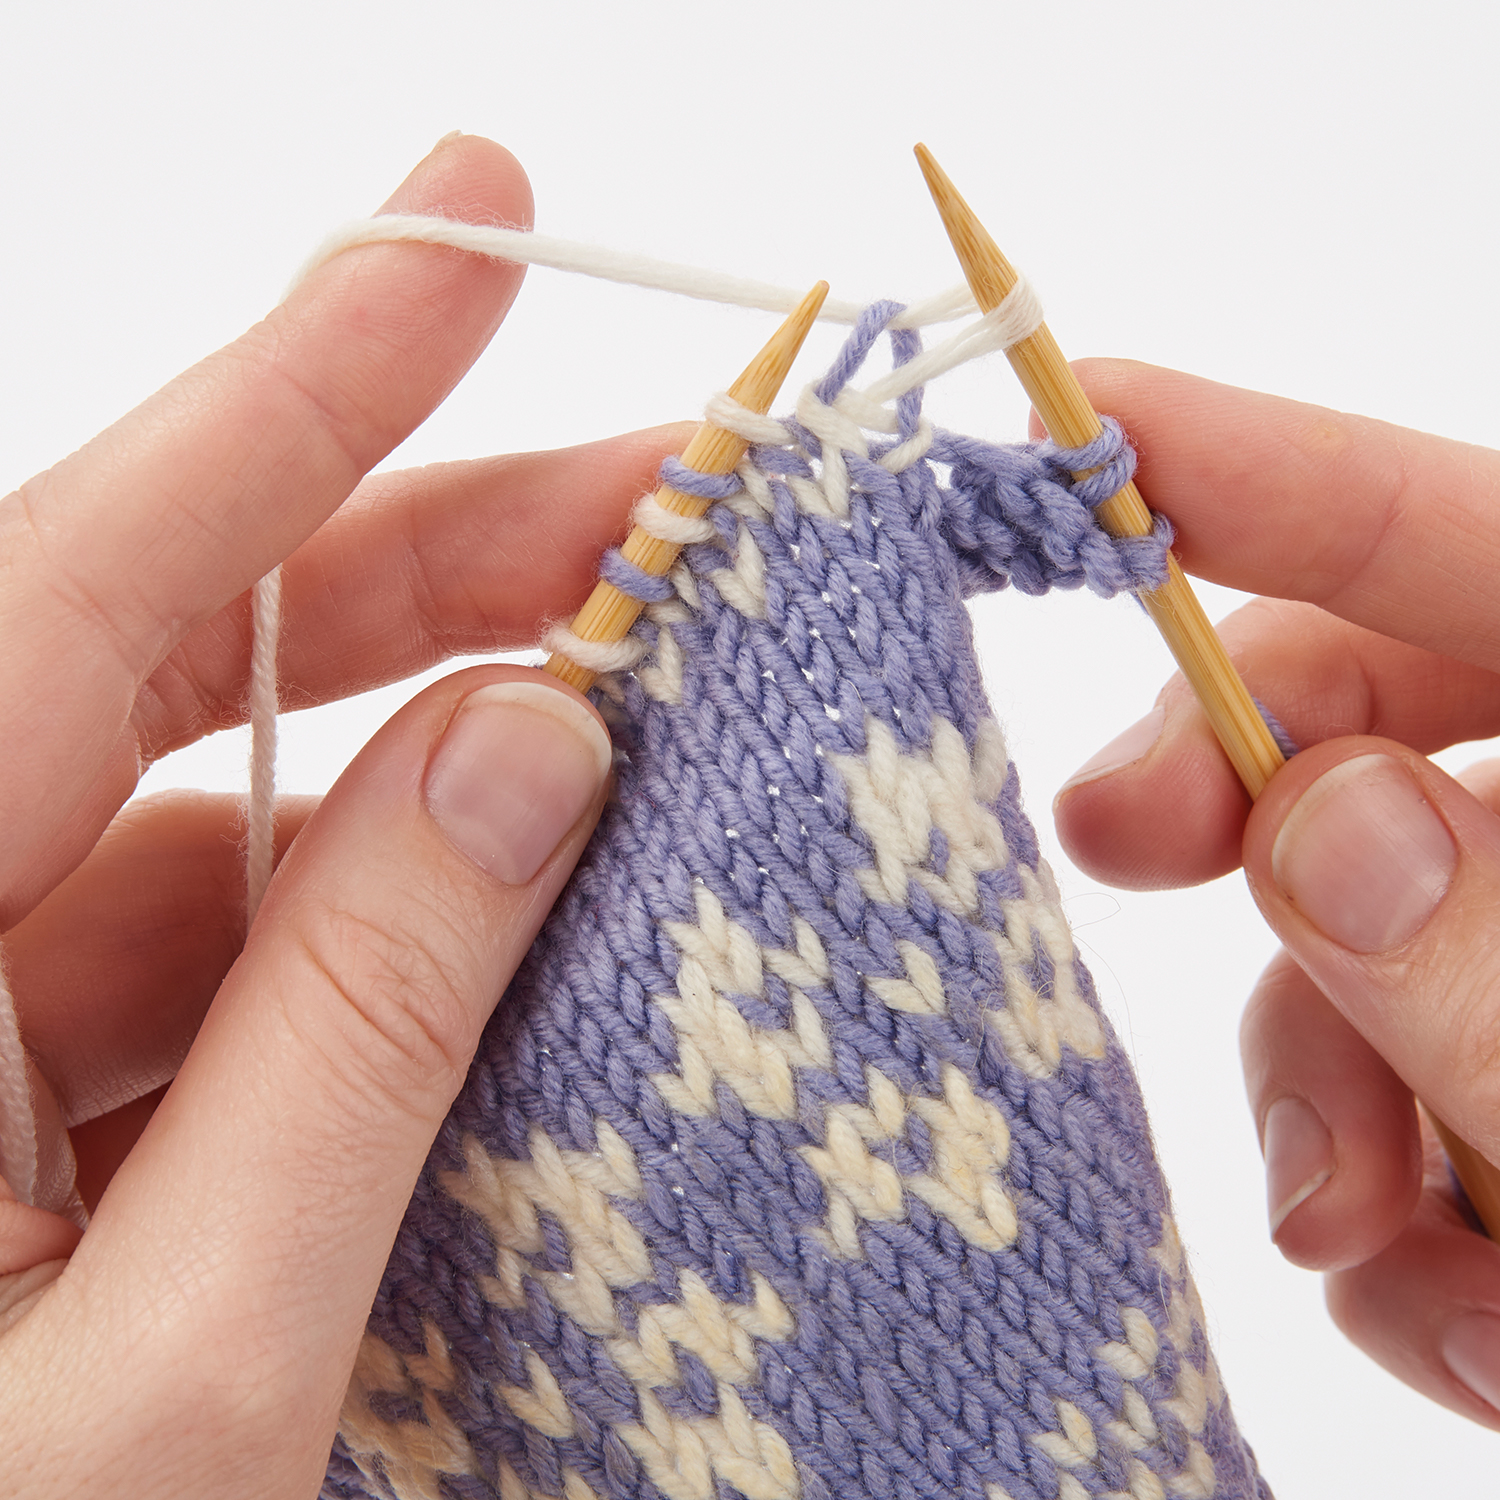
Make your first stitch in your contrast colour, using the alternate style. Here we are using British style for the main colour and Continental for the contrast. Continue in this manner until you have completed your row or round. If working stranded colourwork on purl rows, work in exactly the same way, remembering to follow the instructions for Continental purling on your chosen main or contrast colour.

Two handed colourwork 3 Two handed colourwork 4


Continental style: combination knitting

Step 1

Some knitters find purling Continental style difficult and prefer to wind the yarn around clockwise when working purl stitches. There’s nothing wrong with doing this but if you do, you’ll find your new stitches end up ‘back to front’, with the back ‘leg’ of each stitch presenting first on knit rows. If you prefer to work like this, all you need to do is work into the back of the stitches on the following knit row, so that they are the right way around again. Follow our step by steps here to discover how to knit into the back of your twisted purl stitches.

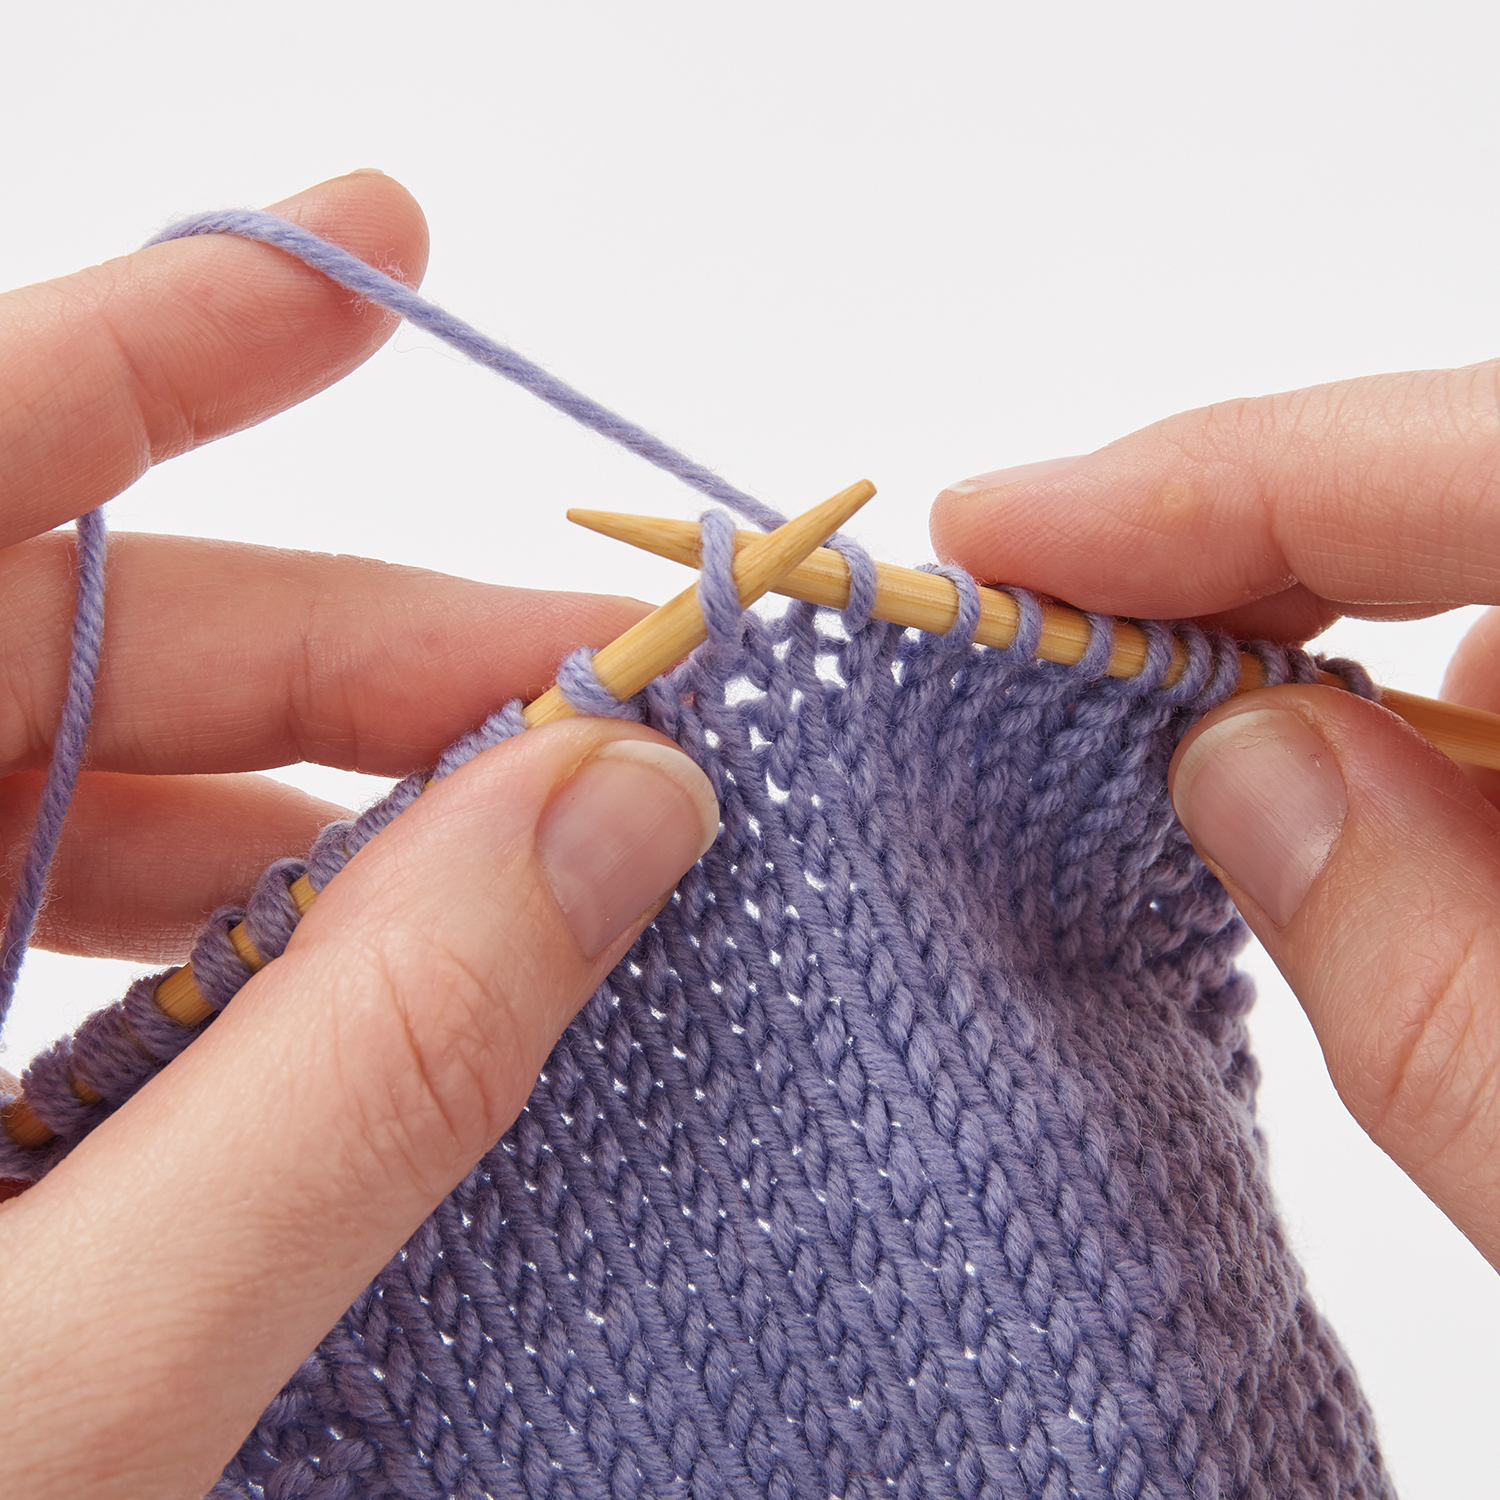
If you have a twisted stitch as described above, first insert your right needle into the back of the stitch.

Combination knitting step 1

Step 2

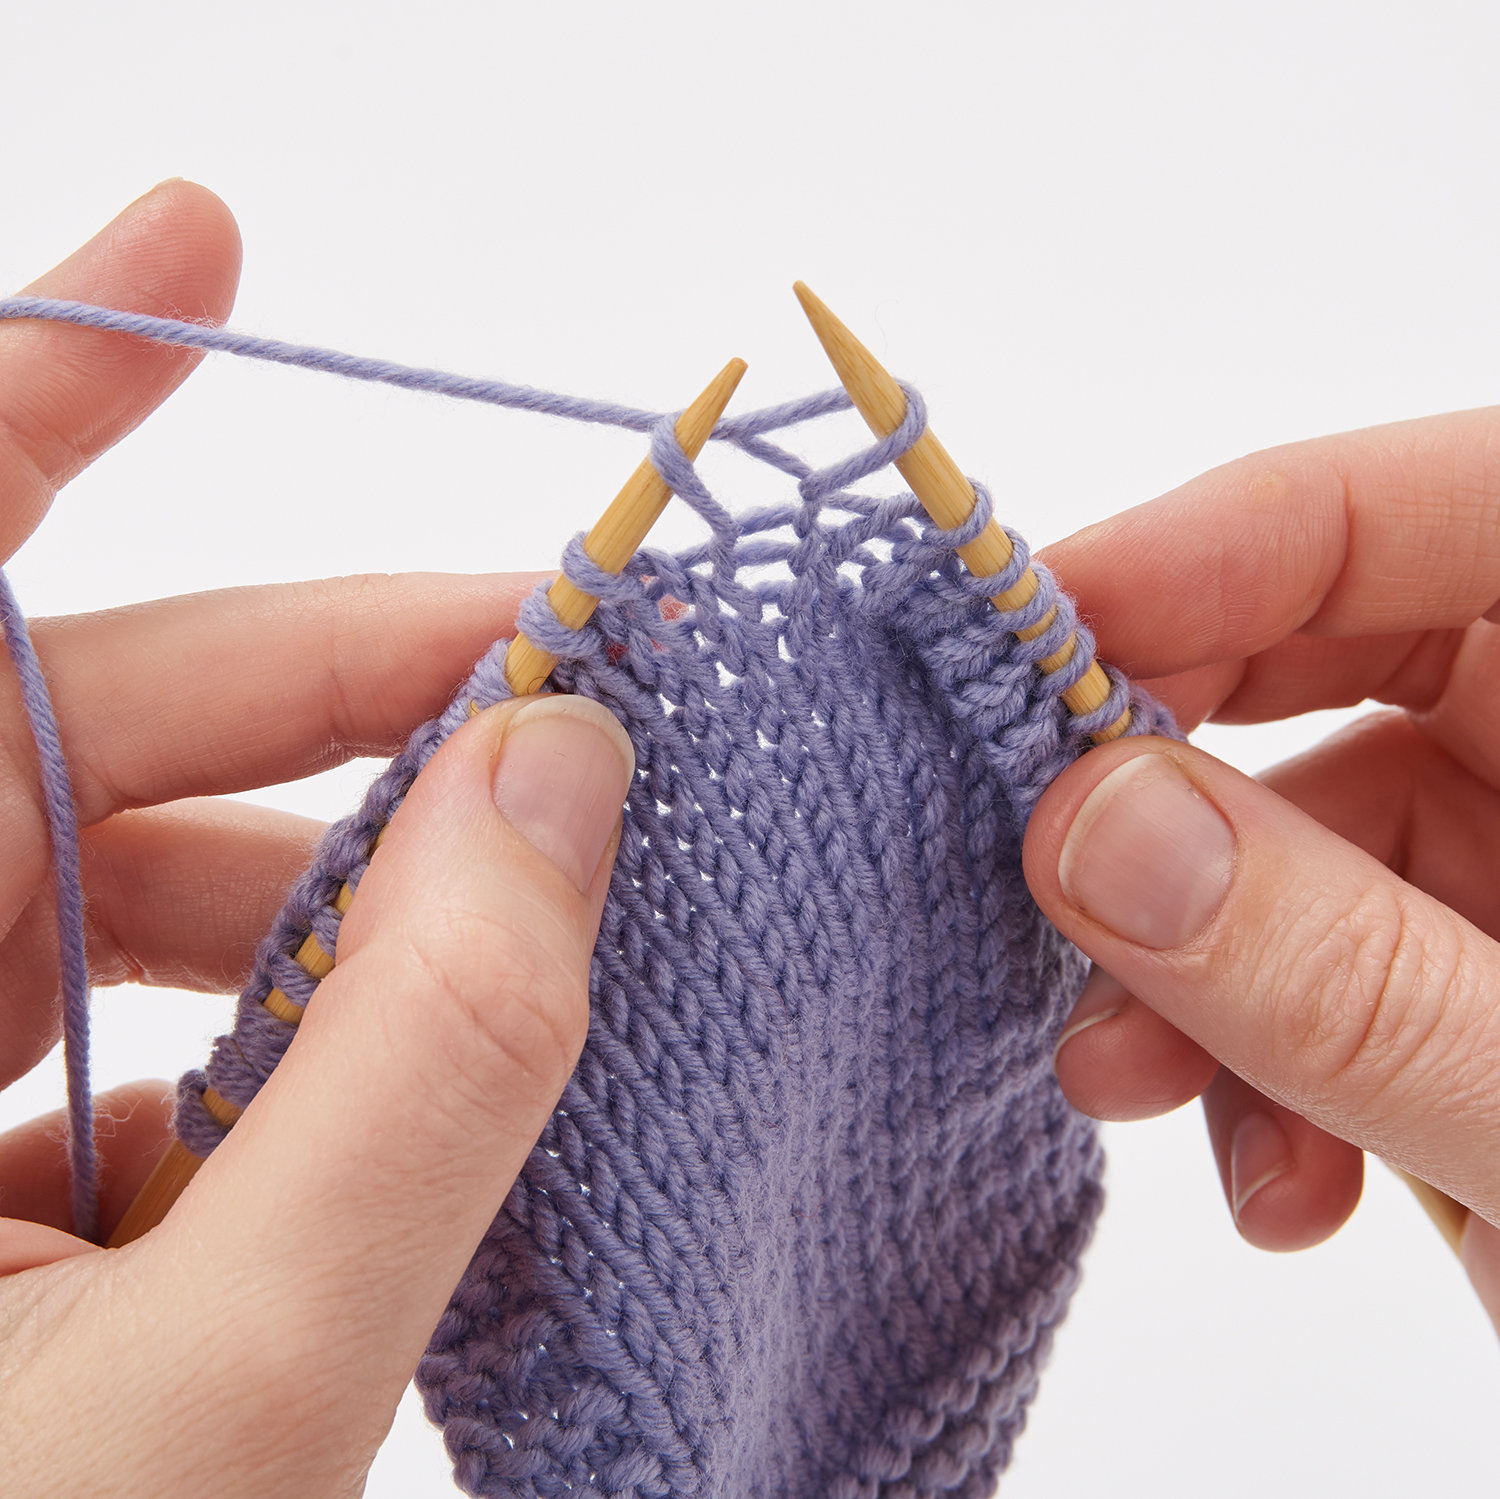
Pull the yarn through as before…

Combination knitting step 2

Step 3

… and lift the new stitch off the left needle as before.

Combination knitting step 3

If you find these new techniques cumbersome or feel clumsy after knitting smoothly and with ease for years, try to remember how it first felt when you learnt to knit. It took a while to get going when you first learnt, and it will be the same for Continental knitting. But becoming comfortable with Continental knitting is a key skill for any knitter, as it allows you to work colourwork more easily, and switching styles will help keep any risk of repetitive strain injury to a minimum. Remember too, that once you get the hang of it, Continental style is quicker for most knitters. So dive in and make mastering this alternative method one of your missions!

Looking to learn more knitting techniques? Try our how to do finger knitting article and our how to French knit guide.