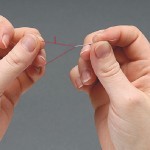
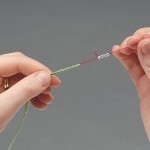
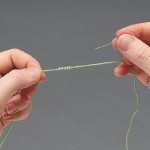
Knitting with beads: method 1
Placing a bead using a slip stitch
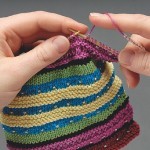
This is a really effective beading method and is the preferred method of most knitwear designers. Martin Storey uses it in his Carnival cardigan design in The Knitter issue 4, page 20. The beads sit ‘straight’ across a slipped stitch and cannot fall through to the reverse of the work, so long as a good knitted tension is achieved. Using this method beads can be placed on every alternate stitch and every alternate row.
Placing a bead on a Right Side (RS) row
Step 1
Thread the required number of beads and cast on. Work through the knitting chart to where you require a bead. In Martin’s pattern this has the symbol of a filled black square.
Step 2
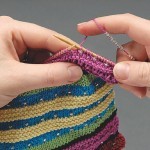
* With the yarn to the reverse of the work, bring a bead up to the top of your knitting yarn. Bring your yarn forward – as if to purl- making sure that the bead comes forward too…
.
Step 3
** Slip the next stitch purlwise. Take the yarn to the back between both needles, making sure that the bead sits in front of the slipped stitch. You may want to hold it in place with the thumb of your left hand. Knit the next stitch as normal. . . . Placing a bead on a Wrong Side (WS) row: Work as above to *. Because you are on a purl row your yarn will already be at the front of the work. Bring a bead up to the top of your knitting yarn and work from **.
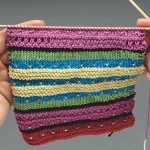
When you complete the following row you will see that the bead is happily sitting in front of the slipped stitch.
[pullquote quote="TIP If you look back at the completed bead row, before you start the next row, it may look like the bead is sitting in front of a small hole. Don’t panic – this is normal!" /]
Knitting with beads: method 2
Placing a bead between two stitches
This technique was traditionally used for purses and elaborately decorated items. The yarn used would have been very fine, like sewing cotton, while the knitting needles would have been very slender and the beads tiny. This technique – if used with knitting yarns of today – tends to stretch the knitting, and the beads can push through to the reverse of the work. However, if used in the right way, it is quick and easy.
The same method is used on the right and wrong side of the work. Thread the required number of beads onto the yarn and cast on. Work through the knitting chart to where you require a bead. Slide the bead up the yarn and position as close to the knitting as possible. Work the next stitch in pattern. The bead will sit between the two stitches.
Knitting with beads: method 3
Placing a bead within a stitch
This is probably the speediest method of adding beads to your knitting. However, the bead can easily slip through to the reverse of the work. Once placed, the bead is held within the stitch and lies at a slight angle on one side of it.
Placing a bead on a Right Side (RS) row:
Step 1
Work to where the bead is required. Insert the right needle into the stitch knitwise.
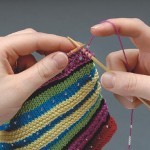
Step 2
Slide the bead up the yarn until it meets the work…
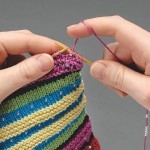
Step 3
Knit the next stitch, pushing the bead through the stitch so that it appears on the right side of the work. Knit the next stitch firmly…
Placing a bead on a Wrong Side (WS) row:
Step 1
Work to where the bead is required. Insert the right knitting needle into the stitch purlwise and wrap the yarn around it as if to purl.
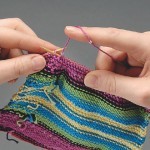
Step 2
Slide the bead up the yarn until the bead meets the work…
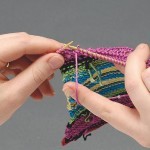
Step 3
Push the bead through the stitch to the right side and complete the stitch.
Knitting with beads: method 4
Using a crochet hook
I was recently taught this technique by a workshop participant. It is a little fiddly, but is a fantastic method for adding beads as you go along. No pre-threading of beads is required, but you will need to get a really tiny hook.
Step 1
Work to where you want the bead. Push a bead onto the crochet hook. Slip the next stitch from the left needle and onto the crochet hook…
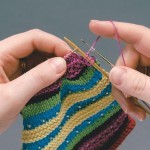
Step 2
Push the bead down from the crochet hook and onto the stitch…
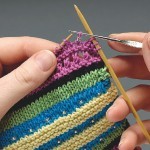
Step 3
Put the stitch back onto the left needle. Knit the stitch in the usual way.
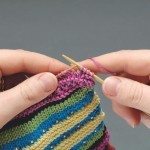
Multi-coloured beading
You can create a really effective design by using different coloured beads. To do this, mark your bead colours on the graph using a different symbol for each colour. Thread your beads onto your yarn in the reverse order, reading the graph from top to bottom and from left to right across every beaded row. If you have done this correctly, the beads will come up in the right sequence as you knit.
