Step 1
Stitch counts and colours
Stitch counts for the cast-on and rib
Shetland Islanders traditionally use the long-tail cast-on method, which creates a nice, neat elastic edge ideal for hats.
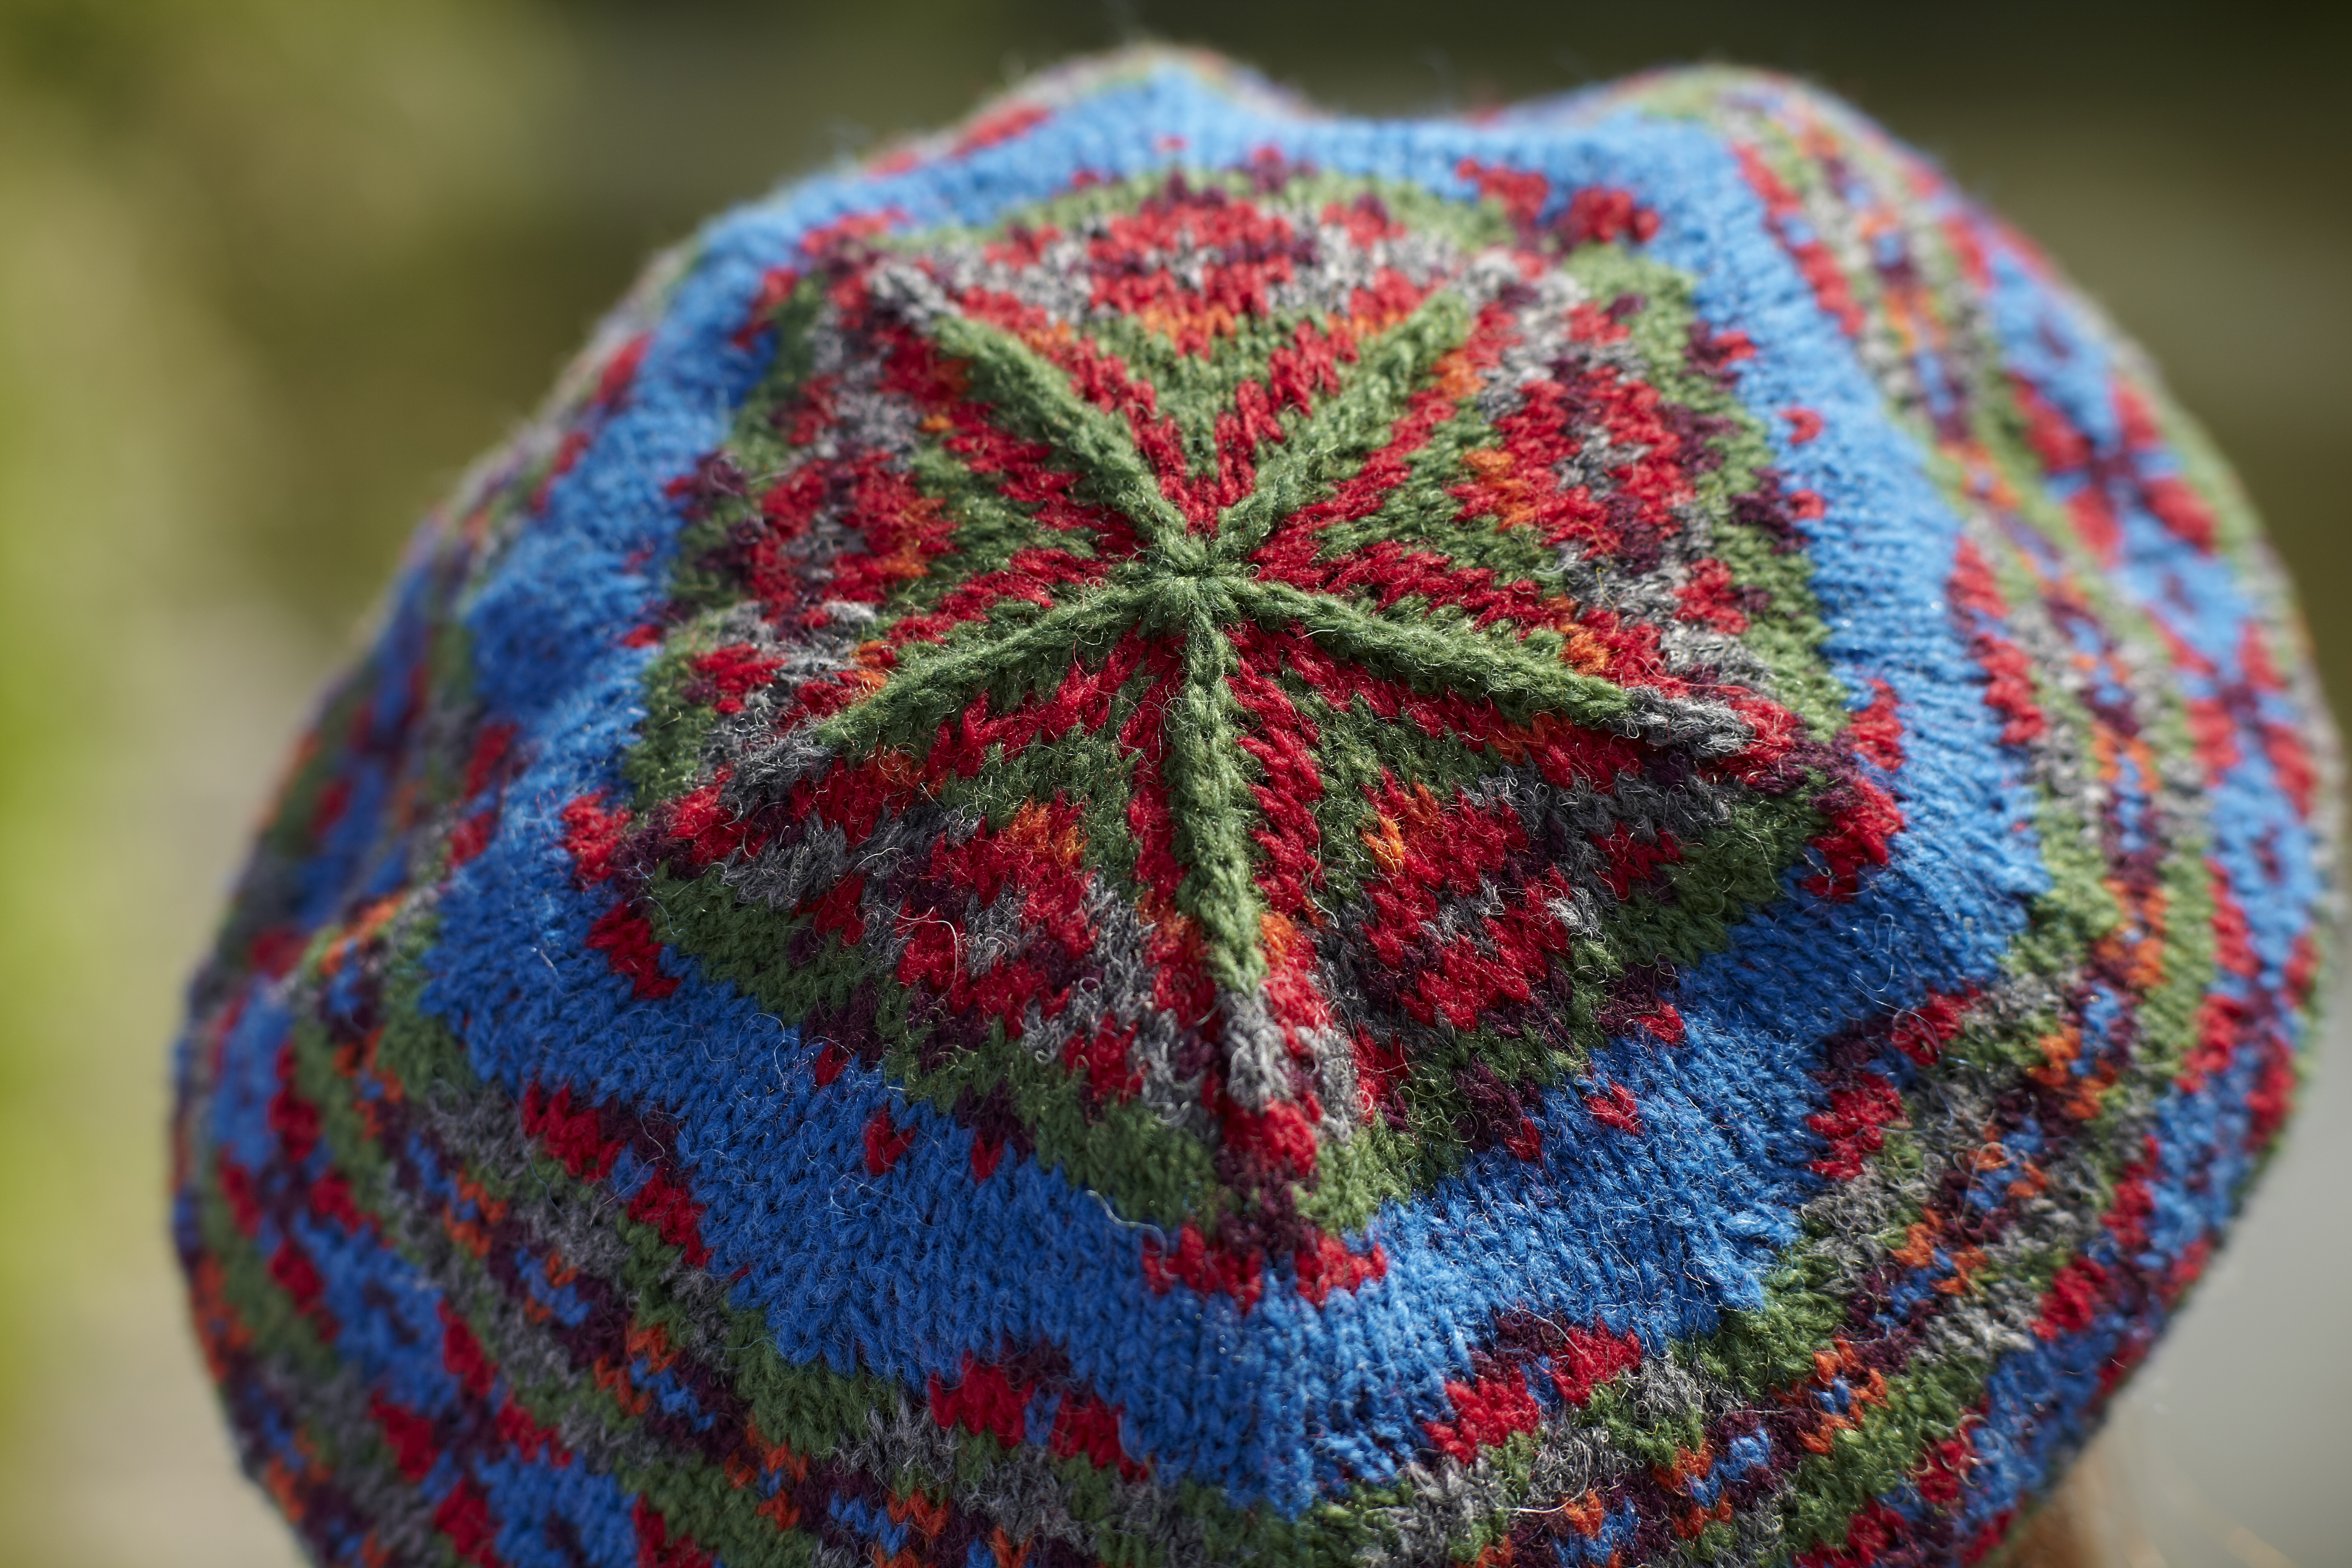
It is typical for Shetlanders to work a two-colour ‘corrugated’ rib, often using the darker shade of yarn for the purl stitch and the lighter one for the knit stitch.
A two-colour rib is far less stretchy (and a little more time-consuming to work) than a usual rib. A Shetland-style rib is usually worked as 1×1 – that is, (K1,P1) to the end of the round.
If you wanted to design and work your own rib, then you would need to do a separate sample of rib on the correct size needle – bearing in mind that the rib is usually done on needles two sizes smaller than the main part of the hat. If you are working a 1×1 rib then you will need to cast on an even number of stitches when working in the round.
I have to admit that I took tam patterns by other designers into consideration when deciding on my cast-on number. It is incredibly hard to judge how a rib is going to work over a small sample and how stretchy it will become. So, having just knitted the ‘Muckleberry Hat’ by Mary Jane Mucklestone from the Knit Real Shetland book, I chose to cast on 140 sts (the same as Mary Jane’s design), having first checked that my tension was the same as that mentioned in the pattern.
If you choose to use another design as your base for your own pattern, do remember that your tension and the type of yarn you choose to use will have an effect on the size and look of the rib.
To calculate the circumference of your hat brim, divide the number of stitches you’re casting on by the number of stitches per centimetre according to your tension.
In this case, my overall tension was 29.5 sts per 10cm. Divided by 10 gives 2.95 sts per cm, so 140 sts will give you 47cm (140/2.95).
A hat can stretch up to 10cm (4in) without too much distortion, but ideally, aim for about 5cm (2in) of negative ease.
An average adult head is about 52-58cm, so a cast-on of this number, at this tension, should be big enough to fit most people.
Rib cast-on = 140 sts.
Fair isle colours
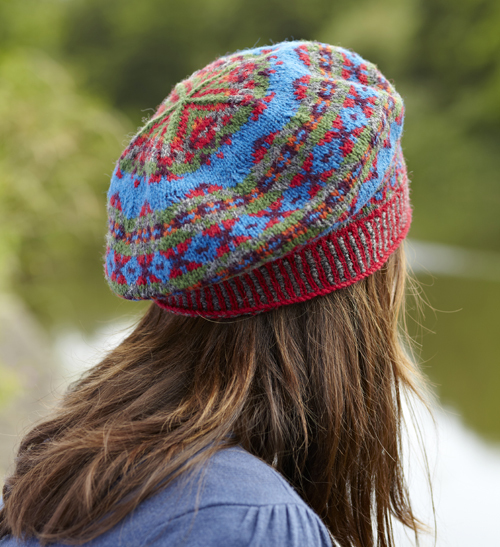
Designing a colour palette for Fair Isle needs careful consideration. The most important thing is to have a balanced selection, with a few mid-tones, and at least one dark and one light ‘accent’ colour. In my design, pictured here, the burgundy is the dark accent and the orange is the light accent, with the other colours sitting in the middle.
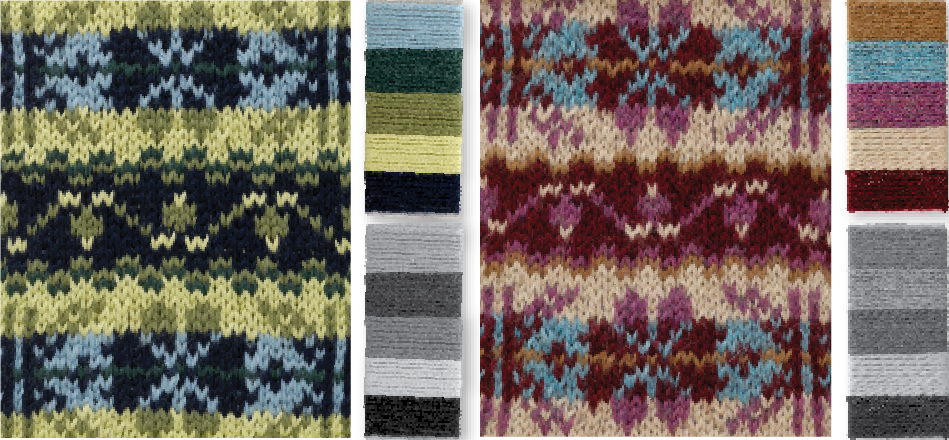
An easy way to work out your accent colours is to gather your prospective yarns together and then take a photograph of them in black and white. It’s far easier to see the difference in light/darkness when you take away the colour. Most digital cameras have a black and white setting, or you can convert the image using simple imaging software on a computer.
Alternatively, you can get out your coloured pencils and graph paper and try colour combinations, or chart on a computer using Excel (or knitter’s design software such as Intwined), or knit a simple swatch to see how your colours work together.
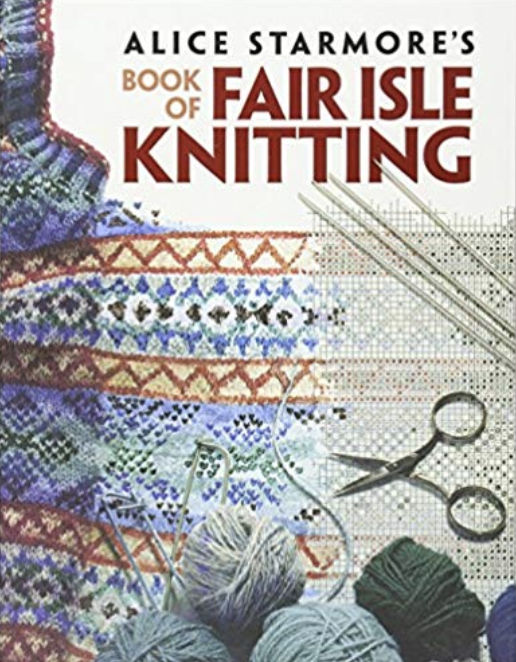
For an in-depth exploration of colour schemes in Fair Isle, read Alice Starmore’s classic guide, Book of Fair Isle Knitting (Dover, 2009).
Step 2
How to work with Fair Isle charts to shape your design
In part one of this Masterclass (above), we looked at stitch-counts for the Fair Isle cast-on and rib, and how to select the colours for your own designs. Now, thanks to the expert advice of Jane Crowfoot, we’ll explain everything you need to know for working out Fair Isle charts, to shape your tam o’shanter into the traditional ‘beret’ shape.

Working out Fair Isle charts
If we knit in the round and continue to knit straight with no increasing or decreasing, we will end up with a knitted tube. A tam has more of a shape to it – from the top of the rib the knitted fabric increases in diameter in order to create the ‘beret’ style, and later on the hat is decreased in order to form the top flat part of the hat and of course create an enclosed hat.
Your design will probably need to have separate charts to cover the different stitch counts created as you increase and decrease.
Working out Fair Isle charts can be a bit tricky, but also a lot of fun. If you have a computer you can create charts easily on an Excel spreadsheet as follows:
Set up your spreadsheet so that the shape of the cells are square. Knitter’s graph paper is normally made up of ‘wide’ rectangles (because stitches are wider than they are tall). However, Fair Isle knitting is normally fairly square in tension, so squares, or rectangles that are only very slightly wider than they are deep, will actually give you a more accurate impression of the final look or your hat.
Using the ‘fill’ tab, insert the colours you wish to use in their relevant cells.
Alternatively you can chart using graph paper and pencils, but this can be slower.
Small Fair Isle band
It is traditional to have a small Fair Isle band after the rib and after the first set of increases.
If using a 4ply weight of yarn, I would suggest that this is worked over no more than 15 rows, which at this tension should work out at about 5cm deep.
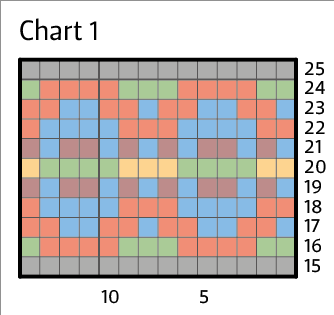
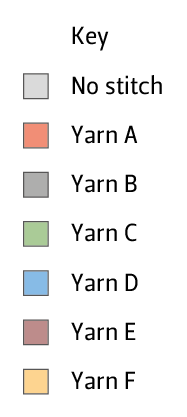
I chose to design a repeated pattern over 7 sts. When I charted this up I drew it over 14 sts just to be sure that the repeat worked properly.
Using a spreadsheet makes it really easy to get a quick visual representation of how the Fair Isle will work; this is done simply by selecting the section to repeat, copying and pasting it. Ensure when you copy and paste not to overlap sections, which can be an easy mistake to make.

Once I had decided on my 14 st pattern repeat I did a calculation to see how many repeats would work across my stitch count.
If I chose to do 10 pattern repeats then the stitch count I would need for the Fair Isle band would be 140 sts. (10 x 14 = 140).
However, in order to make the tam ‘flare out’ from the brim I needed to make an increase in stitch count immediately after the rib. Adding an extra 9 to 10cm to the circumference of the tam will give the shaping required at this point.
To add 10cm I would need to add 29.5 sts at my chosen tension.
This number doesn’t work in the pattern repeat, but 28 sts (2 x 14sts) does, giving me 168 stitches, which allows me to work 12 repeats of the design.
For the tam to look symmetrical you should work in whole repeats of your intended stitch pattern, so aim to round your desired increase up or down slightly to fit in easily with your pattern repeats.
This increase gave me 28 stitches difference to the number of stitches used on the rib (168 – 140 = 28).
To work out how often to increase the calculation was as follows:
140 (rib count) divided by 28 (stitches needed for increase) = 5.
The outcome of this calculation meant that the increase would need to be made every 5 stitches, so the increase row would be written as follows:
Increase row: *K5, M1; repeat from * to end. 168 sts.
However, I decided I did not want to be increasing at the beginning of the round
as this can look really messy, so instead I staggered the start of the shaping and wrote the row as follows:
Row 14: K2, M1, *K5, M1; repeat from * to last 3 sts, K3. 168 sts.
You may find that the number of increases doesn’t fit as neatly as mine did. If this is the case, try to make your increases as even as possible.
Step 3
Working the large Fair Isle band and shaping your hat
Discover how to chart the larger Fair Isle band, and shaping the top by decreasing.
Large Fair Isle band
Once the first Fair Isle band and the first set of increases have been worked, it is usual for a tam design to have a larger Fair Isle pattern over the main part of the hat. I was really inspired by the ‘all over’ Fair Isle patterns I saw in Shetland, and wanted to use this as the base for my tam design.
Before knitting the second Fair Isle band, it is again usual to work an increase in order to shape the hat, adding 4 to 5cm to the circumference.
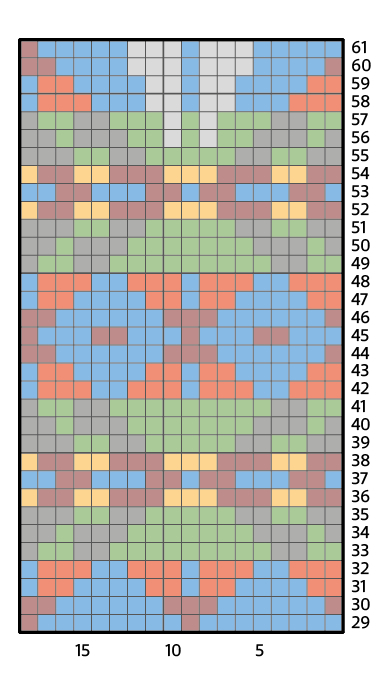
I chose to design my Fair Isle over an 18 stitch pattern repeat.
Adding 12 sts (to end up with 180 sts) would increase the circumference by about 4cm, and would allow the pattern to be repeated 10 times across the round.
The calculation to work out how often to increase was as follows:
168 (first Fair Isle band stitch count) divided by 12 (sts needed for increase) = 14.
The outcome of this calculation meant that the increase would need to be made every 14 stitches, so, following my earlier increase that avoided increasing at the beginning of the round, I chose to write the increase round as follows:
Row 27: K7, M1, *K14, M1; repeat from * to last 7 sts, K7. 180 sts.
Again, if the number of increases doesn’t fit as neatly as mine did try to make your increases as even as possible.
Shaping the top of the hat – decreasing
After completing the larger Fair Isle band I needed to start thinking about decreasing for the crown of the hat.
It is usual for the decrease at this point to be approximately a third of the total stitches, so I chose to decrease by 60 sts.
I worked my decrease as follows:
Slip 2 stitches together knitwise, knit 1, pass slipped stitches over.
This decrease gives a central stitch that sits straight and achieves a decrease of 2 stitches.
I decided to work the decrease every alternate round, over 6 rounds, so that a gentle decrease was achieved. Had I done the decrease over just one round the hat would have puckered.
To be sure that everything was working as it should, I knitted the tam up to this point before designing the next section.
Step 4
Bring the design together
In part one, part two, and part three of this Masterclass, Jane Crowfoot explained the stitch-counts for the Fair Isle cast-on and rib, how to select the colours for your own designs, working out Fair Isle charts for the small and large Fair Isle bands, and shaping the top by decreasing. In this final part you’ll see the whole design come together!
Top of the hat
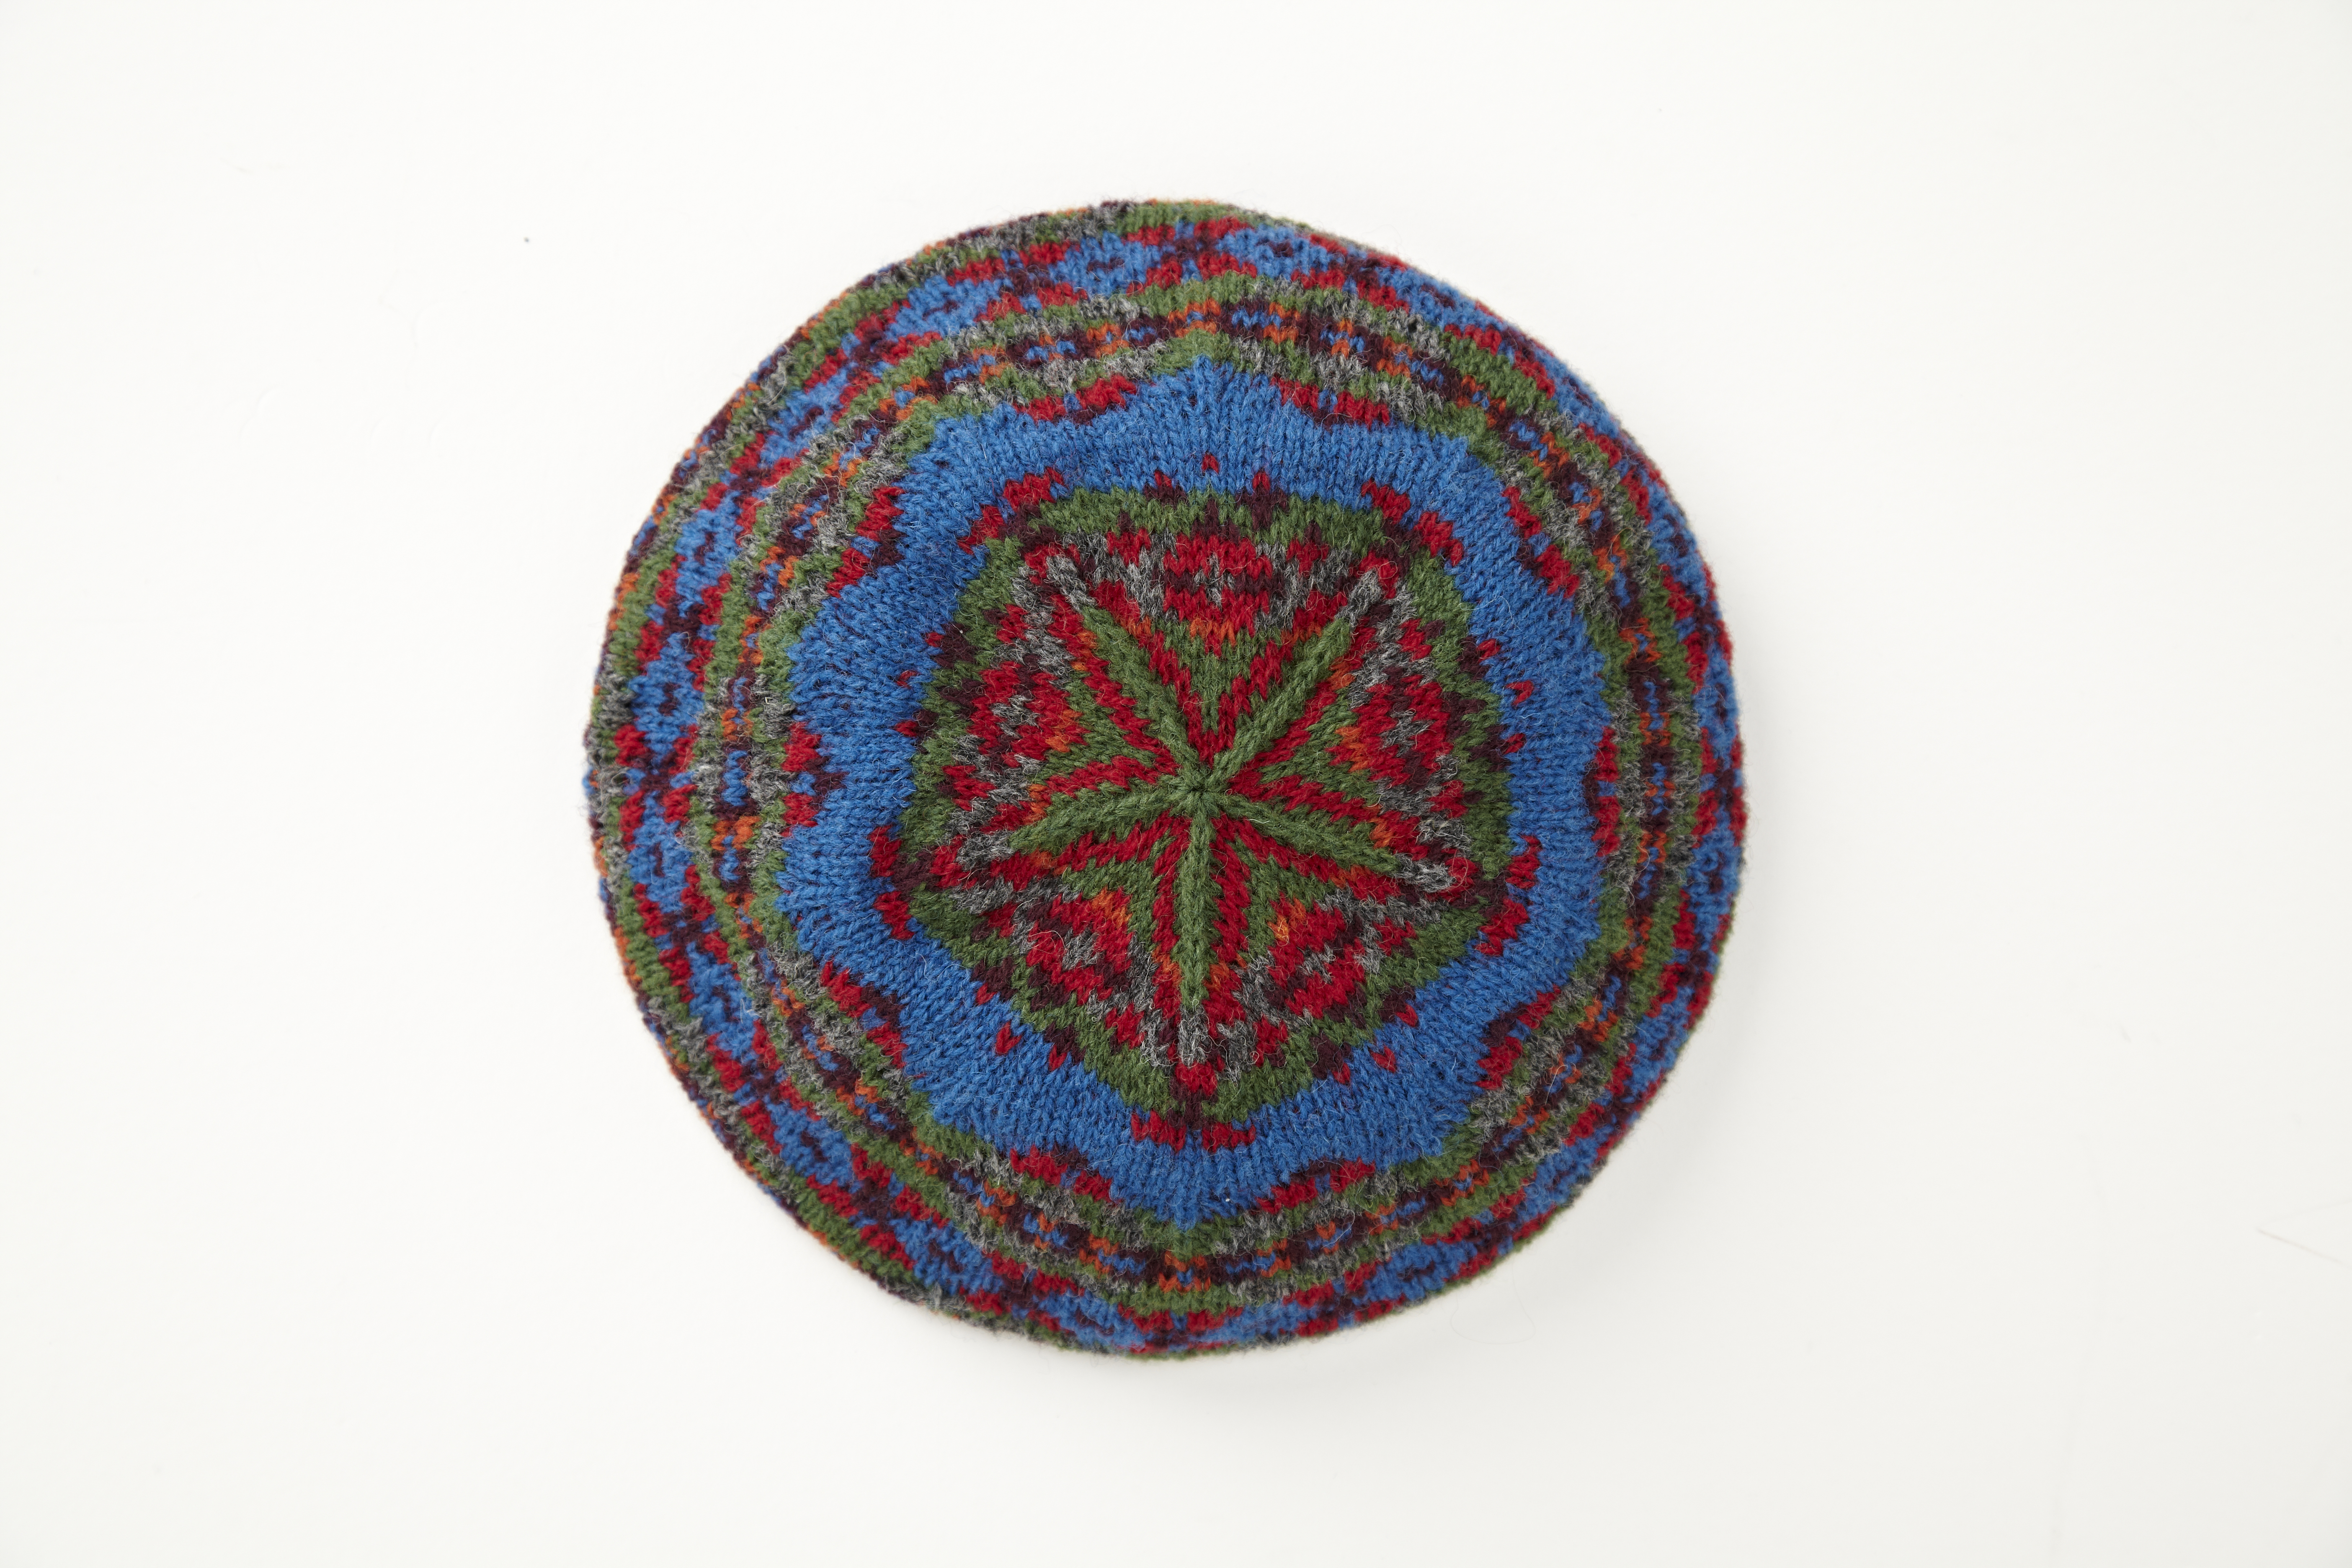
In the final stages of knitting a tam the decreasing is worked over a pyramid shape. To get the flat shape of the hat the decreasing needs to be done every round.
The first thing to decide is how many ‘sections’ the hat should have. It is traditional to have five, six or even seven, but not usual to have any more or less than this – indeed, I don’t think the circular shape of the tam can be achieved with anything fewer than five segments.
I chose to have five sections so I needed to do the following calculation:
120 (stitch count at this point) divided by 5 = 24 sts.
This meant my pattern repeat chart for the top decreases needed to be drawn over 24 sts. The chart has the pyramid shape and a single filled in column, which represents the middle stitch of the shaping technique.
One of the things that can be really hard about working out the shaping is the fact that the row end/beginning can end up in the middle of a pyramid.
To make sure my chart started and ended in the right place, and to ensure that my shaping lined up with the shaping that was previously worked, I used my knitted piece as a guide and then drew out my design accordingly.
Trying to work this out without my knitted piece would have been pretty tricky, I think, especially as I don’t have the best head for maths and often find I need to have a physical example rather than trying to visualise things. However, you may find you can do it all ‘theoretically’ – just do whatever works best for you!
The chart shows the full pattern repeat, with the centre of the decreases lying in the middle.
At the end of the chart there should be no more than two stitches per pattern repeat on your needles. In my case I had five repeats and ended up with 10 stitches.
Thread the yarn through these last few stitches and fasten off, and there you have it – your very own Fair Isle tam!


