Give your boring boots a stylish update with our free welly warmer knitting pattern
There's nothing quite like pulling on your wellies and heading out on an autumn walk. Make sure your wellies look on point with these fabulous knitted welly warmers!
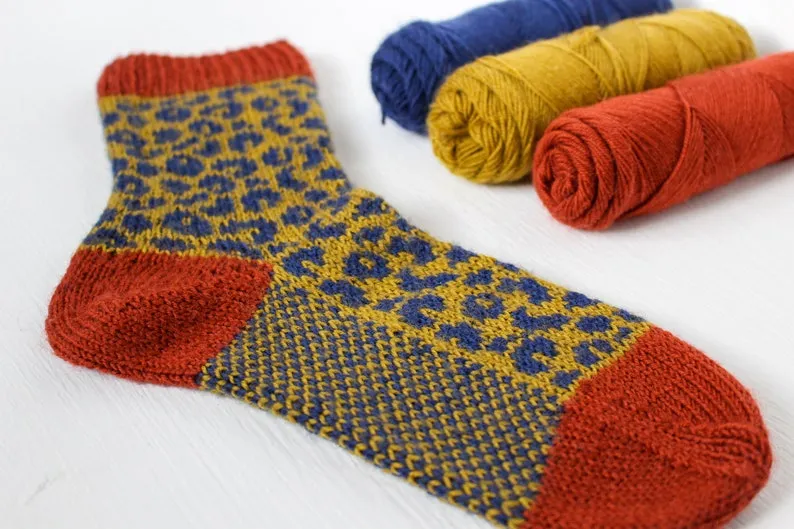
- Give Fair Isle knitting a try with our free knitted mittens pattern
- 17 cosy scarf knitting patterns you can make this weekend
- Spend your weekend making these cosy blanket knitting patterns
This fab free welly warmer knitting pattern helps to add a stylish pop of colour to plain boots, but will also help to prevent the top of your wellies from rubbing on your legs.
We’ve used big needles, with chunky yarn using a simple rib pattern, and some easy seed stitch – so this project will be off your needles and into your wardrobe in no time. Plus what a fab presents welly warmers would make for any walkers out there.
For your welly warmers you will need:
- 128m (140 yards) chunky yarn
- 4 x 8mm (UK 0, US 11) double pointed needles
- Stitch marker
- 2 x 1 1⁄4 – 1 1⁄2″ buttons
- Tapestry needle
Abbreviations:
- K knit
- P purl
- PM place marker
- St(s) stitch(es)
- Inc increase
- m1L with left needle tip, lift strand between needles from front to back. Knit loop through the back.
If you're struggling with any of the abbreviations or terms used in this pattern, you can always check our list of knitting abbreviations.

After a bit more of a challenge? Try textured stitches and stylish stripes with our free knitted boot toppers pattern.
Free welly warmers knitting pattern

Step 1
Welly Warmers leg ribbing

Cast on 32 stitches onto a double-pointed needle.
Step 2

Divide the sts onto three needles by sliding them over from your cast on needle – you should have 12 sts on your first needle, 8 sts on your second, and 12 sts on your third.
Step 3

PM and join, making sure that your sts are straight on your needles and not twisted around them. It’s really easy to check this by laying your needles down to form a triangle and making sure all your cast on sts face the same way.
Step 4

Work a k2, p2 rib for 13cm (5″).

If you want your welly warmers to extend longer down your leg, this is the section you’ll add length to. But remember – if you add length you’ll need more yarn.
Step 5

Inc Round 1: *K1, m1L, K1, then your rib pattern to end of your first needle; rep from * across your second and third needles [35 total sts].
Step 6

Work 4 rounds in new rib pattern – remember, the first three sts of each needle are knit sts.
Step 7

Inc Round 2: *K3, P2, K1, m1L, K1, then work in the rib pattern to the end of your first needle; rep from * across second and third needles [38 total sts].
Step 8

Work 3 rounds even in new rib pattern. Now the rib pattern on each needle starts K3, P2, K3, P2 to compensate for the increases you have made.
Step 9

K 1 round.
Step 10

Inc Round 3: *K4, m1L;
rep from * around all three needles to last two sts, K1, m1L, K1 [48 total sts].
Step 11

If you want, you can rearrange your stitches so they’re nice and even on your needles. If you want to do this, it’s 16 stitches per needle.
Step 12
Welly warmer cuff

Round 1: Work in K1, P1 around.
Step 13

Round 2: Work in P1, K1 around.
These two rounds make up seed stitch. Rep Rounds 1 and 2 for a total of 10 rounds.
Step 14
Finishing

Bind off all stitches loosely – be careful: if you bind off your stitches too tightly you won’t be able to fold the cuff over your boot. Cut the yarn, leaving a 15cm (6″) tail, and secure the end.
Step 15

Thread your 15cm(6″)tail through a tapestry needle and tie off the end by pulling it through the next stitches and closing up the small hole that’s left after your bind- off. Tie a double knot to make sure it stays secure.
Weave in the end by threading your tapestry needle into 5-7 stitches down into the fabric of your cuff and pulling your yarn end through them. Cut off the remaining yarn end.
Repeat this process for the yarn tail left when you cast on at the other end of your welly warmer.
Flip down the welly warmer’s cuff over the ribbed leg section and attach a cute button.
Make the other welly warmer in the pair and slide them on to your boots for super-cosiness all winter long!

Don't leave out the little ones! Make sure they're ready for muddy walks as well with this kids welly socks knitting pattern from the Gathered shop.
Get your knitted socks sorted
Now that your wellies are looking suitably stylish, it's time to tackle what goes inside them! Find your next must-make project in our list of the best sock knitting patterns.