How to frame cross stitch
There are many ways you can frame a cross stitch, in this post we will show you our favourite (and easiest) methods so you can feel confident framing your own cross stitch, rather than spending lots of money on a professional framing. A cross stitch looks great hanging on the wall to brighten up any room or give as a special gift to someone you love! But before you can give it away, you need to make sure it's looking its best!
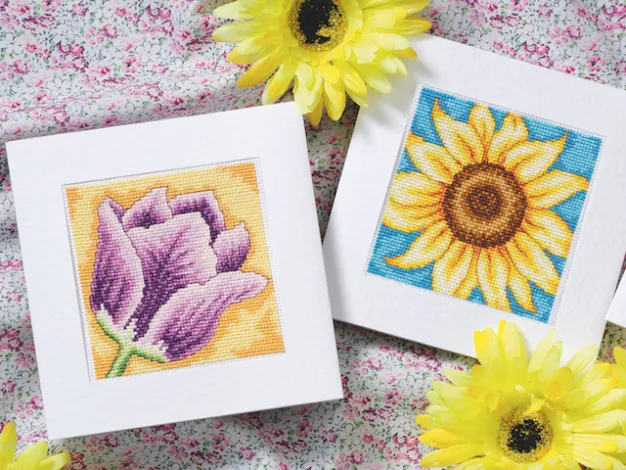
If you love cross stitch and want some inspiration for new projects to take on (and frame once you have finished), try these cute cat cross stitch patterns, or the cross stitch flower patterns, our most popular projects. Looking for a seasonal project? Try the cute gnome cross stitch bookmarks. If you are looking for something a bit different, check out these amazing cross stitch cushion kits, and make a spectacular cushion.
How to frame cross stitch - lacing
Our first method of framing a cross stitch is lacing, which means using threads to secure the canvas to a piece of mountboard, ready to frame. Read on for the full guide and video tutorial:
What you'll need:
- Mountboard- select the size which suits your project
- Clips, bobby pins, or dressmaking pins
- Thread - our favourite is DMC
- Frame - choose a suitable frame for your project
- Scissors
Step 1
Cut your cross stitch down so that you have about 2 inches of fabric remaining around your mountboard.

Step 2
Pin your fabric in place, using clips, pins or bobby pins (anything you find comfortable). We like using bobby pins because they are easy to move around, and you can adjust the fabric.
Make sure your design is central to the mountboard.

Step 3
Thread your needle using three strands of cotton. If you need help separating threads, see our video tutorial on this post. Knot your thread at the end, and trim away any excess.
Insert your needle under the fabric on one side, and pull through to the opposite side and down and through the top of the folded fabric. Keep going back and forth until you run out of thread. 
Step 4
Once you reach the end of your thread loop it around in two smaller stitches and knot whilst keeping the tension of the thread.
Rethread your needle and continue across the fabric in the same method as above until you reach the other end.

Step 5
Rethread your needle. This time you will be going up and through a double layer of fabric in the corner and through the opposite end of the fabric, using the same method.

Step 6
Continue from the other side of the fabric on the other corner and thread back and forth as before until you reach the middle. That’s it, make sure your ends are knotted securely.

All that is left to do is pop it in your frame and place your mountboard behind the cross stitch.

How to frame cross stitch – canvas
Our second method is presenting your finished cross stitch as a canvas. You’ll need just a few materials and a staple gun for this easy method. Find out how to frame your cross stitch as a canvas with three easy steps:
What you’ll need:
- Canvas – size suited to your project
- Staple gun
Step 1
Back your stitching with interfacing and press. Measure your canvas frame and mark the halfway points along each edge. Join up these points in pencil to make a cross on your frame.
Use a pin to push through the central stitch of your cross stitched image – the point where the two ‘0’ gridlines cross on the chart. Push the pin through the centre of the cross on the frame. Place the stitching and frame face down and trim your fabric, leaving 5cm (2in) around the edge of the frame.

Step 2
Staple the fabric to the centre of the top bar. Move to the centre of the bottom bar, pulling the fabric around the bar to keep it tight, and place the central staple. Repeat, placing a central staple in each of the two side bars. Return to the top bar and place staples on either side of the original, leaving about 2cm (3⁄4in) between each staple. Repeat for the bottom bar, and then the side bars, pulling the stitching taut at each stage.

Step 3
To finish the edges neatly, grip the corner of your piece
of stitching and pull it towards the opposite corner. This will create two flaps of fabric on either side. Fold each of these in towards the point that you are pulling and secure them in place with a single staple. Repeat with the other three corners, and trim any excess fabric. Staple a piece of ribbon to the middle of the top edge, to make a hanging loop.

Feel confident framing your cross stitch
That’s it! We hope you found these guides on how to frame cross stitch useful and now feel ready to frame your own work.
Try our floral cross stitch pattern
If you’re looking to take on a new cross stitch project, we have plenty of free patterns available. Try this cross stitch flower pattern which would look lovely on the kitchen wall.