Cat embroidery pocket

Would you like some cat embroidery designs? How about on a pocket? Yes, we want to add Lana Red's cat embroidery to all our clothes pockets now, too...

6 issues of Simply Sewing magazine for £14.99|Save 78%!

Published: December 11, 2020 at 1:01 pm

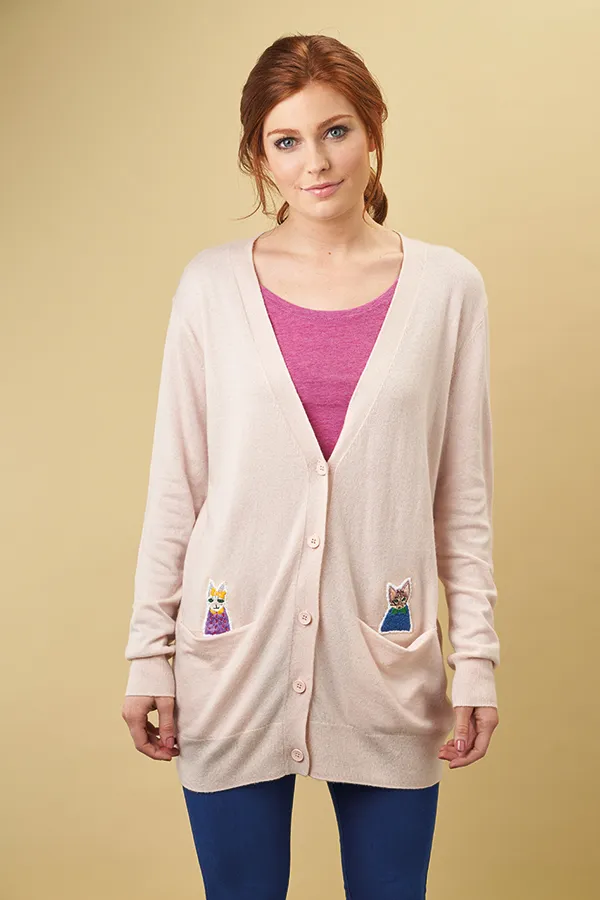
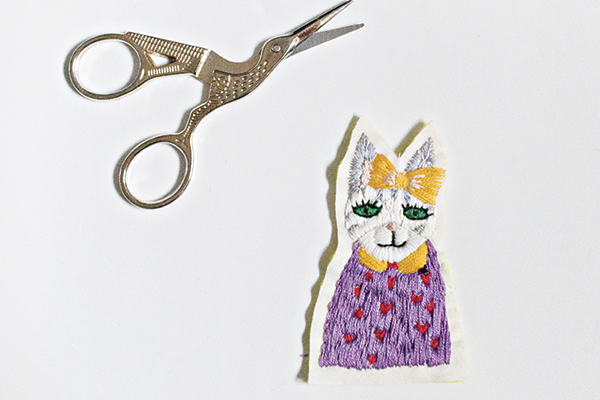
Cats and crafts go hand in hand! They are wonderful subjects for any creative work including embroidery.This quirky cat design will make even the plainest of cardis a real talking point. If you haven't tried embroidery on clothes before, you should check out our full guide for top tips and tricks.

Cat embroidery – you will need:

  • Cat templates - Click to download the cat embroidery templates
  • Jumper or cardigan with pockets
  • Neutral cotton or linen fabric: 40x50cm (16x193/4in), for the embroidery
  • Felt: 2 x A4 sheets
  • Stranded cotton in a range of colours (see notes)
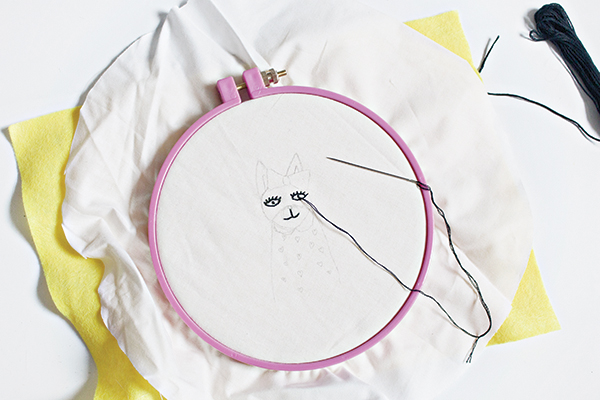
  • Embroidery hoop: 20cm (8in)
  • Embroidery needle
  • Erasable fabric marker or tailor's chalk
  • Basic sewing kit

Cat embroidery – notes

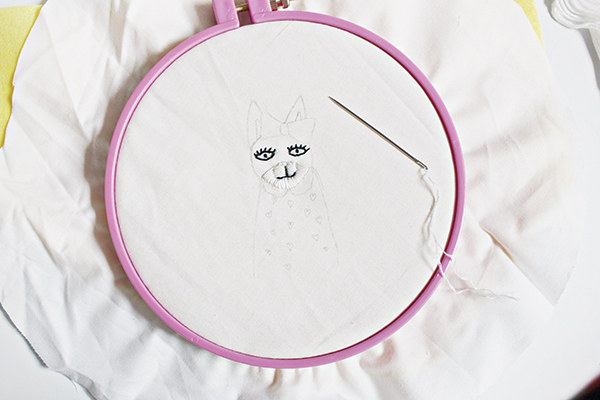
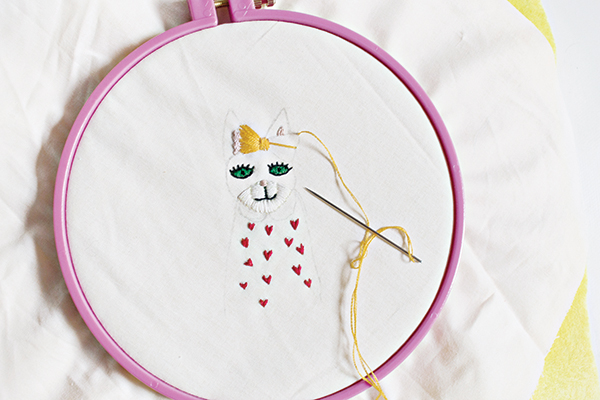
  • Stranded cotton in various colours is needed for the cats’ fur, eyes and clothing, plus black and white for details and outline.
  • We used three strands of stranded cotton throughout.
  • The embroidery instructions are based on the white cat, but you can of course choose any colour thread for your cat’s fur and clothing.
cat embroidery main

Step 1

cat embroidery 1

Trace the cat embroidery templates  onto the fabric with an erasable fabric marker or tailor’s chalk.

Place the fabric with the traced image on top of a piece of felt.

Place the two pieces of fabric in the embroidery hoop.

Step 2

cat embroidery 2

Thread the needle with three strands of black stranded cotton.

Push the needle through the back of the layered fabric and start the cat embroidery by embroidering the eyes and mouth with a simple back stitch. (Click  to find our How to Backstitch)

Step 3

cat embroidery 3

Thread the needle with three strands of white stranded cotton.

Push the needle through the back of the layered fabric and start embroidering the white section of the image using a simple back stitch on the bottom part of the face. (Click to find our How to Backstitch)

Step 4

cat embroidery 4

Repeat to embroider the full colour parts of the cat embroidery design.

Once you have finished embroidering the entire piece, you can add shading and extra details in the face, the ears, and so on.


Step 5

cat embroidery 5

Remove the embroidered fabric from the embroidery hoop.

Mark all around the edge approx 1cm (3/8in) away from the embroidery then cut the shape out.

Step 6

cat embroidery 6

Place the cat embroidery piece 1-2cm (3/8-3/4in) below the top edge of the pocket.

Place a scrap piece of felt that is slightly larger than the design on the inside of the jumper, aligning it with the embroidery.

Hold the embroidery and felt in place with a few pins.

Thread the embroidery needle with three strands of white stranded cotton and use a tight whip stitch all around the embroidery, going through all three layers and using the 1cm (3/8in) edge to secure the embroidery artwork to your jumper pocket.

Repeat to make and attach the other cat embroidery if desired

cat embroidery main

Want more free cat patterns to stitch? Try our free cats cross stitch patterns.