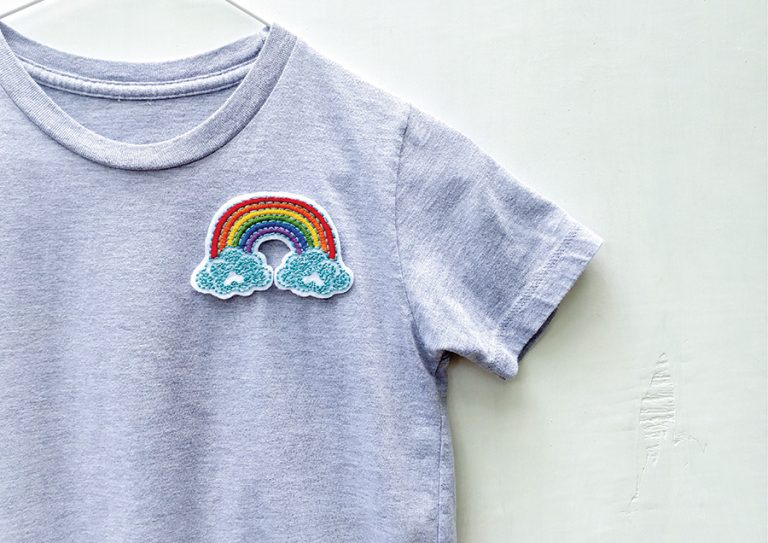
DIY embroidery rainbow patches

DIY embroidery rainbow patches so you can wear all the colours.

Try 6 issues of your choice of craft magazine from just £9.99

Published: July 14, 2019 at 7:10 am

July is Pride month and we’re in full support of this amazing celebration. We’re showing our support for the LGBTQ community by wearing the rainbow flag with pride. If you’re looking for a way to show your support why not make Liz from Cozyblue‘s embroidery rainbow pride patches. Sew them onto your clothes, bags or you could even sell them and donate the money to charity!

If you have a go at making Liz’s rainbow pride patches then tag us in your pictures using #molliemakers on Instagram, Twitter and Facebook. For more fab creative projects subscribe to Mollie Makes.

Materials
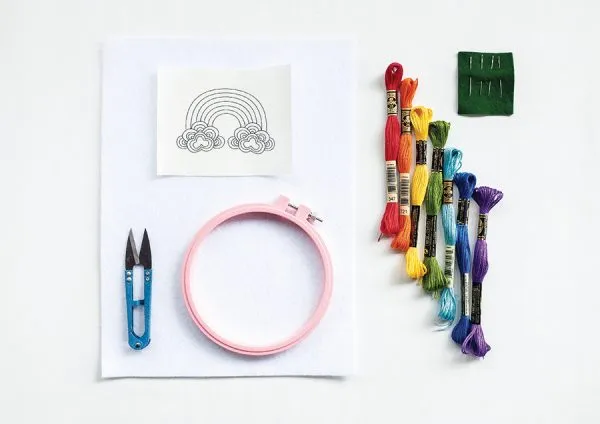
DIY embroidery rainbow patches materials
  • White felt, 8 x 8cm (71/8 x 71/8“)
  • 12.5cm (5″) embroidery hoop
  • Embroidery needle
  • Embroidery thread (we used DMC Stranded Cotton in 743 (yellow), 3837 (purple), 470 (green), 798 (blue), 721 (orange), 347 (red) and 3766 (blue))
  • Printable soluble stabiliser
  • Rainbow pride patches template

DIY embroidery rainbow patches

You will need:

  • Embroidery needle
  • Embroidery Thread
  • White felt

Step 1

Transfer the design on page 98 onto the fabric. We used a printable, water-soluble stabiliser, scanned the template onto our computer and printed it onto the stabiliser. You can then peel off the backing and stick it onto the felt. Alternatively, you can trace the design onto the felt using a water-soluble pen – it helps to do this over a lightbox, or by taping the felt and the template against a window.

Step 2

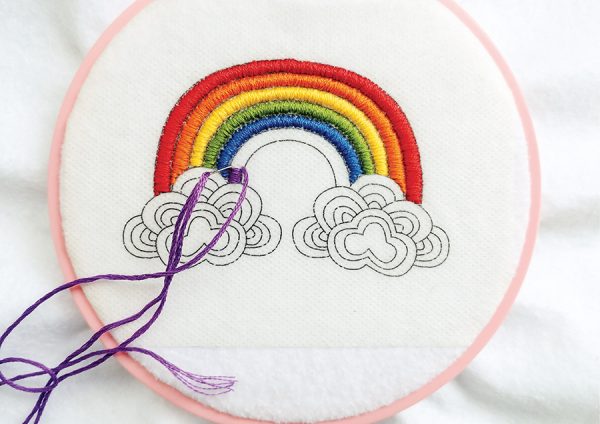
DIY embroidery rainbow patches step 1

Place the felt in the hoop, positioning the design in the centre. Using six strands of thread throughout, embroider each section of the rainbow in satin stitch. Start with the red section and work your way down, using the main image as a guide.

Step 3

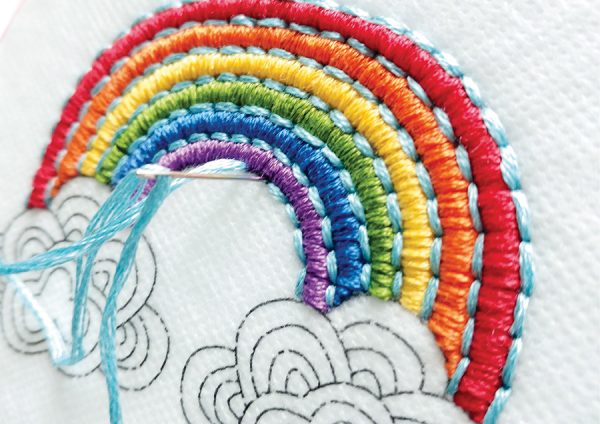
DIY embroidery rainbow patches step 2

Using backstitch and the light blue thread, stitch over the marked lines in between the stripes of the rainbow.

Step 4

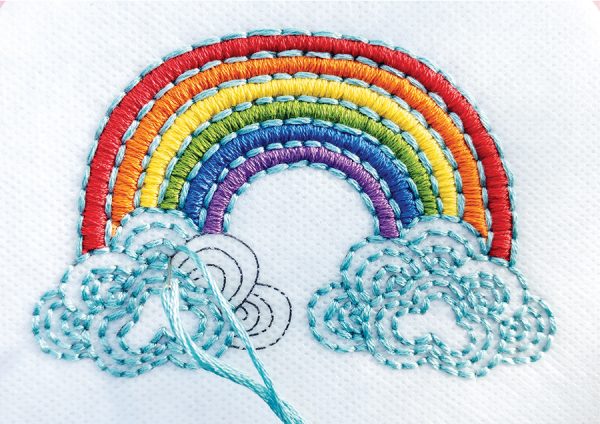
DIY embroidery rainbow patches step 3

Embroider over the cloud lines using backstitch and light blue thread, then fill in the space between some of the cloud stripes with a few more rows of backstitch in the same shade.

Step 5

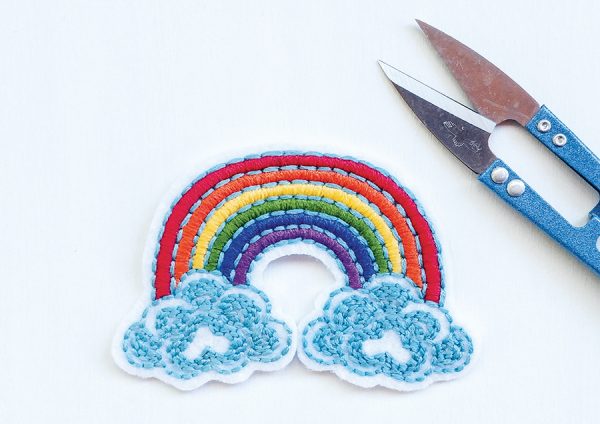
DIY embroidery rainbow patches step 4

Take the felt out of the hoop, then place in a bowl of cool water to dissolve the stabiliser. Rinse well and leave to dry.

Step 6

Carefully trim around the finished stitching, leaving a 0.5cm (¼”) border of felt around the outside, then sew onto a T-shirt using matching thread.

 Voila! Make a few and share your rainbow pride patches to show everyone that #loveislove. 

DIY embroidery rainbow patches

Liz is the owner and maker behind Cozyblue. A self-taught illustrator and designer with a focus on modern hand embroidery, she encourages everyone she meets to slow down, get cosy and get crafty. Visit her website for inspiration, to buy her kits and designs, and to find out about her monthly pattern subscription club.