How to sew Padded Satin Stitch
Discover a whole world of new embroidery stitches with our series of Stitch Library step-by-step guides. In this post, find out how to work a variation on satin stitch then try out your new skills with hoop art make a quick-stitch embroidered necklace below!

Published:
Padded satin stitch is perfect for giving regular shapes a raised look. Read our step-by-step guide below to master the basics, or you can work basic satin stitch instead of the padded variation for a simpler version.
Template design by Louise Day. Stitching & instructions by Zoe Patching. This free embroidery workshop was first featured in issue 3 of Simply Sewing magazine.
Practise your new skills
Once you’ve tried out our method below, try out your new stitch skills with this Free bunting embroidery pattern.
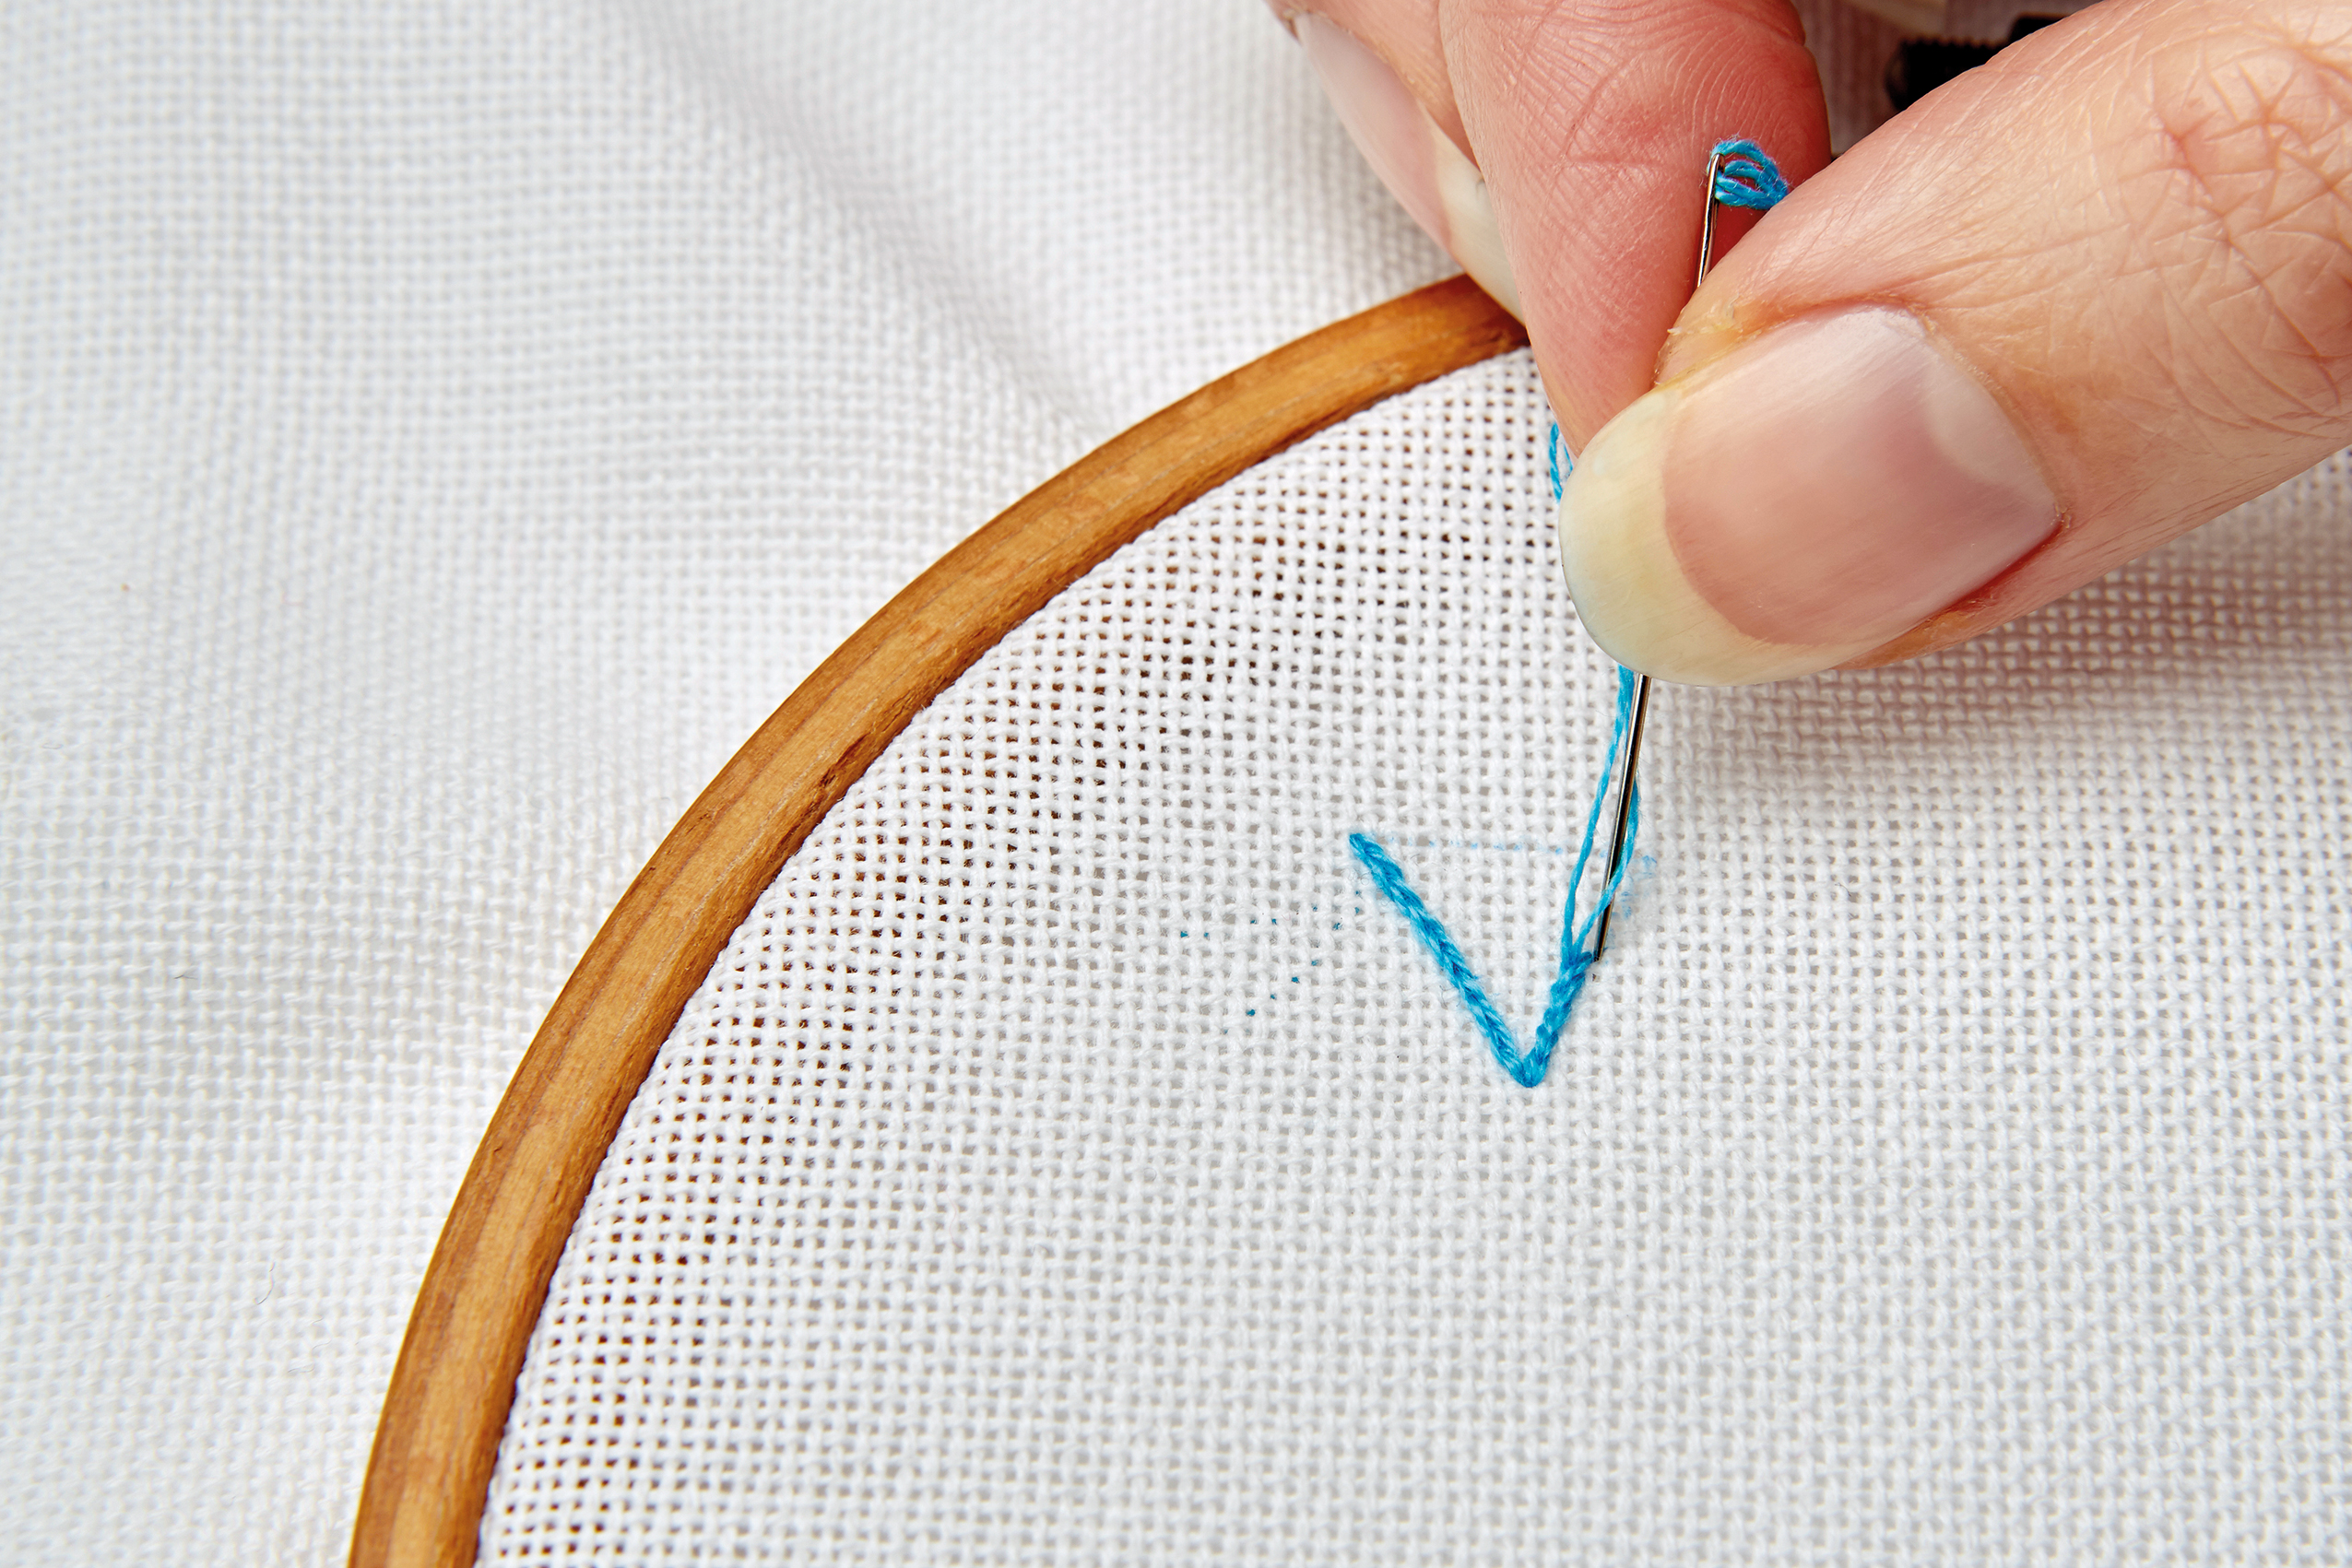
Step 1
First, outline your shape in split stitch for a smooth edge. To do this, bring your embroidery needle up from back to front, then *insert about 2mm along to make a straight stitch. Bring the needle back up in the centre of this stitch to split it. Make more stitches by repeating from *.Â

Step 2
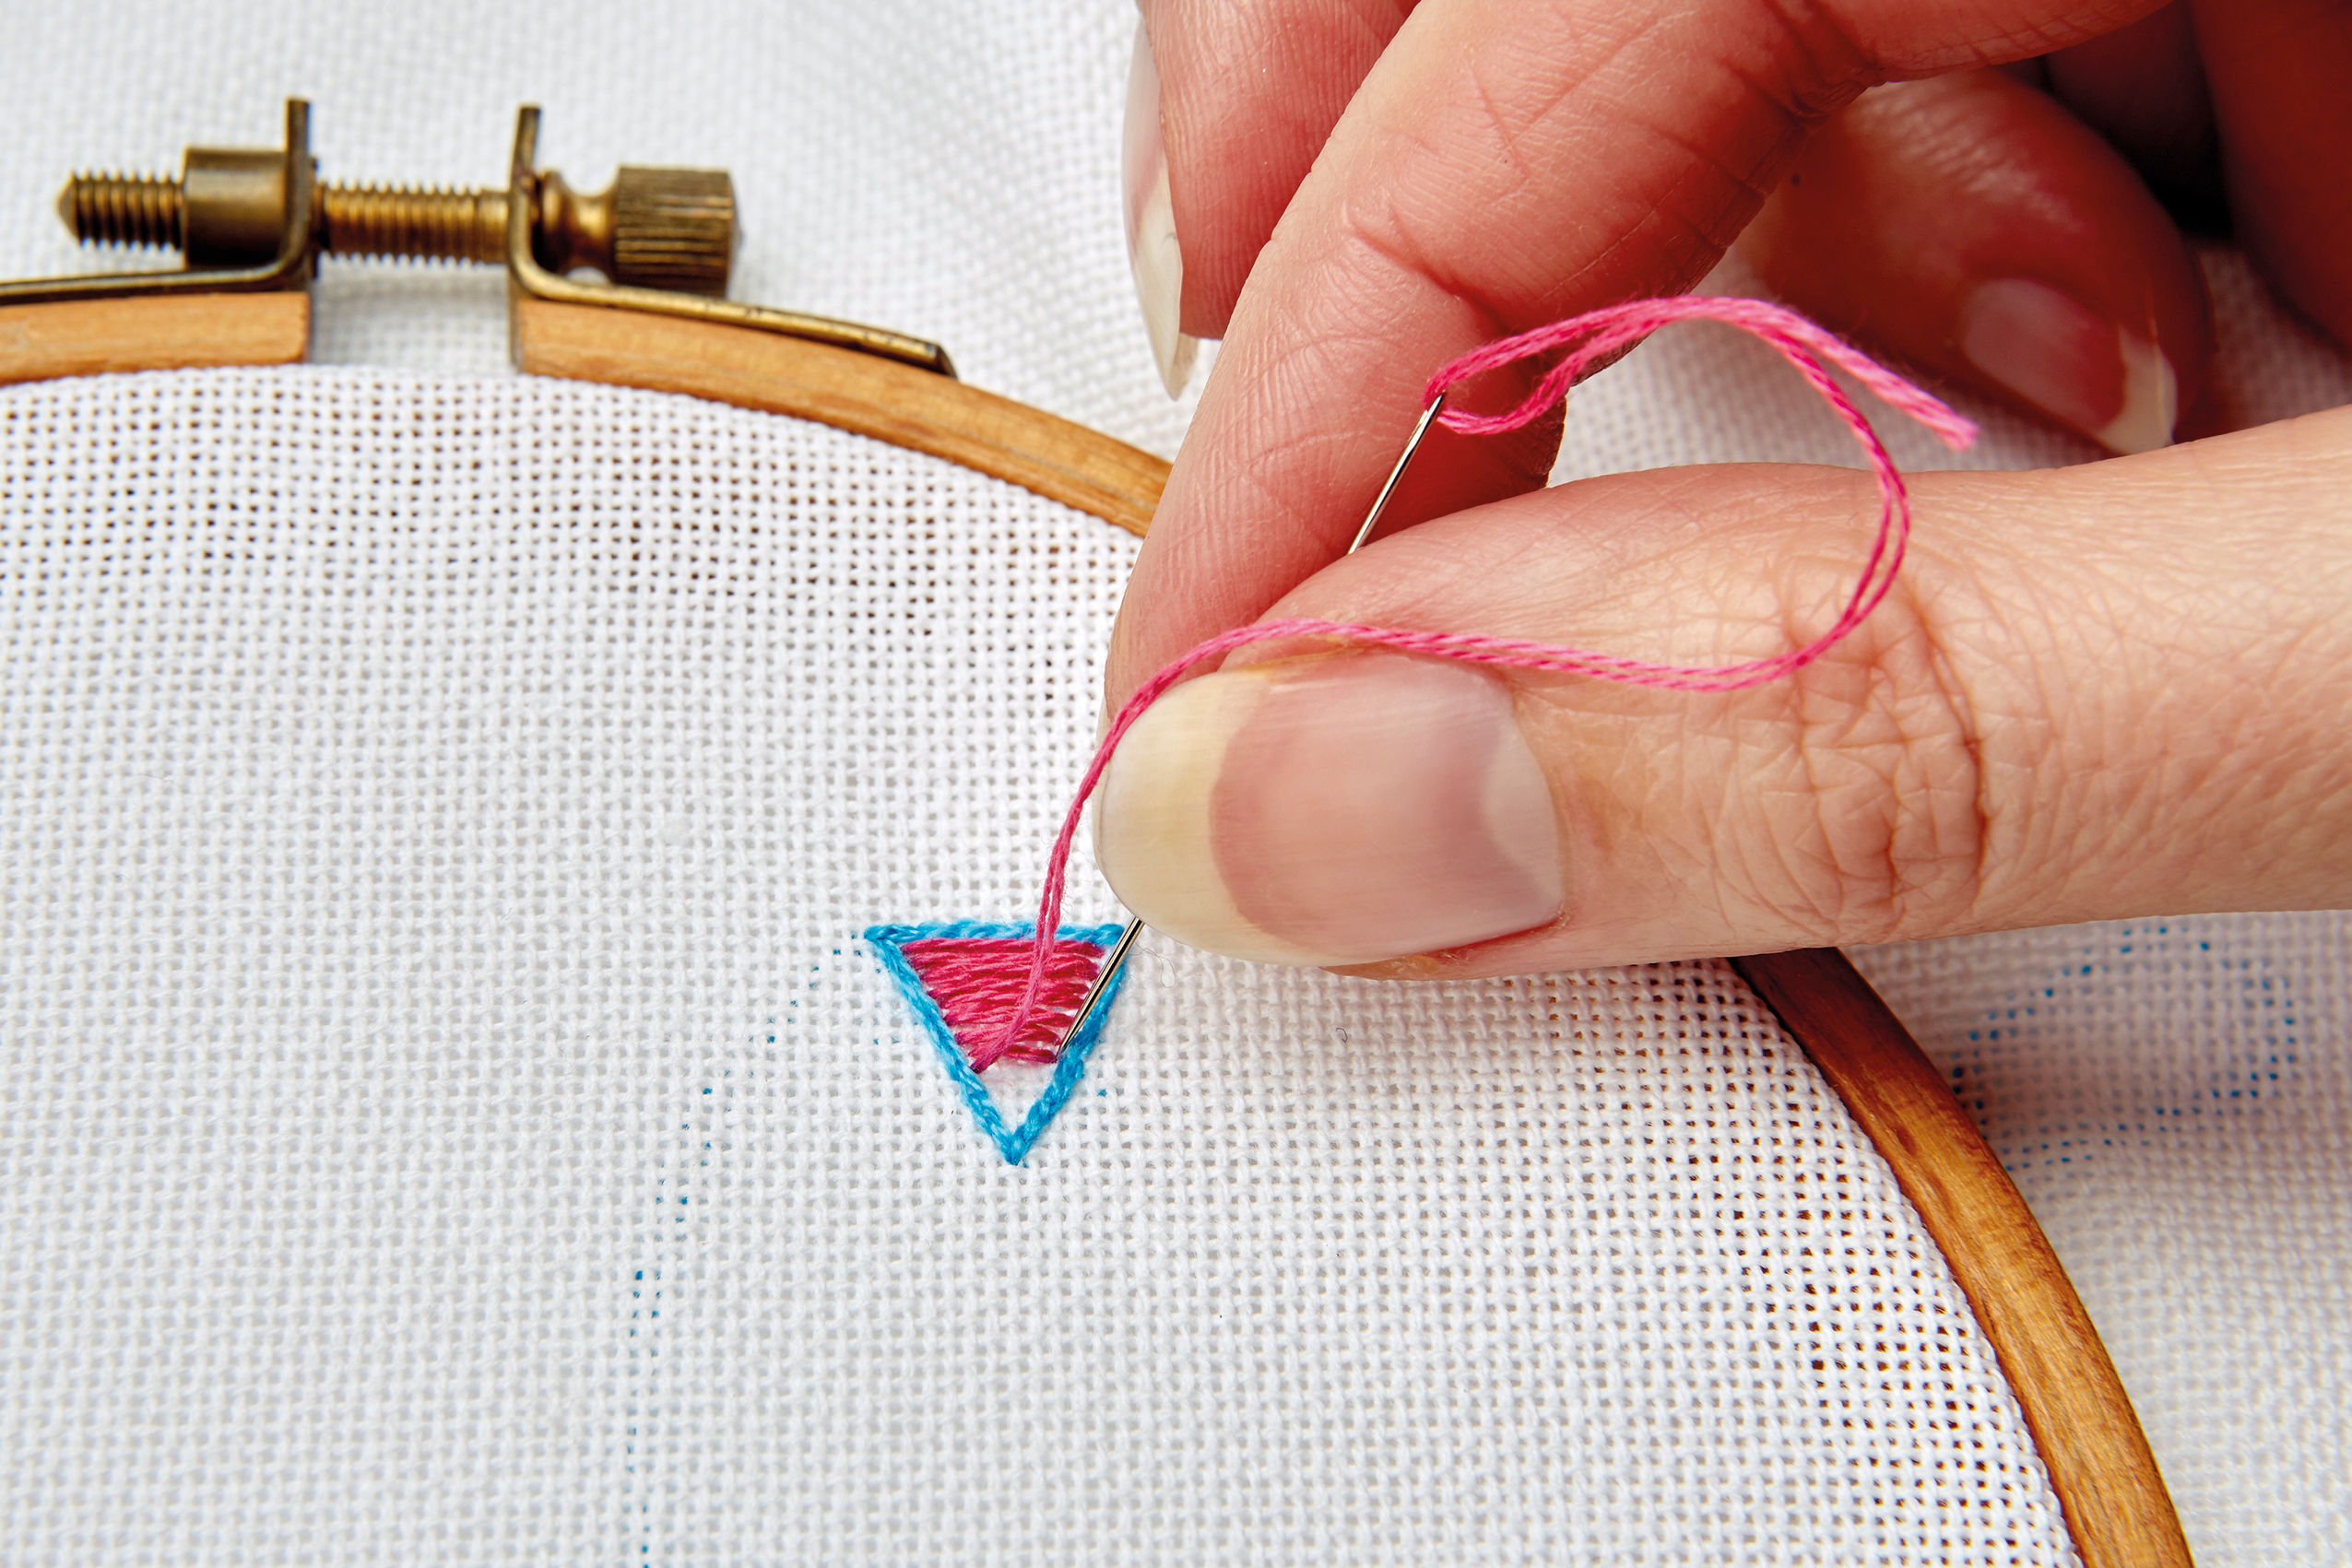
You can work satin stitch with or without padding. To work padding, make a series of straight stitches claose together, in the opposite direction to the finished satin stitch (we used a contrast thread so you can see it). Bring the needle up on the same side as it was inserted, to reduce bulk.

Step 3
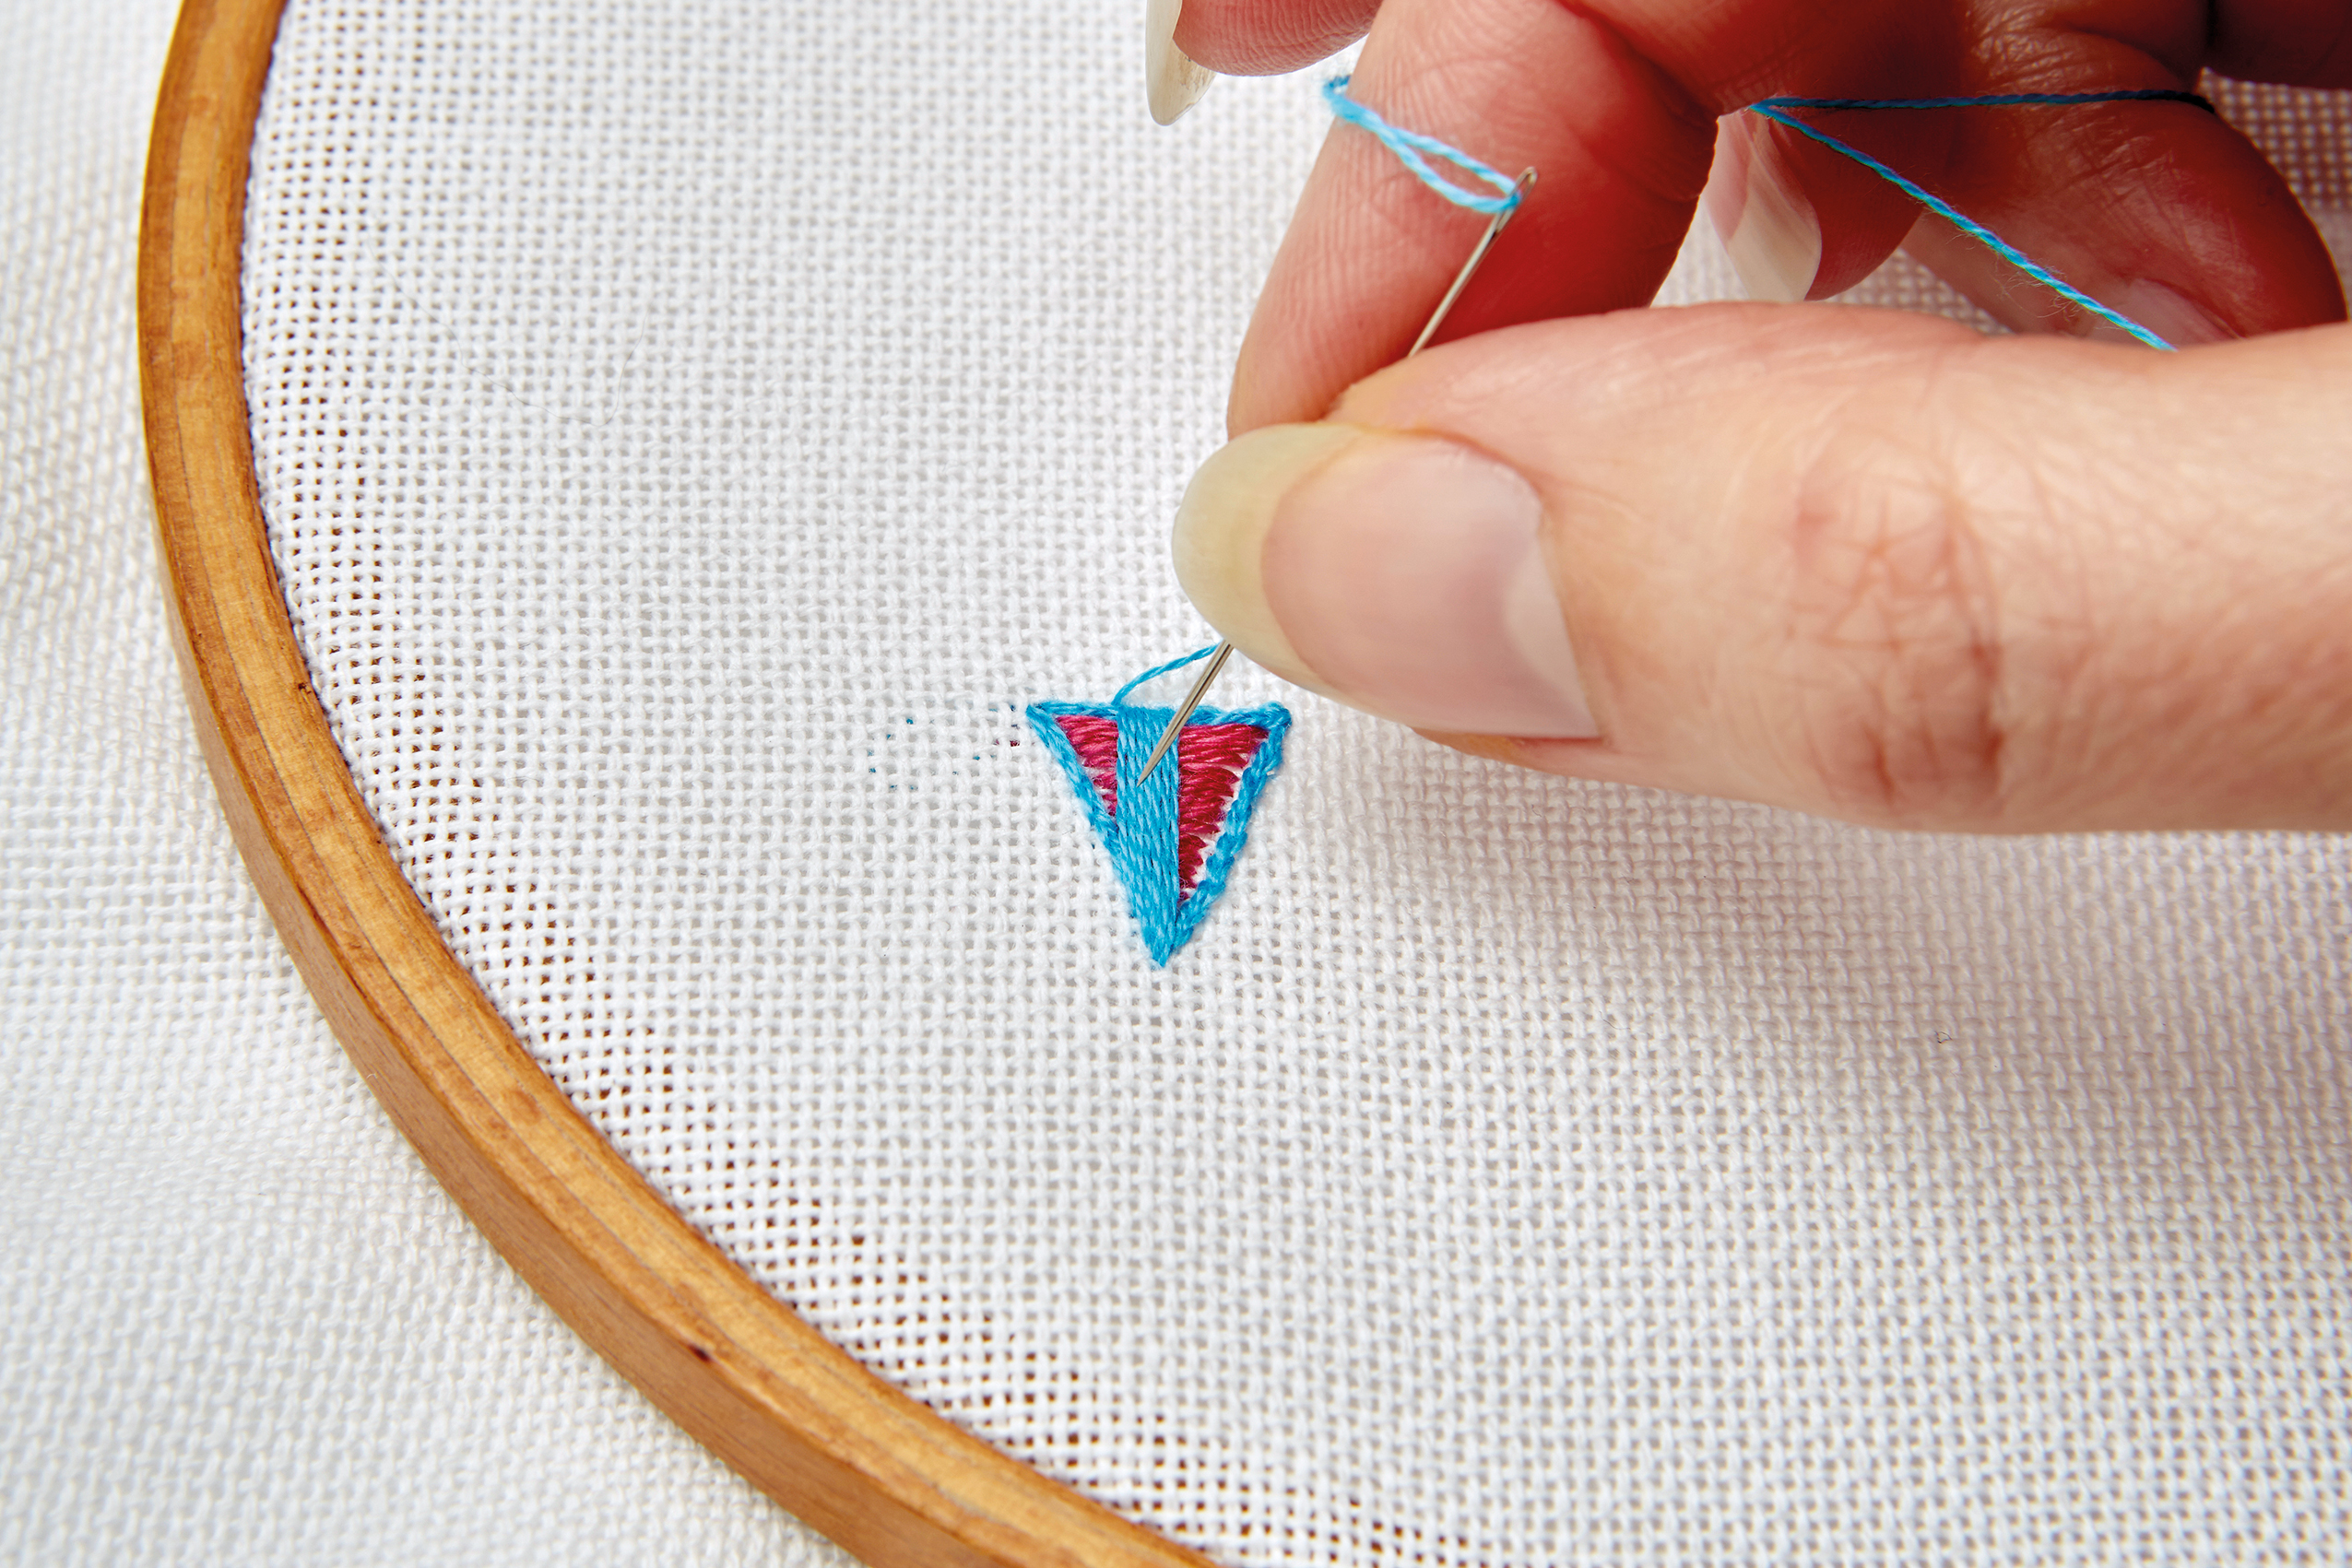
 To work satin stitch, bring the needle up at the centre top of the shape and insert it at the centre bottom. Bring the needle up next to the start of the last stitch and insert it next to where it ended. Use one cotton strand and work just outside the split stitch edge, using it as a guide.

Step 4
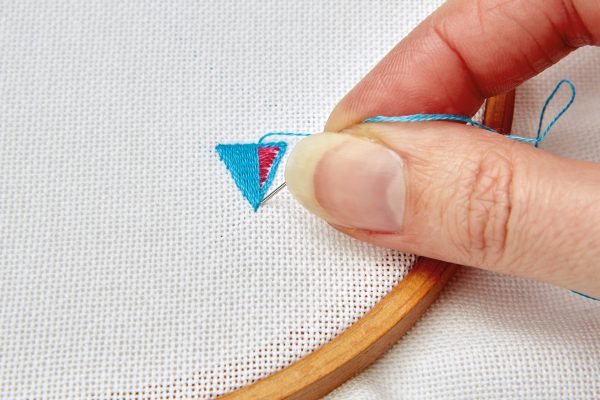
Continue working from the centre outwards to finish the first side. Always bring the needle up at the same edge and insert it at the same edge, to create smooth lines. Then work the other side from the centre outwards, angling the needle as shown, until the shape is complete.

Step 5
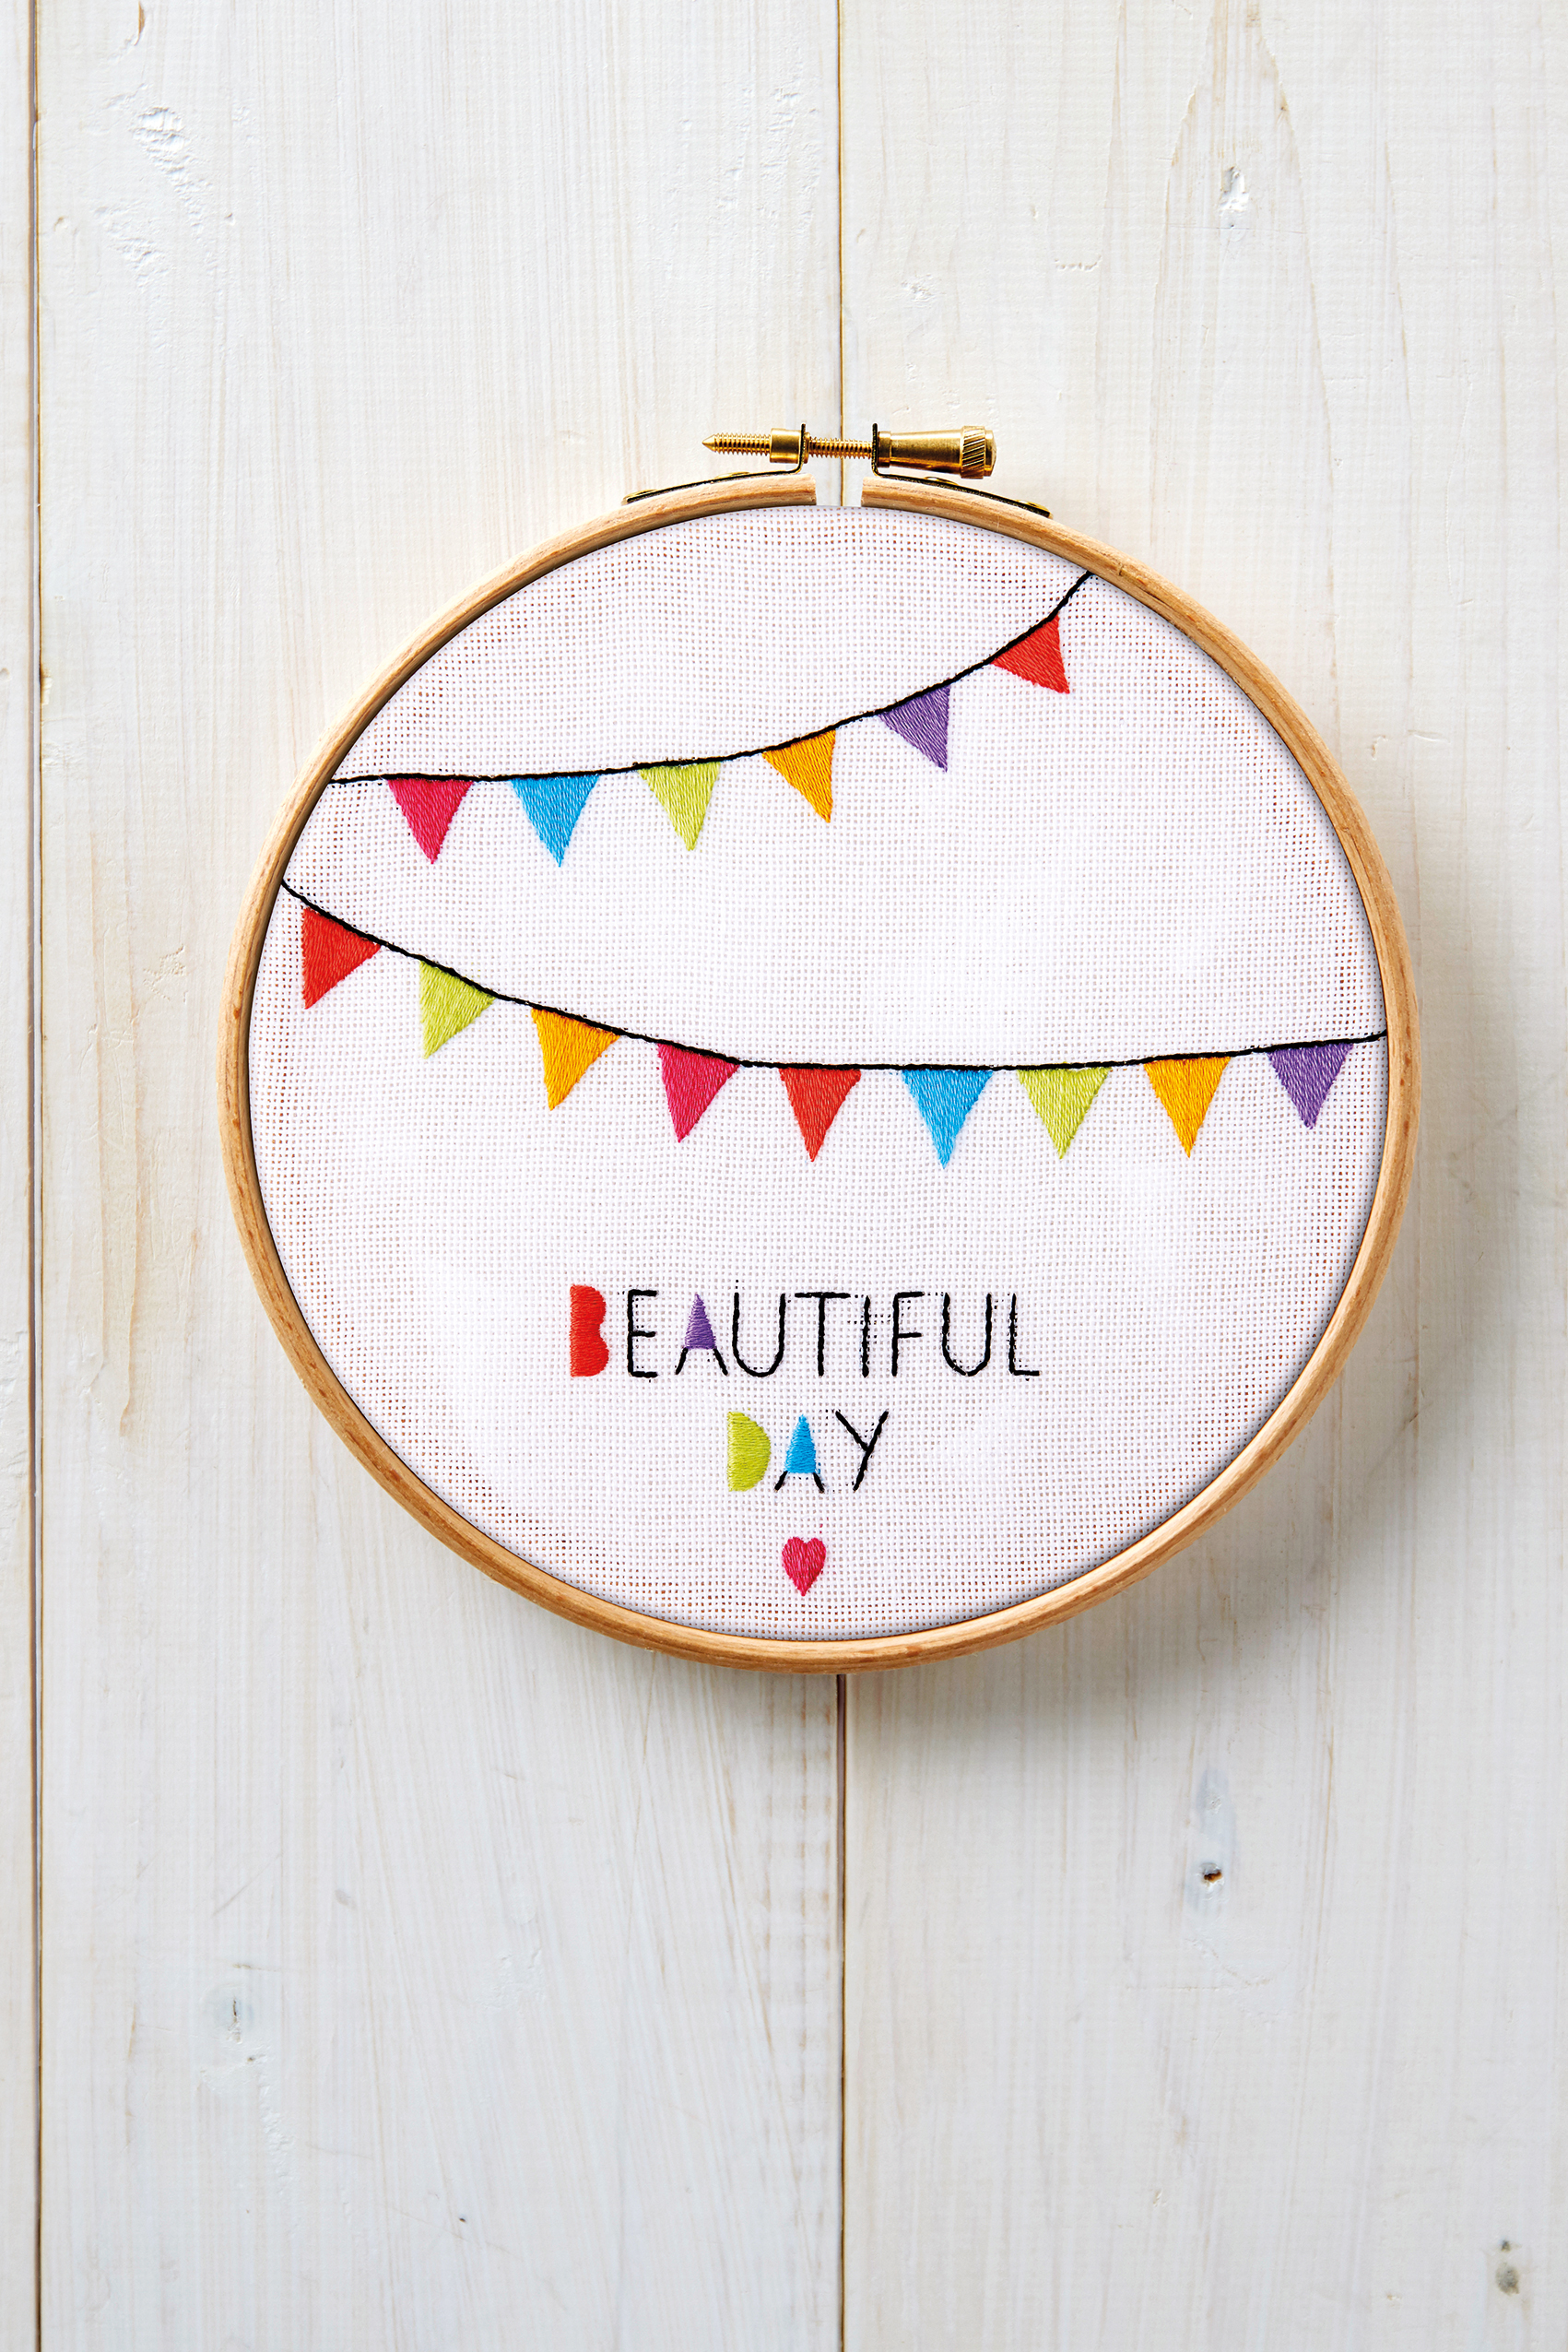
Use your new skills to sew a string of bunting in this cute hoop art idea, using our free pattern at the start of this post.

How to make an embroidered necklace
This cool necklace elevates an outfit from ordinary to extra special – use it to show off your new embroidery stitch skills.

We love adding colourful jewellery to an outfit; a cool necklace lifts a plain T-shirt from ordinary to extra special, and elevates a dress from daywear to ‘evening out with the girls’ wear. Plus, there’s always room for more colour – we say ‘more is…’ more! We’ve gone for triangles as a shape as they’re simple  and definitely of the moment.
Follow Zoë Patching’s instructions for padded satin stitch above to make this necklace – and download our Necklace Embroidery pattern to get started!