How to make a twist and pop card

Interactive cards are great fun to make – and receive! Find out how to create an impressive ‘twist and pop’ card with our simple step-by-step guide, so you can add the element of surprise to your next papercraft project!

Try 6 issues of any craft magazine for just £9.99

Published: November 2, 2019 at 9:26 am

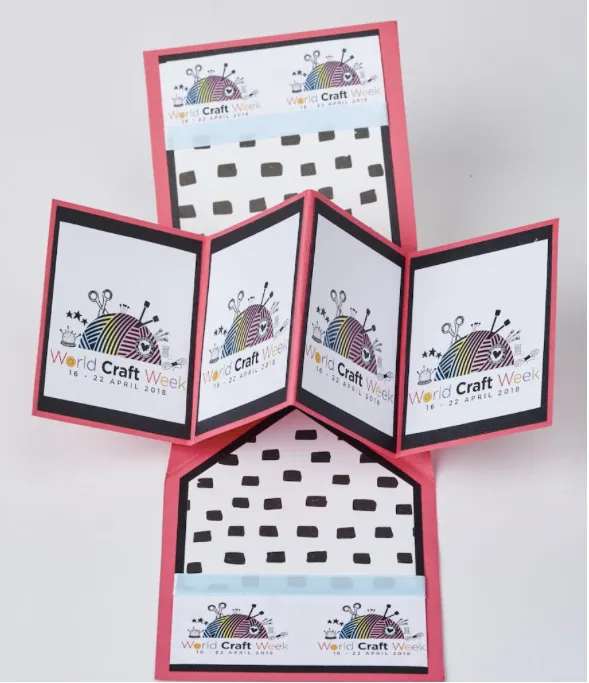
Surprise your loved ones with a fun twist and pop card! As the card opens, the central panel twists and 'pops' out to reveal the two central panels!

You can decorate the outside of the twist and pop card with embellishments, but don't add anything too thick to the central panels as this will impede the mechanism.

Twist and pop card

Step 1

1. Trim a sheet of A4 card to 29cm then score at 14.5cm and fold in half. Open up the card then measure in 5.5cm from each corner on the short sides and mark in pencil.

Step 2

Measure 11cm from each corner on the long sides then draw a rectangle using the two pencil measurements as a guide. Trim away each rectangle, so you’re left with the shape of a cross.

Step 3

Draw a small pencil mark at 1.5cm up each wider, longer edge leading up from the intersection of the cross. Find the centre point along the folded line in the middle of the card. Score diagonal lines from the centre point to each of the four pencil marks then valley fold.

Step 4

Place double-sided tape below the folded centre line on the left-hand edge of the cross, then place more double-sided tape above the folded centre line right-hand edge of the cross.

Step 5

Trim another piece of card to 8.5x28cm then score it, along the long side, at 7cm, 14cm and 21cm. Concertina fold. Unfold the piece of card, then lay it across the centre of the cross, so that the sides overhang the left and right sections by about 1cm. Use the double-sided tape to stick the concertina panel in place. This will create the ‘twist and pop’ element of the card!