How to round corners on your card layers

Expert card designers often round the corners on their paper layers, and using this simple technique, you will be able to really make a huge difference to the look of your finished cards.

Try 6 issues of any craft magazine from just £9.99

Published: August 21, 2019 at 4:12 pm

Rounding the corners of patterned paper background layers gives a cool contemporary feel, and also helps different colours and patterns work together – echoing the same curved corners for every layer creates design harmony.

Read our step-by-step guide below to learn how to round paper corners using a corner rounder punch. There are lots of different corner rounder punches available to buy, but they all work in a similar way. If you’re using a punch for the first time, it’s a good idea to try it on scrap paper first as it might be a little stiff or oily to start with.

And if you don’t have a punch, don’t worry! You can get fabulous round corners with a penny and a pencil.

We'll show you how to use both techniques!

Shopping List:

  • Card or patterned paper
  • Corner rounder punch
  • Penny or small round item
  • Pencil
  • Scissors

Step 1

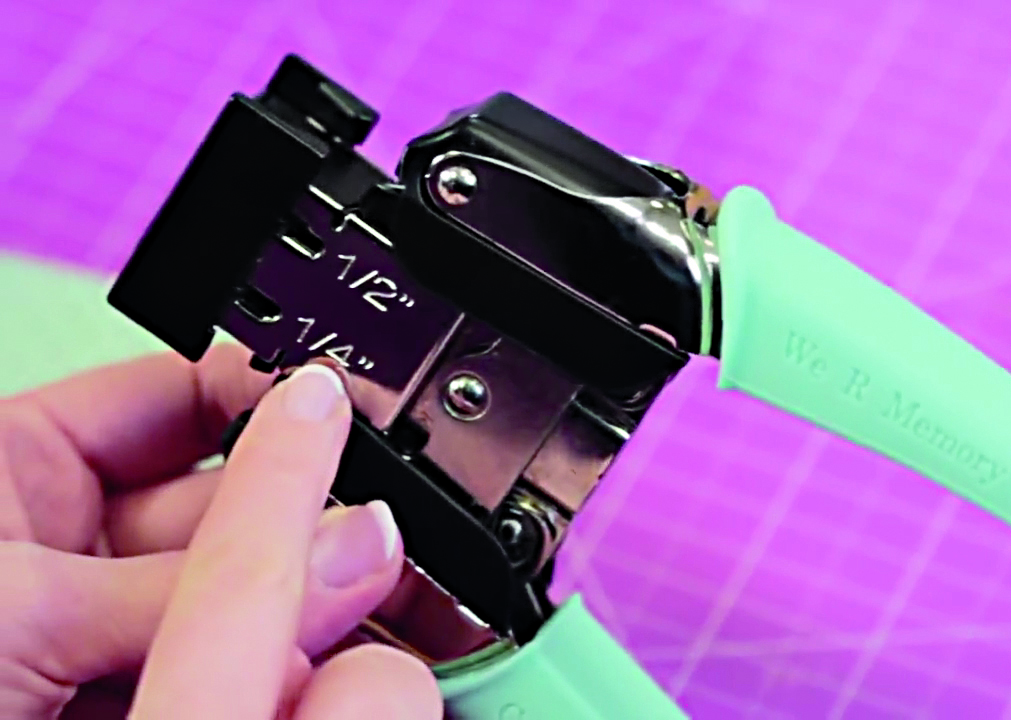
If your corner rounder punch has two options, choose which corner size you’ll use. Make sure you stick to the same size for all the corners on your paper!

How to round the corners on your papers 1

Step 2

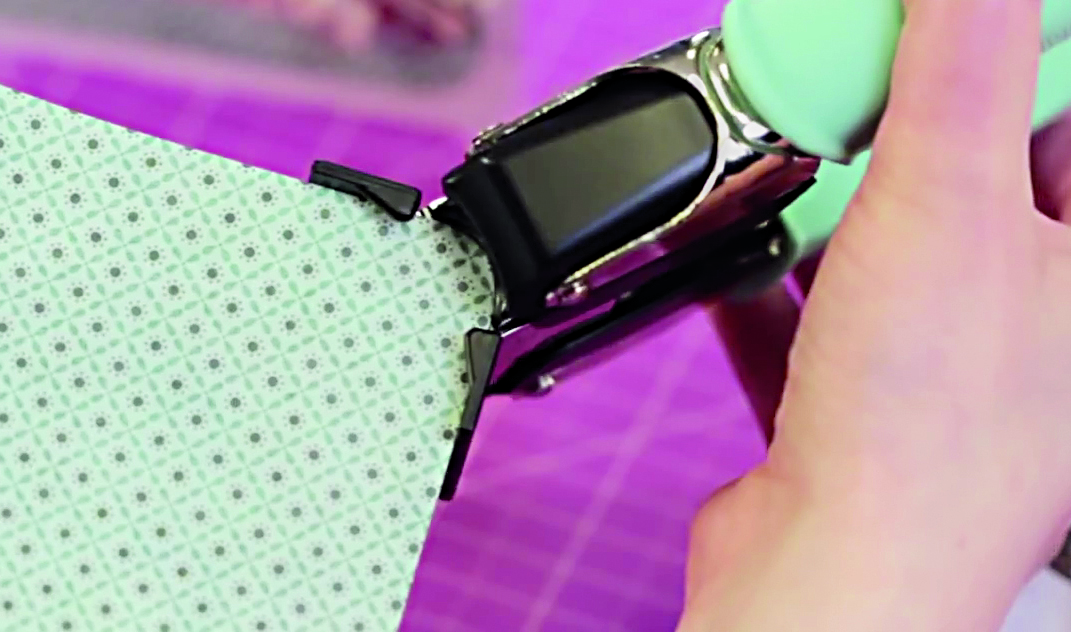
Insert the corner of your patterned paper into the punch – make sure it’s all the way in, meeting the guides on each side. Squeeze to punch the corner.

How to round your card corners 2

Step 3

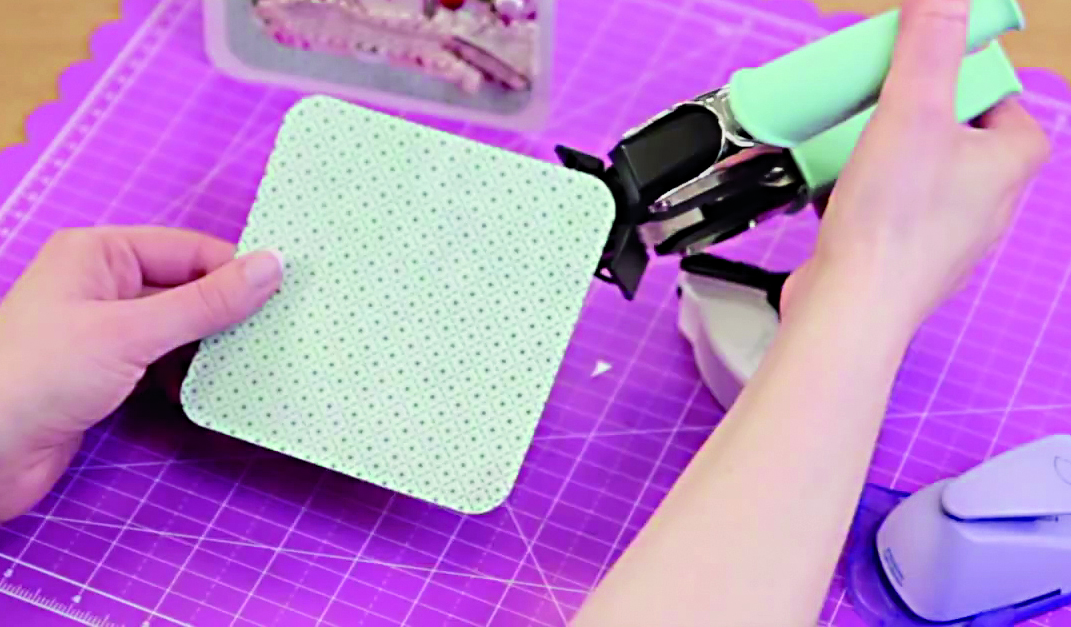
Punch all four corners of your patterned paper. You may need to give your punch a shake between each corner to keep the blade clear of paper scraps.

How to round the corners on your papers 3

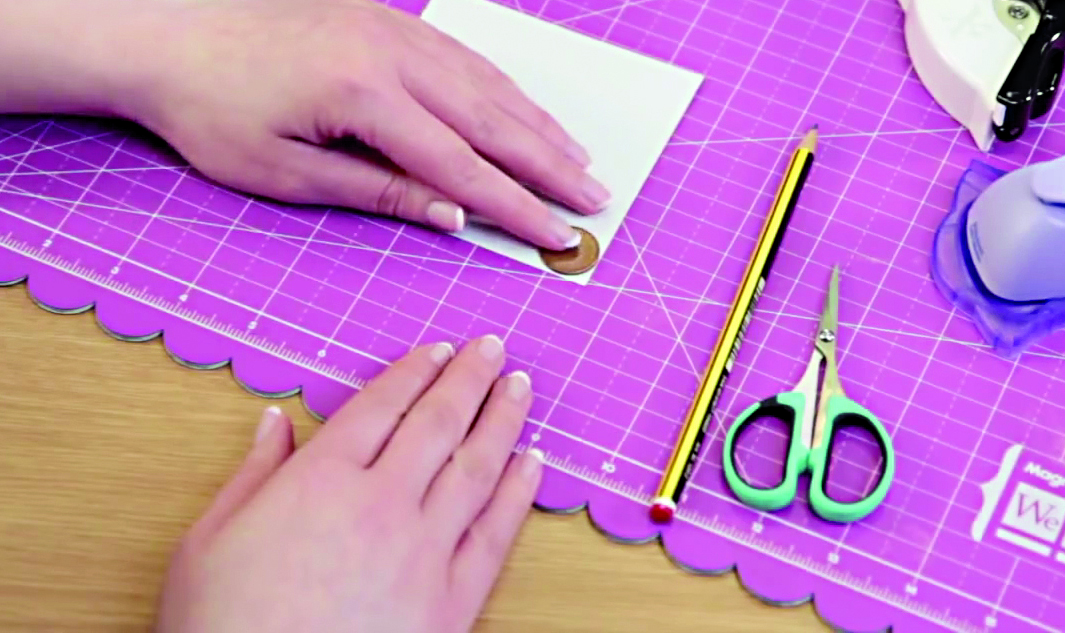
If you don’t have a corner punch, you can still get the look! Turn your paper over and draw around a coin at each corner. Trim these curves with scissors.

How to round the corners on your papers 4