How to use a craft punch

Paper punches make it easy to cut shapes quickly and accurately. They come in lots of designs, but basic motifs are the most useful. Follow our hand How To below to get to grips with punching shapes from paper and card.

Try 6 issues of any craft magazine from just £9.99

Published: August 22, 2019 at 3:08 pm

Punching shapes from patterned papers and card is a really quick and easy way of creating your own embellishments to add to your cards and scrapbook pages. Circles, squares and simple borders (like scalloped or lacy lines) are great for whipping up quick layered backgrounds or fancy edges. Flower, star, tag and heart shapes always come in useful, too.

There are a few different styles of punch to choose from – lever, squeeze and push-button – but they all work in the same way. Insert your card or paper, then squeeze and release to punch out a shape. It’s so simple, yet guaranteed to produce neat, crisp shapes every time. In this step-by-step guide, we’ll show you a clever trick for basic lever punching. By turning a punch upside down, you can cut shapes that show off a specific area of your patterned paper.
Step 1

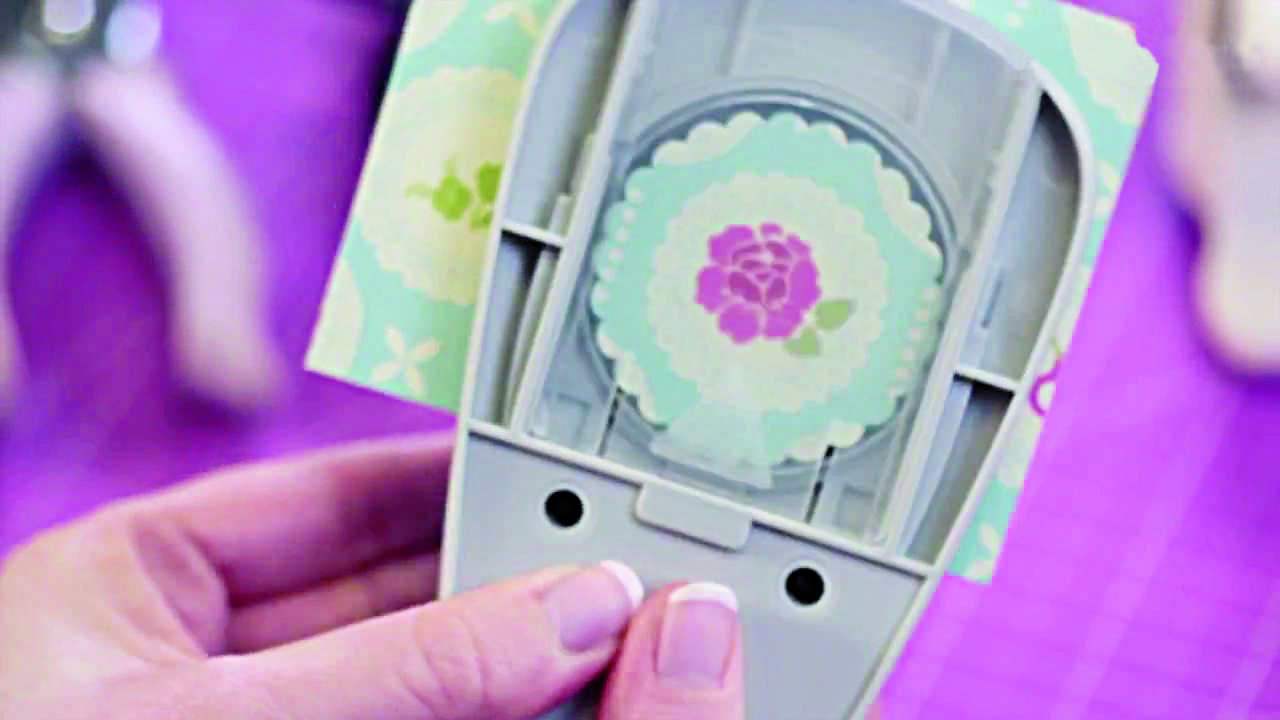
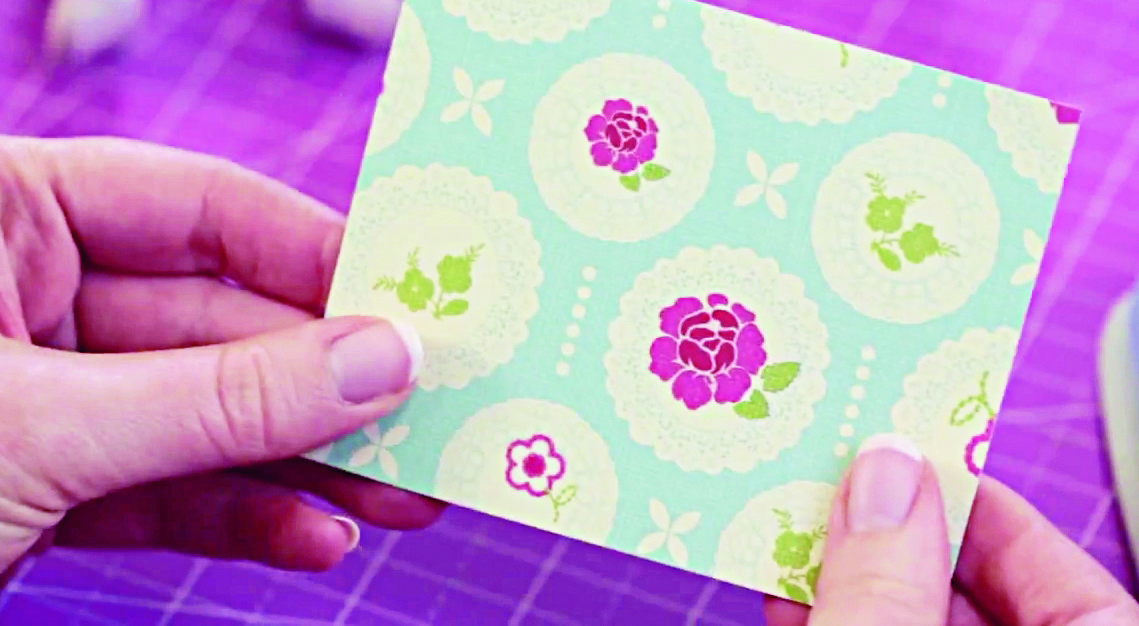
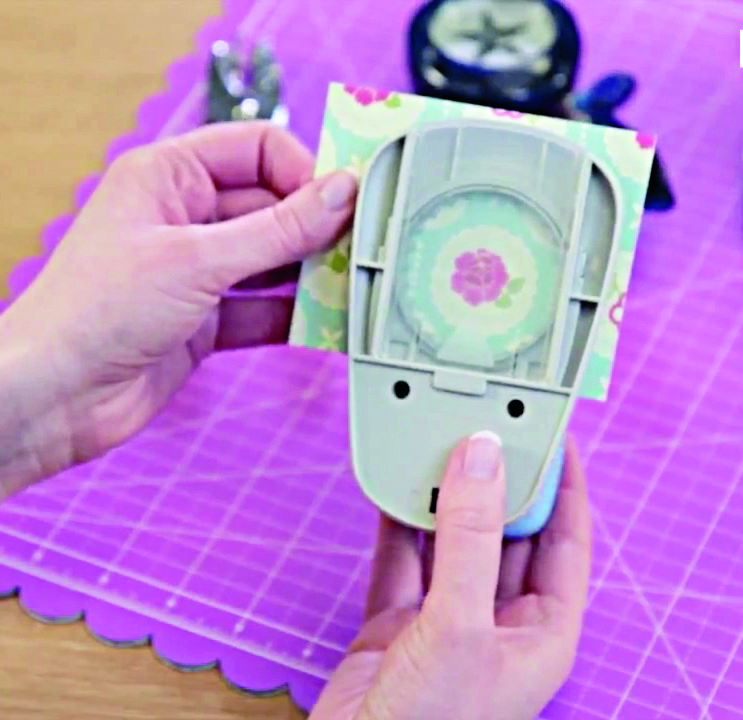
Trim your patterned paper so the punch can reach the part of the pattern that you’d like to cut out. Patterns that echo the shape of the punch will work well.

Punching shapes 1

Step 2

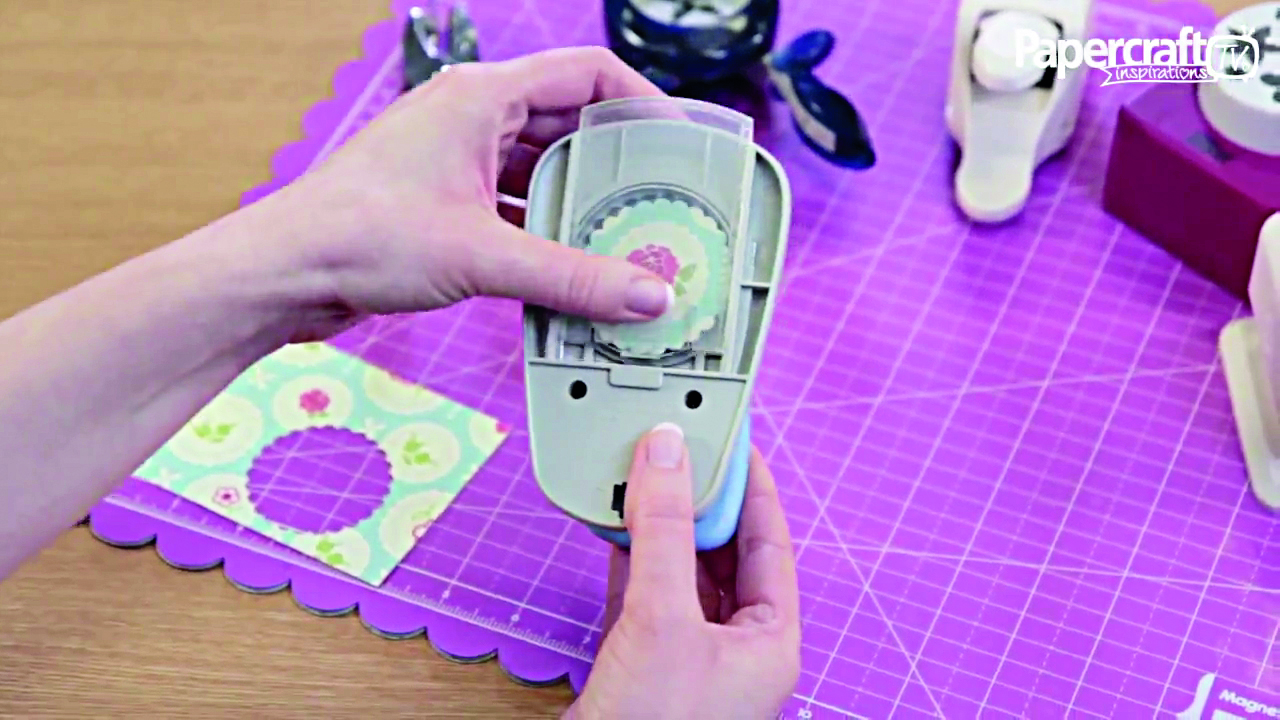
Turn the punch upside down – you’ll be able to see the punch blade through the plastic. Line up your chosen part of the paper pattern inside the punch area.

Punching shapes 2

Step 3

Squeeze the lever on the punch to punch out the shape. You might need to use both hands, but the punch blade will hold the paper in place as you squeeze.

Punching shapes 3

Step 4

Slide away the plastic window and remove the shape. If the shape doesn’t fall out immediately, gently push the lever again to ease it out.

Punching shapes 4