How to use a papercraft template

Many cardmaking projects online and in books use shape templates or templates for the base card itself, so follow our handy steps to make using templates a breeze!

Try 6 issues of any craft magazine from just £9.99

Published: August 21, 2019 at 3:31 pm

Templates help you cut complicated designs from paper, ready to layer onto your card – this is a technique known as paper piecing. You’ll be amazed at what you can create with just a few simple templates!

See how it’s done in the step-by-step guide below. You don’t need any special equipment – just a computer printer or photocopier for reproducing the template, plus a pencil and sharp scissors or a craft knife. If you find a template shape that you’d like to use often, it’s worth printing or copying it onto card so it’ll last longer and keep its shape.

Remember to always draw around the template onto the back of the card or paper, so you don’t get any pencil marks on the front of your design.

Shopping List:

    • Card or paper
    • Template
    • Pencil
    • Scissors

Step 1

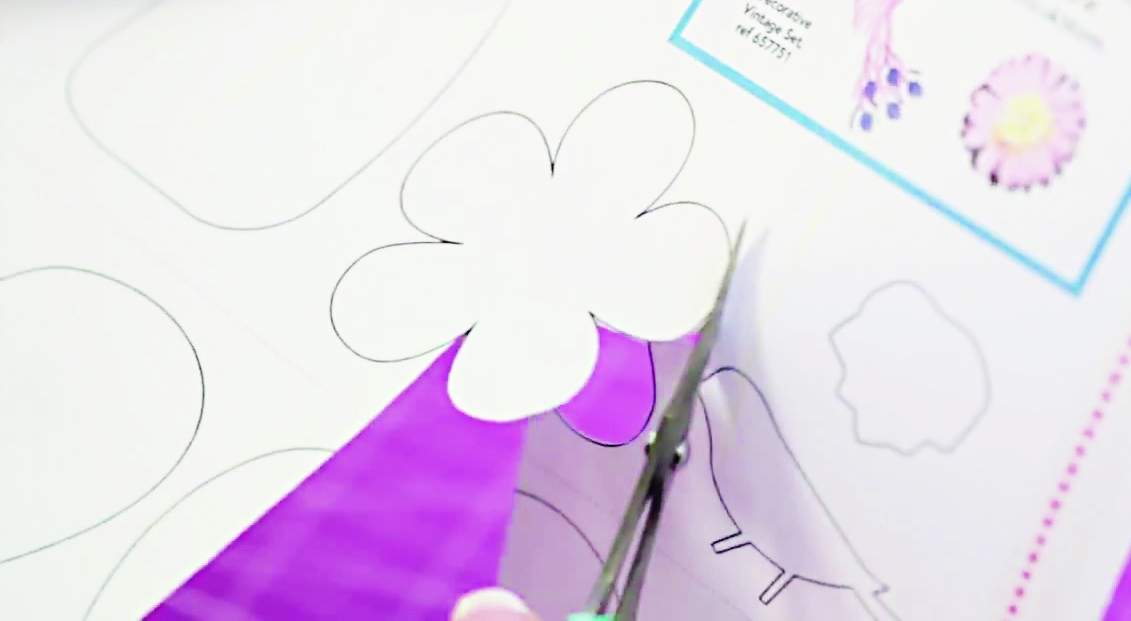
Print out or photocopy the template you want to use. Cut out the shape using sharp scissors – small embroidery scissors are perfect for this step.


How to use a template 1

Step 2

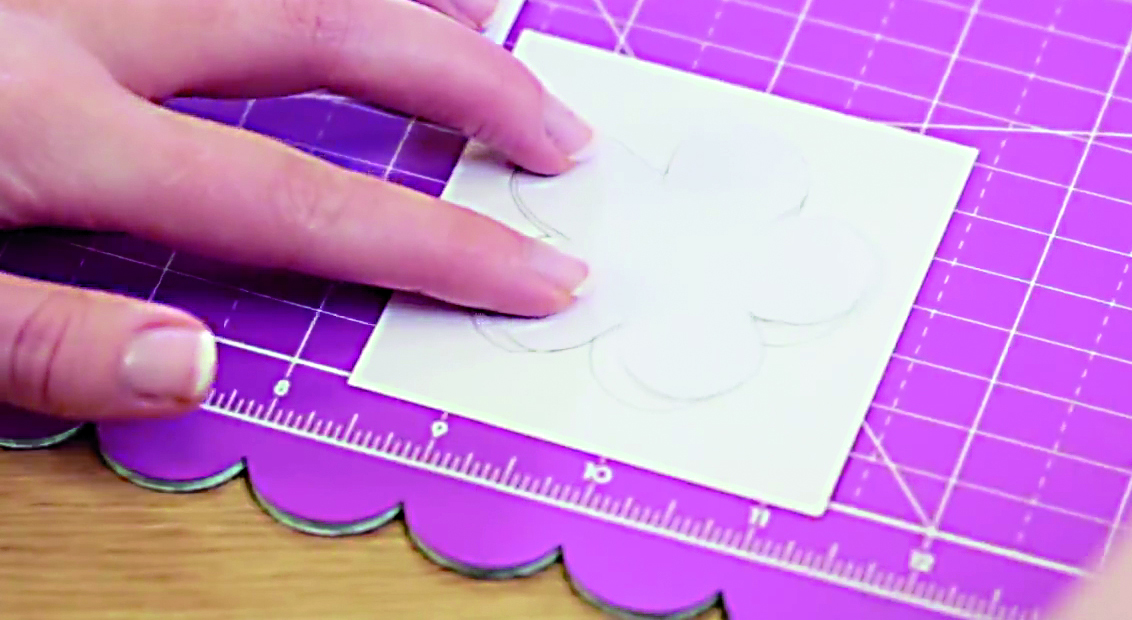
Turn your piece of coloured card or patterned paper face-down and place the template on top. Lightly draw around the shape with a soft pencil.


How to use a template 2

Step 3

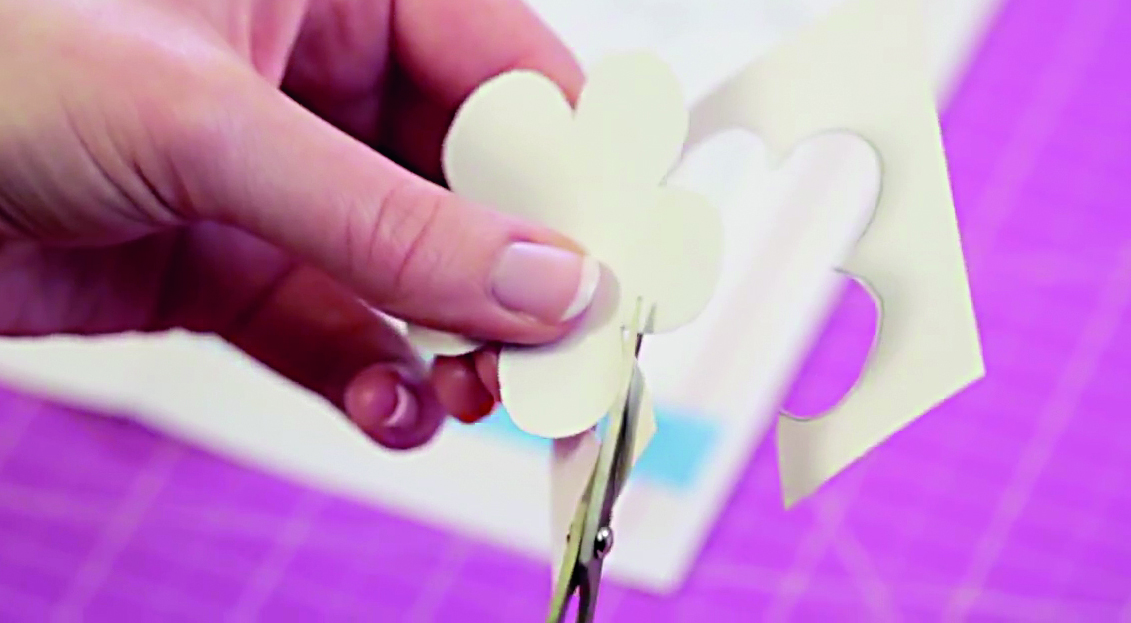
Cut out the shape using sharp scissors – turn the shape as you cut to get smooth curves and corners. For more complicated shapes, you can use a craft knife and mat.


How to use a template 3

Step 4

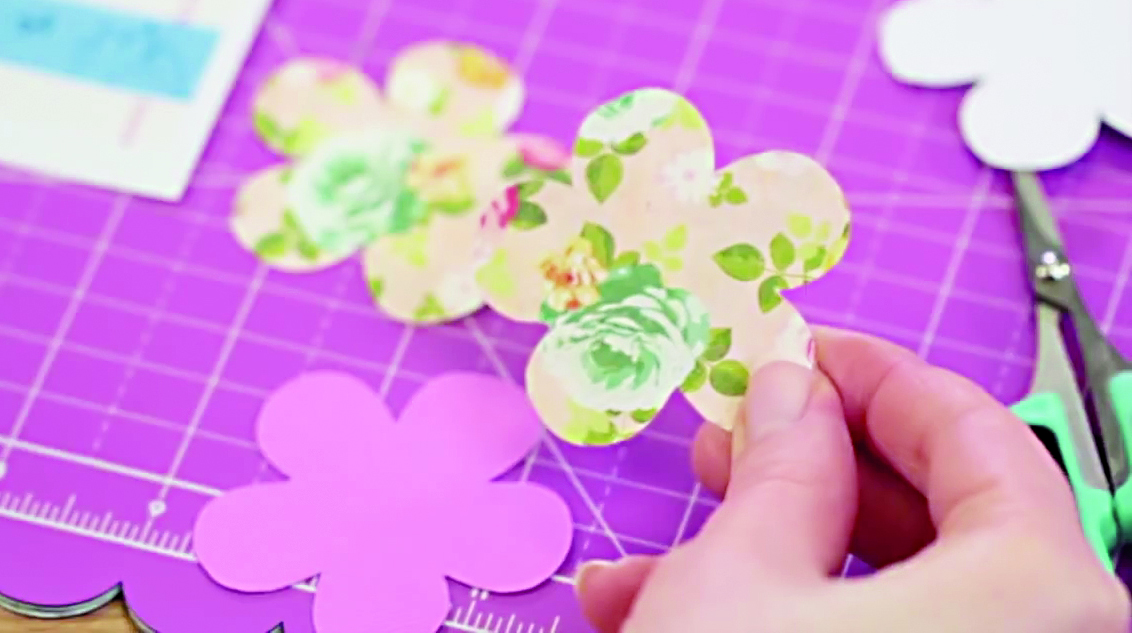
Turn the card or paper over to see your finished shape! Keep the template safe and you can use it over and over again in your cardmaking projects.


How to use a template 4