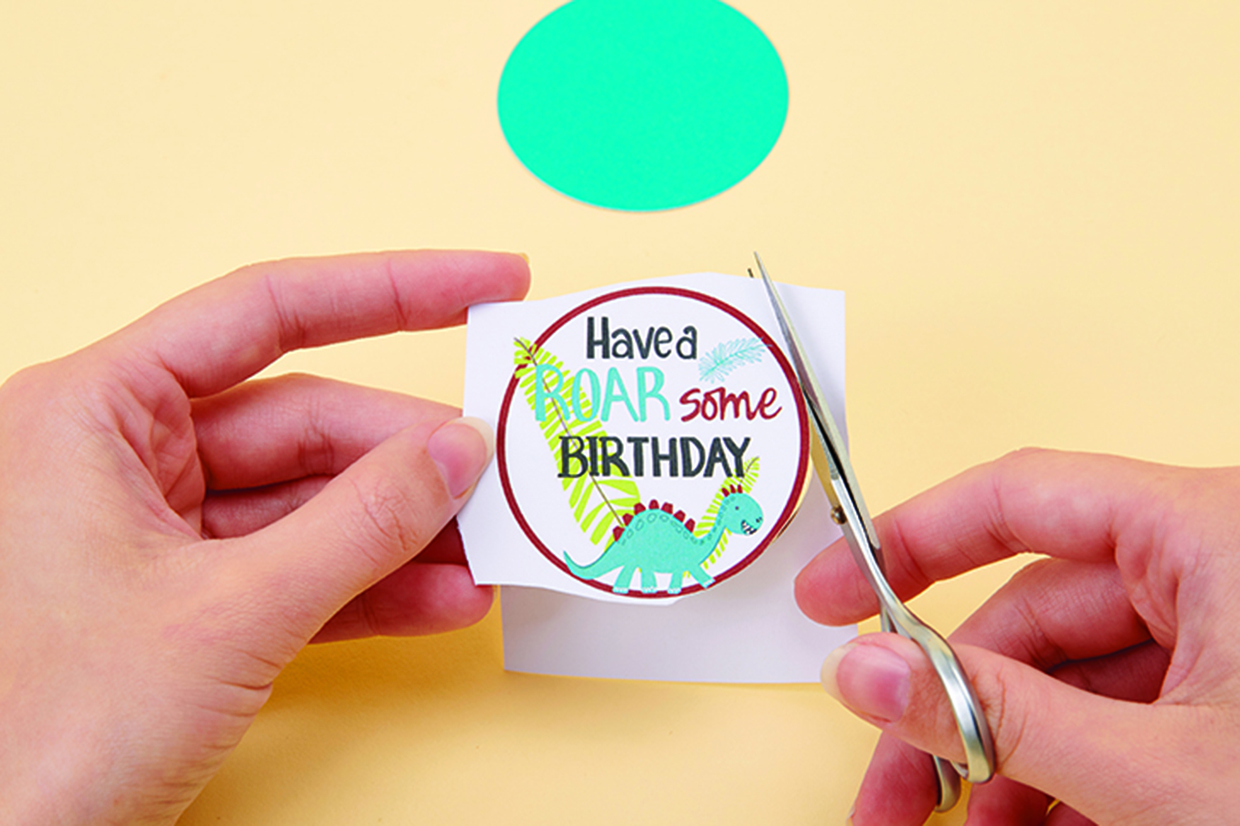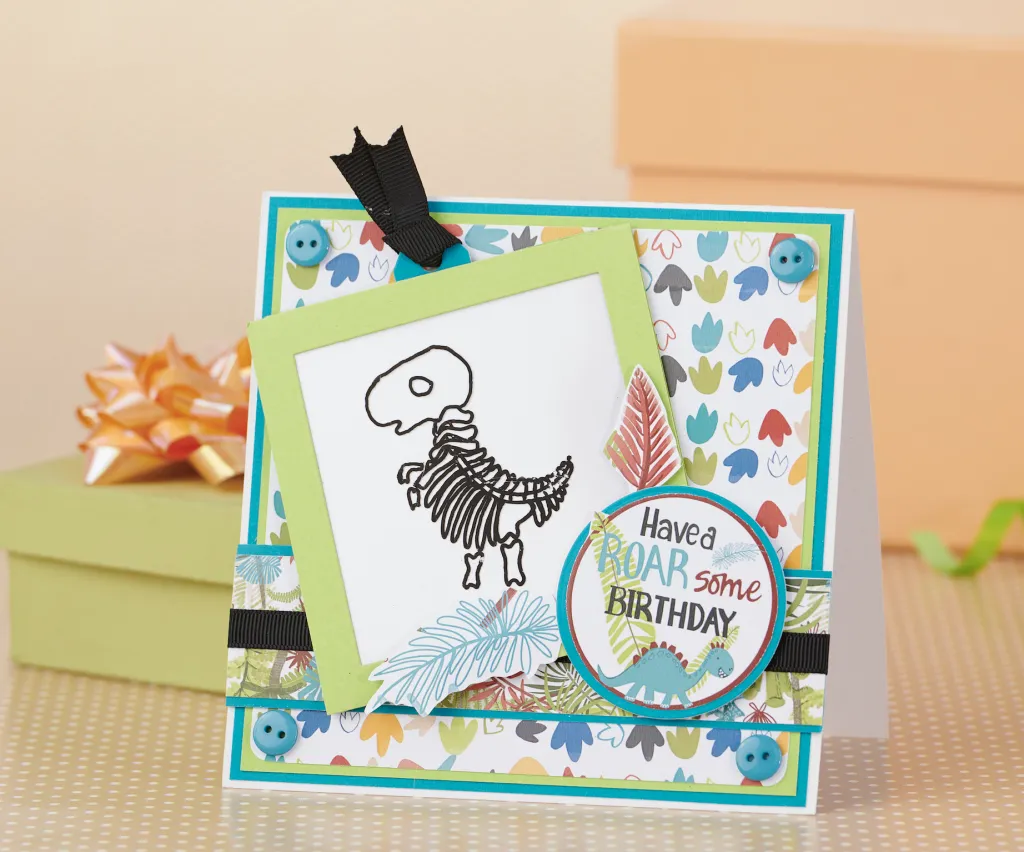
Full of colour and character, Naomi Skinner’s dinosaur printables are triceratop-notch! You can download and print these out to use in any of your craft projects. If you'd like some ideas for cards you can make with them, we have some spectacular moving makes for you to try out. Try a waterfall card and magic colour card, plus you could craft a super-scary T-rex with moving, gnashing jaws!
These super-cute dinosaurs look too friendly to be threatening and come with bright papers and sentiments to suit a host of crafting projects. With everything from footprints to fossils, it’s the perfect excuse for some mammoth creativity. Grab your crafty stash and step back into prehistoric times!
You will need
- Free dinosaur printables
- Card
- Acetate
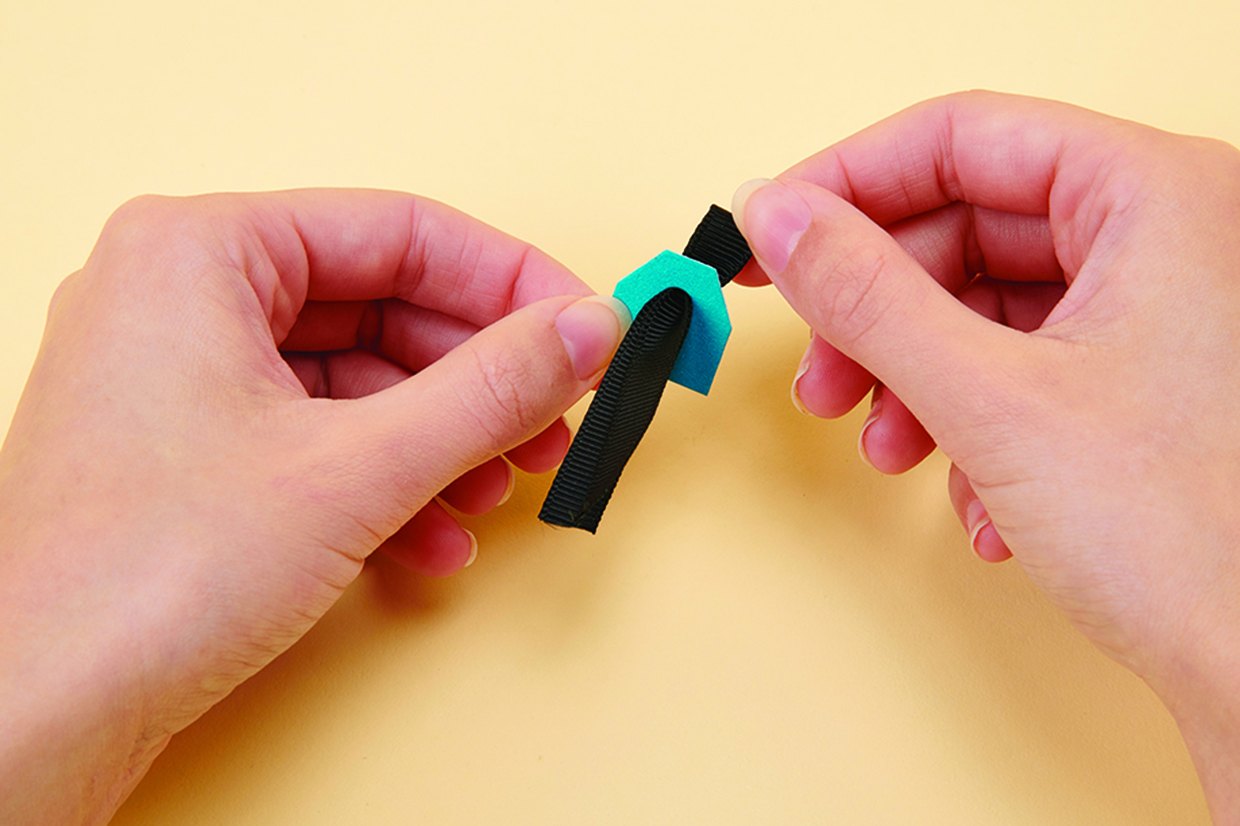
- Ribbon
- Buttons
- Thin black permanent marker
- Brads
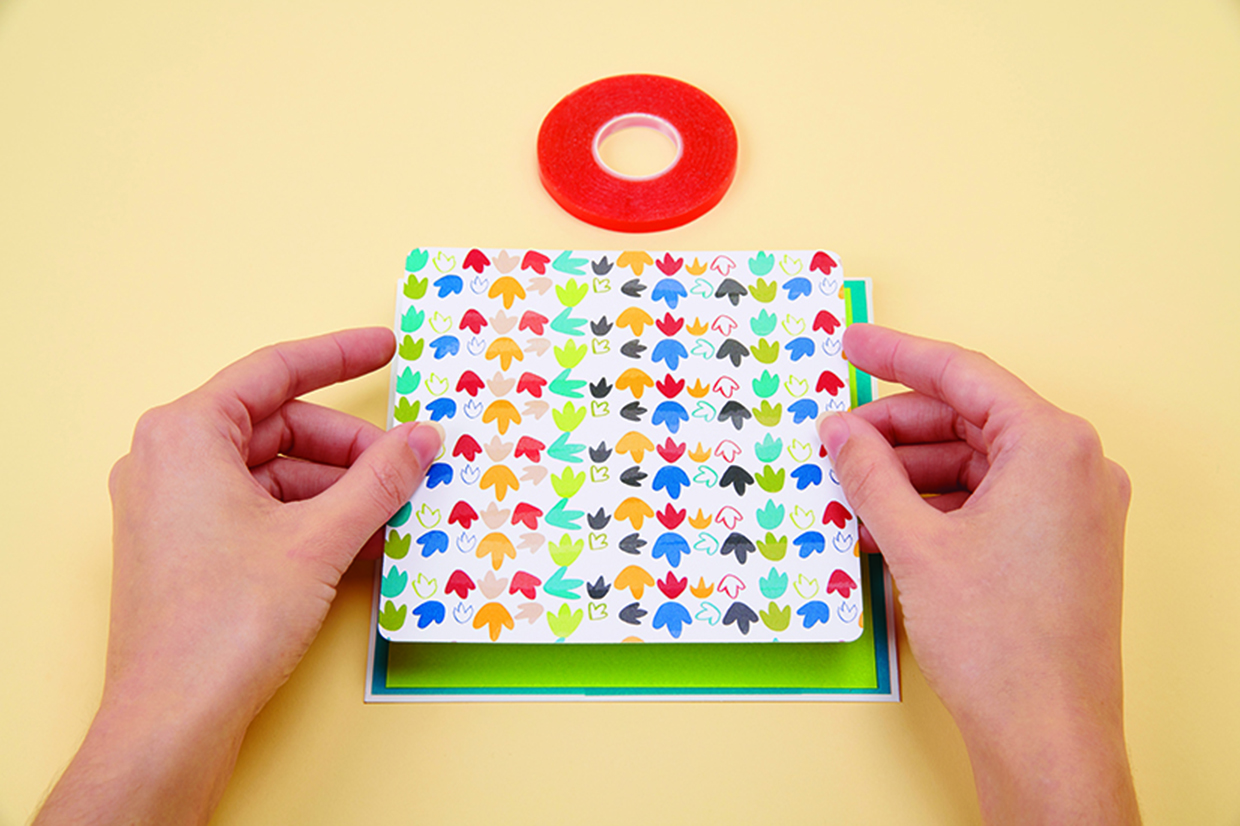
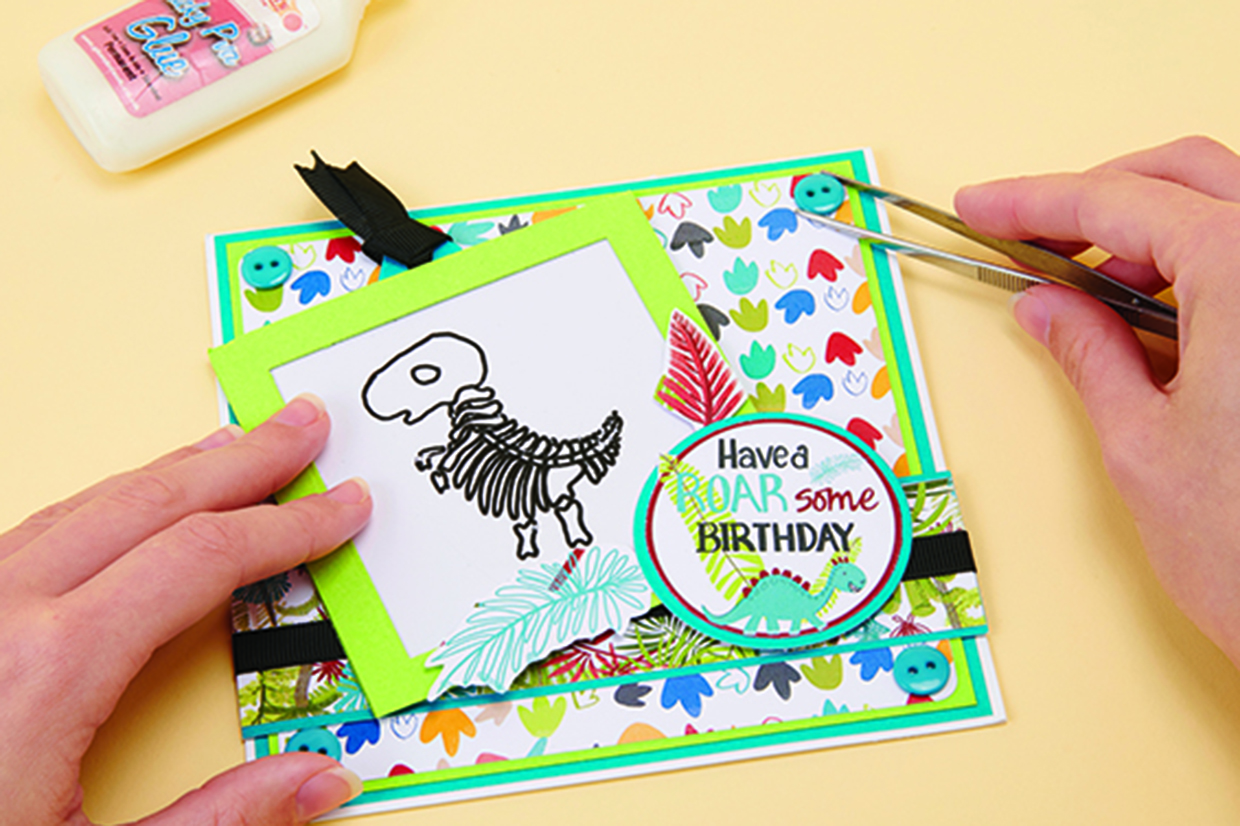
 Cut a 10x20cm piece of line card. Fold in half at the middle, to make a 10x10cm card. Die cut or hand cut an 8cm square through one half. Attach a dinosaur image from the dinosaur printables as shown. Run 3mm of double-sided tape along the sides and base of the dinosaur image.