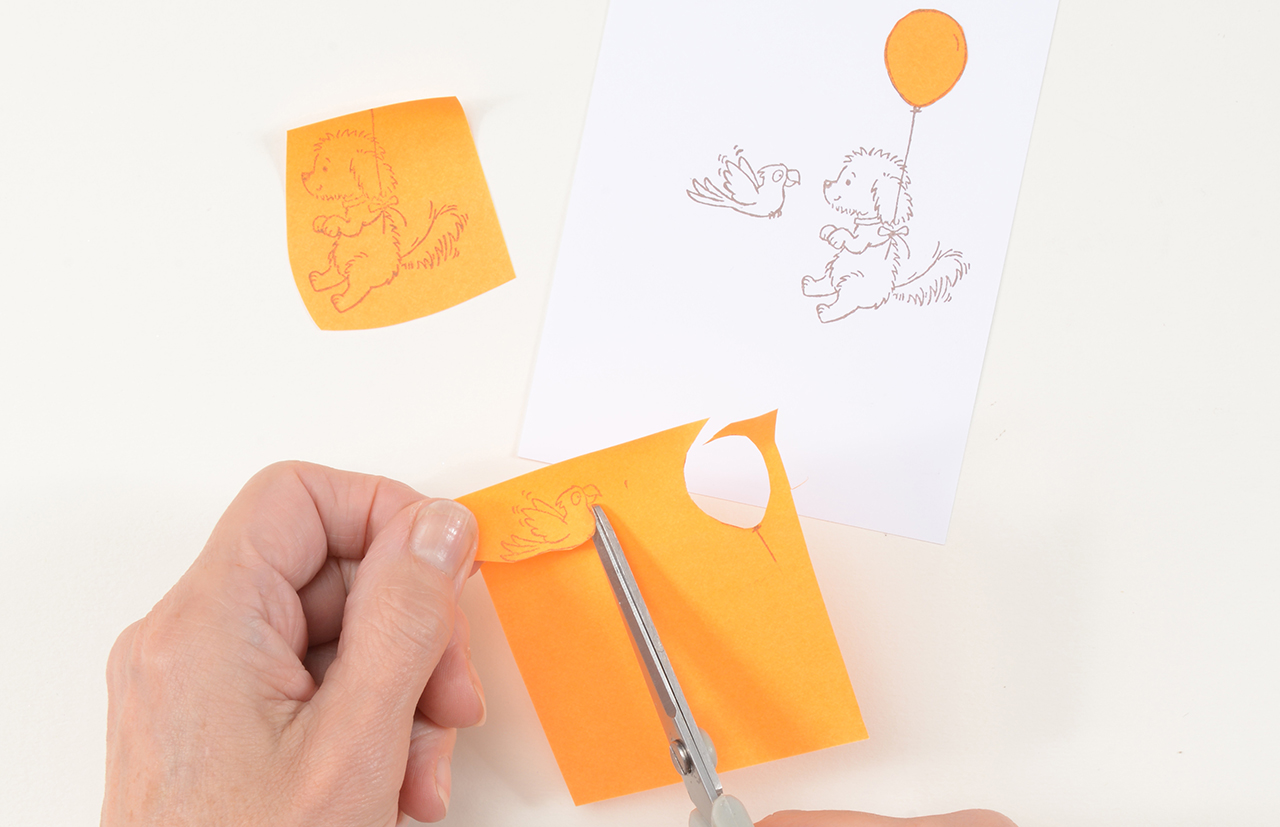
Give your character stamps a new lease of life by discovering the art of stamp masking! It’s a relatively easy technique to master, but one that is sure to give your cards real wow-factor! To create a mask you simply stamp your character where you want it to be positioned, then stamp it again onto a Post-it note. Cut out the second version carefully and position it over the first. Now you can add whatever background you like! When you remove the Post-it, you’ll have a wonderful seamless scene for your stamped character. Designer, Julie Gibbs has used some adorable kitten and puppy stamps for her cards, but try it with your favourite characters, instead!
How to mask stamps for card making
Make more of the stamps you already own by building up scenes using the stamp masking card making technique

You will need:
- Animal stamps
- Foliage stamps
- Patterned papers
- Post-it notes
Step 1
Cut a 10.5x21cm piece of card. Score at 3cm and 6cm and fold into mountain and valley folds. Stick to a 10.5x15cm card base.

Step 2
Stamp the bird and dog onto a 9.5x14cm piece of white card. Stamp again onto Post-it notes and cut out to create masks.

Step 3
Position the masks and cut out two cloud shapes from Post-it notes. Stick the clouds over the stamp masks and add an inked sky.

Step 4
Remove the cloud masks. Stamp trees. Remove the animal masks and colour the images. Layer onto paper and add to the card front.

Step 5
Cut a 10.5x5cm piece of kraft card. Add a scalloped edge, top with patterned paper and ribbon, then add to the base card.

It can be time consuming to create masks, but they are reusable, so keep them safe! A good idea is to stick them onto a sheet of acetate.