It’s easier than you might think to make fantastic three-dimensional embellishments for your cards, especially with the fabulous range of products from WOW! Well known amongst crafters for their amazing array of embossing powders, WOW! also offers a fabulous Melt-It! Powder, which our designer Dorothy Wood has used here to make the pretty toppers for her cards.
To use, simply melt this nifty powder with embossing powders to create a liquid, and then pour into the silicone moulds of your choice. Once set you can then decorate your embellishments with metallic pens, gilding wax or whatever else takes your fancy. This can be done using one of the specially designed electric melting pots that are available, or with your trusty heat tool as Dorothy has done here. Once you have got the hang of the melting process, try adding glitter, mica powder or gold flakes into the mould before pouring in the molten mixture for a different effect, or experimenting with different embossing powders to create clear, translucent and opaque designs!
Use different patterned papers to suit the recipient, and if you want to boost your stash – we’ve got you covered with our extensive library of free patterned papers!
Don’t forget to share your wreaths on Facebook or post them on Instagram, we love to see what you make!

 Shape your tray at one end to create a spout, and use a wooden peg to hold the other end of the tray. This will help to keep your fingers away from the heated tray and molten mixture!
 Keeping the heat on the mixture, pour into your silicone moulds (we’re using the Shabby Rose moulds from WOW!) ensuring the molten liquid flows into all crevices. Pour until the shape is full. Stop heating and the mixture will stop pouring fairly instantly.
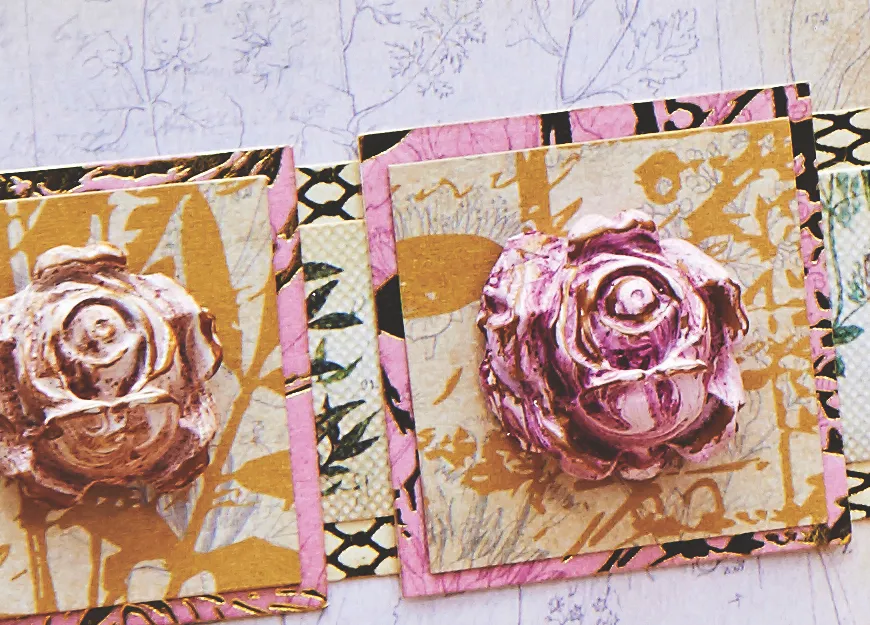
 In a new tray, repeat steps 1-2 with some Pomegranate colour powder (or another colour of your choice!) to fill the next mould. Repeat the process to fill the third rose mould. Once set, pop out the roses, rub away rough edges and brush with gilding wax.
 Next, design your card! We’re using a 143mm square of cream floral paper on a 148mm square cream base, with velvet ribbon and layered strips. We’ve also added squares of gold and floral paper.Finally, glue your 3d embellishments in place and add a sentiment if you wish.