DIY paper rosettes are simple and easy to make with our how to make a paper rosette tutorial. Use paper rosettes to decorate cards, gift bags, or items around the home. They are ideal for decorating picture frames!
The basic DIY paper rosette is made like this: cut a strip of paper, score at regular intervals and then concertina fold all along the strip (that is, fold back and forth). Stick the ends together to form a loop, then flatten it by pushing one of the edges towards the inside. Use a strong glue, like hot glue on the back of your rosette to keep it together, then back it with a circle of card for extra strength. Add a button or small card circle to hide the centre gap.
Short on patterned paper? Take a look at our ever-growing collection of free patterned papers, there are lots to choose from and there are lots of different themes. We love these confetti-style papers! For more general card making, let us show you how to make cards.
We love seeing what you make with our free printable papers, so don’t forget to share your cards and papercraft projects with us on Facebook and Twitter, too!
How to make a paper rosette with a scoreboard

You Will Need
- Patterned paper
- Scoreboard
- Cutting dies, for decoration
- Twine, for decoration
- Embellishments, for decoration
Step 1

For this first tutorial on how to make a paper rosette, we are using patterned paper with a scoreboard. We're using the lovely Gardenia paper pad from Trimcraft!
Cut four 4 x 20cm pieces of the same patterned paper (we'll be joining the strips together in the next step). To add interest to your rosette, punch a scalloped border along one edge of each piece. Trim the ends so there’s a complete scallop at each end.
Step 2

The scallops are a useful way to see where you need to fold, without having to use a ruler, so go ahead and score in between each scallop. Concertina fold all four pieces and press the creases using a bone folder to get a nice crisp finish.
Join the pieces together, end to end, to form a large loop.
Step 3

Lay the loop face-down and push the outside edge towards the centre to create a rosette. Secure using a blob of strong glue, like hot glue and attach a 3cm die-cut circle to the centre. Repeat on the reverse side of the rosette.
How to make a paper rosette out of washi tape
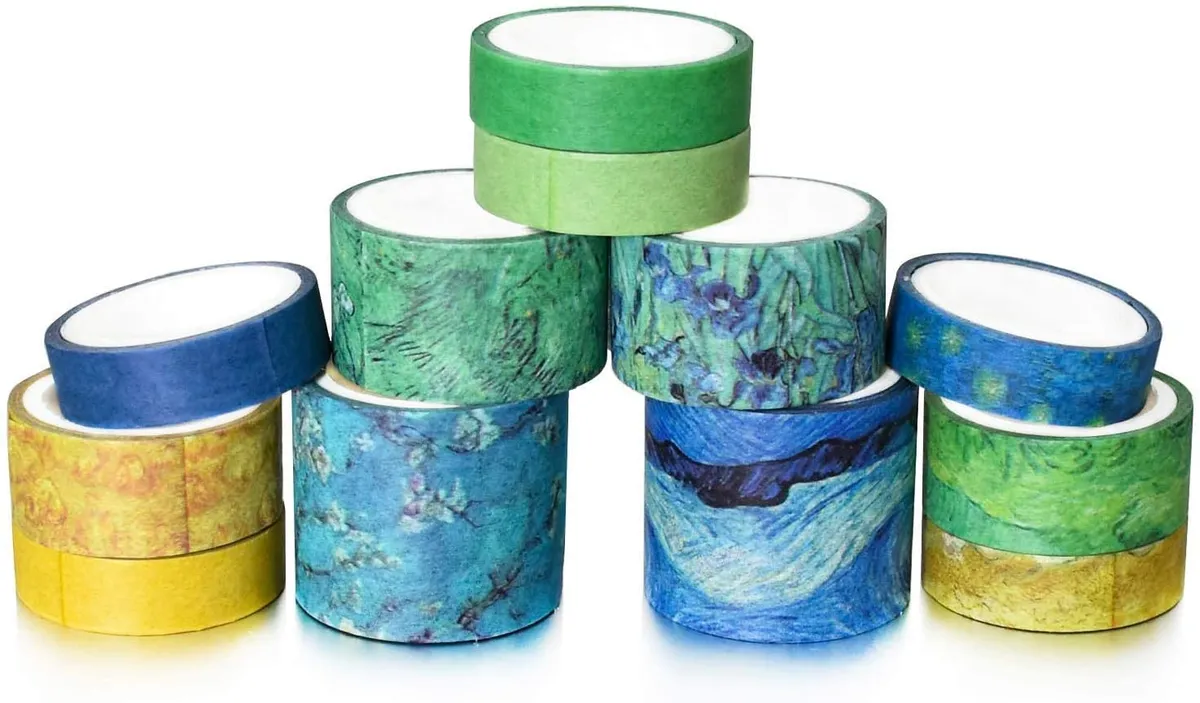
You Will Need
- Washi tape
- Paper
- Glue gun


