How to make a thanksgiving wreath

Craft your own Fall-inspired wreath, with just a few materials this easy papercut wreath by Becki Clark is a perfect way to celebrate the season and Thanksgiving.

Published: November 13, 2020 at 8:14 am

We're loving the cheery explosion of beautiful fall wreaths and Thanksgiving wreaths that are filling our instagram feeds and neighbourhood front doors with celebratory vibes for the season this year. If you're simply an Autumn fan looking for new ways to decorate or you're searching for Thanksgiving craft ideas , this beautiful papercut wreath by Becki Clarke is the project for you! Read on to find out How to make a Fall wreath or Thanksgiving wreath with our step by step guide and free templates. If you like to have fun with paper, you might also like our round up of quilling ideas for beginners , our guide to easy origami for beginners or speed things up with our Buyer's Guide to how to find the Best die cutting machine.

How to make a Fall wreath

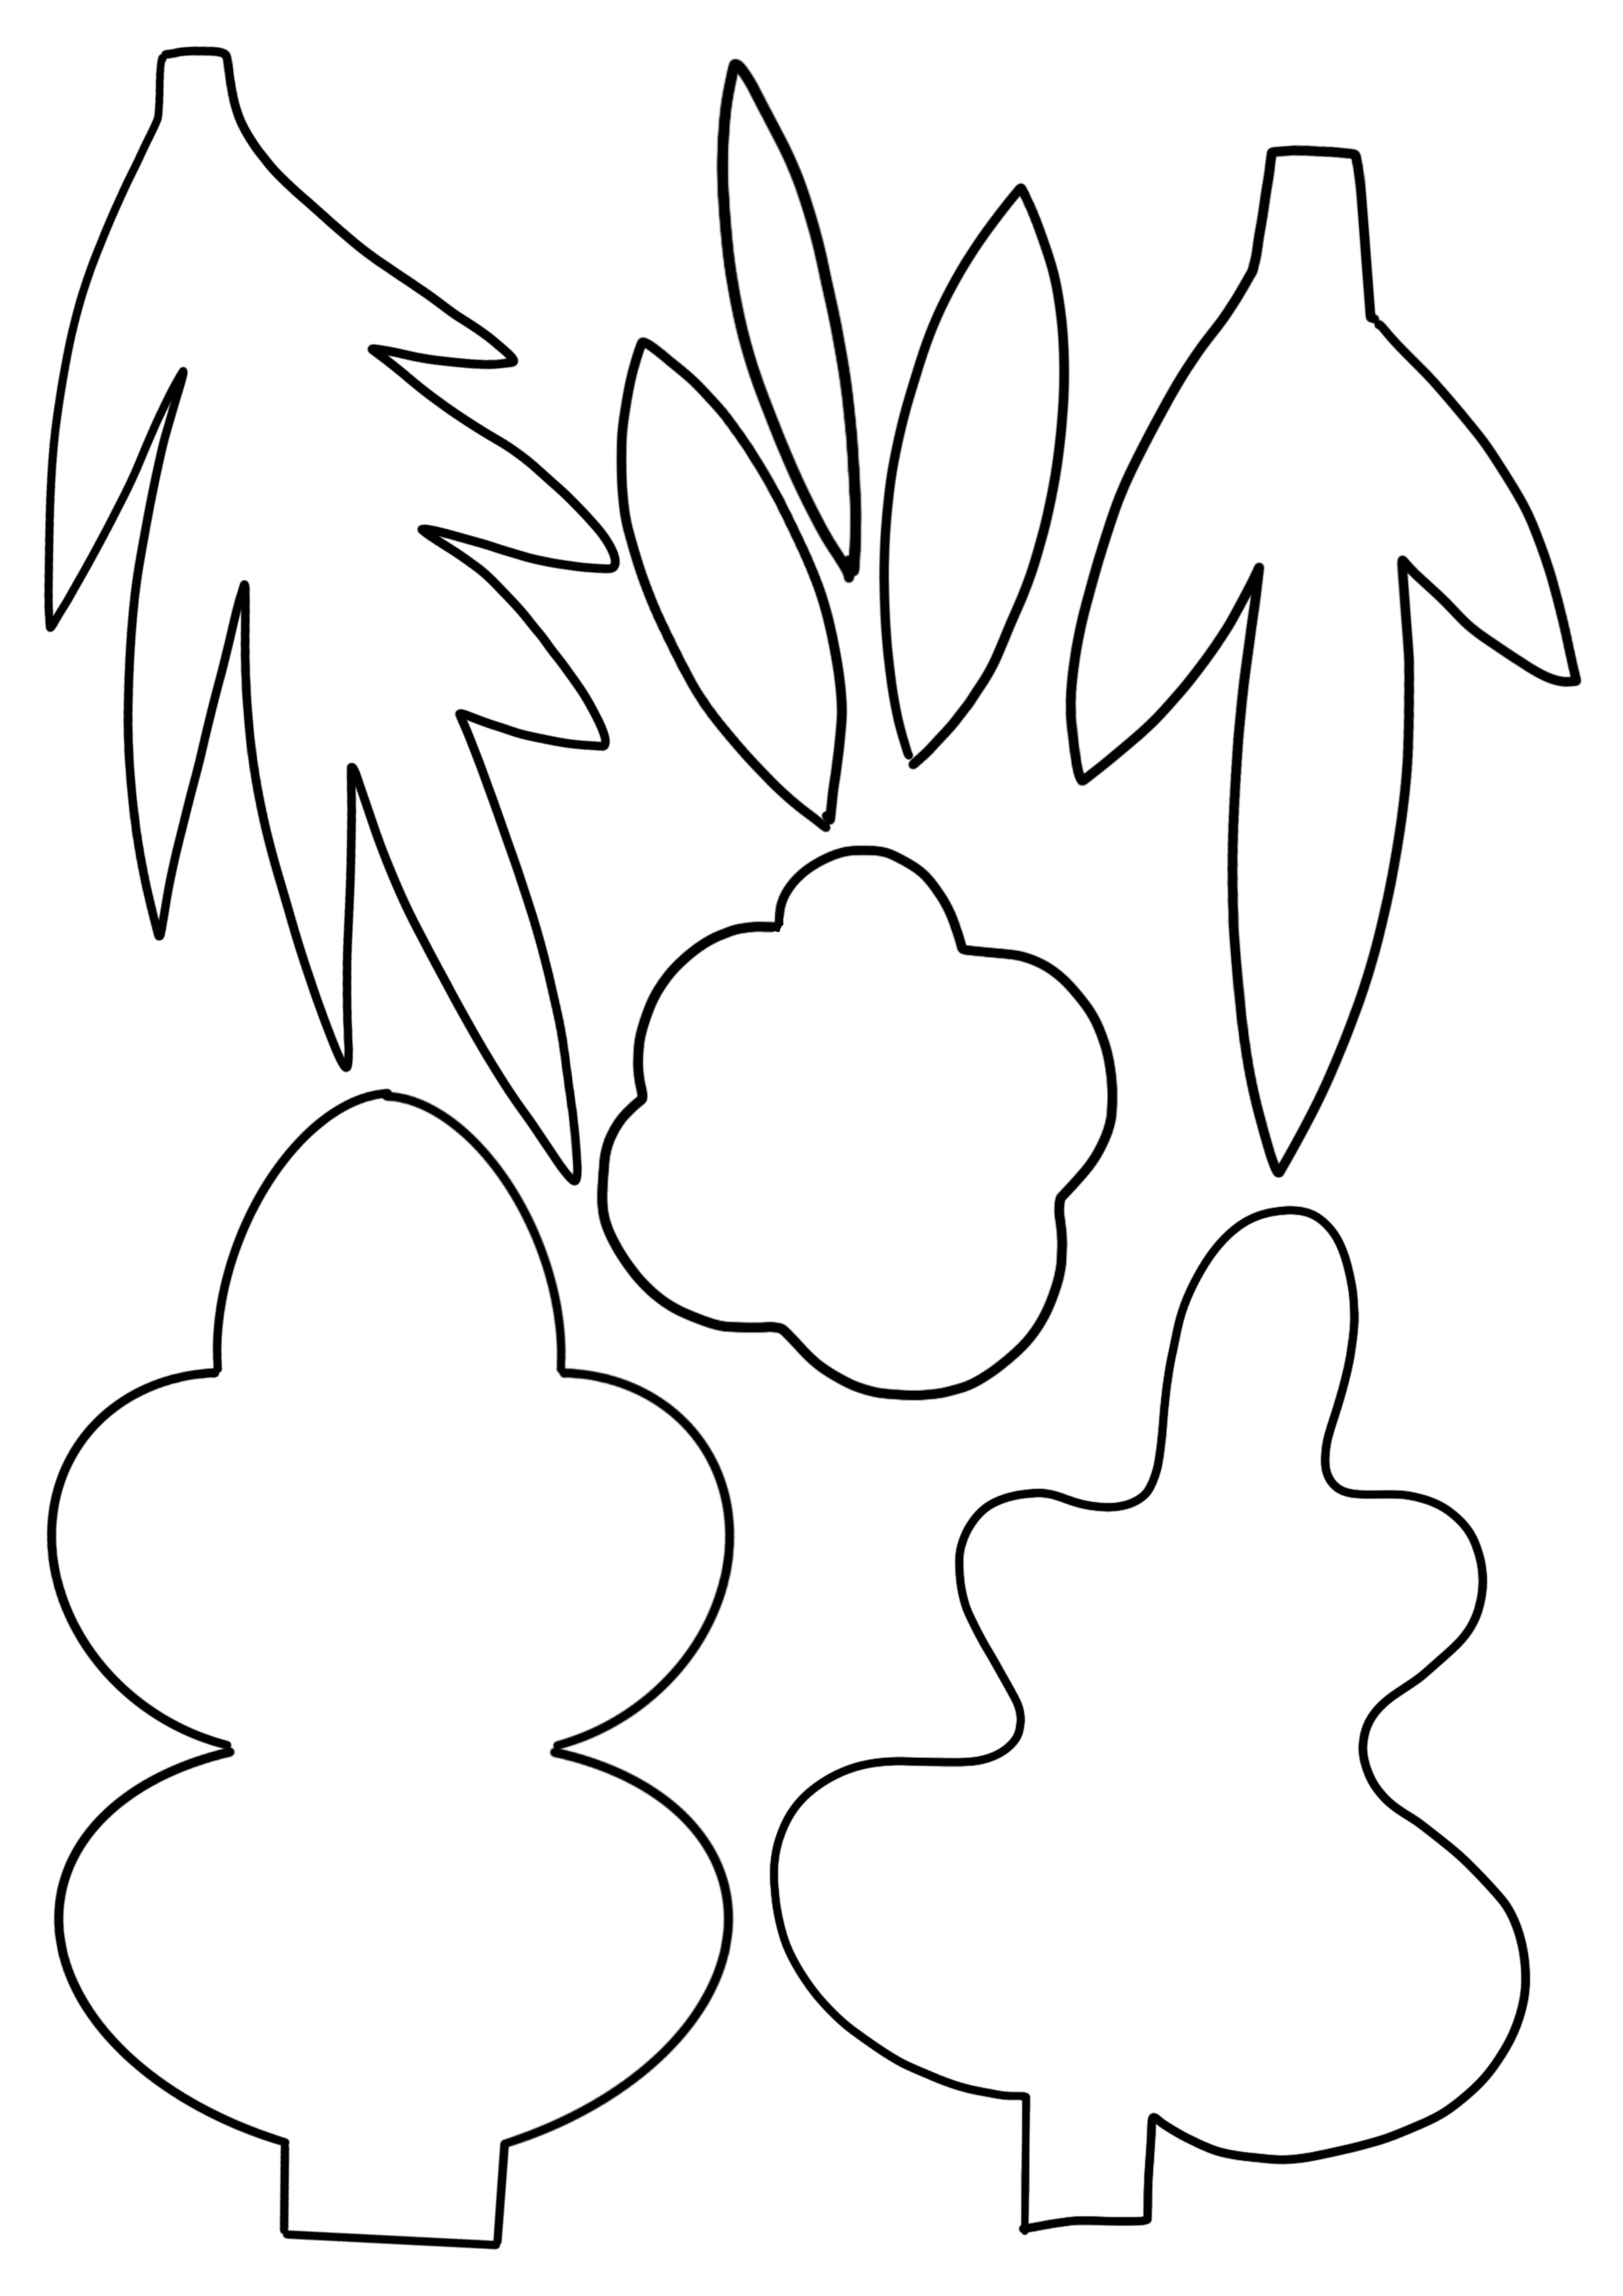
Download our free Thanksgiving wreath templates to get started.

You will need:

  • coloured paper (A selection of shades)
  • Embroidery hoop (8 inch)
  • Pen
  • Pencil
  • Glue stick
  • Scissors
  • Ribbon (Or twine)

Step 1

Thanksgiving wreath DIY materialsFold your first piece of A4 coloured paper into quarters and draw your leaf shapes onto the paper. You can either freehand simple leaf shapes or use our Fall wreath templates to draw around onto your paper. Repeat the templates across a few different coloured pieces of paper and cut out with your scissors. The great thing about quarter folding your paper is each time you cut a shape you’ll cut 4 of the exact same shapes. Once you have a little collection of coloured leaves its time to assemble.
How to make an Autumn Wreath step 1

Step 2

Using your glue, begin glueing your leaves to the embroidery hoop. Try and keep your leaves mirroring each other as you build the base layer to create a balanced paper cut.

How to make an Autumn Wreath step 2

Step 3

Alternate different colour and shaped leaves as you glue around the base, pointing all your leaves in the same direction for this initial base will also help give the wreath a balanced feel.

How to make an Autumn Wreath step 3

Step 4

For the flower shapes use a marker pen to draw on circles in the middle of the shapes with small lines coming out from the circles. You can add illustrative details onto the leaves as well if you want more depth.

How to make an Autumn Wreath step 4

Step 5

Keep glueing leaves over each each other alternating between shapes, size and colour so that your wreath looks full and abundant.

How to make an Autumn Wreath step 5

Step 6

Once you are happy with your wreath add the twine or ribbon to the back of the embroidery hoop ready to hang to celebrate the season.

Thanksgiving wreath DIY step 6

Becki Clark

About the designer

Becki Clark is a multidisciplinary creative designer based in the New Forest with over 8 years experience in the creative industry. Inspired by nature’s flora and fauna and seasonality, Becki’s signature style lends itself to a vast range of projects from botanical painting and brush lettering to surface pattern design and diy craft projects. See more of her work at www.beckiclark.com

How to make a thanksgiving wreath