How to make an easy origami box

An easy tutorial to create a quick origami box ideal for holding jewellery and other small gifts. All you need is one sheet of square paper.

Try our magazines – get 6 issues from just £9.99!

Published: March 1, 2023 at 1:48 pm

Create this perfectly neat little paper box to add to your paper folding skills. It’s great for giving a small gift or storing little trinkets inside. It might look a little complicated as a finished piece, but it’s surprisingly simple, and it can be completed in just six steps!

Once you have the hang of it, they are quick to make and a great alternative to buying a gift box. The wonderful thing about this origami project is that as long as you start your project with a square piece of paper, you can make it any size you wish! It can work for both small and large gifts.

We have used 15x15cm paper which is ideal for storing jewellery or giving small presents! It’s also so cute. At the end of our how-to guide, you’ll find an optional step if you would like to make a lid for your origami box.

What is a masu box?

The origami box is also known as the masu box.

Interestingly, a masu box is a traditional Japanese measuring container, historically used to measure rice. Visit GIFU has lots of insightful information on the masu box, including how its use has evolved over time.

The traditional masu box is made from wood. Our paper box is only inspired by the masu box and made from paper, it is best used for storing small trinkets or jewellery.

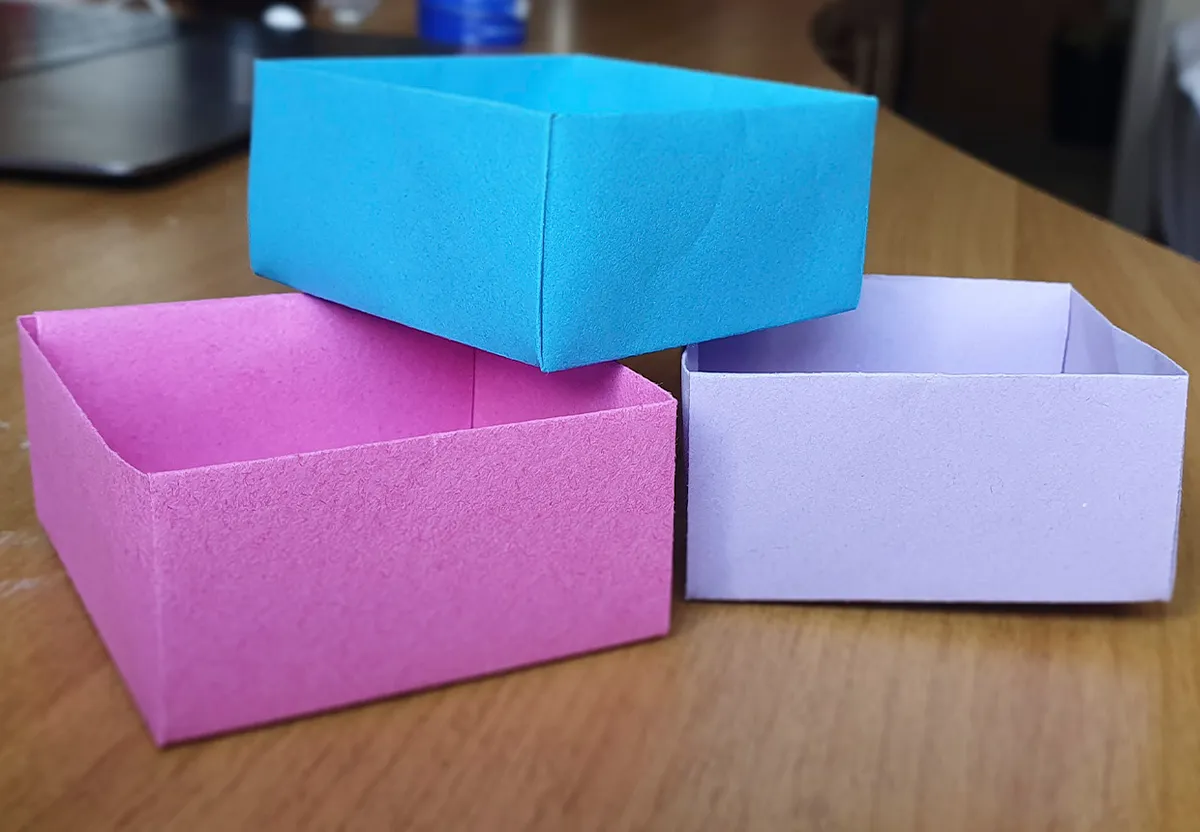
Make a paper box: The masu box

You will need:

  • 15x15cm origami paper

Step 1

Folding your paper box

Start with a square of paper, the size doesn’t matter too much. Roughly, the size of the finished box will be about 25% of the size of your starting paper.

Fold the paper in half, and in half again.

Make sure your folds are defined.

Origami box step 1

Step 2

Unfold your paper back to where you started. Fold each corner into the centre.

origami box 2

Step 3

Fold one side into the middle of the square. Do the same on the opposite side.

origami box 3
Part 1

Step 4

Unfold back to step 2. And open two opposite sites as below.

origami-box-7

Fold up both of the other sides so they meet in the middle.

origami-box-8


Step 5

Push the two outer sides together, this should lift up the middle into the shape of a box due to your previous folds.

origami-box-9

Step 6

Tuck each of the sides into the inside of the box. This should be easy thanks to your previous folds.

origami-box-10

Masu box is complete! Easy right?

origami-box-11

Optional step

If you would like a lid for your box, simply repeat the same process again with a piece of paper slightly smaller than the one you’ve just made. The larger of the two boxes will slide onto the other as a lid.

Make a paper ring to go in your box!

Now you know how to make a paper box, try making this cute cat-themed paper ring to pop inside it!

The perfect start to your origami journey

There’s something so satisfying about creating this perfectly symmetrical square box! It will leave you wondering what else you can make with the humble square of paper.

You don’t need to wonder for long though, with Gathered’s origami ideas

Find your next project with our favourite beginner-friendly origami projects! There are plenty of ideas in there for new paper folding folk!