How to make an expanding gift box

Make a timeless keepsake for someone special with this charming gift box, ideal for jewellery or keeping little trinkets safe.

Try 6 issues of any craft magazine from just £9.99

Published: January 11, 2021 at 9:12 am

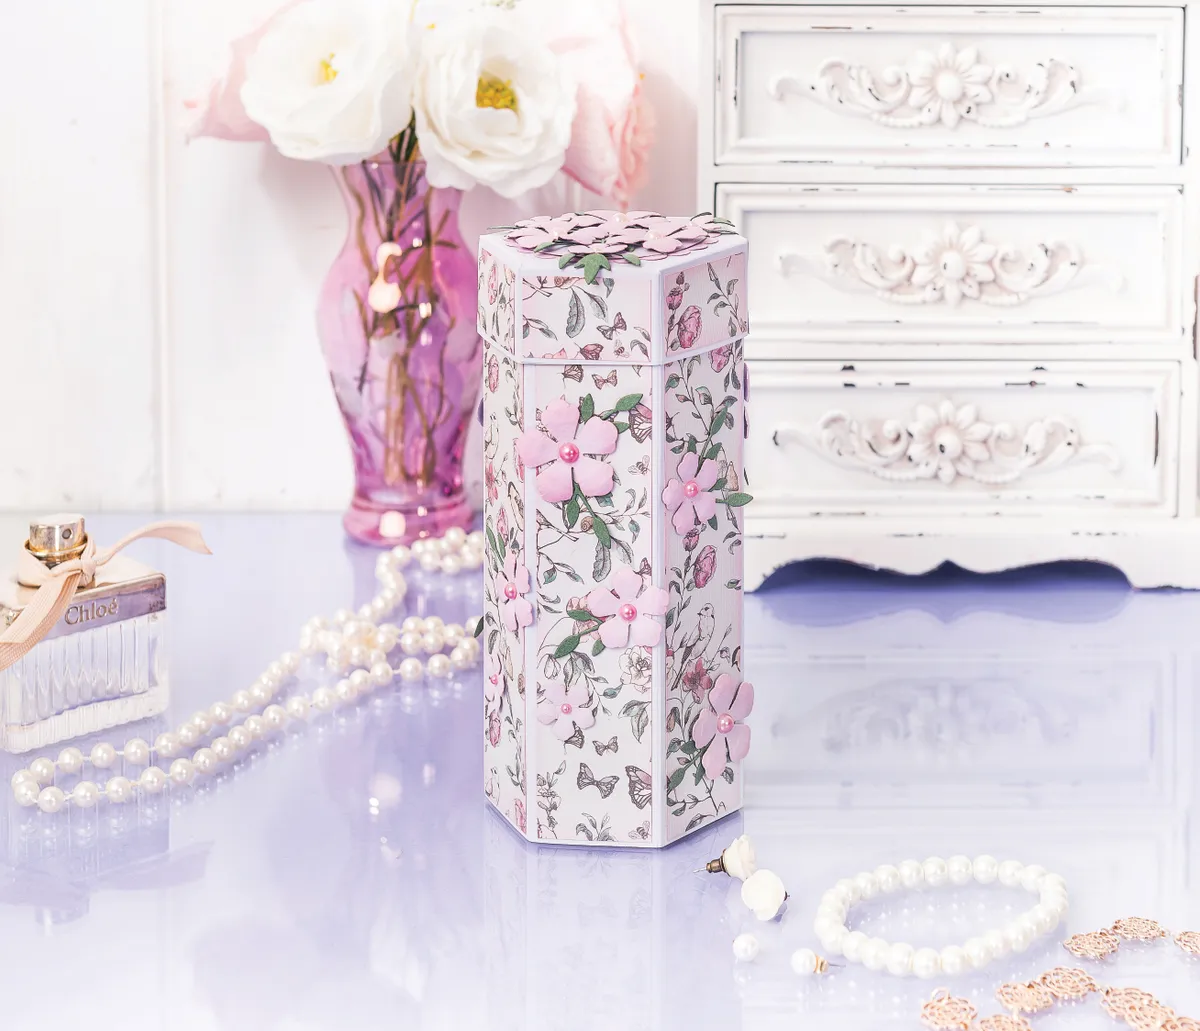
This beautiful six-tier DIY gift box expands as you open it, revealing each of the internal boxes in the process. The lid holds everything in place so you can keep your treasures neat and tidy, and it makes for the ideal gift box, too.

Sue Hughes has designed this beautiful gift box, which can easily be adapted for a variety of different occasions by changing papers and embellishments. For example, use baby-themed papers and trimmings to create a special gift for the parents of a new baby. This project uses the Treasure Box template from Which Craft UK.

There are lots of possibilities for adding extra embellishments to personalise your expanding gift box to make them even more special. Check out our collection of free patterned papers if you need an easy way to boost your stash, we love these free abstract floral patterned papers.

If you’ve made this project, don’t forget to share it on Facebook or post it on Instagram, we love to see what you make!

Expanding gift box

You will need:

  • Treasure Box Template (from Which Craft UK)
  • Patterned paper
  • Card
  • Embellishments

Step 1

Trace the tall tower template onto plain card, marking the notches where indicated. Score lines between the marks. Cut out and fold each crease in the same direction. Rub out pencil marks if you wish.

Use a sharp pencil to trace the templates, but don’t press too hard if you want to rub out your markings.

Try to fold and cut the score lines accurately, otherwise, the finished box may not fit together properly.

Expanding gift box

Step 2

Cut six 35 x 170mm pieces and one 27 x 170mm piece of patterned paper. Lightly ink the edges if you would like to add some interest to the edges. Rubbing the ink on the edges of the paper in this way also helps to create a distressed look to the paper, without having to rip it. Attach to each of the scored panels

Repeat with bird paper for the reverse side.

Expanding gift box

Step 3

Trace the small hexagonal template six times onto some more plain card. Mark the notches and cut out. Score the inner section, then score a line in at each notch. Cut a diagonal in each corner. Glue the flaps together.

Expanding gift box

Step 4

Trace the box lid six times onto card and cut out. Score the flaps inwards and taper both ends. Cut a slit in one fold; thread through ribbon and secure. Glue the opposite flap to the inner edge of each box.

Expanding gift box

Step 5

Cut six circles from patterned paper, ink edges and attach one to each box lid. Cut six 15 x 235mm strips of patterned paper, ink the edges and attach around the outside of each box, folding at each edge as you go.

Expanding gift box

Step 6

Lay the tall tower flat. Starting at the top of the smallest column, arrange the boxes in consecutive columns stepping down slightly as you go. Once you are happy with the position, secure with glue or double-sided tape.

Expanding gift box

Step 7

Trace the large hexagonal template onto some plain card. Mark notches and cut out. Score, fold and glue as before. Cut scalloped and plain circles from pink card, then ink and attach. Add 39 x 25mm strips of bird paper to sides.

Expanding gift box

Step 8

Now let’s add some embellishments! We’re using die-cut leaves from green card and die-cut flowers from pink card which we’ve shaped with an embossing tool. Add some adhesive pearls, to finish.

Expanding gift box

Expanding gift box