Turn your flowers into a tropical garland
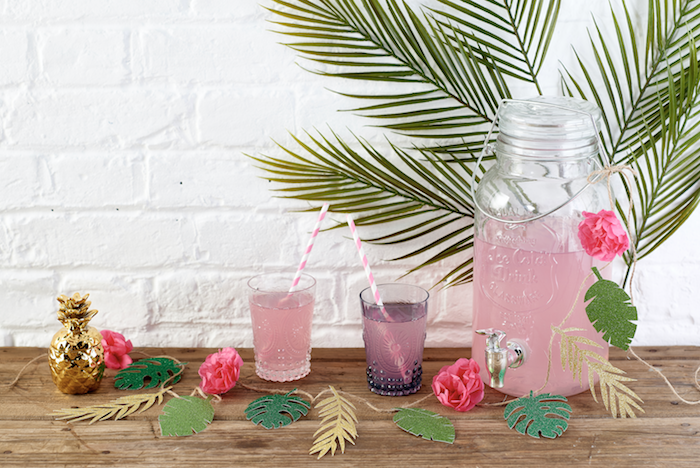
Now that you know how to make tissue paper flowers, why not continue with the paper crafts and create a tropical garland using your tissue paper flowers.
Download and print the tropical garland templates and cut out the tropical leaf shapes from glitter card. If you don’t have any glitter card to hand, you can always use plain, coloured card then decorate with glitter or embossing powders.
Use a dab of glue on the stem to attach the tropical leaves along jute twine or rustic string, winding the craft wire of your tissue paper flowers in between for a pleasing garland in any length you desire!
Attaching all the elements to rustic jute twine helps to balance the vibrancy of the leaves and tissue paper flowers, while keeping a natural look.
Choosing the right tissue paper for flowers
After reading through this tutorial, you may be wondering - is it tissue paper or is it crepe paper? Well, the answer is that crépe paper is a type of tissue paper that has been coated to give it that crinkly texture with added stretch and strength.
While you can use either type for making paper flowers, you will find subtle differences between different papers, such as some might be more translucent or hold there shape better than others. Try experimenting with different papers and build up a stash so you always have the perfect paper to hand.
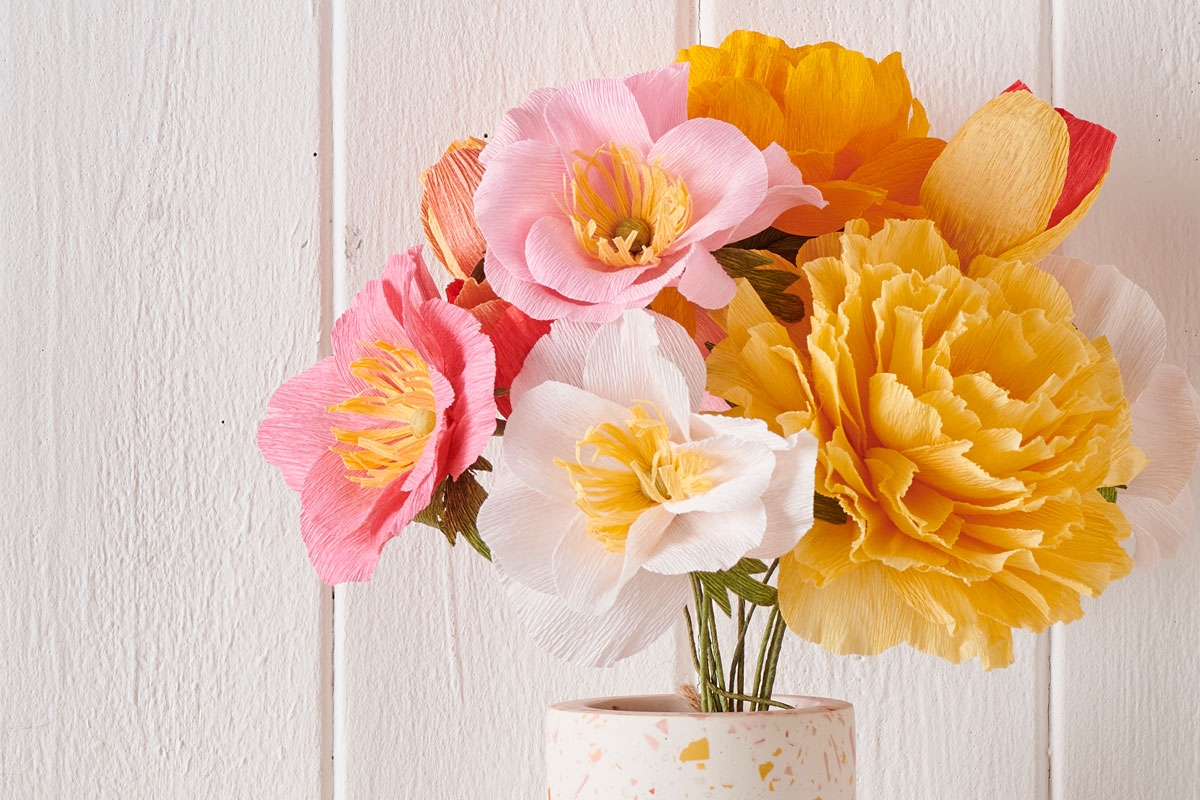
More fabulous flowers to make
If these tissue paper flowers have inspired you and want to try experimenting with different papers, check out our how to make crepe paper flowers tutorial.