How to make a mechanical slider card

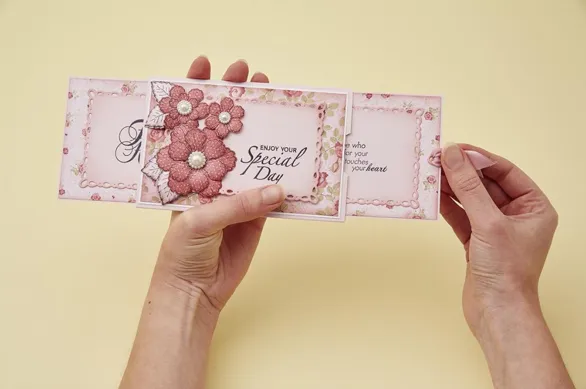
This mechanical card is perfect for adding an extra element of surprise - pull the tab and two secret panels pop out of each side, revealing a special message!

Try 6 issues of any craft magazine for just £9.99

Published: November 2, 2019 at 9:43 am

A mechanical slider card is a great opportunity to be creative, and to add your own personal touches to surprise your lucky recipient. As panels can be pulled from either end, there's lots of choices to be made on which sentiment or image to use!

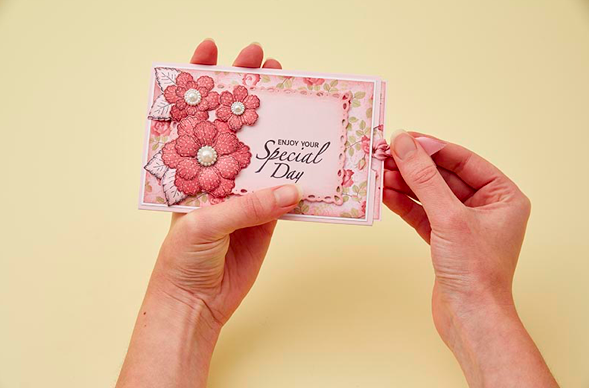
In order for the panels to pop out smoothly, it’s important to keep them fairly flat and free from embellishments. The front of the card can be decorated and embellished as much as you like!
How to make a double slider main

Follow the steps below or watch our YouTube video tutorial to see how it’s done:

Shopping List:

Shopping list

  • Basic card kit, plus
  • Pink card
  • Cellophane bag
  • Patterned papers
  • Sentiment stamps
  • Rose stamp
  • Die-cutting machine
  • Rectangle nesting dies
  • Adhesive pearls

Step 1

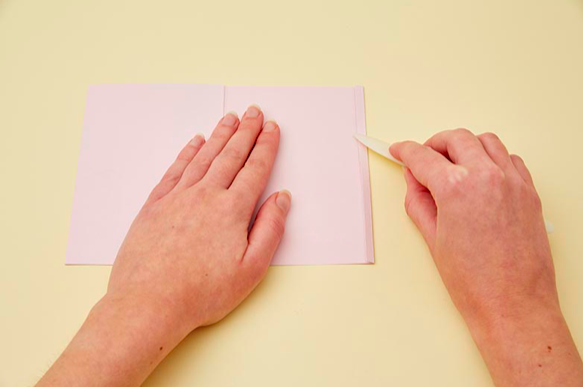
Cut pink card to 29×14.5cm and score carefully along the long side at 9.5cm, 19cm and 28.5cm. Use a bone folder to get neat fold lines on your card, as shown.

How to make a double slider 01

Step 2

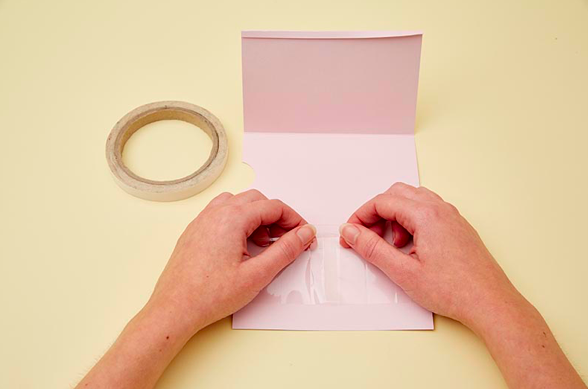
Trim a cellophane bag to measure 15x6cm. Add it to your pink card base and secure the ends with double-sided tape. You can use any soft plastic to create the slider band.

How to make a double slider 02

Step 3

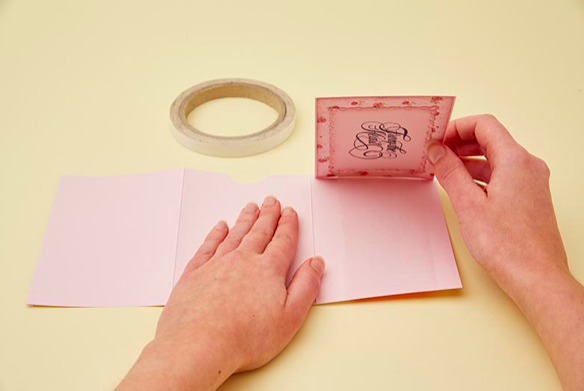
Create a layered slider panel 14x9cm using pink card, design papers and a die-cut frame with a stamped sentiment. Stick it to the cellophane band facing downwards.

How to make a double slider 03

Step 4

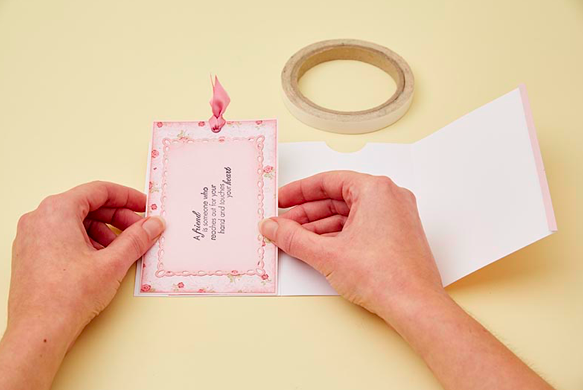
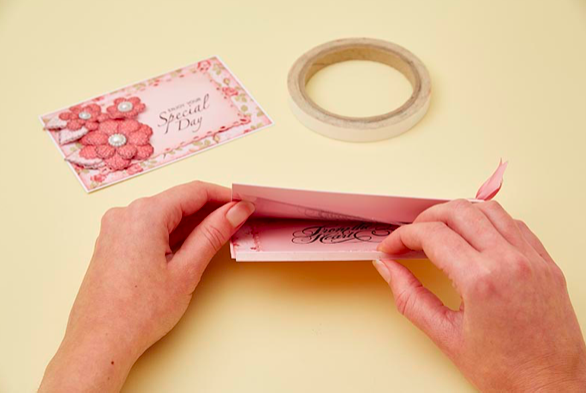
Make a second sentiment slider panel, this time punching a hole on the right and adding a ribbon tag. Attach it to the top of the band, facing upwards, using double-sided tape.

How to make a double slider 04

Step 5

Fashion a long lip on the edge of card to go over the first panel, then glue it firmly in place using some double-sided tape. Use the small lip as a tab to secure the back of the card.

How to make a double slider 05

Step 6

Create an embellished panel for the card front topped with a cluster of pretty papers, a stamped sentiment and some 3D flowers with curled petals and adhesive pearls.

How to make a double slider 06