3 ways to get perfect quarter inch seams

Wave goodbye to uneven blocks and ever-so-slightly-off-angle piecing and wave hello to your 3 new essential quilting tools! (exciting right?)

Try 6 issues of Love Patchwork & Quilting magazine for £9.99| SAVE 76%

Published: October 11, 2018 at 7:07 pm

When you're sewing patchwork, perfecting your even seams is an essential skill to have for neat results. Here's 3 nifty bits of kit you can try to up your game...

  1. Seam marker
  2. Seam gauge
  3. Quilting tape.

How to use a quilter’s seam gauge

A seam gauge, also known as a hem gauge, is a special ruler that allows you to measure and set the seam allowance on your sewing machine. Here's how...

How to use a quilters seam guage

Step 1

Place the seam gauge under your sewing machine foot. Your LPQ ruler has holes in it that correspond to a few different common seam measurements – 14in, 12in and 1in. For a 1/4in seam, lower your needle slowly over the ruler until it goes through the 1/4in hole – you’ll find this is marked on the ruler. Check that the ruler is straight against your machine’s built-in guides – most machines have a few straight lines etched into your metal base plate to help you straighten up your angles – before continuing.

Step 2

Drop the sewing machine foot so that it locks the ruler in place (as pictured above).

Step 3

Use a strip of quilting tape or making tape to mark along the edge of the ruler.

How-to-use-seam-gauge-0

Step 4

Now bring the needle up and remove the ruler.

Step 5

Begin to sew, using the tape as your guide to where to position your fabric. If you feed the fabric so it matches up with your tape mark, you’ll ensure you always have an exact ¼in seam!

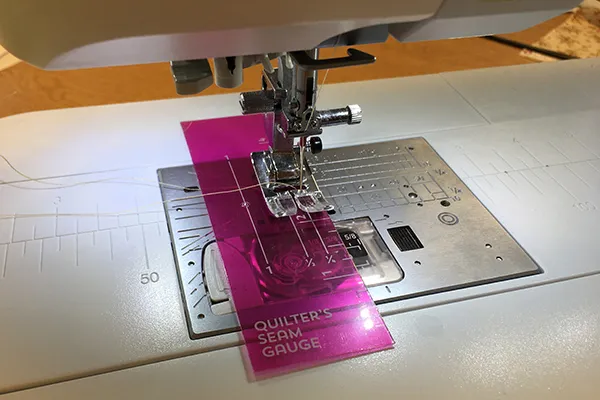
How to use quilting tape

Quilting tape is a single faced tape with a light adhesive that leaves behind no residue on your fabric. Use it with your seam gauge (as above) to mark where your fabric needs to be positioned to sew a 1/4 in seam. But that’s not the only thing you can use it for – it’s also really handy to help you quilt in straight lines! Here’s how…

How to use seam tape

Step 1

Use a ruler to measure the quilting line on to your finished quilt top where you’d like to sew.

Step 2

Place the tape along the edge of your ruler to temporarily mark the line (repeat this for as many lines as you want to sew, or you can just mark one line at a time, as we’ve done above).

Step 3

Quilt away! (aka the fun bit). Sew along one edge of the tape (or for a double sewing effect sew along both edges) and it will act as your guide to keep your line nice and straight.

How to use quilters seam tape

Step 4

Peel away the tape and hey presto! Snazzy eh?

How to sew patchwork seams

How to use a quarter inch seam marker

This dinky tool is also known as a seam wheel – it will add a ¼in seam allowance to any template and it’s a really handy piece of kit! It’s tiny though so easy to get lost in your sewing box!

Step 1

Cut out your template without any seam allowance.

Step 2

Draw around your template onto the reverse of your fabric. This gives you the dimensions you will actually stitch. Alternatively just place your template on your fabric and hold it firm with one hand (as we’ve done below).

Step 3

Add your seam allowance by inserting the nib of a mechanical or super sharp pencil into the hole at the centre of your seam marker. Run this around the outline of your template and you’ll end up with a precise ¼in seam allowance that’s even around every edge of your original shape.

How-to-use-a-seam-wheel