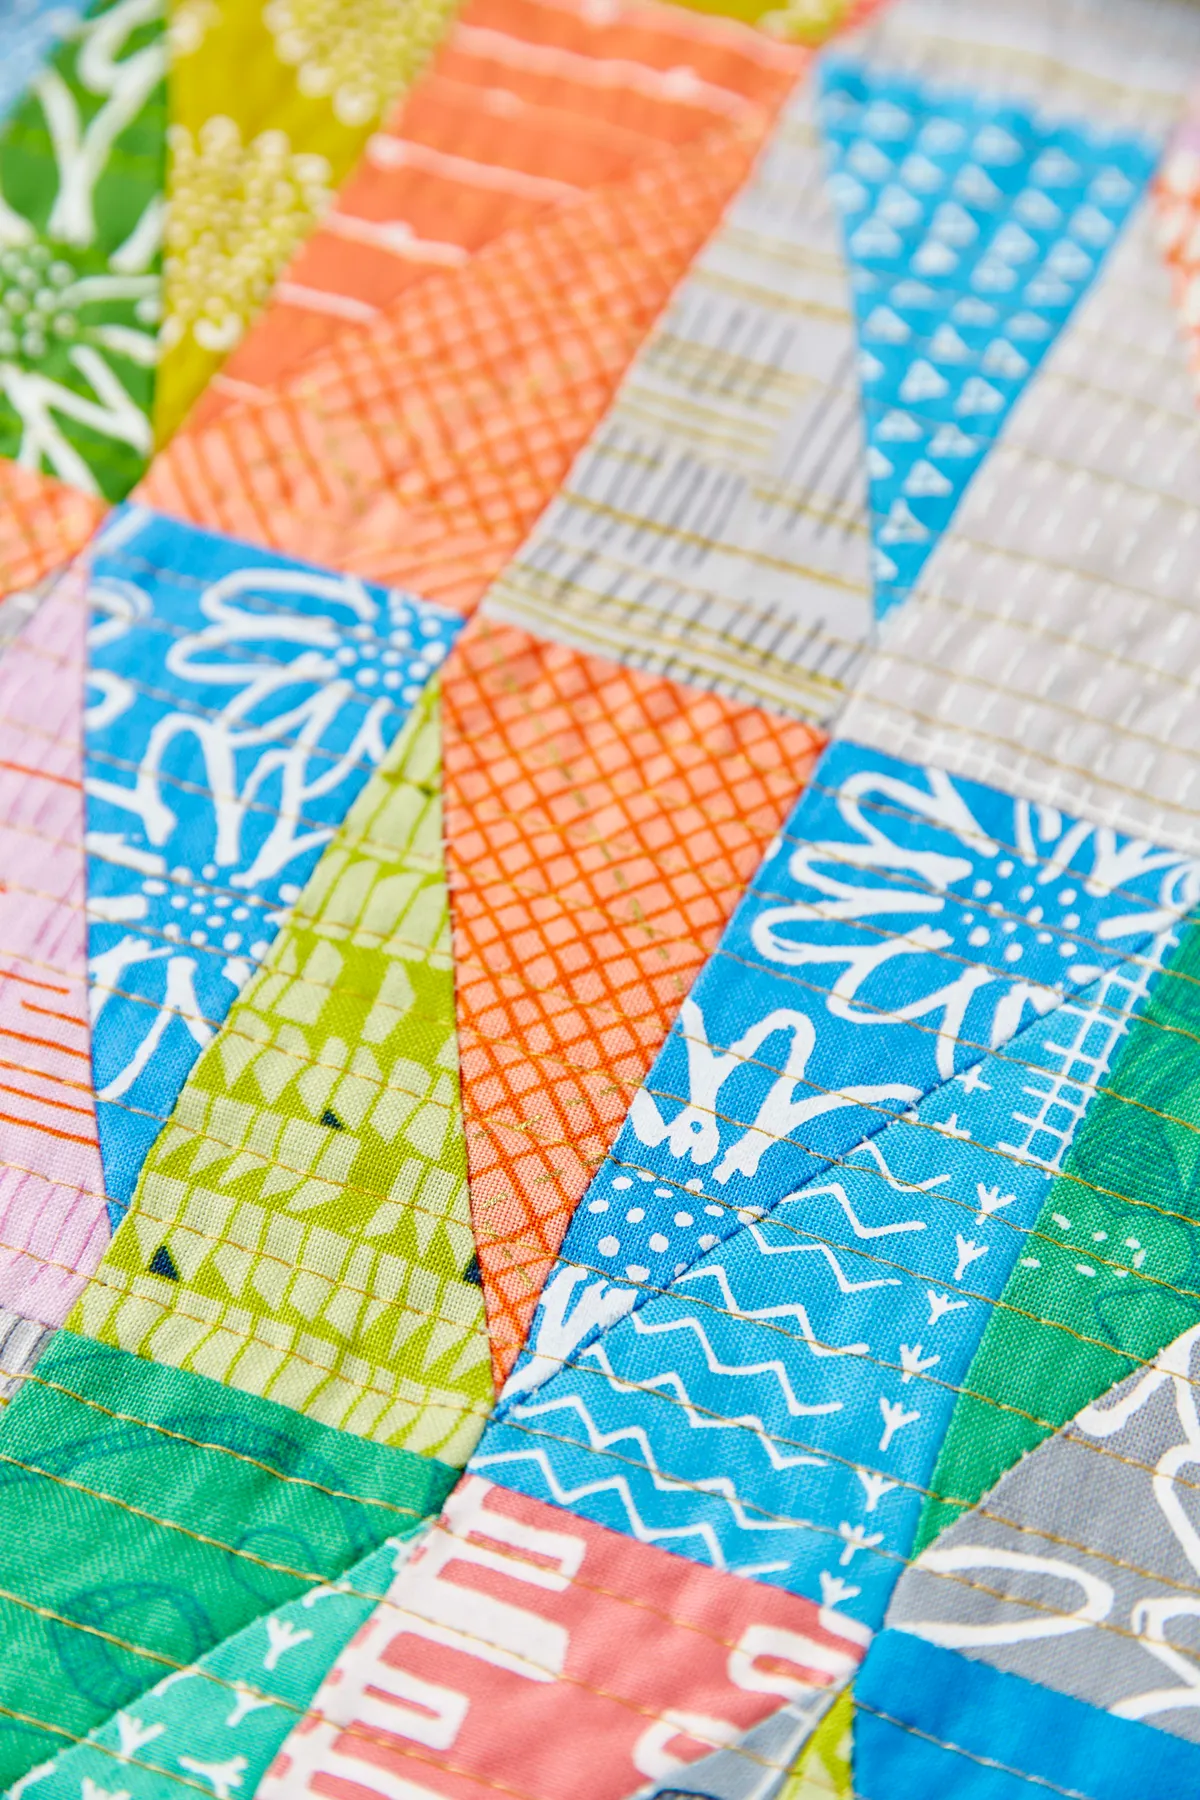
Free Half Rectangle Triangles Quilt Pattern
Use up castaway units from other quilt projects and turn a batch of colourful fabric triangles into a bright and cheerful mini quilt! Read on to learn how...

Published:
We featured Karen Lewis’s Shine Bright quilt in issue 39 of Love Patchwork & Quilting magazine, and if you’ve been sewing this project you’ll find you have a whole batch of left-over units from the quilt’s Star Point units leftover. Turn them into an eye-catching mini quilt with Karen’s triangle quilt tutorial!
Don’t worry if you haven’t seen the magazine – you can still make this marvellous mini quilt. You just need a batch of Half Square Rectangle units that measure 4 x 2in. Read this how to guide and whip up a batch before you start making this project!
You will need…
- Print fabric: one hundred and sixty (160) leftover triangles
- Backing fabric: 23in x 30in
- Batting: 23in x 30in
- Binding fabric: ¼yd
Finished size
18in x 24in approx
Notes
- Seam allowances are ¼in, unless otherwise noted.
- RST = right sides together.
Fabrics used
- Print fabrics are from the Blueberry Park collection by Karen Lewis and the Carkai collection by Carolyn Friedlander, both for Robert Kaufman.

Total time:
Making the blocks
Step 1
Take two right-hand coloured triangles trimmed from step 10 of the quilt instructions and place them RST, matching up the diagonal edge – the triangle underneath will have an overhang of ¼in at one end and the triangle on top will have an overhang of ¼in at the opposite end. Join on the diagonal edge with a ¼in seam.
Step 2
Open out and press. Trim to 4in x 2in making sure the diagonal runs from corner to corner.

Step 3
Repeat steps 1 and 2 with the remaining right-hand triangles and the left-hand triangles from step 11 of the quilt instructions to give you eighty units in total – you will have forty with the diagonal running in one direction and forty with the diagonal running in the opposite direction.
Completing your mini quilt
Step 1
Arrange the units into five rows of sixteen units each. Join them into rows and then join the rows to complete the quilt top, which should measure 18in x 24½in.
Step 2
Repeat steps 29–31 of the quilt instructions to quilt and finish the mini quilt. Karen quilted this mini with vertical lines approx 3⁄8in apart.
Step 3
From the binding fabric, cut three (3) 2½in x WOF strips. Repeat steps 32–33 of the quilt instructions to bind the mini quilt.