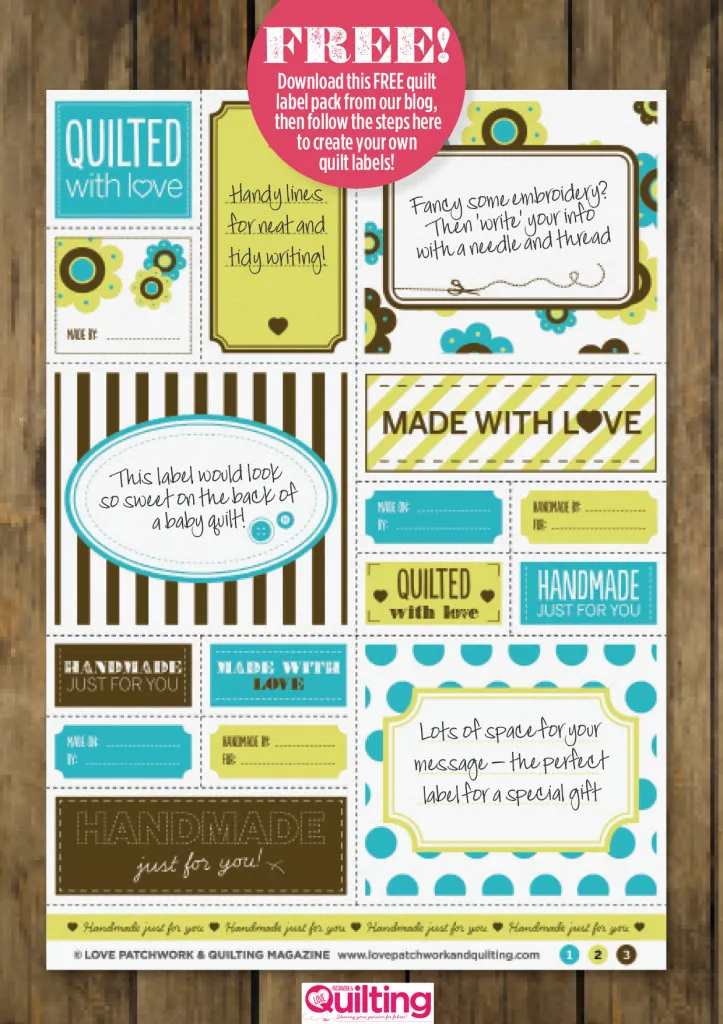
The awesome team of quilt pros over at Love Patchwork & Quilting have created this set of cute quilt labels as the final touch for your quilts and other patchwork gifts. Download our free PDF quilt labels below then print them on to fabric as the perfect finishing touch for your quilts! Here's a refresher on how to transfer them onto fabric and how to attach quilt labels to your quilts or other patchwork gifts.
Download your Free printable quilt labels here.
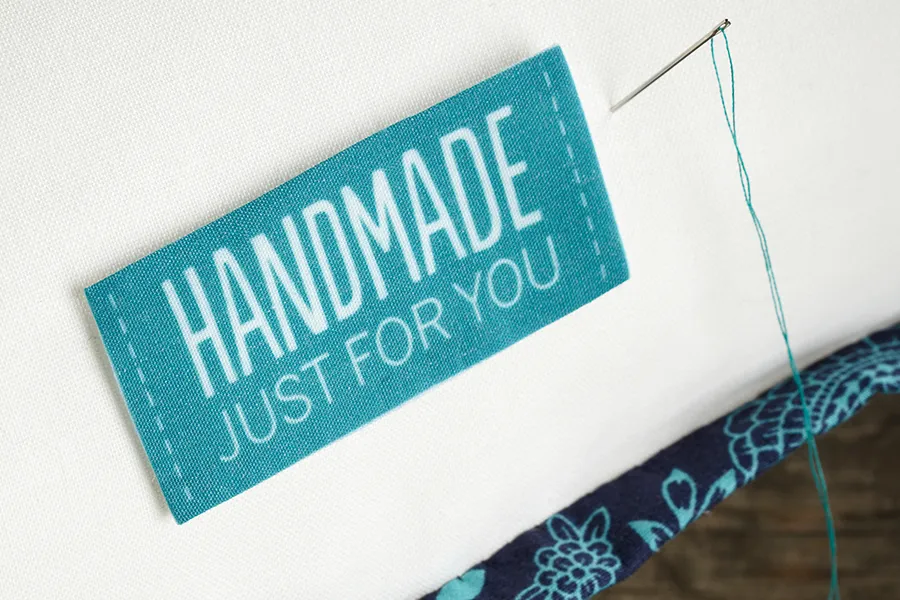
How to make fabric quilt labels
It's simple to turn our exclusive FREE quilt labels printable into fabric labels for your quilts. Here's how...
- We recommend using Iron-on Transfer Paper. Print directly onto the sheets using your inkjet printer at home (check the manufacturers instructions for details). Then iron your transfer sheet onto the surface of your fabric (white fabric ensures that the transfer isn't affected by the dye in the fabric) for a crisp, colourfast finish!
- Remember to print your label designs at 100% (to achieve the correct size), and we always recommend a test-run on some plain paper to check size, crop and positioning!
- You can buy Iron-on Transfer Paper from most craft stores, and keep an eye out for transfers that are washable and crack resistant – especially if your quilt is going to be well-loved!
Top tip: cut the labels from paper to create customised gift cards and tags when giving a patchwork gift - oh sew sweet!
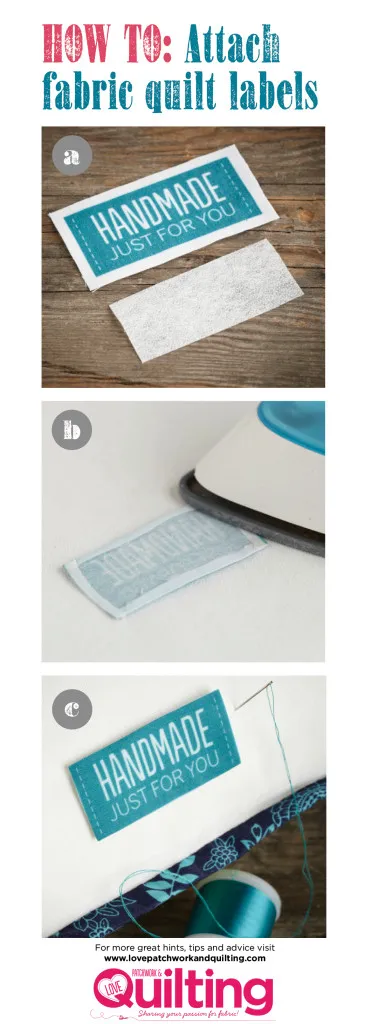
How to attach quilt labels to your quilt
You will need...
- Fusible interfacing
- Permanent fabric marker (fine-tipped is preferable)
- Basting glue (optional)
- Needle and thread
Cutting out
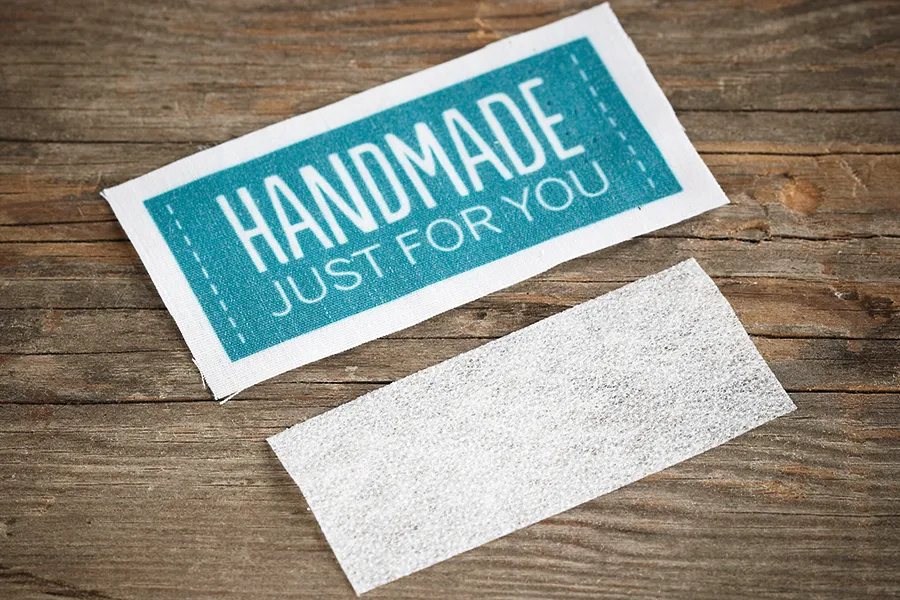
Step one: Cut out your chosen quilt label along the dashed lines.
Step two: Measure the size of your quilt label and then cut out a piece of fusible interfacing that’s 5mm smaller than the quilt label on all four sides
Step three: Using a permanent, washable fabric marker, add any information you’d like to include on your quilt label. A fine-tipped marker works best.
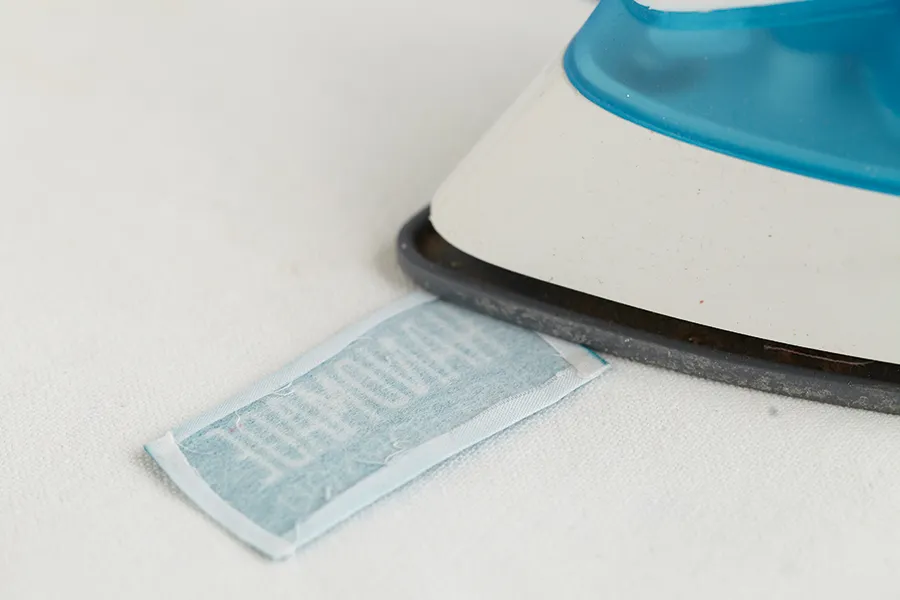
Step four: Press the piece of fusible interfacing in place on the wrong side of the quilt label. Position it in the middle of the label with 5mm of the fabric label bordering on all four sides.
Step five: Fold the raw fabric edges over to the back of the quilt label (using the interfacing as a guide) and press well with a dry iron.
Step six: Use matching thread to whipstitch your quilt label in place on your quilt, by hand to finish.
What details should I include in a quilt label?
- The name of the quilt – get creative and give your quilt design a name!
- The name of the quilt maker – that’s you…
- The name of the machine quilter (if not the same as quilt maker!)
- The place in which the quilt was made.
- The year – one of the most important bits!
- A message for the recipient if it’s a gift is a great finishing touch.