This easy-peasy star quilt block is a joy to stitch and a great way to use up small scraps of fabric from your stash that you can't bear to part with. Watch our video tutorial or scroll down for the full method, including cutting guide and step-by-step instructions.
You will need...
- Background fabric – 10in x 15in
- Fabric 1 – 10in square
- Fabric 2 – 10in square
Finished size
121⁄2in square (unfinished)
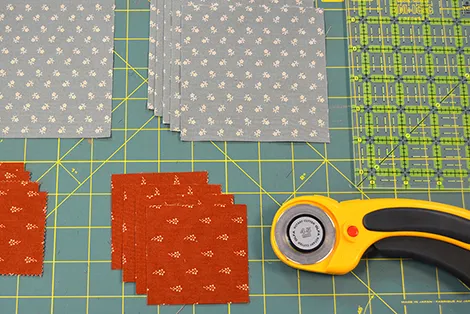
Cutting out
Step 1
From the background fabric cut as follows:
- Five (5) 41⁄2in squares
- One (1) 51⁄4in square
Step 2
From fabric 1 cut as follows:
- Four (4) 21⁄2in squares
- Four (4) 27⁄8in squares
Step 3
From fabric 2 cut four (4) 21⁄2in x 41⁄2in rectangles.
Making the Flying Geese
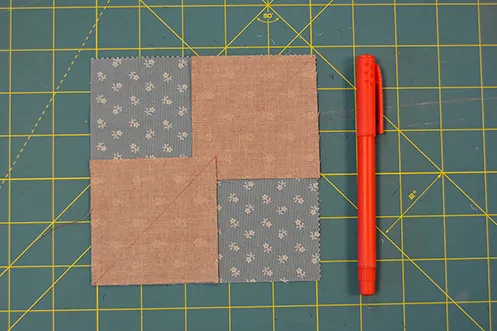
Step 4
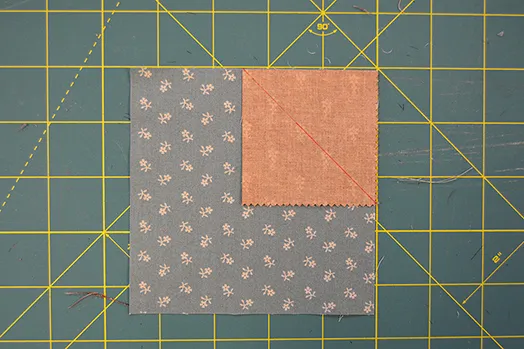
First make Flying Geese, four at a time using one (1) 51⁄4in background square and four (4) 27⁄8in fabric 1 squares. To do this, start by drawing a diagonal line (corner-to-corner) on the back of each small fabric 1 square.
Step 5
Place two squares on opposite corners of the large background fabric square, right sides together and pin in place. The diagonal lines should match up and the small squares will overlap.
.
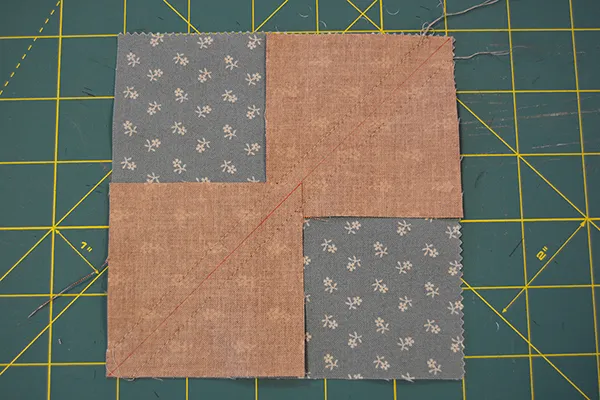
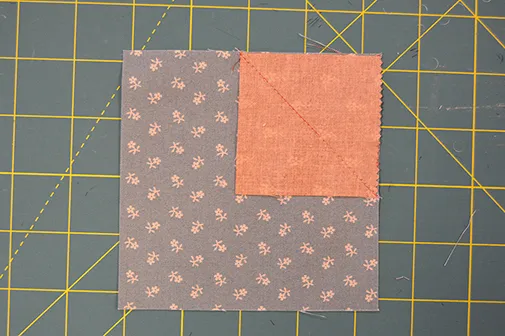
Step 6
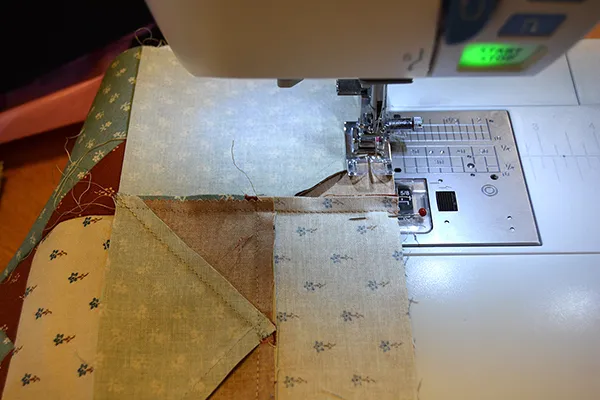
Stitch a 1⁄4in seam on either side of the marked lines. Press and cut apart along the marked line. Press units open.
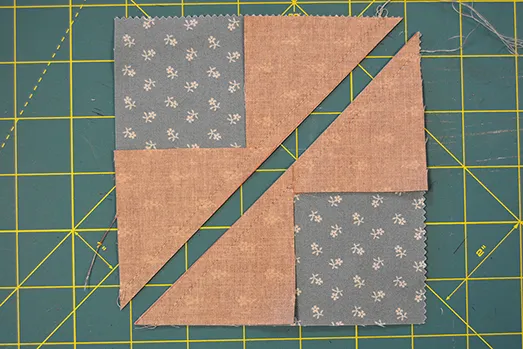
Step 7
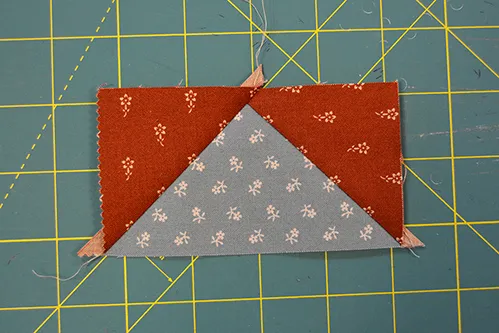
Place a third fabric 1 square, right-sides-together with one of the pieced units. The marked line should go in the opposite direction to the seam. Stitch 1⁄4in on either side of the marked line, cut apart and press as before.
Step 8
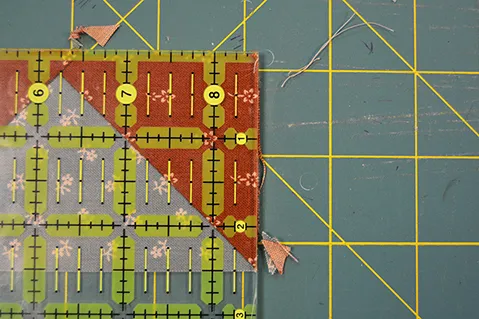
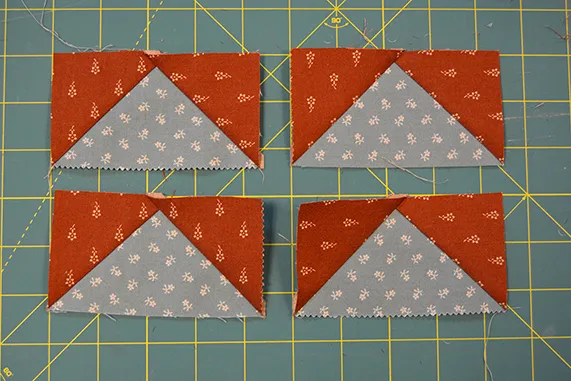
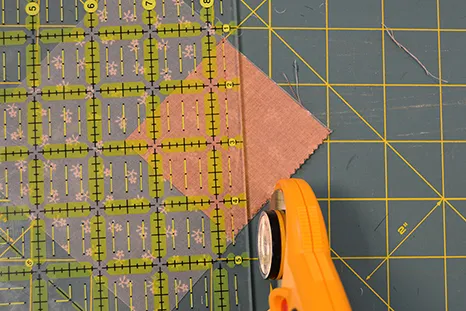
Repeat step seven with the remaining small fabric 1 square and remaining pieced unit. Check each Flying Geese unit measures 21⁄2in x 41⁄2in and trim the ‘dog-ears’.
Top tip: For more about making Flying Geese using different methods see our beginner's guide post – How to sew flying geese
Assembling the block
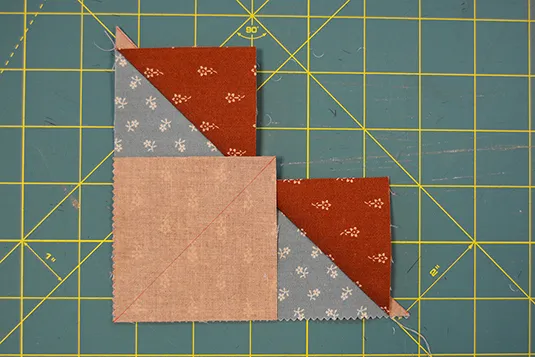
Step 9
Stitch a 21⁄2in x 41⁄2in fabric 2 rectangle to each Flying Geese unit. Press. Stitch these units to opposite sides of the 41⁄2in background square. Press.

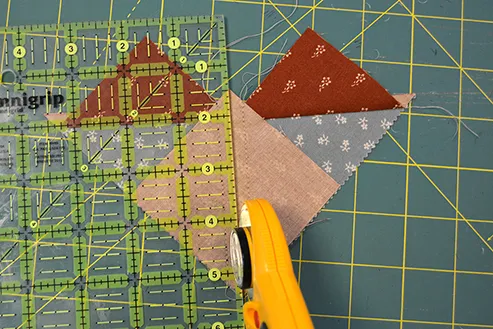
Step 10
Draw a line on the back of a 21⁄2in fabric 1 square and place right sides together in one corner of a 41⁄2in background square. Sew along the marked line. Trim excess fabric to 1⁄4in seam allowance. Press corner open.
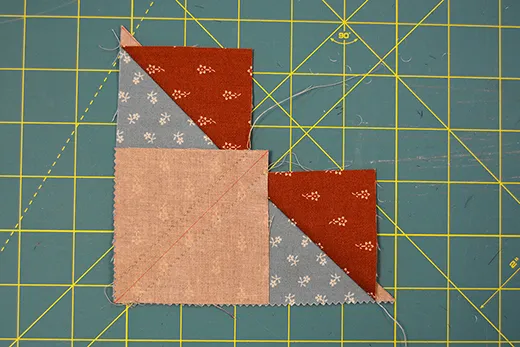
Step 11
Stitch a unit from step 10 to either side of the remaining Flying Geese units with the fabric 1 corner facing inwards. Press.
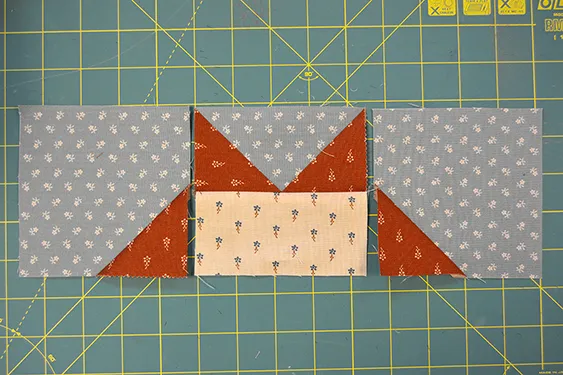
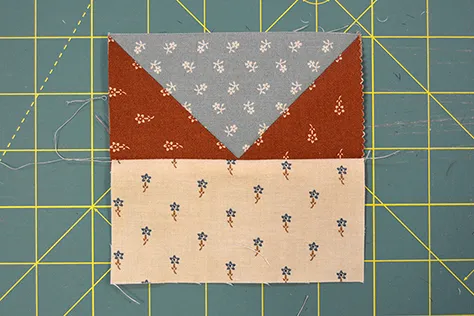
Step 12
Add these rows to the top and bottom of the centre unit to complete the block.
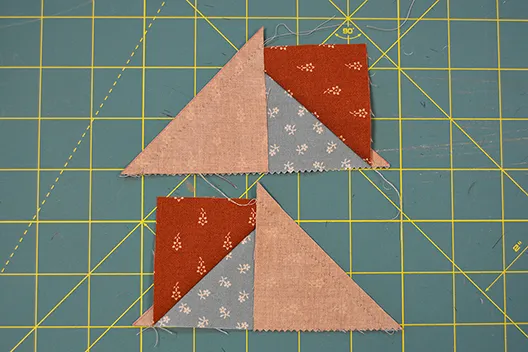
Now your block is finished!

Do you have a quilt that you’re proud of? Why not enter it into the Festival of Quilts Virtual Competition 2020?