Oh what's that? Riley Blake have released a fabric collection that includes unicorns and fairytale kingdoms? We're all in! The Guinevere collection by Citrus & Mint Designs for Riley Blake Designs is inspired by a magical land far, far away. Motifs include princes and princesses, magical creatures and even a storybook castle.
Scroll down to see how fabric addict Lou Orth has used these super cute fabrics to fussy cut hexagons and turn them into English-Paper-Pieced hoop art!

You will need
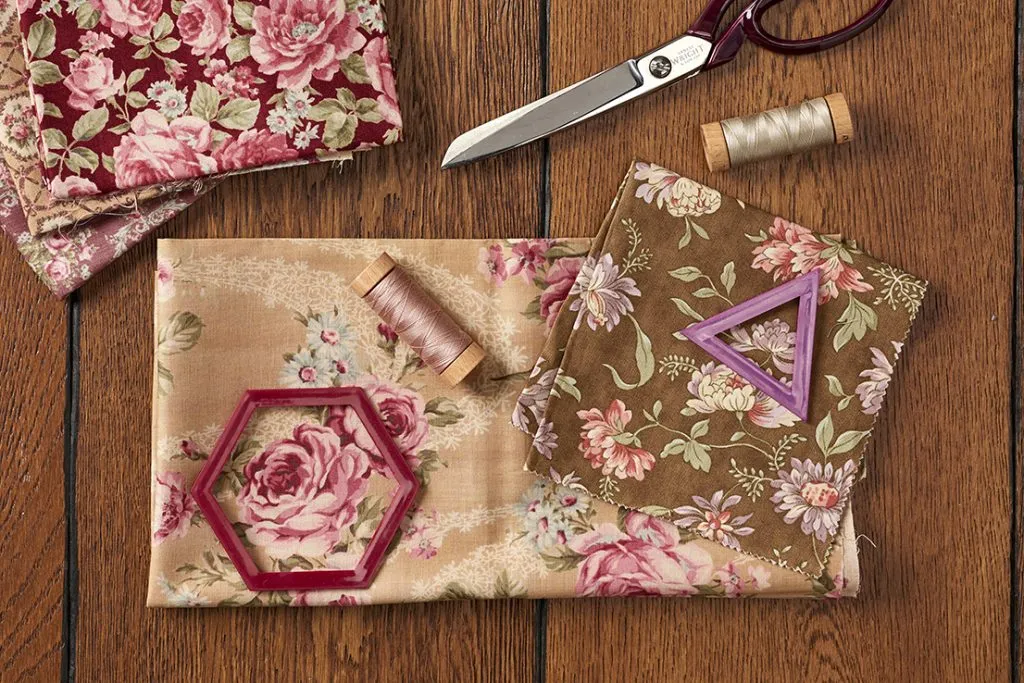
- Print fabrics (for hexagons) thirty seven (37) 21⁄2in squares – all fabrics are from the Guinevere collection by Citrus & Mint Designs for Riley Blake Designs.
- Backing fabric: one (1) fat quarter
- 10in embroidery hoop
- White ribbon: 5yds
- Approximately twenty (20) trims or ribbons: 12in–24in lengths
- Thirty seven (37) copies of our 1in Princess Party Hexagon template: download the PDF of our issue 66 templates here
Finished size
10in diameter
New to fussy cutting?
This princess hoop uses fussy cut English paper piecing to have fun with fabric prints. If this is new to you, head to our free tutorial to find out all about how fussy cutting works.
Notes
- EPP = English Paper Piecing.
- RST = right sides together.
- Templates don't include seam allowance.
- For the template, download our free issue 66 templates set and print out the hexagon shape.
Fabrics used
All fabrics are from the Guinevere collection by Citrus & Mint Designs for Riley Blake Designs.
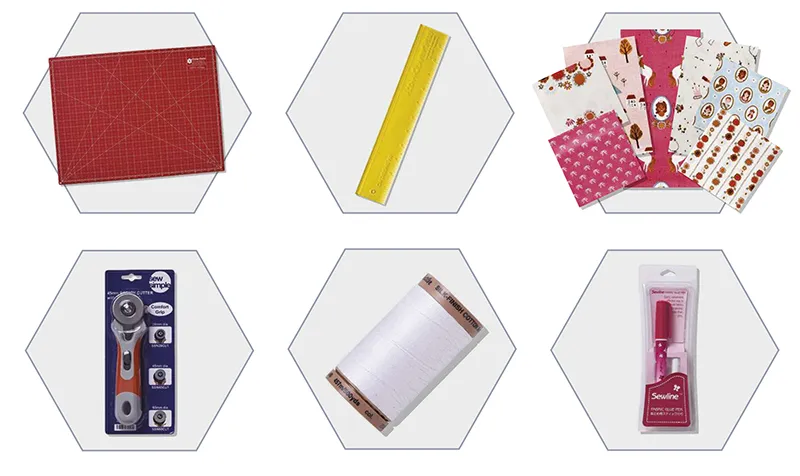
Stock up on supplies!
From the fairytale-themed fabrics to the craftroom essentials like the cutting mat, the thread and the glue pen, EQS have everything you need to make this princess-perfect hoop design...
- Riley Blake Designs 18 x 24 Inch Cutting Mat Complete with grids on both sides, this self-healing cutting mat is great for long-lasting use and adding a splash of colour to your workspace.
- Add a Quarter Ruler Make cutting your new favourite process… this handy ruler will help you automatically add flawless seam allowances around your templates, so your hexies are the perfect size!
- Guinevere by Citrus & Mint Designs for Riley Blake Designs Pick and mix statement prints from this dreamy collection to fussy cut the EPP hexies for your hoop.
- Sew Simple Rotary Cutter 45mm Join forces with the ruler to ensure your EPP pieces are cut perfectly straight. Sew Simple’s rotary cutters come with a soft grip handle for comfortable cutting.
- Mettler Silk Finish Cotton thread Seamlessly sew those hexies together with super-smooth thread that will blend in beautifully. Mettler silk finish thread will do just the trick.
- Sewline Glue Pen Here at LP&Q we’re glue basters, and this little pen is a dream! Keep your EPP papers safely in place with a dash of water soluble, clear-drying adhesive.
To find out more about EQS and view their range of products, visit www.eqsuk.com. To find a stockist near you, call 0116 271 0033 or email customerservice@eqsuk.com
Upcycle something simple like an embroidery hoop for a stylish piece of wall art