Patchwork gifts to make: glitter gift tags

Shout to the super-talented and lovely Laura Cunningham for designing our awesome glitter gift tags to sew tonight. Get ready to sew it sparkly... scroll down for the full tutorial.

Try 6 issues of Love Patchwork & Quilting magazine for £9.99| SAVE 76%

Published: November 29, 2018 at 7:34 pm

Sew up Laura's fun tag designs using print fabrics, vinyl plus glitter and sequins for added sparkle. Stitch shimmering snowglobes, twinkly trees and tasty gingerbread men to give gifts with wow factor! This is a great quick and easy project if you're new to sewing or looking for a quick weekend or evening project. We've got all the instructions, plus free quilters' templates to get you started below. Let's go!

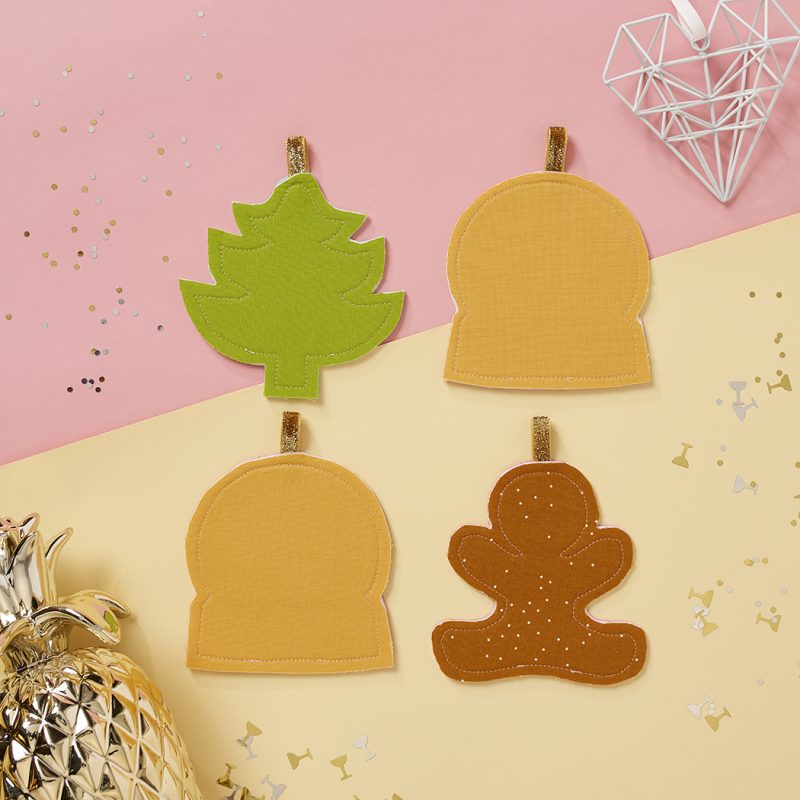
In this tutorial we'll show you how to sew a gingerbread man, snow globe and Christmas tree glitter gift tag.

Check out her website!
How to Sew Christmas Gift Tags Tutorial

How to make glitter patchwork gift tags

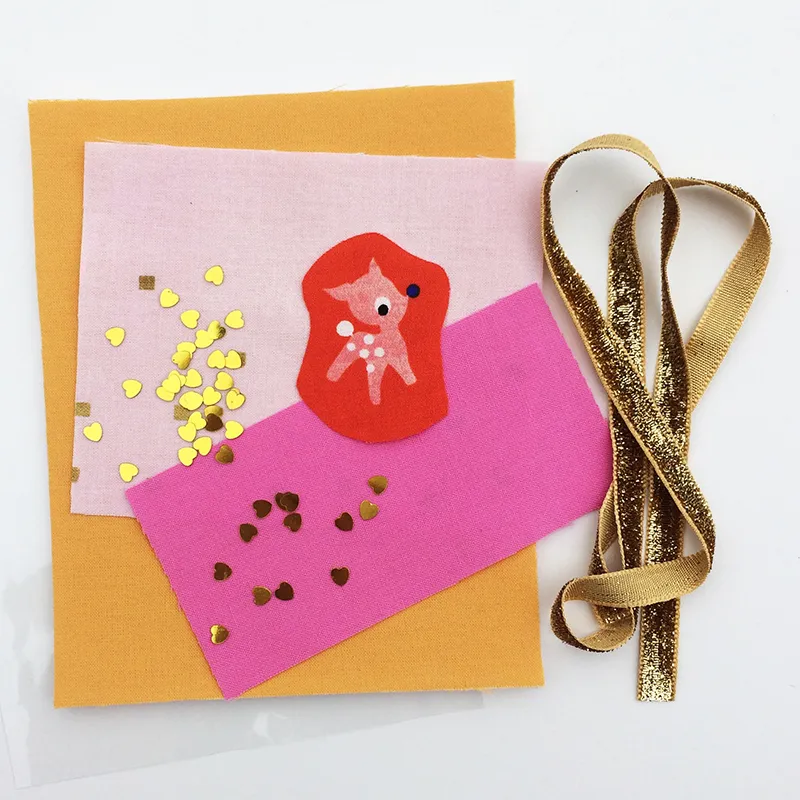
You will need...

  • Download our free Christmas gift tag templates
  • Background fabric 4in x 5in
  • Base fabric 2½in x 5in
  • Backing fabric 6in x 5in
  • Accent fabric scrap for centre of snowglobe
  • Light weight fusible web 3in square
  • Heavy weight fusible interfacing 6in x 5in
  • 12-gauge clear vinyl 6in x 5in
  • Ribbon 3½in length
  • Glitter or Confetti

Finished size

  • Approximately 3inx4in

Notes

  • We've used ¼in seam allowances, unless otherwise noted.
  • SA = seam allowance.
  • Secure your seams by backstitching at the beginning and end of every seam.
  • When sewing vinyl, use a walking foot. If you find the vinyl too sticky, try either a Teflon foot or the DIY version of it (by covering the bottom of the foot with masking tape leaving only a hole big enough for the needle to punch through).
  • Fabrics supplied by Flipflop Fabric Shop

Fabrics used...

  • Vinyl: Premium Clear Vinyl by C&T Publishing
  • Interfacing: Pellon 71F Peltex
  • Fabric: various Kona cotton solids by Robert Kaufman, Starry Seashell by Alexia Abegg for Cotton and Steel, XOXO Toy Boat Metallic by Cotton and Steel, Little Deer Red by Cotton and Steel and Confetti Pink by Cotton and Steel
Piecing the fabric background

Step 1

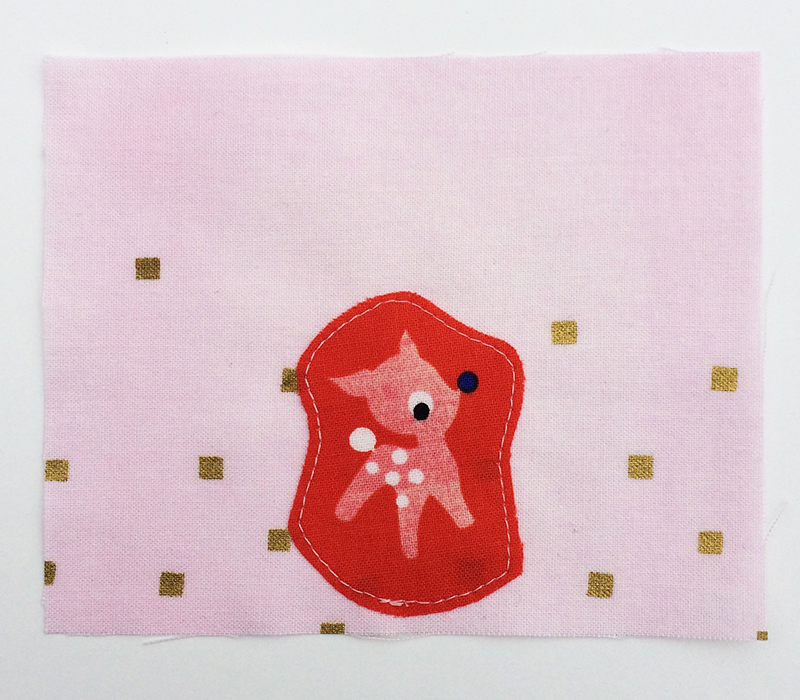
Apply fusible web as per manufacturer’s instructions onto the wrong side of your accent fabric and cut your piece into the desired shape. Fuse the accent fabric onto the background fabric, 14in from the bottom and centred horizontally. (Fig 1). Topstitch along the edge of the accent fabric.

How to Sew Christmas Gift Tags step 1


Step 2

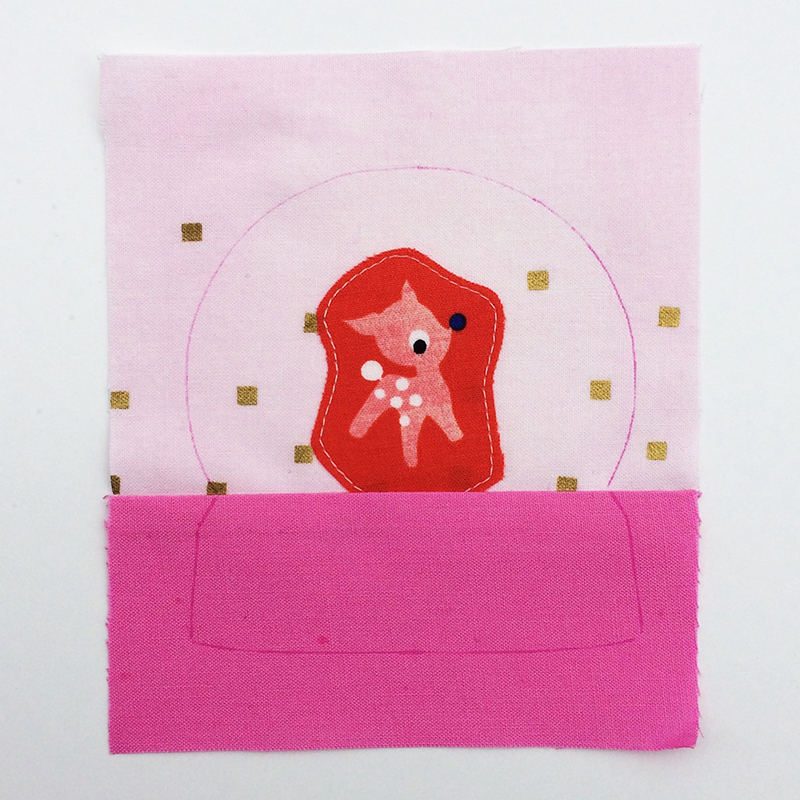
Place the base fabric RST with your background, aligning the bottom edges. Sew along the edge using ¼in seam allowance. Open out and press the pieced panel.

Finishing the tag

Step 1

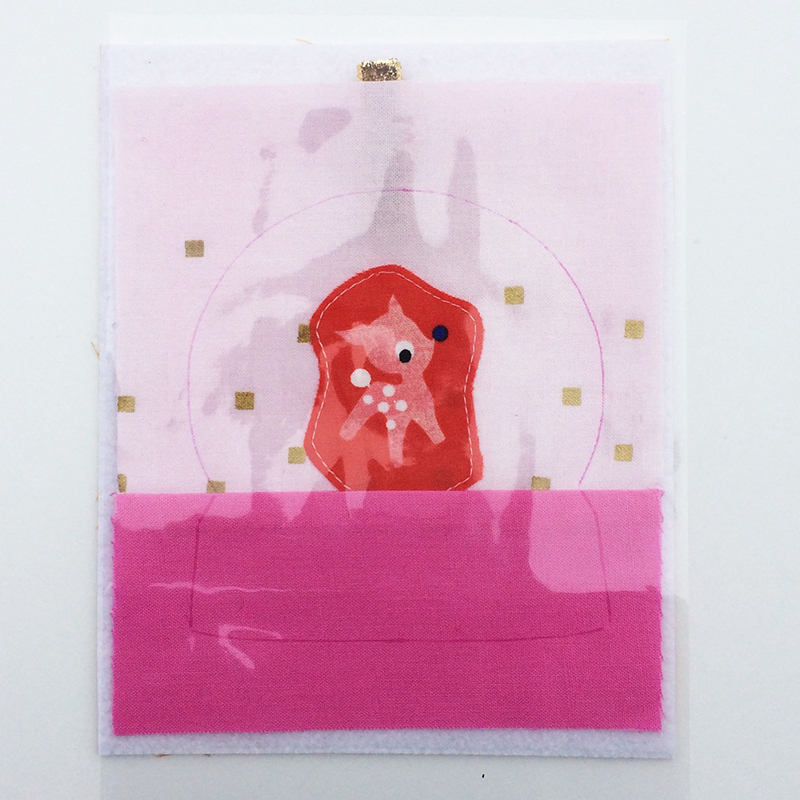
Fuse the interfacing to the reverse of the pieced panel. Download and print out the Globe from our free Christmas gift tag templates set. Centre on top of your background/base fabric and trace around the outer edge using an air erasable pen (Fig 2).

How to Sew Christmas Gift Tags Tutorial step 3

Step 2

Place the backing in front of you, right side facing down. Lay the pieced panel on top, right side facing up. Fold the ribbon and carefully tuck it in between the backing and pieced panel, so the raw edges dip below the drawn line. Place the clear vinyl on top (Fig. 3) and hold it all in place using binding clips.

How to Sew Christmas Gift Tags Tutorial step 4

Step 3

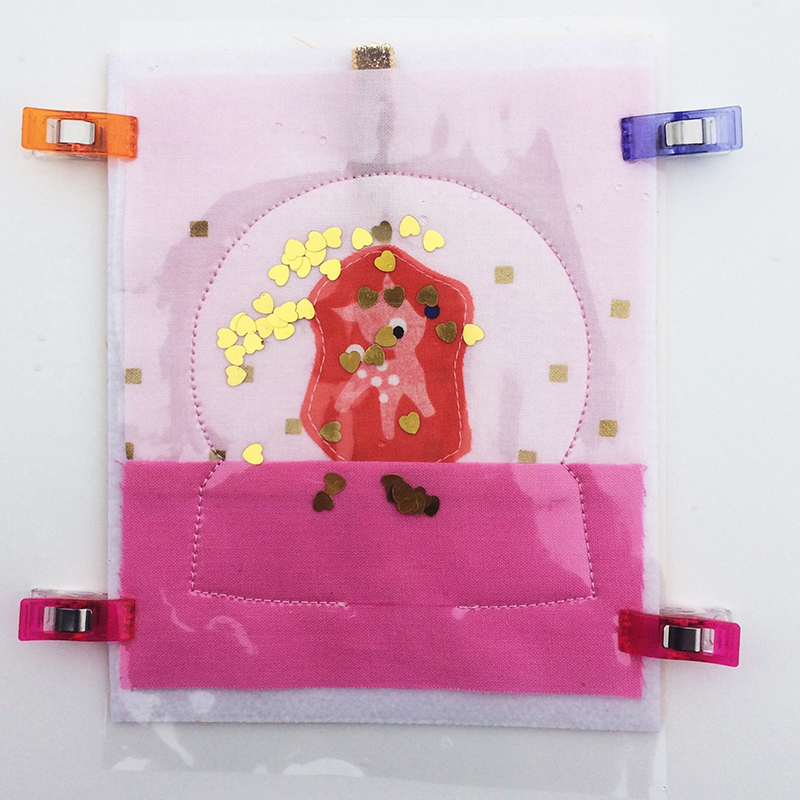
Sew along the drawn line through all layers, leaving a small gap at the bottom. Make sure to secure your seams with a few backstitches at the beginning and end. Carefully lift the vinyl and insert as much glitter or confetti as you wish (Fig. 4), before stitching across the gap at the bottom.

How to Sew Christmas Gift Tags Tutorial step 5

Step 4

Trim around the stitched line, leaving ¼in around the edge. Make sure you don’t cut off the ribbon that is a little hidden under the pieced fabric.

How to Sew Christmas Gifts Free Tag Templates

How to make the snowglobe tag

You will need…

  • Free Christmas gift tag templates
  • Background fabric 5in square
  • Backing fabric 5in square
  • Heavy weight fusible interfacing 5in square
  • 12-gauge clear vinyl 5in square
  • Ribbon 3½in length
  • Glitter or Confetti

Step 5

3–6 of the Snowglobe instructions above, fusing the interfacing and tracing the Christmas tree template onto the background fabric.

How to make the gingerbread man gift tag

Step 6

You will need…

  • Download our free Christmas gift tag templates
  • Background fabric 5in square
  • Backing fabric 5in square
  • Fabric scraps for face and decorations
  • Light weight fusible web 6in square
  • Heavy weight fusible interfacing 5in square
  • 12-gauge clear vinyl 5in square
  • Ribbon 312in length
  • Glitter or Confetti

Step 7

Download our free Christmas gift tag templates and trace the gingerbread man's Eye, Pupil, Mouth, Button and Icing shapes onto your fusible web, tracing two eyes, two pupils, one mouth, three button and four icing pieces. Roughly cut out.

Step 8

Fuse the eye and icing pieces to white fabric. Fuse the pupil, mouth and button pieces to dark fabric. Cut each piece out along the drawn line.

Step 9

Print out the Gingerbread man template. Trace around the template on the right side of your background fabric. Arrange the eye, pupil, mouth, button and icing pieces on the gingerbread man, referring to the photo for placement. Fuse in place.

Step 10

Follow steps 3–6 of the Snowglobe instructions above to finish your decoration.

Now find out how to make these matching tags by Laura in issue 53 of Love Patchwork & Quilting, available via our app for Apple Newsstand & Google Play.