How to Foundation Paper Piece using a light box

There's nothing more pleasing than a perfectly neat, flawlessly fussy cut block – and that's a fact. We've teamed up with Daylight Company to teach you how to Foundation Paper Piece using a light box and freezer paper, for satisfyingly fault-free blocks each and every time.

patchwork sewing quilting Projects shot in the studio

See more posts from Love Patchwork & Quilting

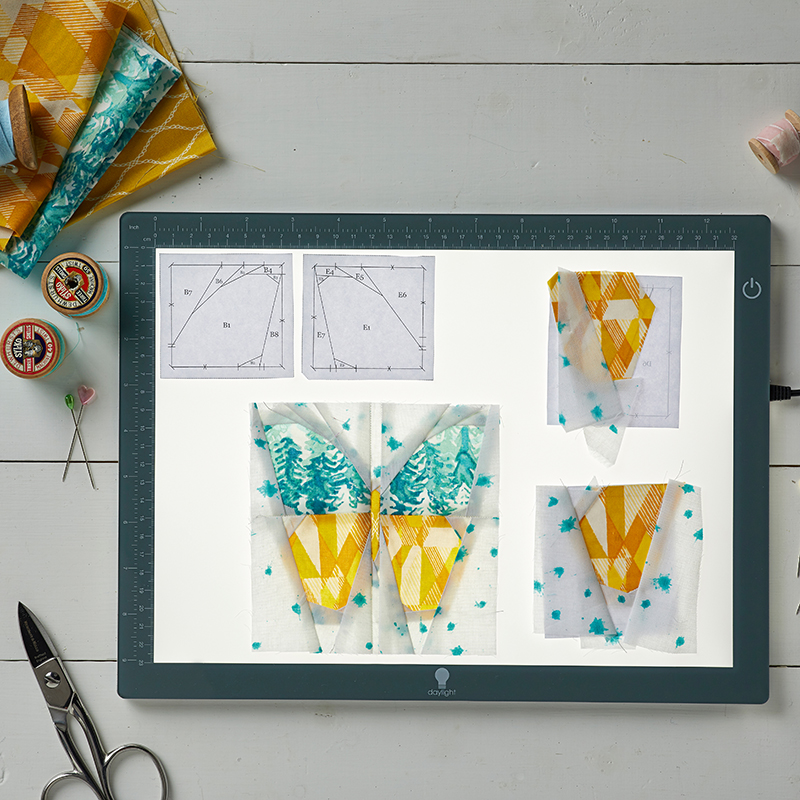
This post is sponsored by Daylight Company. For those who don’t already know, Daylight Company are the clever people responsible for the lights that are taking the quilting community by storm. We used their A3 Wafer Lightbox in our Foundation Paper Piecing tutorial to enable us to fussy cut and frame with ease.


Advertisement

How to Foundation Paper Piece using a light box

Step 1

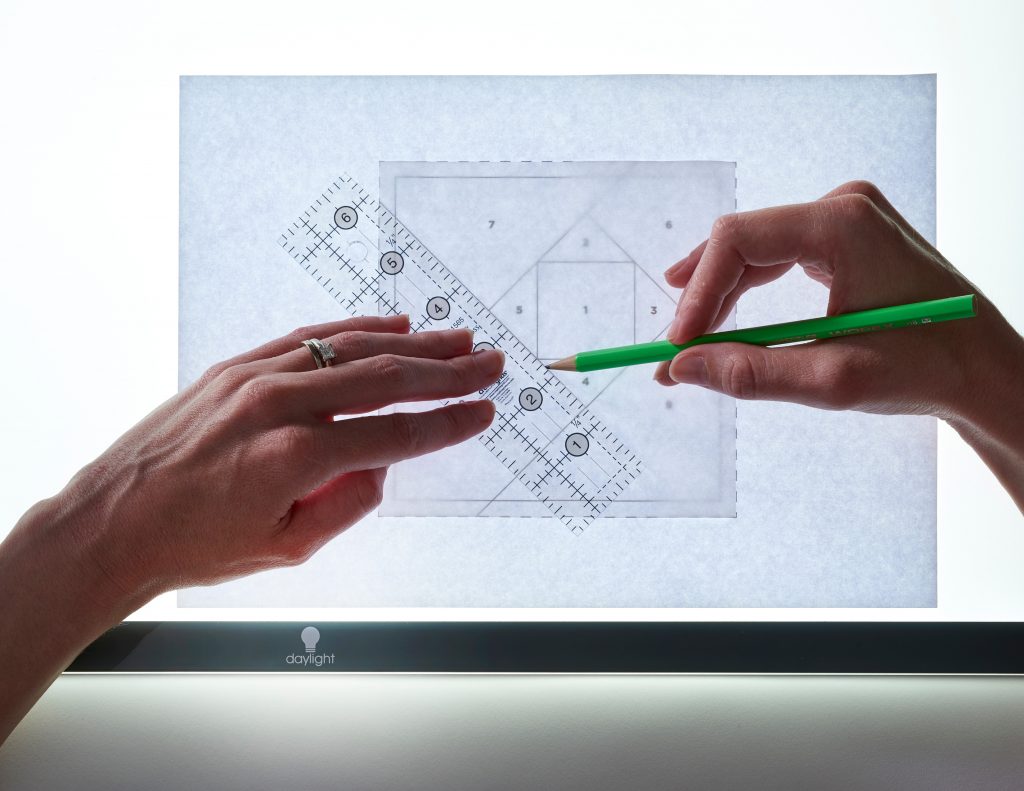
Using a light box, trace two copies of your FPP template onto freezer paper. You will be tracing on the uncoated, paper side. Make sure to also copy the number for each section onto each of your freezer paper templates. Cut to size, including the outer seam allowance.

FPP template on lightbox with ruler and pencil

Step 2

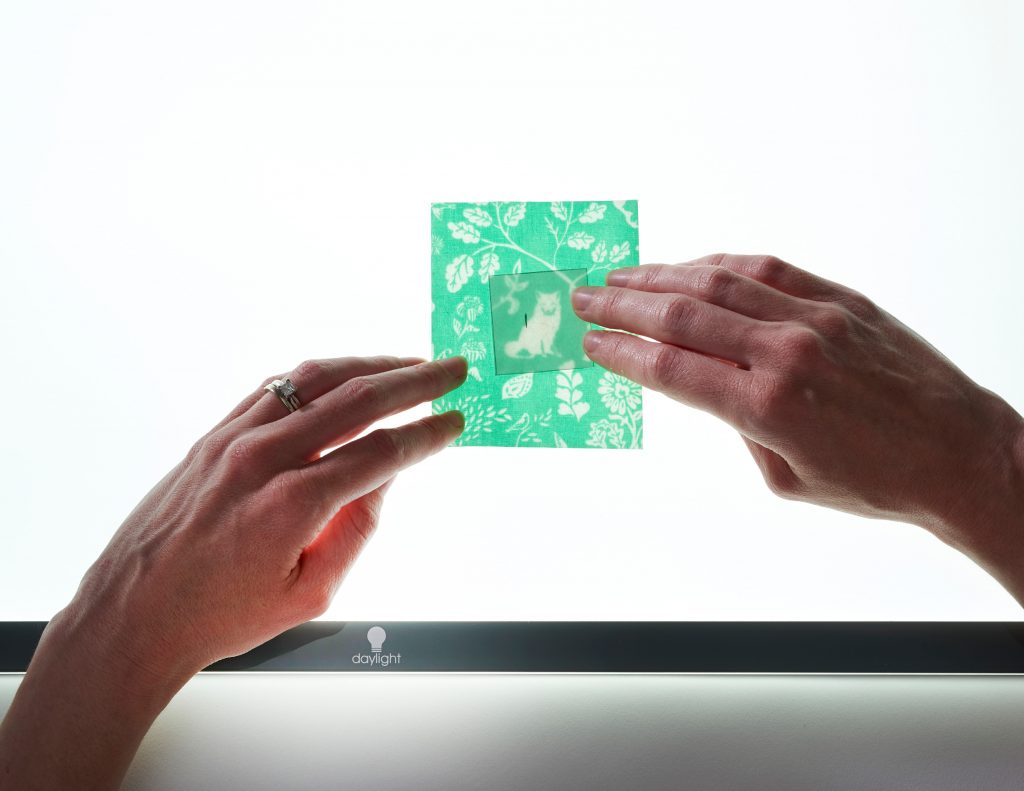
Cut apart one copy of your template. Place each template piece on the wrong side your fabric, with the coated side down. Use a lightbox to arrange the pieces for fussy cutting. Remember that the template pieces do not include seam allowance. When you’ve arranged your pieces, move to the ironing board and fuse in place on the reverse of the fabric with a hot, dry iron.

Tip: Make sure to always press from the paper side when using freezer paper.

FPP template on lightbox

Step 3

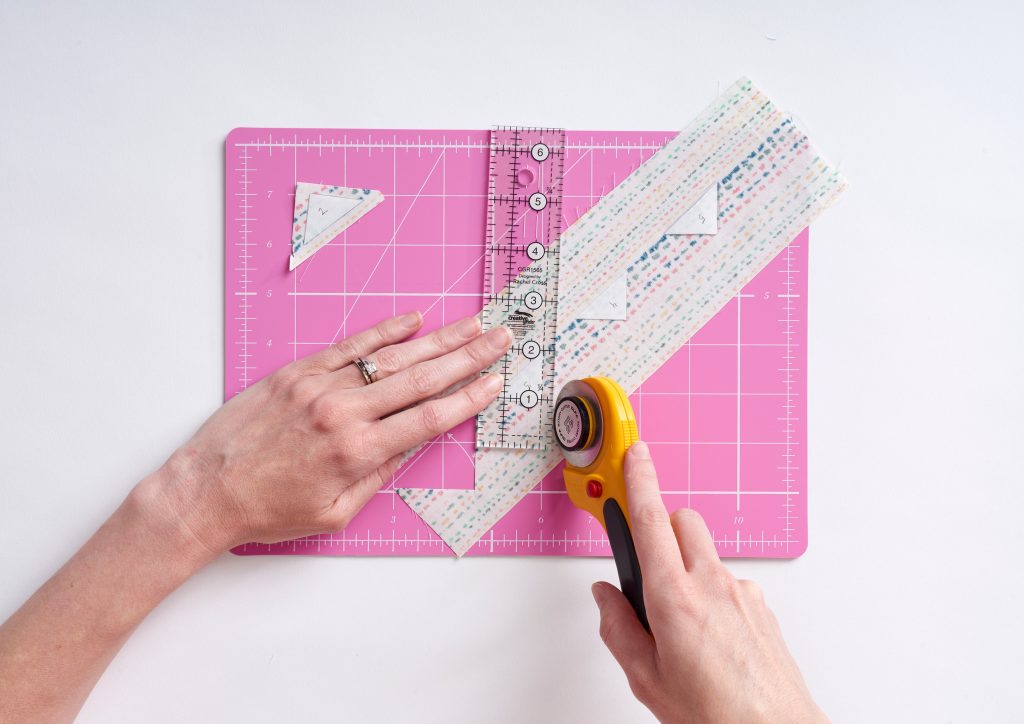
Trace around the outside of each piece using a removable fabric marker. Then cut out, adding a 1⁄4 inch seam allowance around the outer edge of each template piece. Leave the freezer paper attached to each piece to help you keep track of them.

fabric, ruler and cutter on cutting board

Step 4

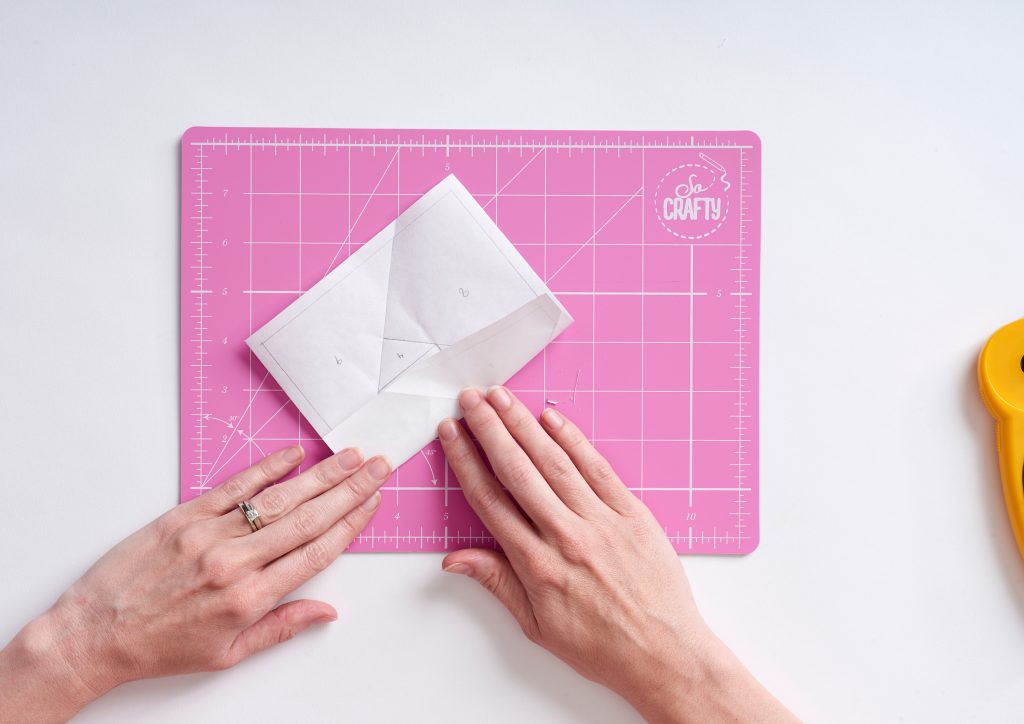
Take your remaining freezer paper template and fold back along the line between Sections 1 and 2. Press with your finger to crease, and unfold. Work your way around the template to crease each of the seam lines.

FPP template on cutting board

Step 5

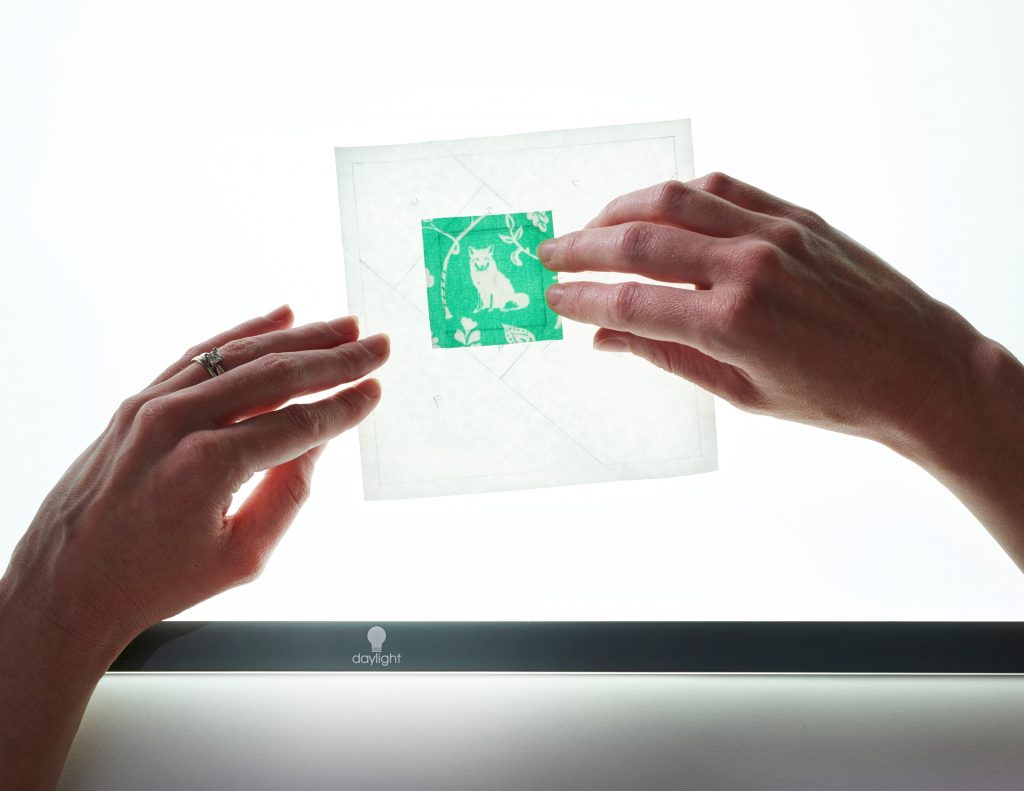
Peel off the freezer paper from the Section 1 fabric and place right side down on the light box. Place the template on top, with the coated side down. Arrange so the traced lines match up with the seam lines on the template. Pick up and move to the ironing board and fuse in place.

Fabric and template on lightbox

Step 6

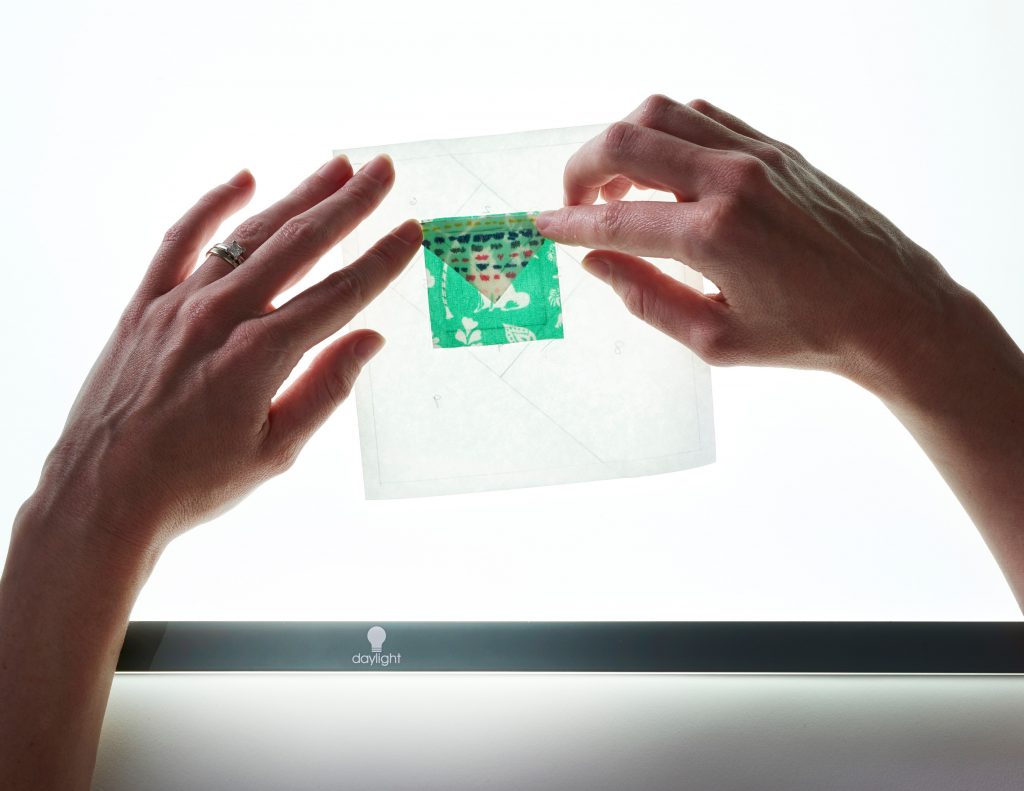
Fold the template back along the seam line between Sections 1 and 2. Place the Section 2 fabric right side together with Section 1, aligning the raw edges on the folded side.

Folded fabric and template on light box

Step 7

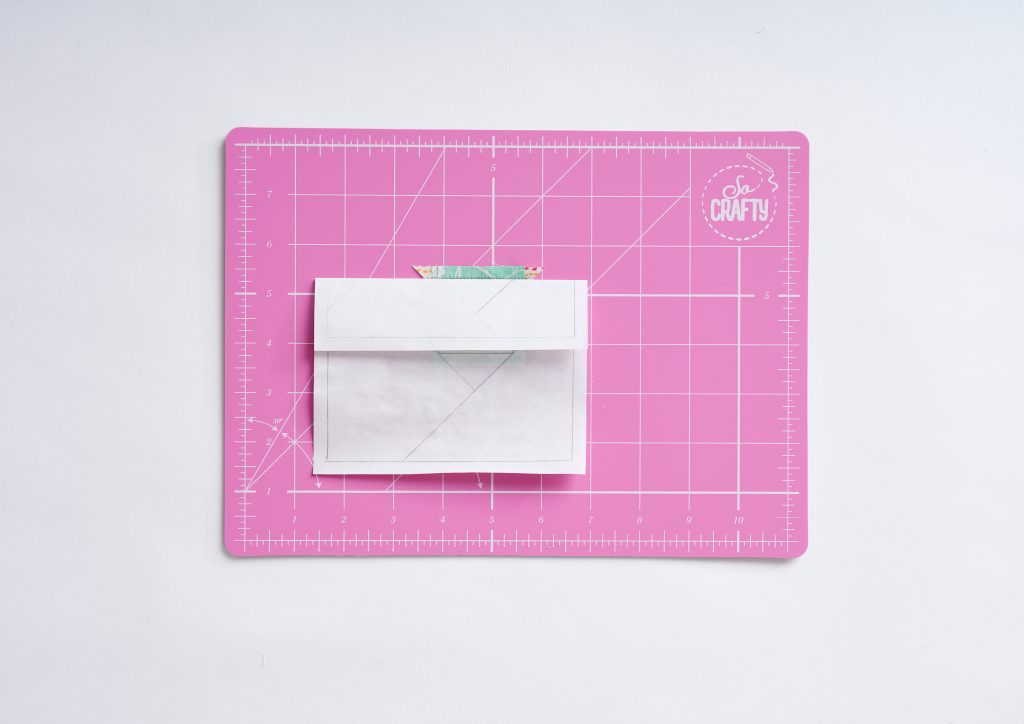
With the marked side of the template face up, sew next to the fold, without sewing through the paper.

Folded template and fabric on cutting board

Step 8

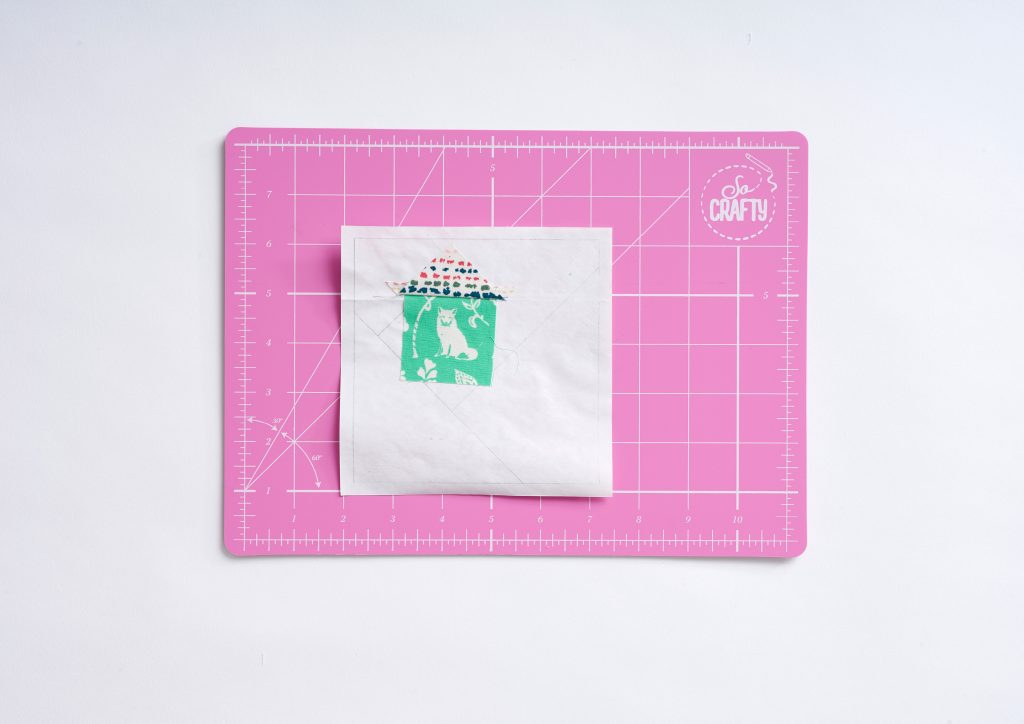
Finger press the Section 2 fabric open. Then fuse it to the paper template, ironing from the paper side.

Fabric and template on cutting board

Step 9

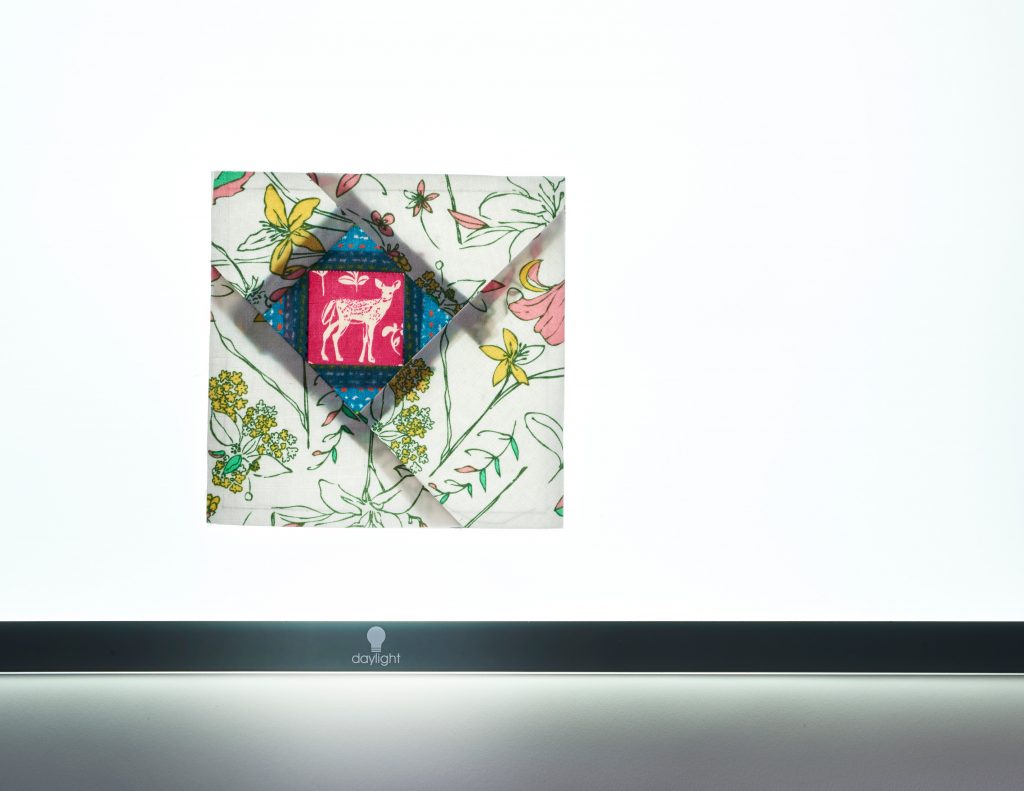
Repeat the process, sewing each section of fabric in turn. Once the block is complete, peel away the freezer paper and square up your block. You can use the freezer paper template several more times to sew more blocks.

Quilt block on light box
Advertisement

Visit daylightcompany.co.uk for more information on the light box, to browse the full collection of lights or to find your nearest stockist.

patchwork sewing quilting Projects shot in the studio