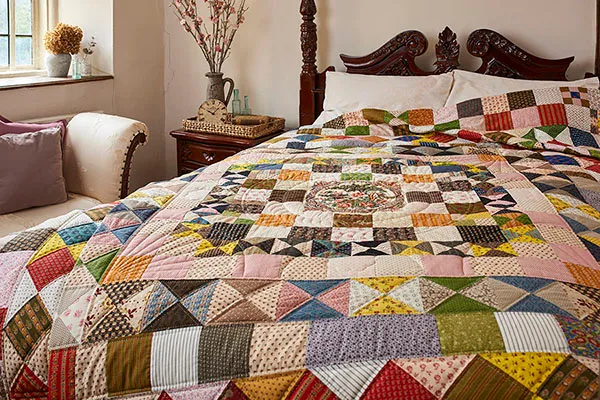
How to knife edge finish a quilt
Step 1
To make a knife edge, trim the backing and batting to the same size as the patchwork. Hand or machine quilt all around the quilt, 1in from the edge (the original and Susan’s version are hand quilted).
Separate the edges of the patchwork top and backing fabric and trim ¼in off the edge of the batting all round with scissors, taking care not to clip the backing or patchwork as you do so. If it helps, pin the patchwork and the backing fabric folded away from the edge. Don’t worry if the edge of the batting is slightly wavy, as tiny amounts of excess batting will be hidden in the edge finish.
Step 2
Turn in the ¼in seam allowance all round the quilt. Turn in the backing first, overlapping the batting. Place the pins at right angles to the quilt edge, pointing towards the quilt centre, so you can pull the pins out later. Fold under a ¼in hem all round the patchwork and pin, lining up with the edge of the backing and keeping the edge as straight as possible.
Slipstitch or ladder stitch the edge of the patchwork to the edge of the backing. At each corner, fold in the seam allowances of the back and front of the coverlet square but in opposite directions and overlap them before tucking them in, as shown below.

Step 3
This step is optional – quilt another line all around the coverlet a ¼in from the edge or midway between the edge and the previous quilting line. Many traditional British quilts have a second line or third line of quilting, which helps give a firmer, flatter edge. Don’t forget to add a label to help people identify your work in the future.