How to make a denim patchwork quilt
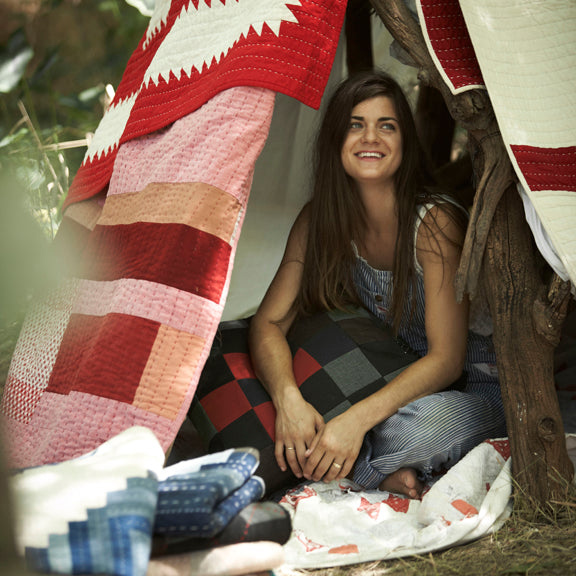
Hand-quilter Maura Grace Ambrose of Folk Fibers designs us a denim patchwork quilt so we never have to say goodbye to our fave jeans.
- Quilting for beginners: your go-to guide!
- How to make a quilt by hand – your guide to quilting without a sewing machine
- Take your quilting to the next level with these modern quilt patterns
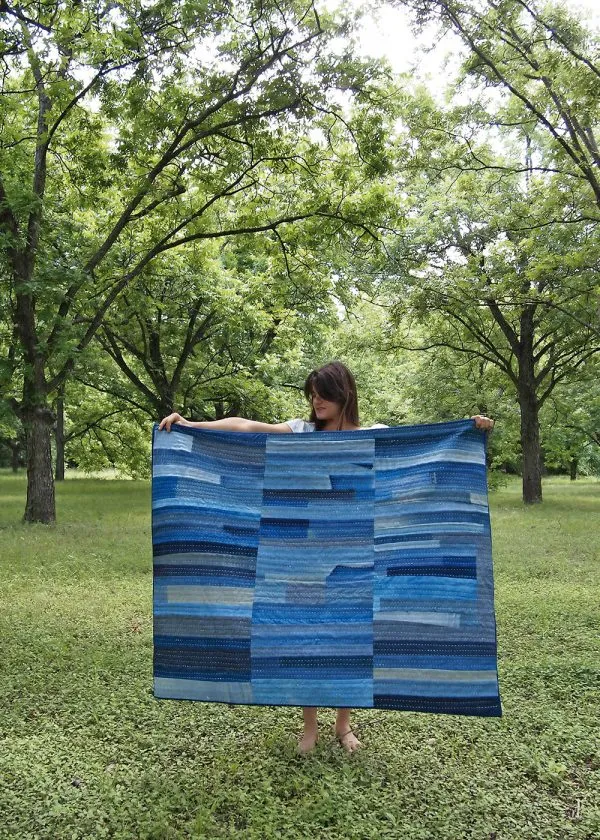
This chilled-out quilt has such an easy-going air to it; there are no set measurements for this so make your quilt to whatever size you like.
Modern, hard-wearing and interesting, it’s a real 70s vibe and would be a great throw-down come festival time. Plus because you’re using miss-matched pieces, it’s a much more accessible way of getting into patchwork if you haven’t tried it yet.
You will need
- Old denim jeans and jackets
- Cotton backing fabric
- Batting or wadding
- Pins, quilting pins or safety pins
- Needle and thread
- Sewing machine
- Invisible marker
- Rotary cutter
- Binding tape, 10cm (4") wide
Denim patchwork quilt instructions
Step 1

Deconstruct your denim, undoing seams with scissors or a seam-ripper. Go as far with your deconstructing as you like. Removing the back pockets, or undoing the hem on the bottom of the legs, for example, reveals some lovely fades and washes. If you’re up to it, the waistband has great character.
Step 2

Once you have enough pieces of denim prepared for the quilt top, rip or cut the pieces into strips.
Step 3
Lay out your denim strips in a rough design. Step back now and again to make sure there’s a balance in tone throughout. Keep rearranging the strips until you have a design you’re happy with.
Step 4

Pin and sew the strips of denim right sides (RS) together to make long, rectangular sections of patchworked strips.
Step 5

After stitching each piece, bring your patchwork over to the ironing board and press the seams open. This helps reduce bulk in your quilt top and helps maintain a smoother finish. You can either press them open, or to one side – choose your preferred method and stay consistent throughout the making of your quilt top.
Step 6

After pressing your seams, cut your strips flush as you go, making all strips the same length.
Step 7

When your denim panel is the required size, put it aside and make two more.Then sew these three denim panels together, RS facing, to make one quilt top piece.
Step 8

With your rotary cutter, trim the length of your top piece flush.
Step 9

After you’ve finished building the quilt top it’s time to make the back. Layer the quilt, laying down the backing fabric on your work surface first (RS down), then the batting, and then your patchwork top piece, RS up.
Step 10

Smooth out the three layers working from the middle out. You’re trying to create a smooth, even surface – so stay mindful of the backside of the quilt too. If need be, use an iron to help.
Step 11

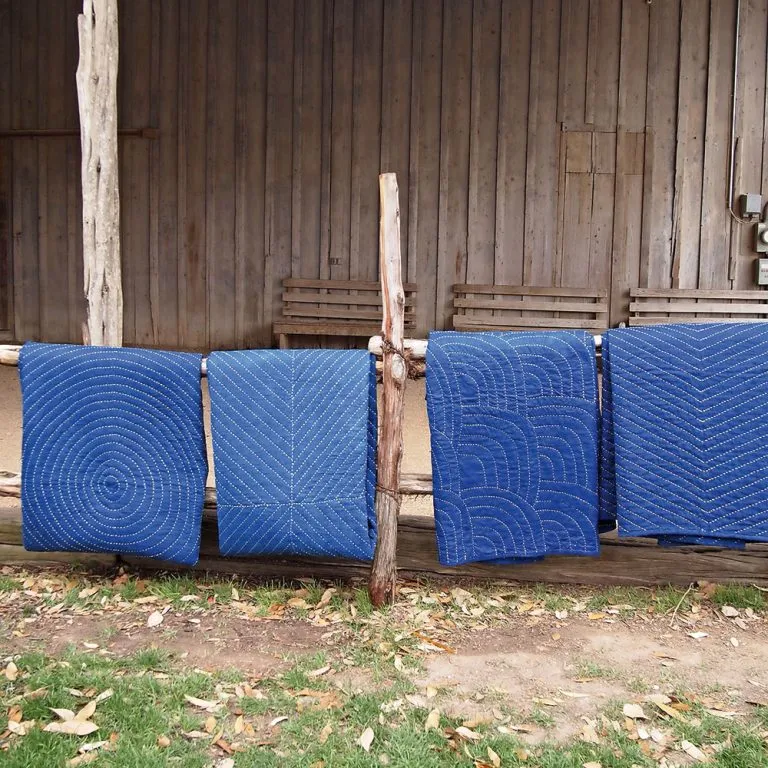
Once all three layers are nice and smooth, draw the lines on the quilt top with a ruler and water-soluble pen. The lines are the design you’ll be quilting later with a sewing machine or by hand.
Step 12

Pin the layers of your quilt together with straight pins, safety pins, or by tacking (basting). Again, work from the middle out to keep everything smooth.
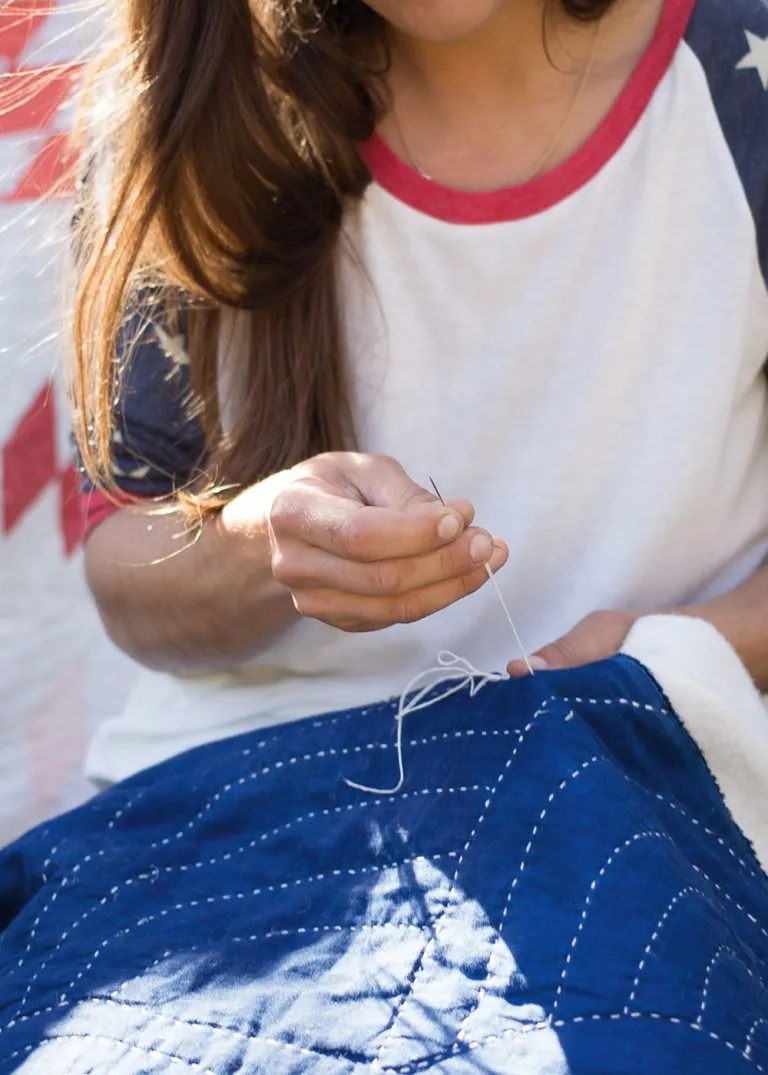
After pinning it’s finally time to quilt! With a sewing machine (or by hand) stitch over the markings you made earlier. Keep working from the centre out to maintain smooth layers.
Step 13

When hand quilting, it’s important to hide the knots of your thread in the middle of the quilt sandwich. When starting or finishing with a thread, work your way in through the sides of your quilt. Secure a stitch in your batting layer, before pulling up through the batting and top piece.
Step 14
After you’ve finished quilting, trim all three layers flush. Be careful not to cut any of your stitches, leaving adequate space between the quilt stitches and the quilt edges.
Step 15
Once the quilt layers have all been trimmed together, it’s time to attach the binding to the edges of the quilt. Stitch the binding to the quilt edge with a sewing machine RS facing, and then flip the binding over the edge and sew by hand using a slip stitch.
Step 16
To remove the water-soluble pencil marks from the quilt top, wash the quilt by hand in a clean tub with cold water and mild detergent; leave to air dry.
And you’re done – take your denim patchwork quilt with you on your outdoor jaunts this summer, or give as a wedding gift to a cool and quirky couple.
Fun with fabrics
If you're looking for more ways to reuse your favourite fabrics, make sure you also check out our how to make a kantha quilt tutorial.