How to make a patchwork zip case

Kick-start your sewing with super-speedy patchwork squares in technicolour tones with this free patchwork zip case pattern.

Try 6 issues of Love Patchwork & Quilting magazine for £9.99| SAVE 76%

Published: May 15, 2020 at 8:00 am

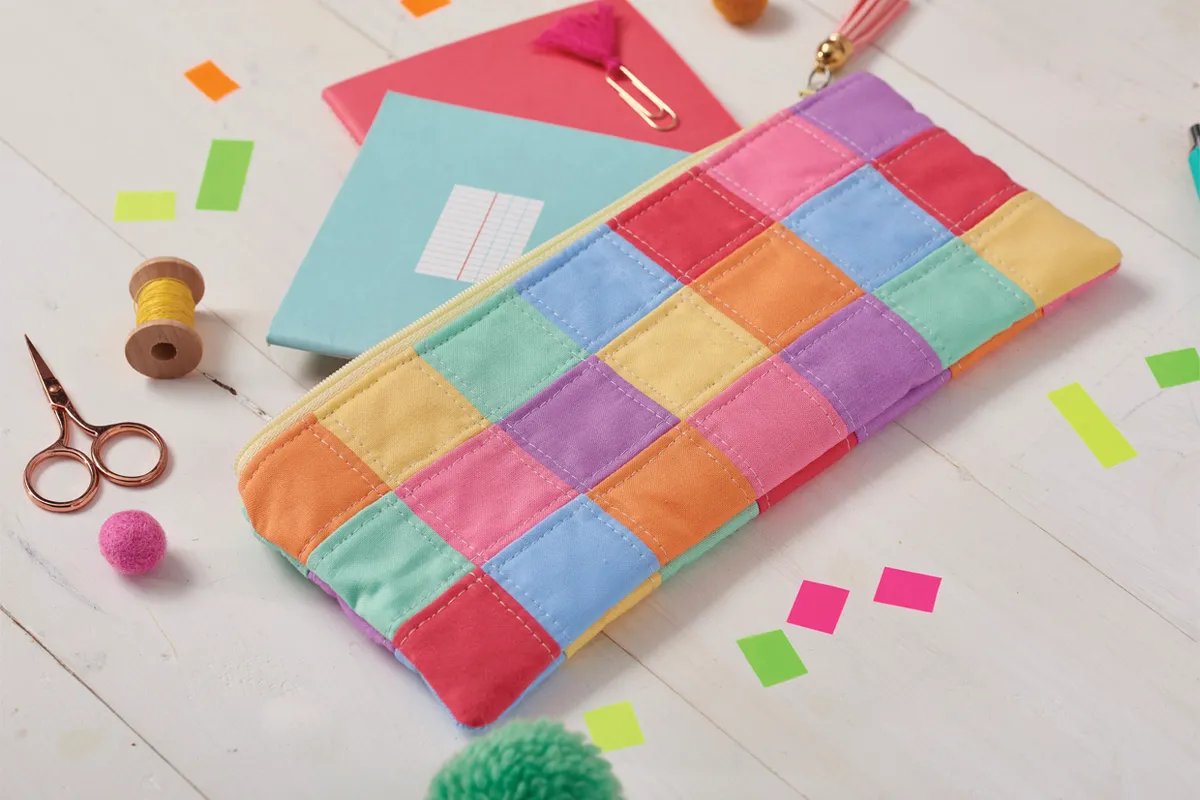
Whatever you're using this pretty pouch for pens, makeup, embroidery threads, or anything else for that matter, this easy peasy pattern by Sarah Ashford will come in useful for all your small storage needs. Made from simple square patchwork, this free patchwork zip case pattern is a great way to use up scraps from your solid coloured fabric stash.

You will need

  • Rainbow coloured fabrics: seven (7) fat sixteenths
  • Lining fabric: one (1) fat quarter
  • Lightweight fusible interfacing: one (1) fat quarter
  • Batting: two (2) 5in x 11in pieces
  • 13in zipper

Finished size

10in x 4in

Notes

  • Seam allowances are 1⁄4in, unless otherwise noted.
  • Press seams to one side, unless otherwise stated.
  • RST = right sides together.
  • WST = wrong sides together.

Fabrics Used

Fabrics are all Kona Cotton Solids by Robert Kaufman in Punch, Mango, Banana, Pond, Cornflower, Bubblegum and Lupine.

Free_Rainbow_Zip_Pouch_Pattern

Free patchwork zip case pattern

You will need:

  • Fabric
  • Lining fabric
  • Interfacing
  • Batting
  • Zip
  • Basic sewing kit
  • Sewing machine

Step 1

Cutting out

From each of the coloured fat sixteenths cut: Six (6) 2in squares.

Step 2

From the lining fabric cut: Two (2) 103/4in x 43/4in pieces.

Step 3

From the interfacing cut: Two (2) 14in x 6in pieces.

Step 4

Piecing the pouch

Place twenty one of your coloured 2in squares in three rows of seven across one piece of interfacing. Arrange these as neatly as you can, with the squares right side up on the sticky side of the interfacing. Use a hot iron to fuse the squares in place, according to the manufacturer’s instructions.

Free_Rainbow_Zip_Pouch_Pattern.stepA

Step 5

Fold the right hand row of squares over, RST. Sew along the fold. Finger press the seam to one side, then press from the front using an iron.

Free_Rainbow_Zip_Pouch_Pattern.stepB

Step 6

Fold the next row over, sew along the seam and then press to one side. Repeat this with every row and give a final press from the front.

Free_Rainbow_Zip_Pouch_Pattern.stepC

Step 7

Repeat steps 5–6 with all the horizontal seams, being careful to keep the existing seams pressed in the same direction. Repeat steps 5–7 to complete the second patchwork panel.

Free_Rainbow_Zip_Pouch_Pattern.stepD

Step 8

Adhere the batting pieces to the two panels using basting spray and quilt as desired. Sarah quilted her panels 1/ in either side of the seams. Trim each panel to 103/4in x 43/4in.

Free_Rainbow_Zip_Pouch_Pattern.stepE

Step 9

Lay one of the exterior panels right side up and place the zip right side down, aligning the top edges. Position a piece of lining fabric on top, RST, aligning raw edges. Clip or pin through all three layers, then baste in place.

Free_Rainbow_Zip_Pouch_Pattern.stepF

Step 10

Sew along the top edge with a zipper foot, as close to the zip as possible, and remove the basting stitches. Press both fabric pieces away from the zip. Topstitch along the pressed edge.

Step 11

Repeat steps 9–10 with the remaining zip edge, exterior panel and lining piece.

Free_Rainbow_Zip_Pouch_Pattern.stepG

Step 12

Open the zip halfway and clip or pin the lining pieces RST, and the exterior panels RST, aligning raw edges. Sew all the way around, using a 1/2in seam and leaving a 3in gap for turning at the bottom of the lining. Backstitch at the beginning and end of the seam to secure.

Free_Rainbow_Zip_Pouch_Pattern.stepH

Step 13

Trim any overhanging zip tape. Clip the corners and turn the pouch right side out. Carefully push out the corners and then neatly slipstitch the gap in the lining closed. Push the lining inside to complete the zippy pouch.