How to make Cathedral Window quilt blocks

Take your patchwork to the next level with cathedral window quilt blocks!

Try 6 issues of Love Patchwork & Quilting magazine for £9.99| SAVE 76%

Published: June 29, 2020 at 8:00 am

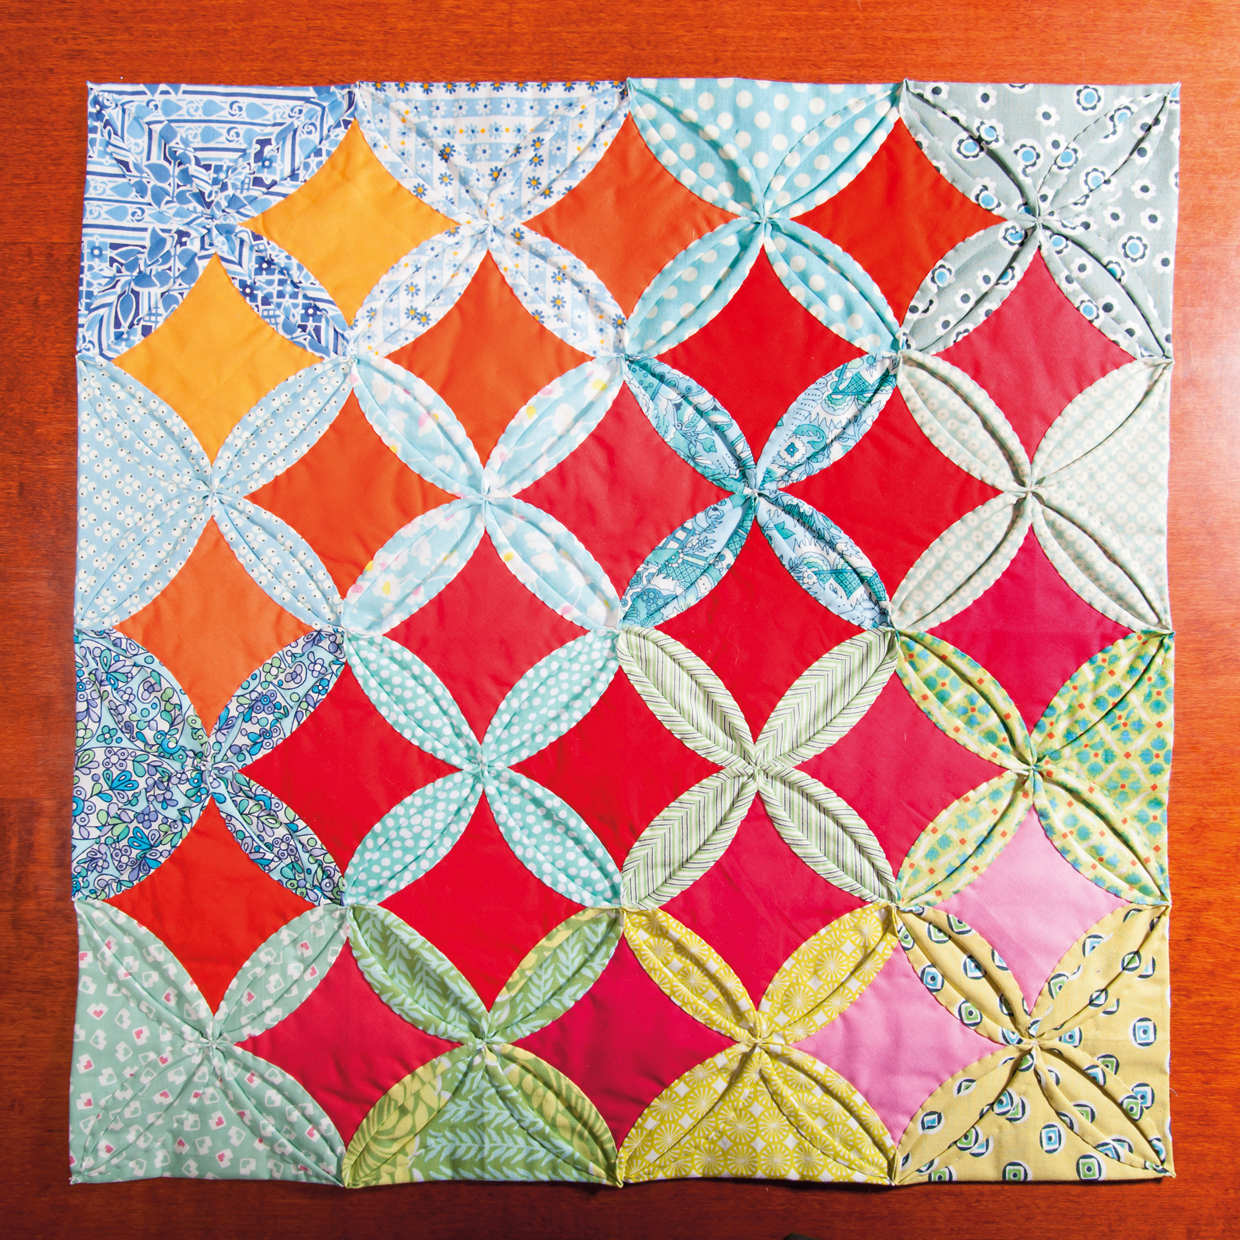
Cathedral window quilt blocks may seem laborious due to all the folding and pressing, but as Jo Avery shows, this technique means no basting or quilting is required, so it’s actually a pretty speedy way to make a really striking quilt or cushion!

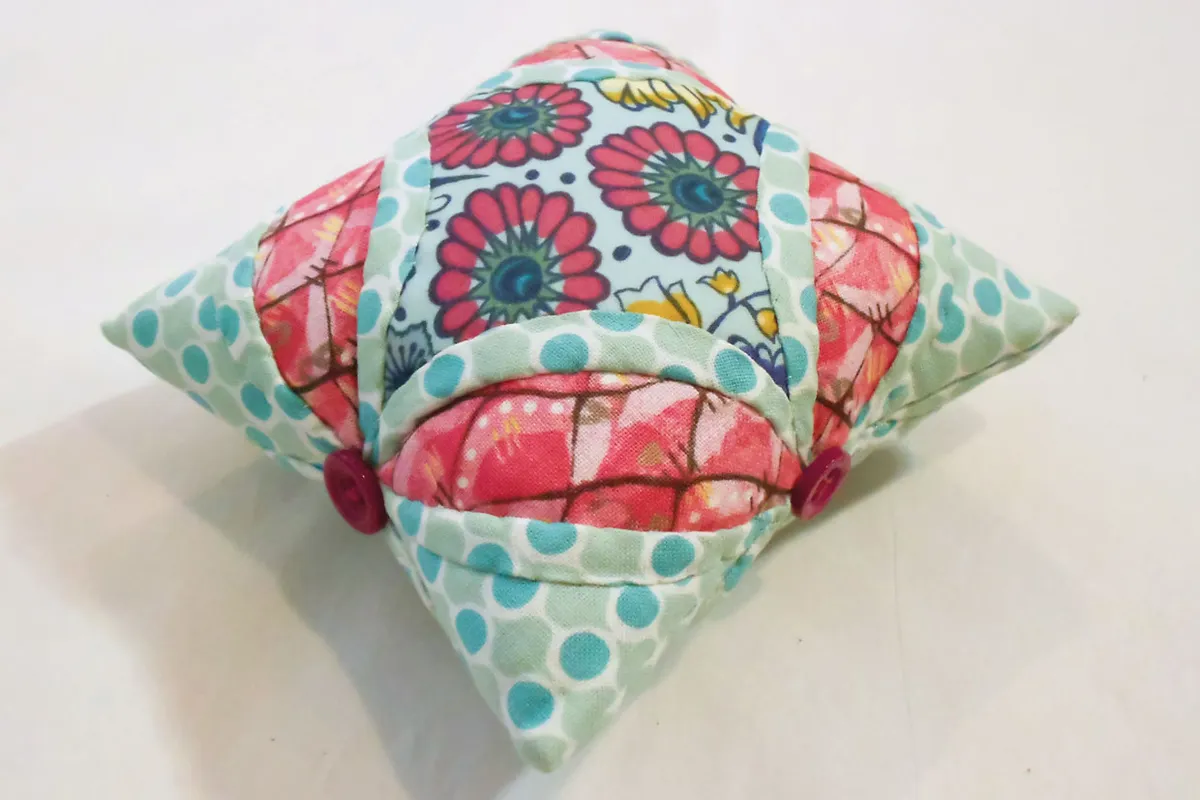
Just two Cathedral Window blocks sewn back-to-back make a charming pincushion. Why not fill the windows with precious scraps of vintage embroidery, or hand embroider a few little lazy daisies. Buttons can be added at the intersections for extra interest (and to any hide messy stitches!).

How_to_make_cathedral_blocks_cushion

How to make Cathedral Window quilt blocks

You will need:

  • Patterned fabrics
  • Cotton fabric
  • Card or paper
  • Cotton thread
  • Basic sewing kit
  • Sewing machine

Step 1

Place a 10in square of fabric right side down on to the ironing board. Place a 9in square of cartridge paper on top so there’s ½in of fabric all the way around. Pin to hold in place then press the excess fabric over the paper edge around all four sides.

How_to_make_cathedral_blocks_step_01

Step 2

Take the paper away and fold and press the fabric square in half and in half again to crease a centre point.

How_to_make_cathedral_blocks_step_02

Step 3

Take one of the corners and fold this into the centre of the fabric. Fold all the remaining corners into the centre and press.

How_to_make_cathedral_blocks_step_03

Fabric mix and match

Try experimenting by using prints for the background and solids for the windows. Or use a different patterned fabric to make each background block. In this piece Jo used a colour- wash effect to blend her background blocks from blue to green, and then filled her windows with solids, blending orange to pink through shades of red.

Step 4

Now fold each of the corners into the centre once more and press. Pin down each corner to secure.

How_to_make_cathedral_blocks_step_04a
How_to_make_cathedral_blocks_step_04b

Step 5

Joining the blocks

Lay two blocks side by side, remove the pins from adjacent flaps, fold out and pin together.

How_to_make_cathedral_blocks_step_05

Step 6

Filling the windows

Sew the flaps together along the fold lines, remove the pins and press the flaps open.

How_to_make_cathedral_blocks_step_06

TOP TIP

Use a steam iron on its highest setting to prepare the folded blocks. To avoid scalding yourself with the steam, keep the iron in contact with the fabric when you’re holding down folds, only lifting up the iron when your fingers are out of the way.

Step 7

Depending on the project you will need to join a few blocks together to form a row, and then join rows together to form a larger piece. To join rows together lay blocks side by side and open out adjacent flaps. Pin together and sew along the fold line. Remove the pins, open out the flaps and press.

How_to_make_cathedral_blocks_step_07

Step 8

Once you have a number of blocks sewn together you can begin to fill the windows. First you need to secure the intersections. Using matching thread secure the corners of all the folded-out flaps together using small, neat hand stitches.

How_to_make_cathedral_blocks_step_08

Step 9

Place a 3in contrasting fabric square, wrong side up on the ironing board and gently press the edges of the fabric over ¼in, but don’t press at the corners.

Step 10

Place this square right side up on to one of the pressed-open flaps on top of the seam and pin. Now begin to turn the edges of the flaps around the fabric square, pinning through all your layers to secure it in the diamond- shaped ‘window’.

How_to_make_cathedral_blocks_step_010

Step 11

Using matching thread and a sewing machine, neatly topstitch the flap edges down, overlapping at the corner points and working from one window to the next. Remove all pins and press gently.

Hand stitching the windows

You can also use tiny slipstitches to hand stitch the window edges down. These stitches can be as much as a ¼in apart but make sure that your ‘edge catching’ stitch goes straight over the edge rather than at a slant. When hand stitching you do not need to go all the way through to the bottom layers, meaning that the window will seem to ‘float’ above the background. This also means that you can use a contrasting fabric to fill in the elliptical shapes between the windows. Cut a piece of fabric the same size as the space you will fill but with a ¼in seam allowance all the way around. Slip this under the window edges and pin in place. Now slipstitch the other side of the window edge to secure. This extra fabric can add a whole new dimension to your Cathedral Windows.