Step 1
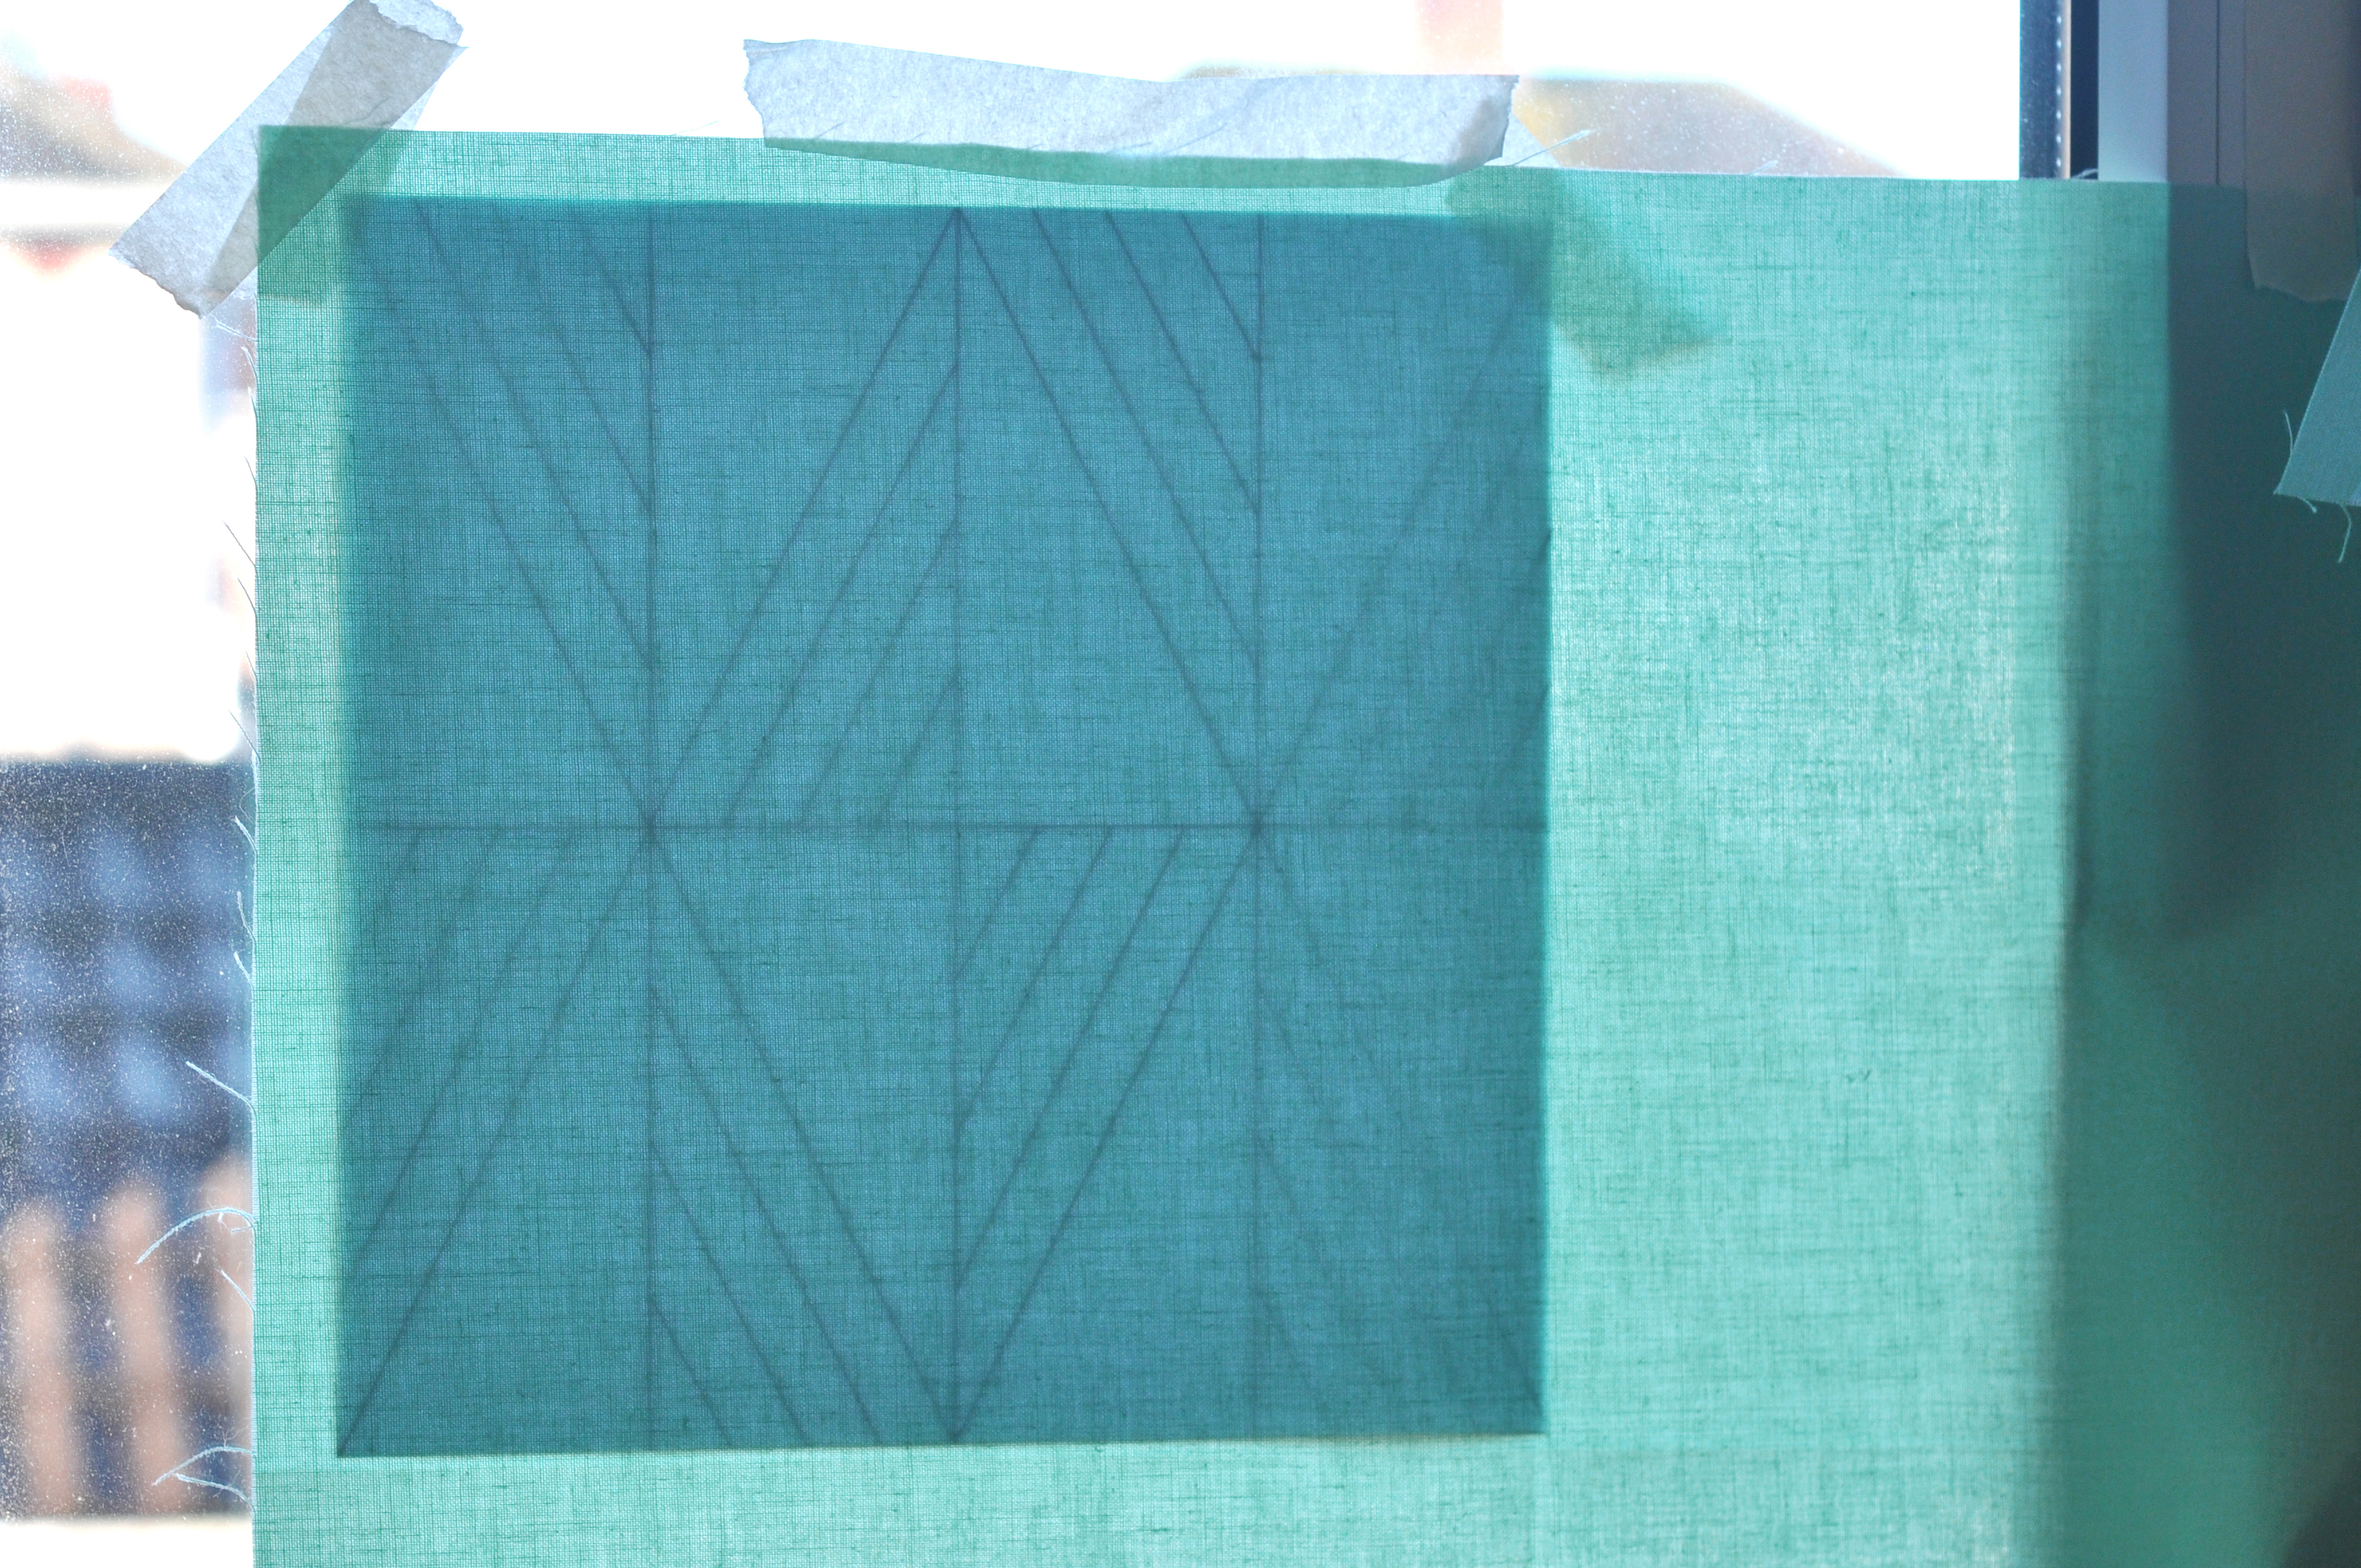
Before starting, press all of the fabrics well. Cut the solid fabric into one 42cm (16½”) square and two 30cm x 42cm (12 x 16½”) backing pieces. Put the backing pieces to one side. Press the square in half vertically and horizontally to mark a centre cross. Download and print the template, then place it under the top left corner of the square, using the creases as a guide. If you can’t see the lines through the fabric, do this on a light box or against a window.
Step 2
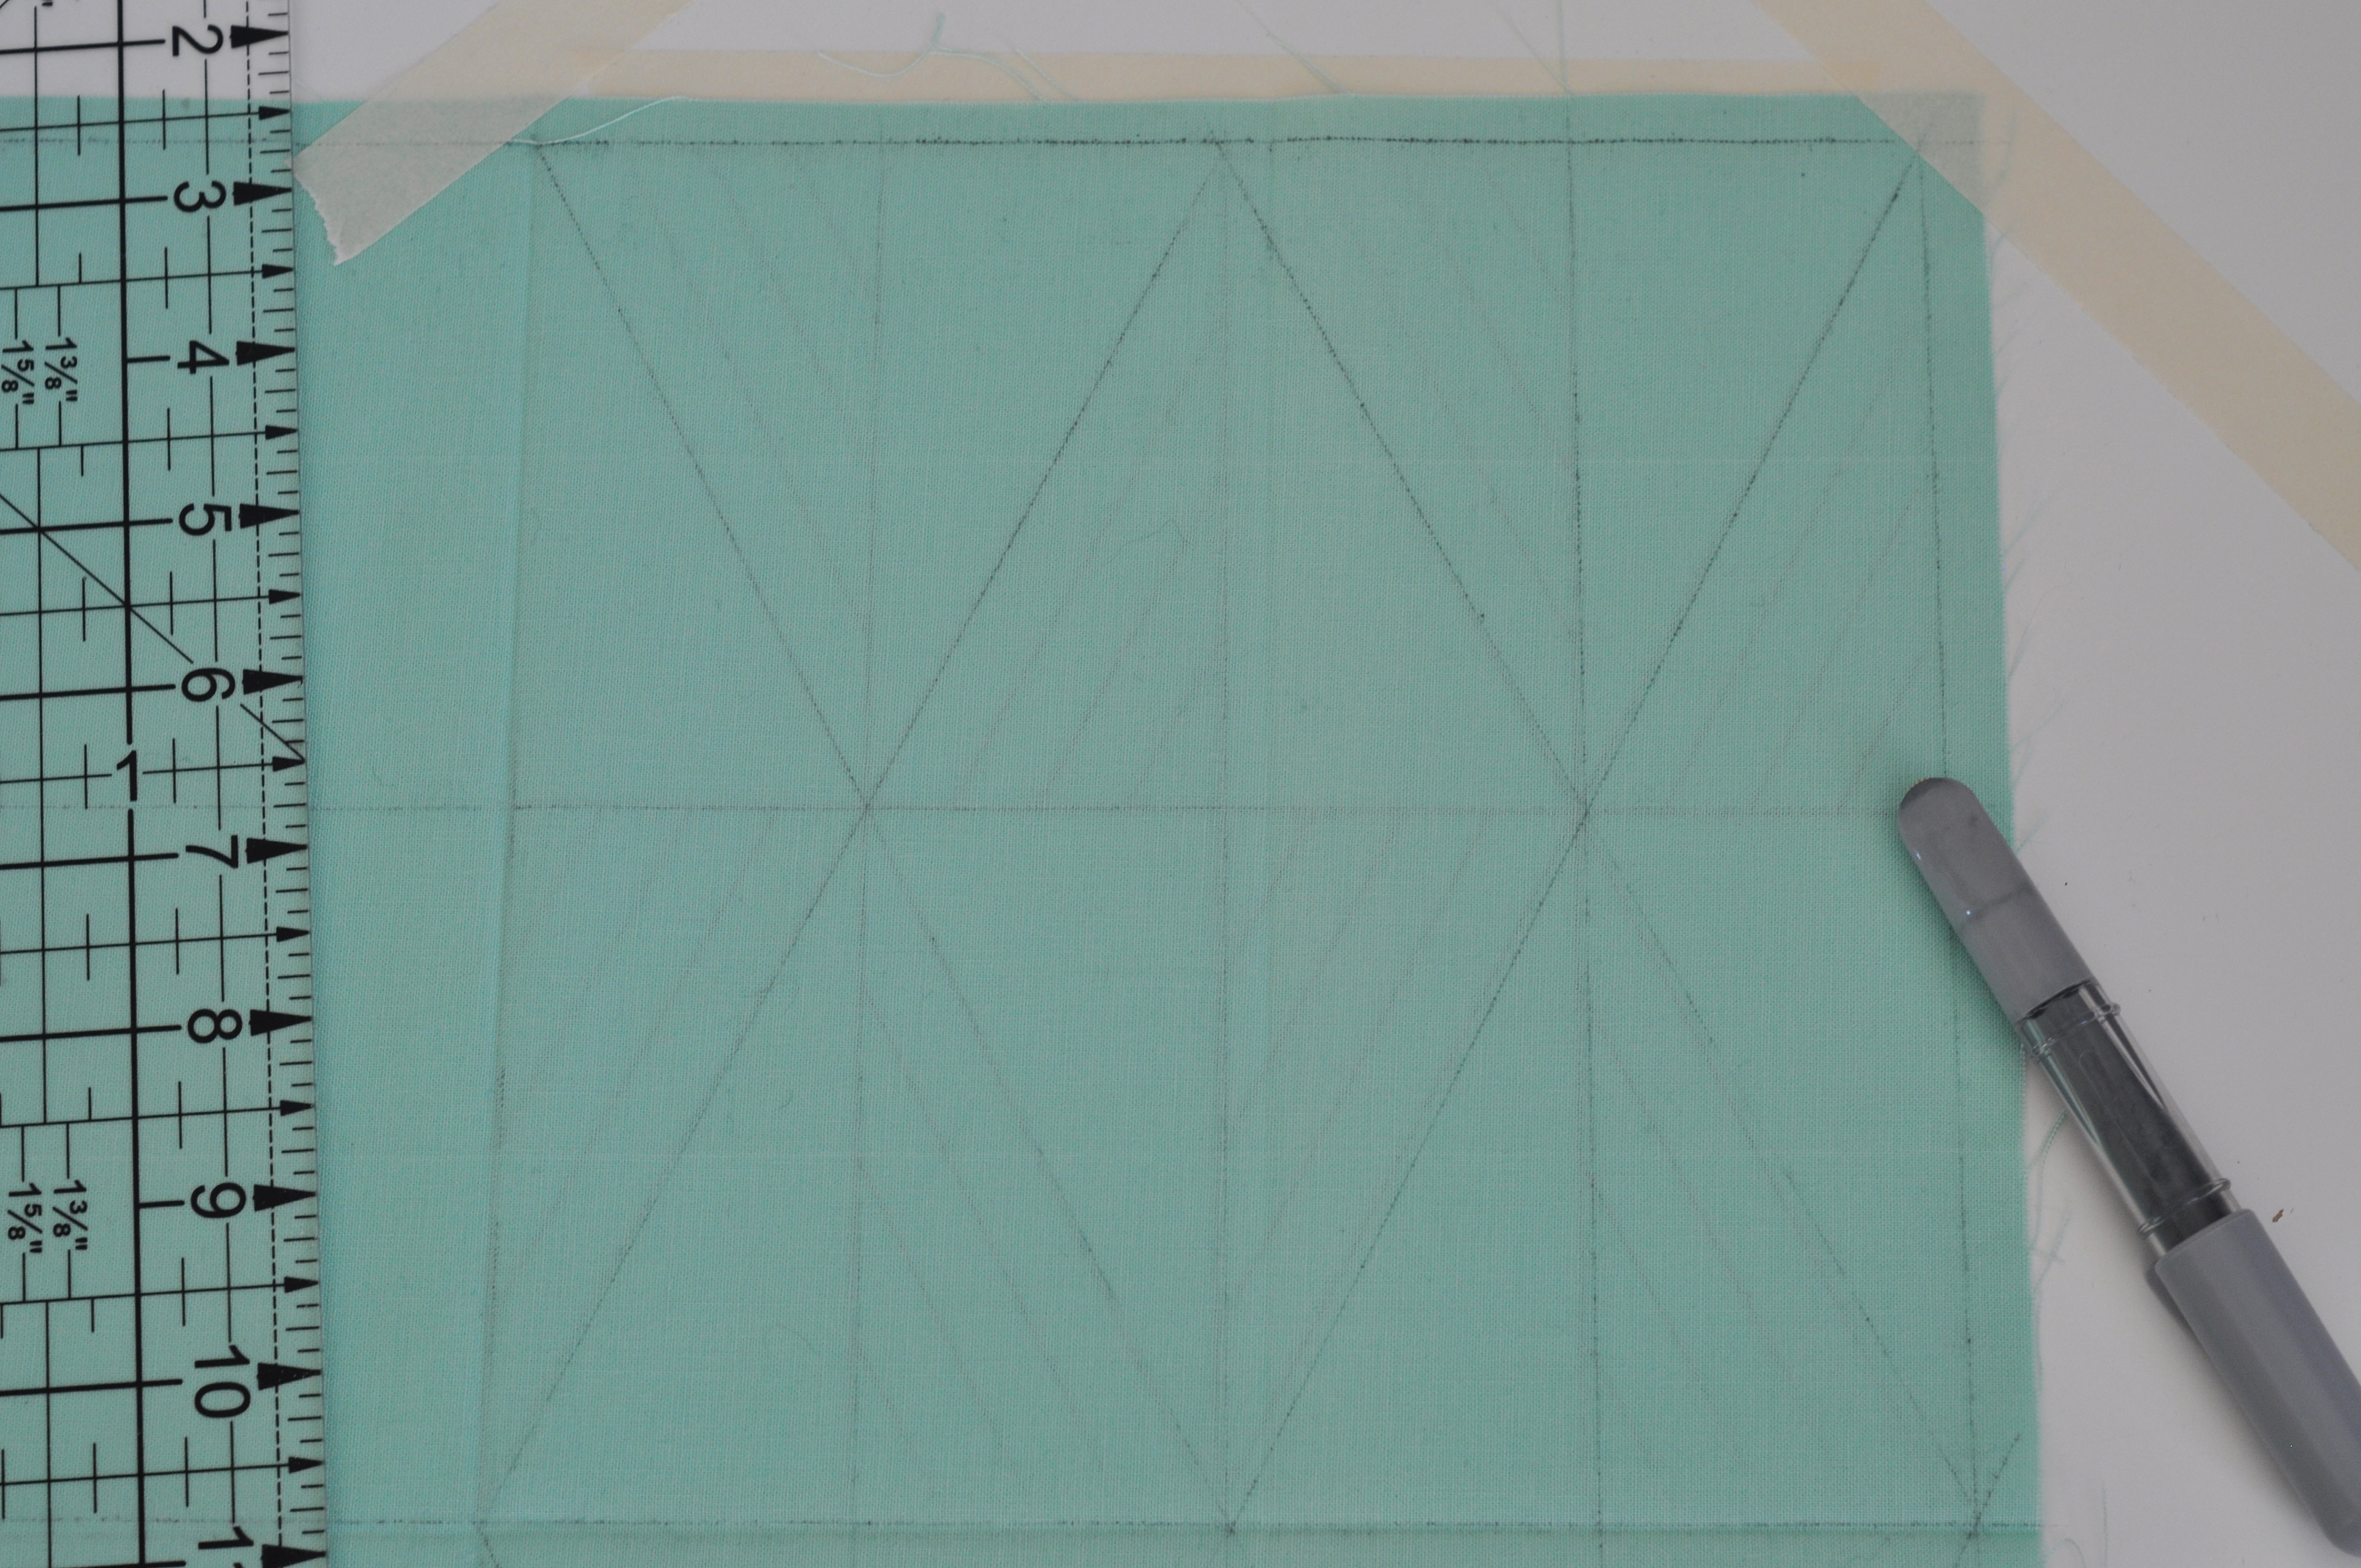
Using the erasable marker pen and a ruler, trace all the lines from the template onto the right side (RS) of the fabric square. Repeat this process in each of the remaining sections of the square.
Step 3
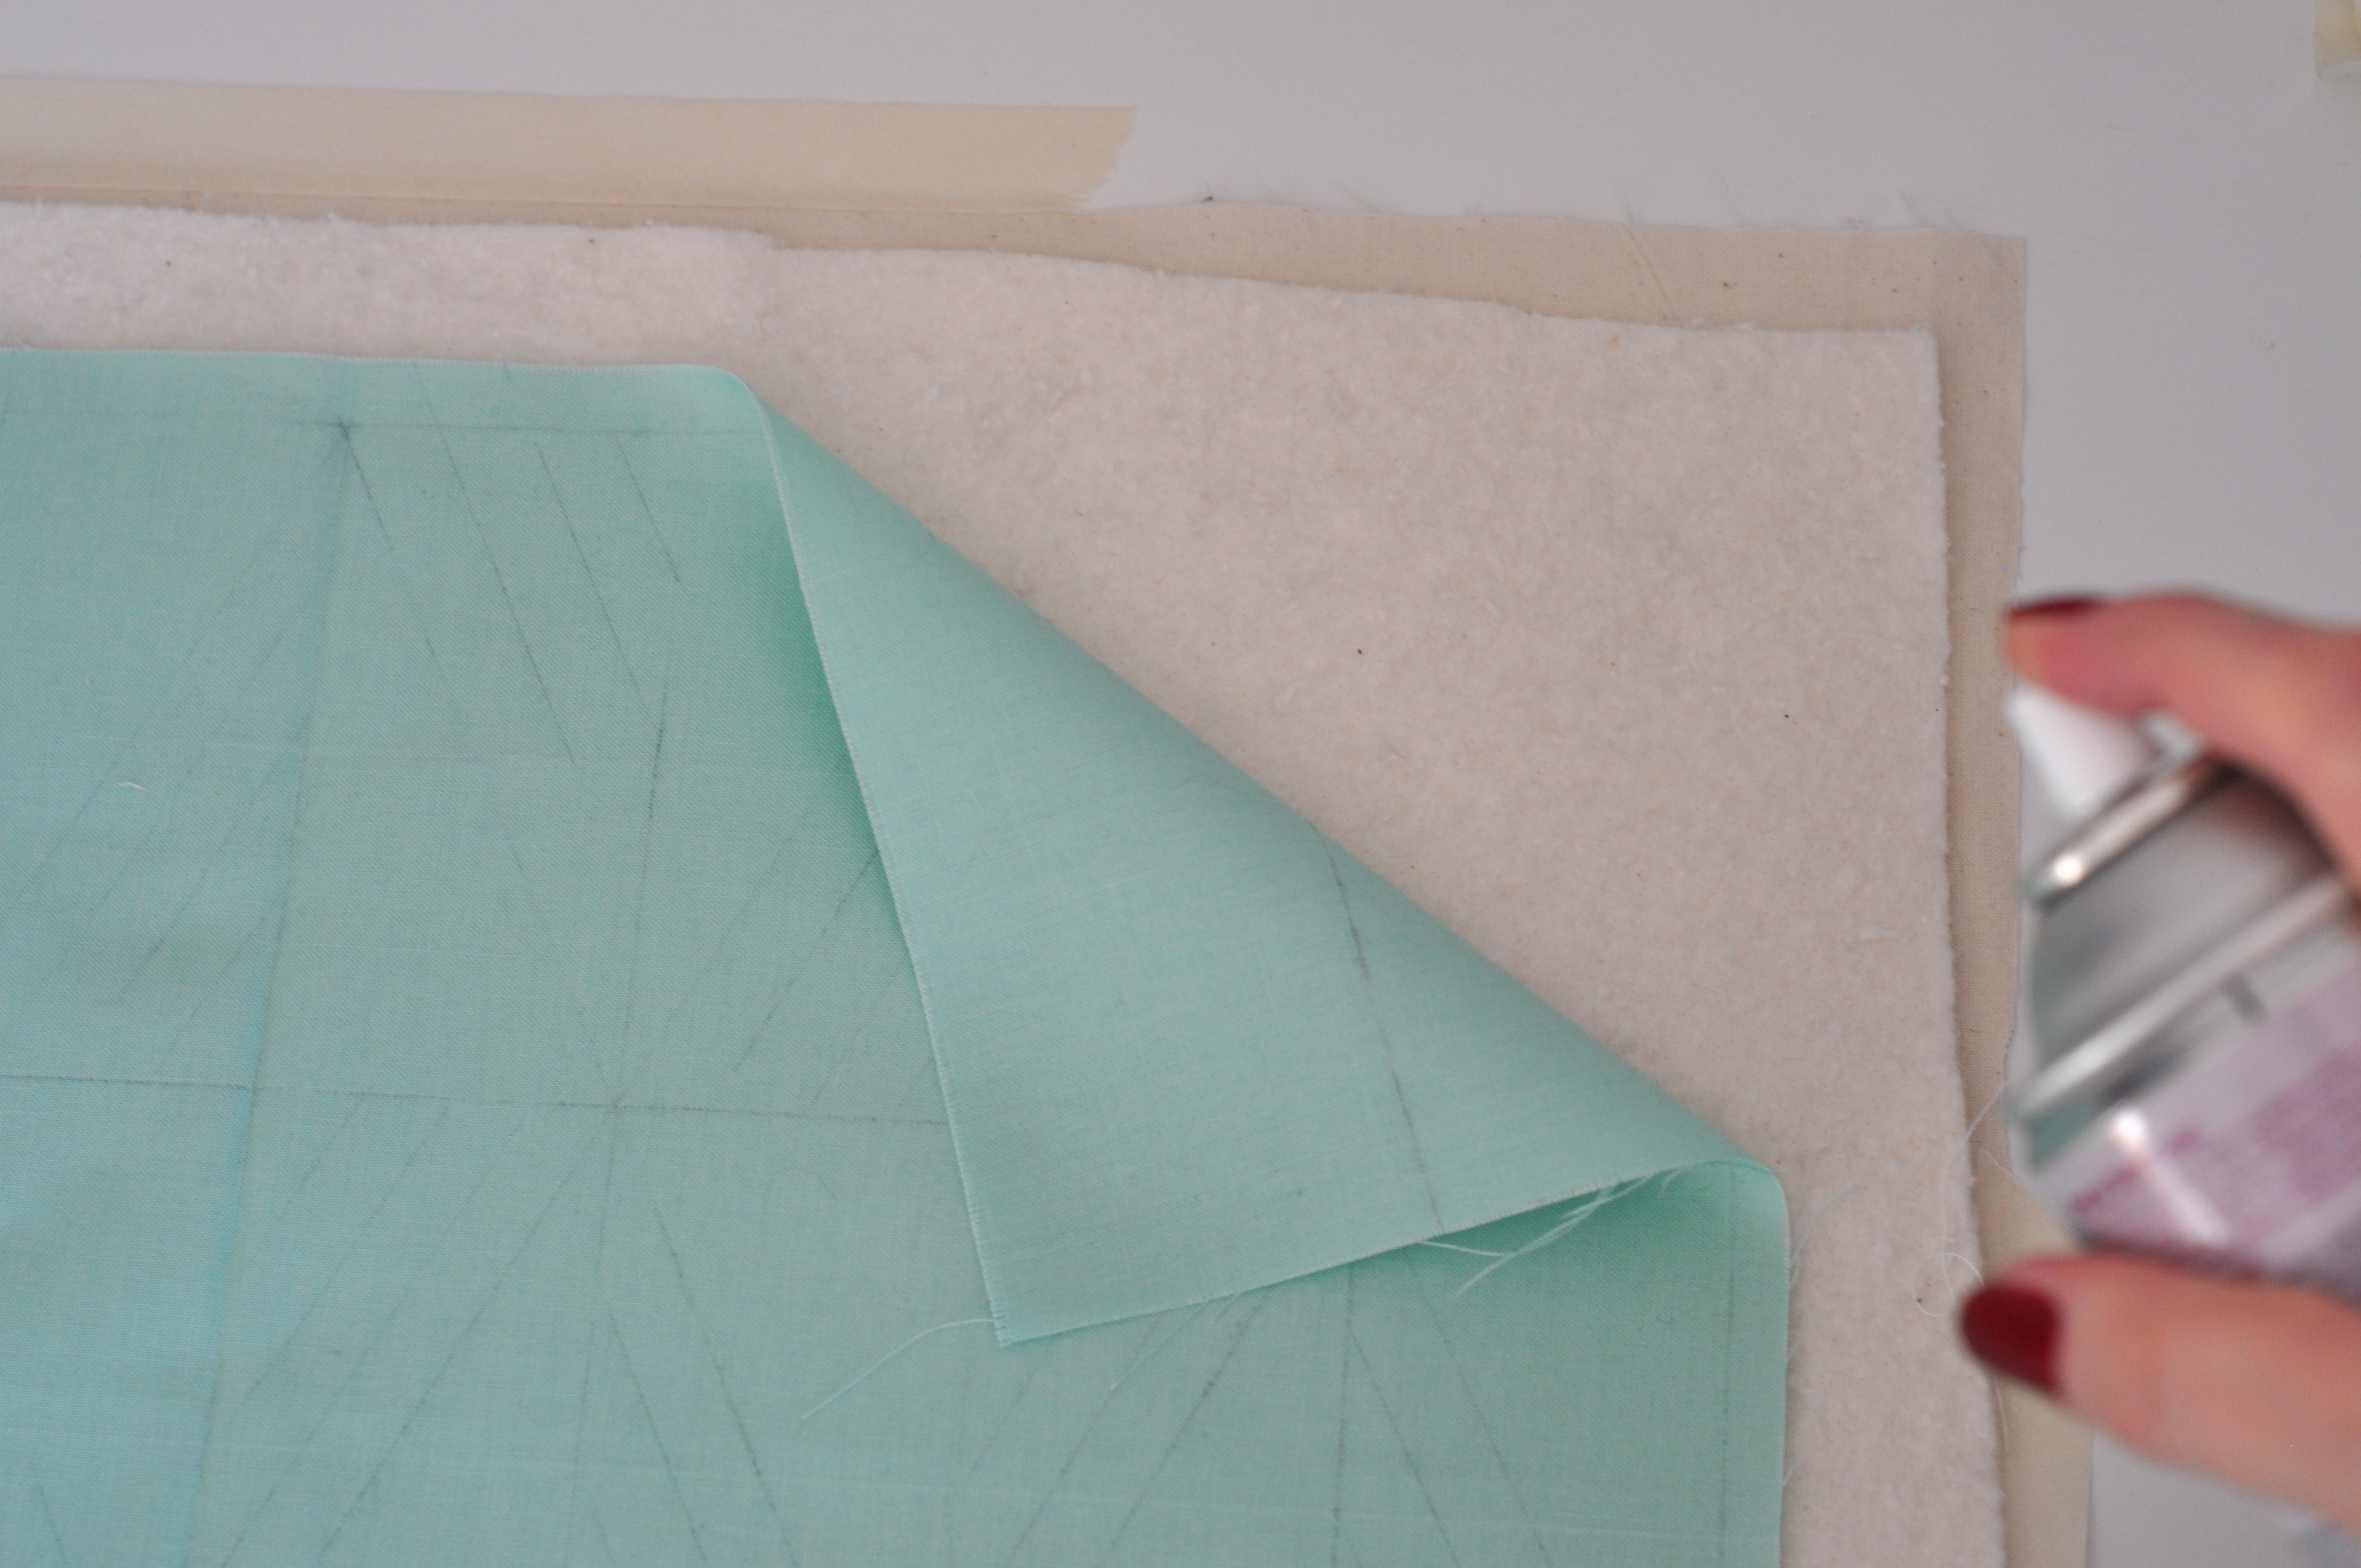
Smooth out the lining fabric onto a table, so it’s flat but not taut. Tape in place with masking tape. Layer the wadding on top, again, smoothing out any wrinkles. Finally, place the marked cushion front on top, RS up. Secure the three layers together with clips or safety pins no more than 7.5cm (3″) apart.
Step 4
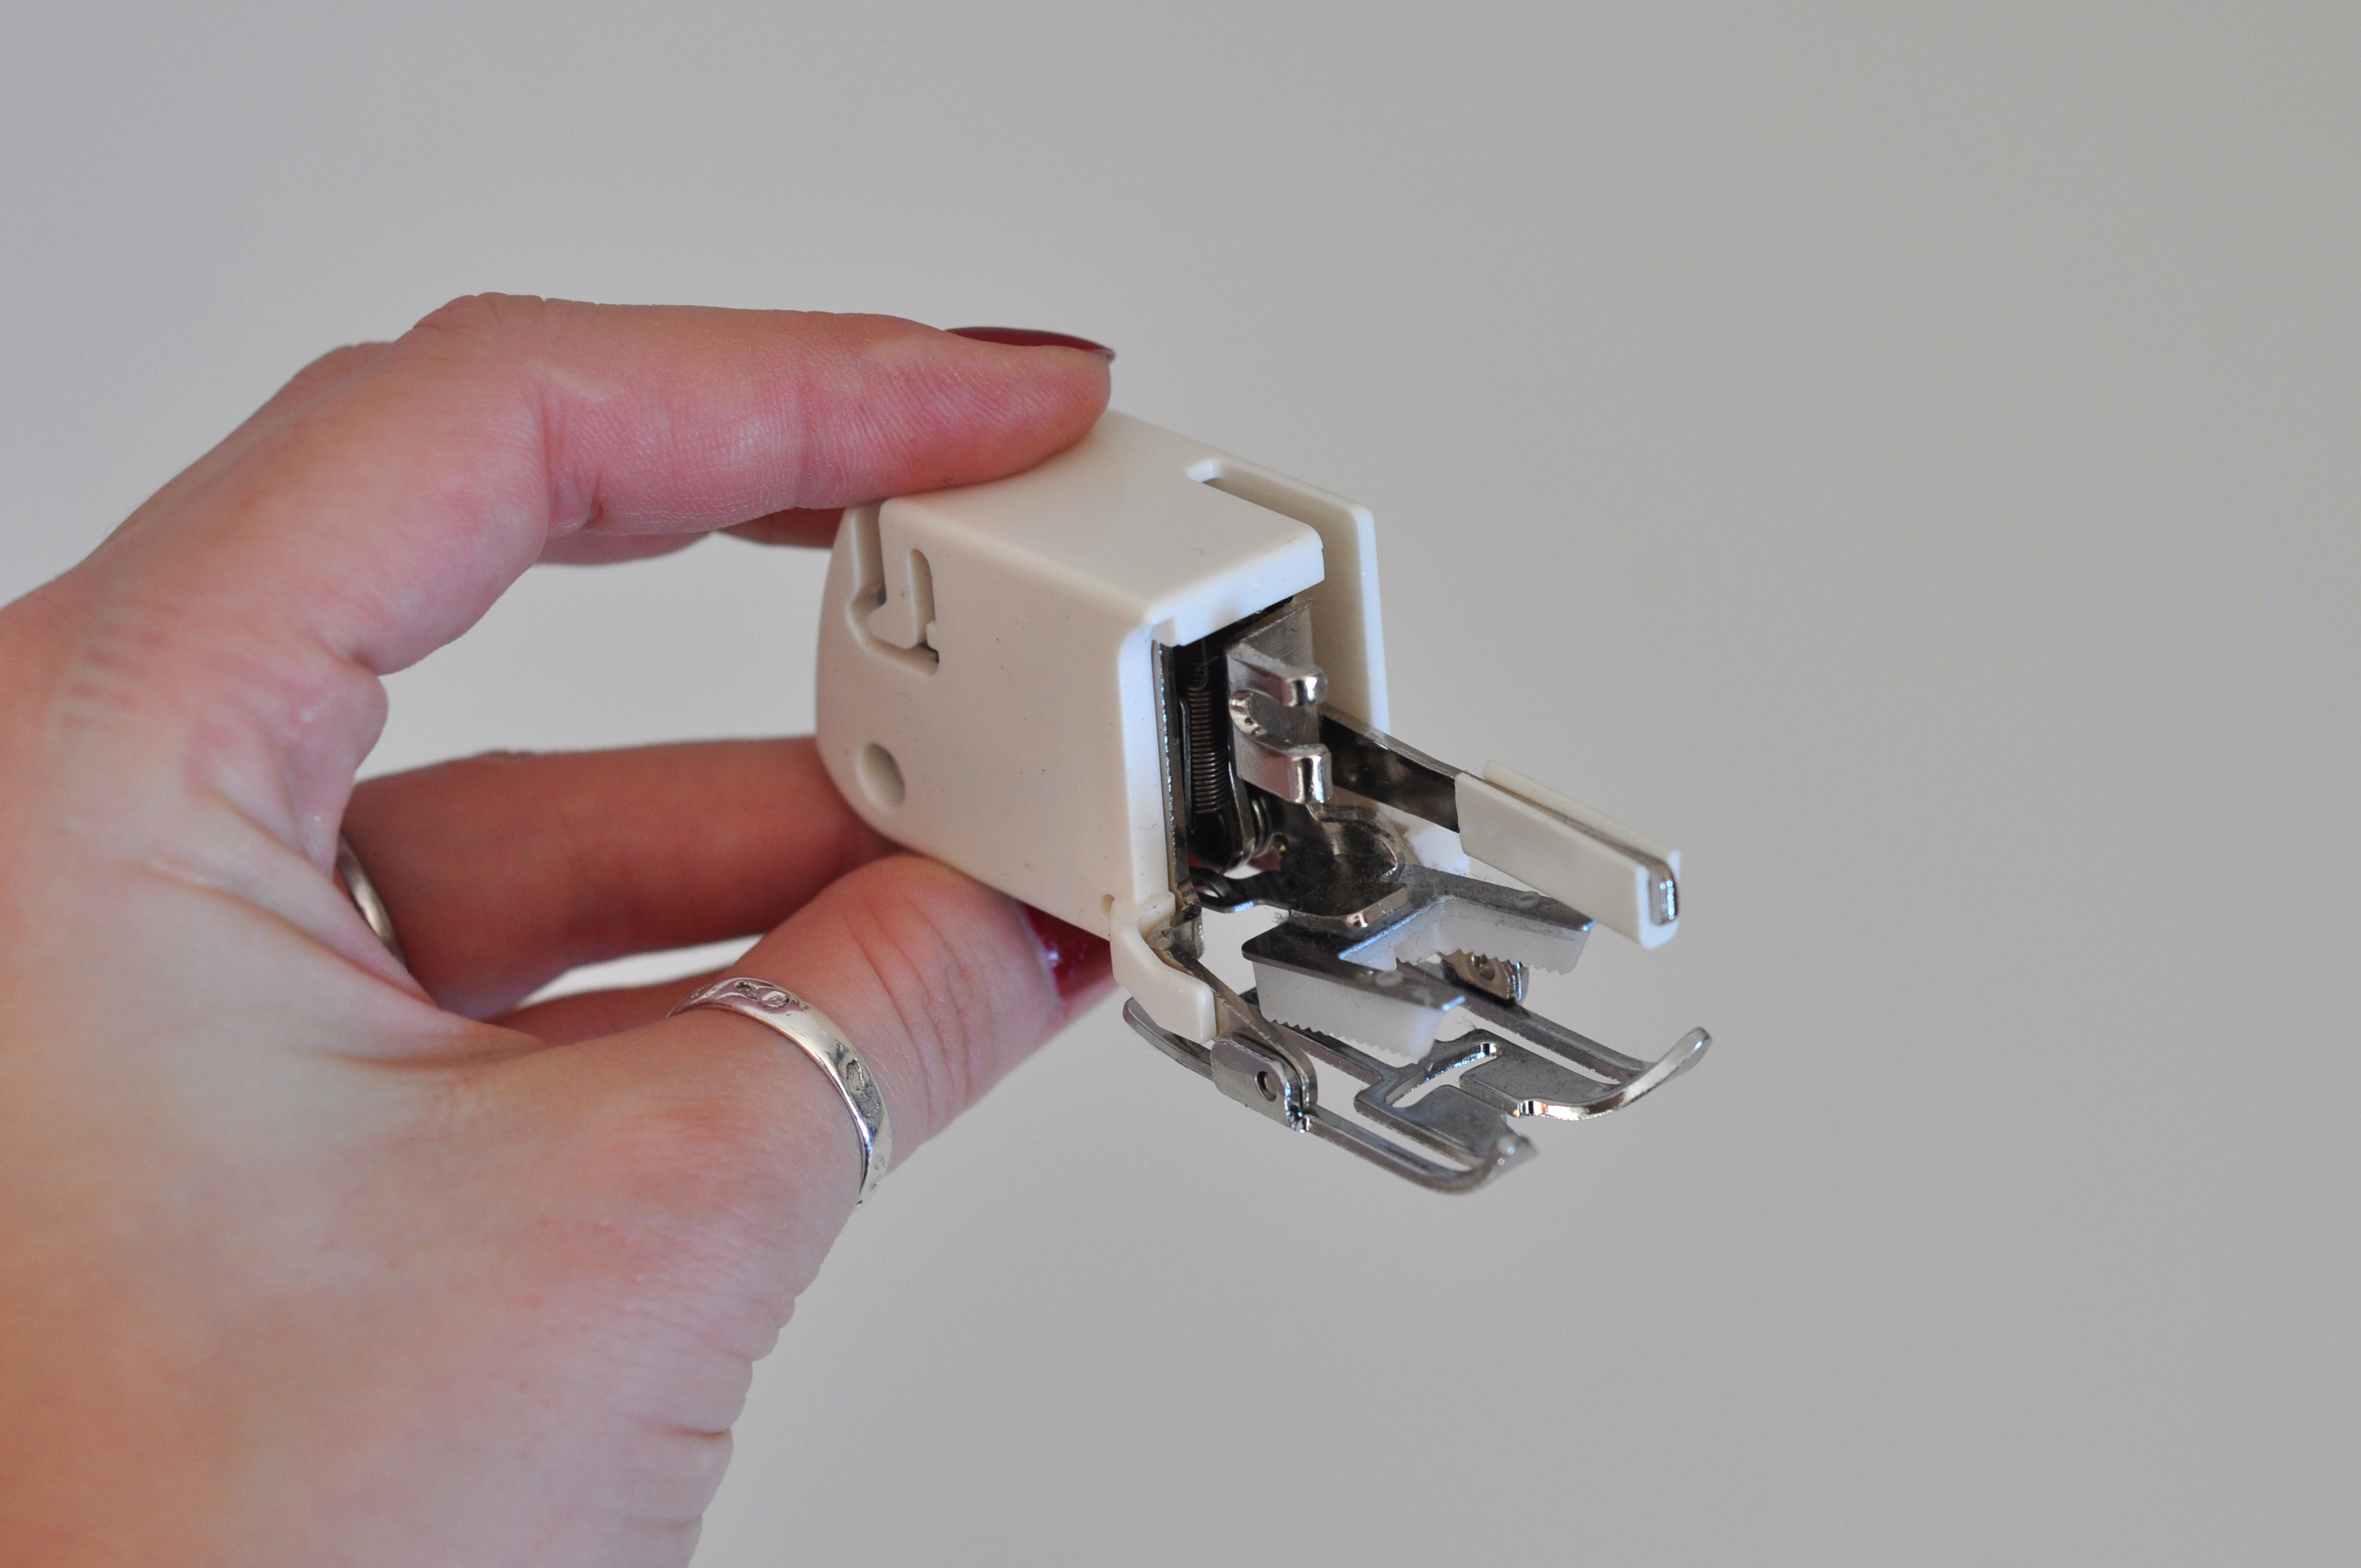
Attach the walking foot to the sewing machine. This is to ensure all three of the layers travel through the machine easily and evenly, to avoid any puckering.
Step 5
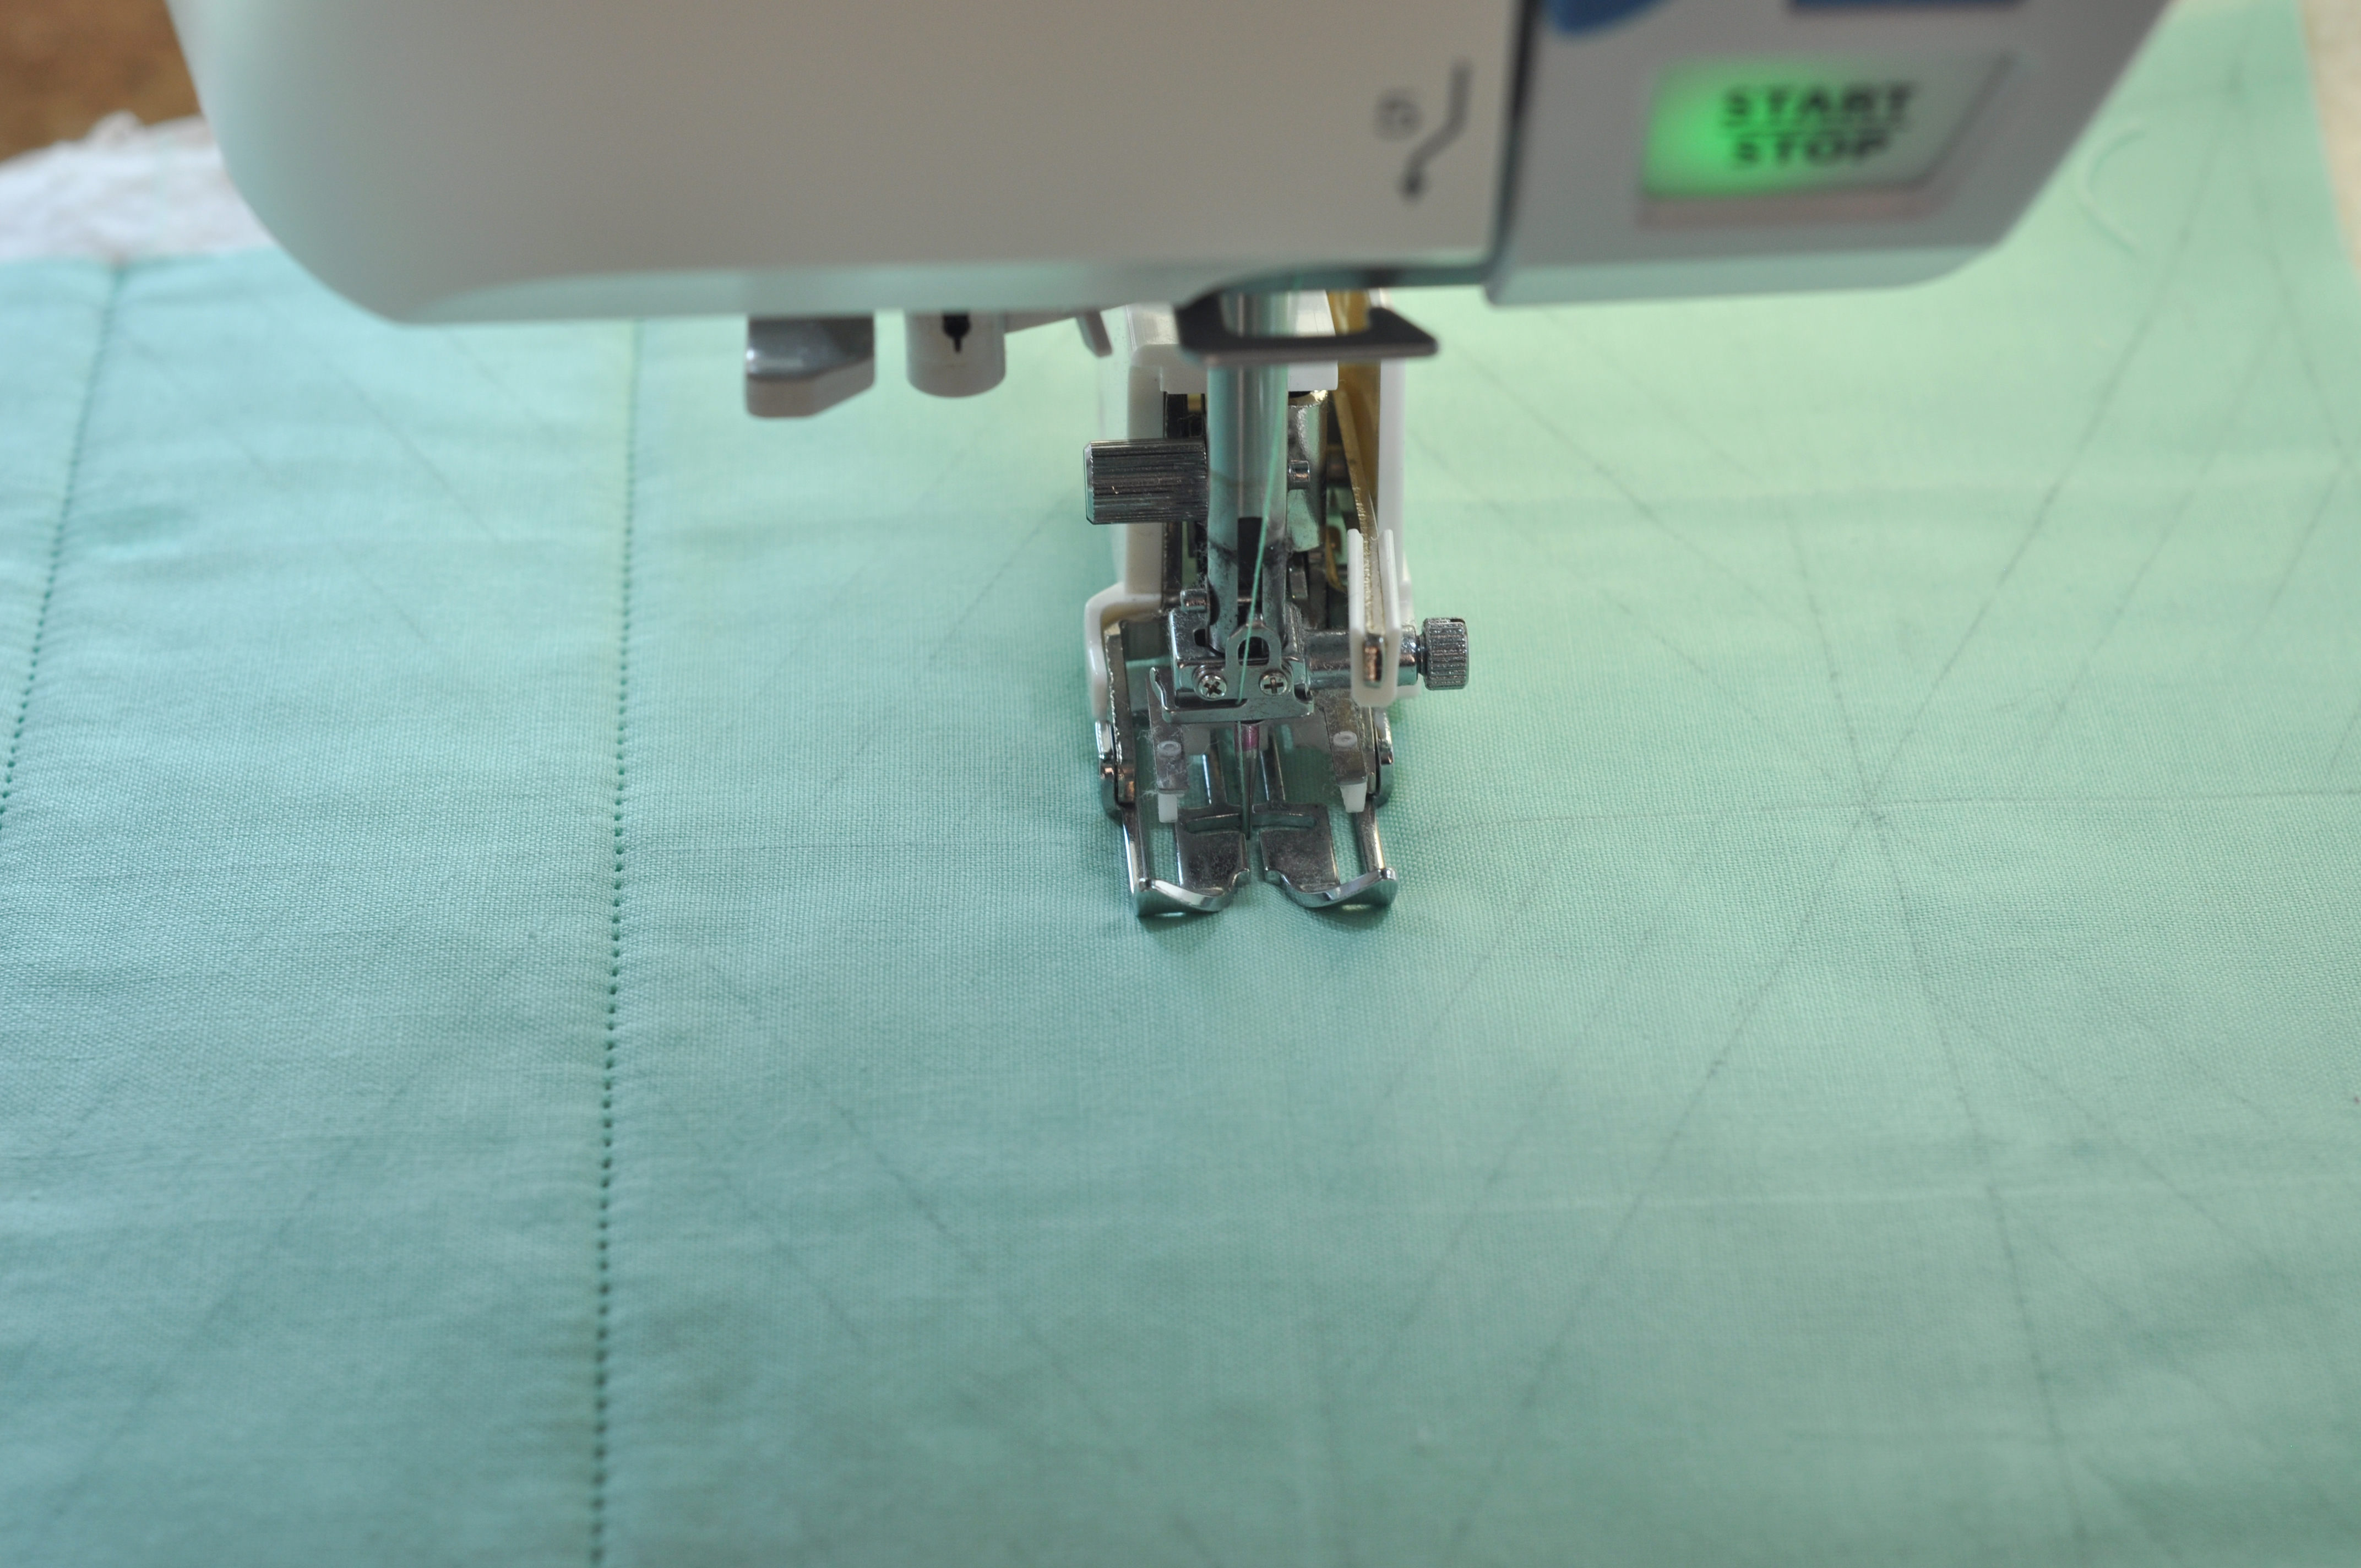
Starting on one side of the cushion, at one of the centre markings, stitch a straight line directly along the line. Backstitch at the start and end to secure. Repeat to stitch all the horizontal and vertical lines of the grid first.
Step 6
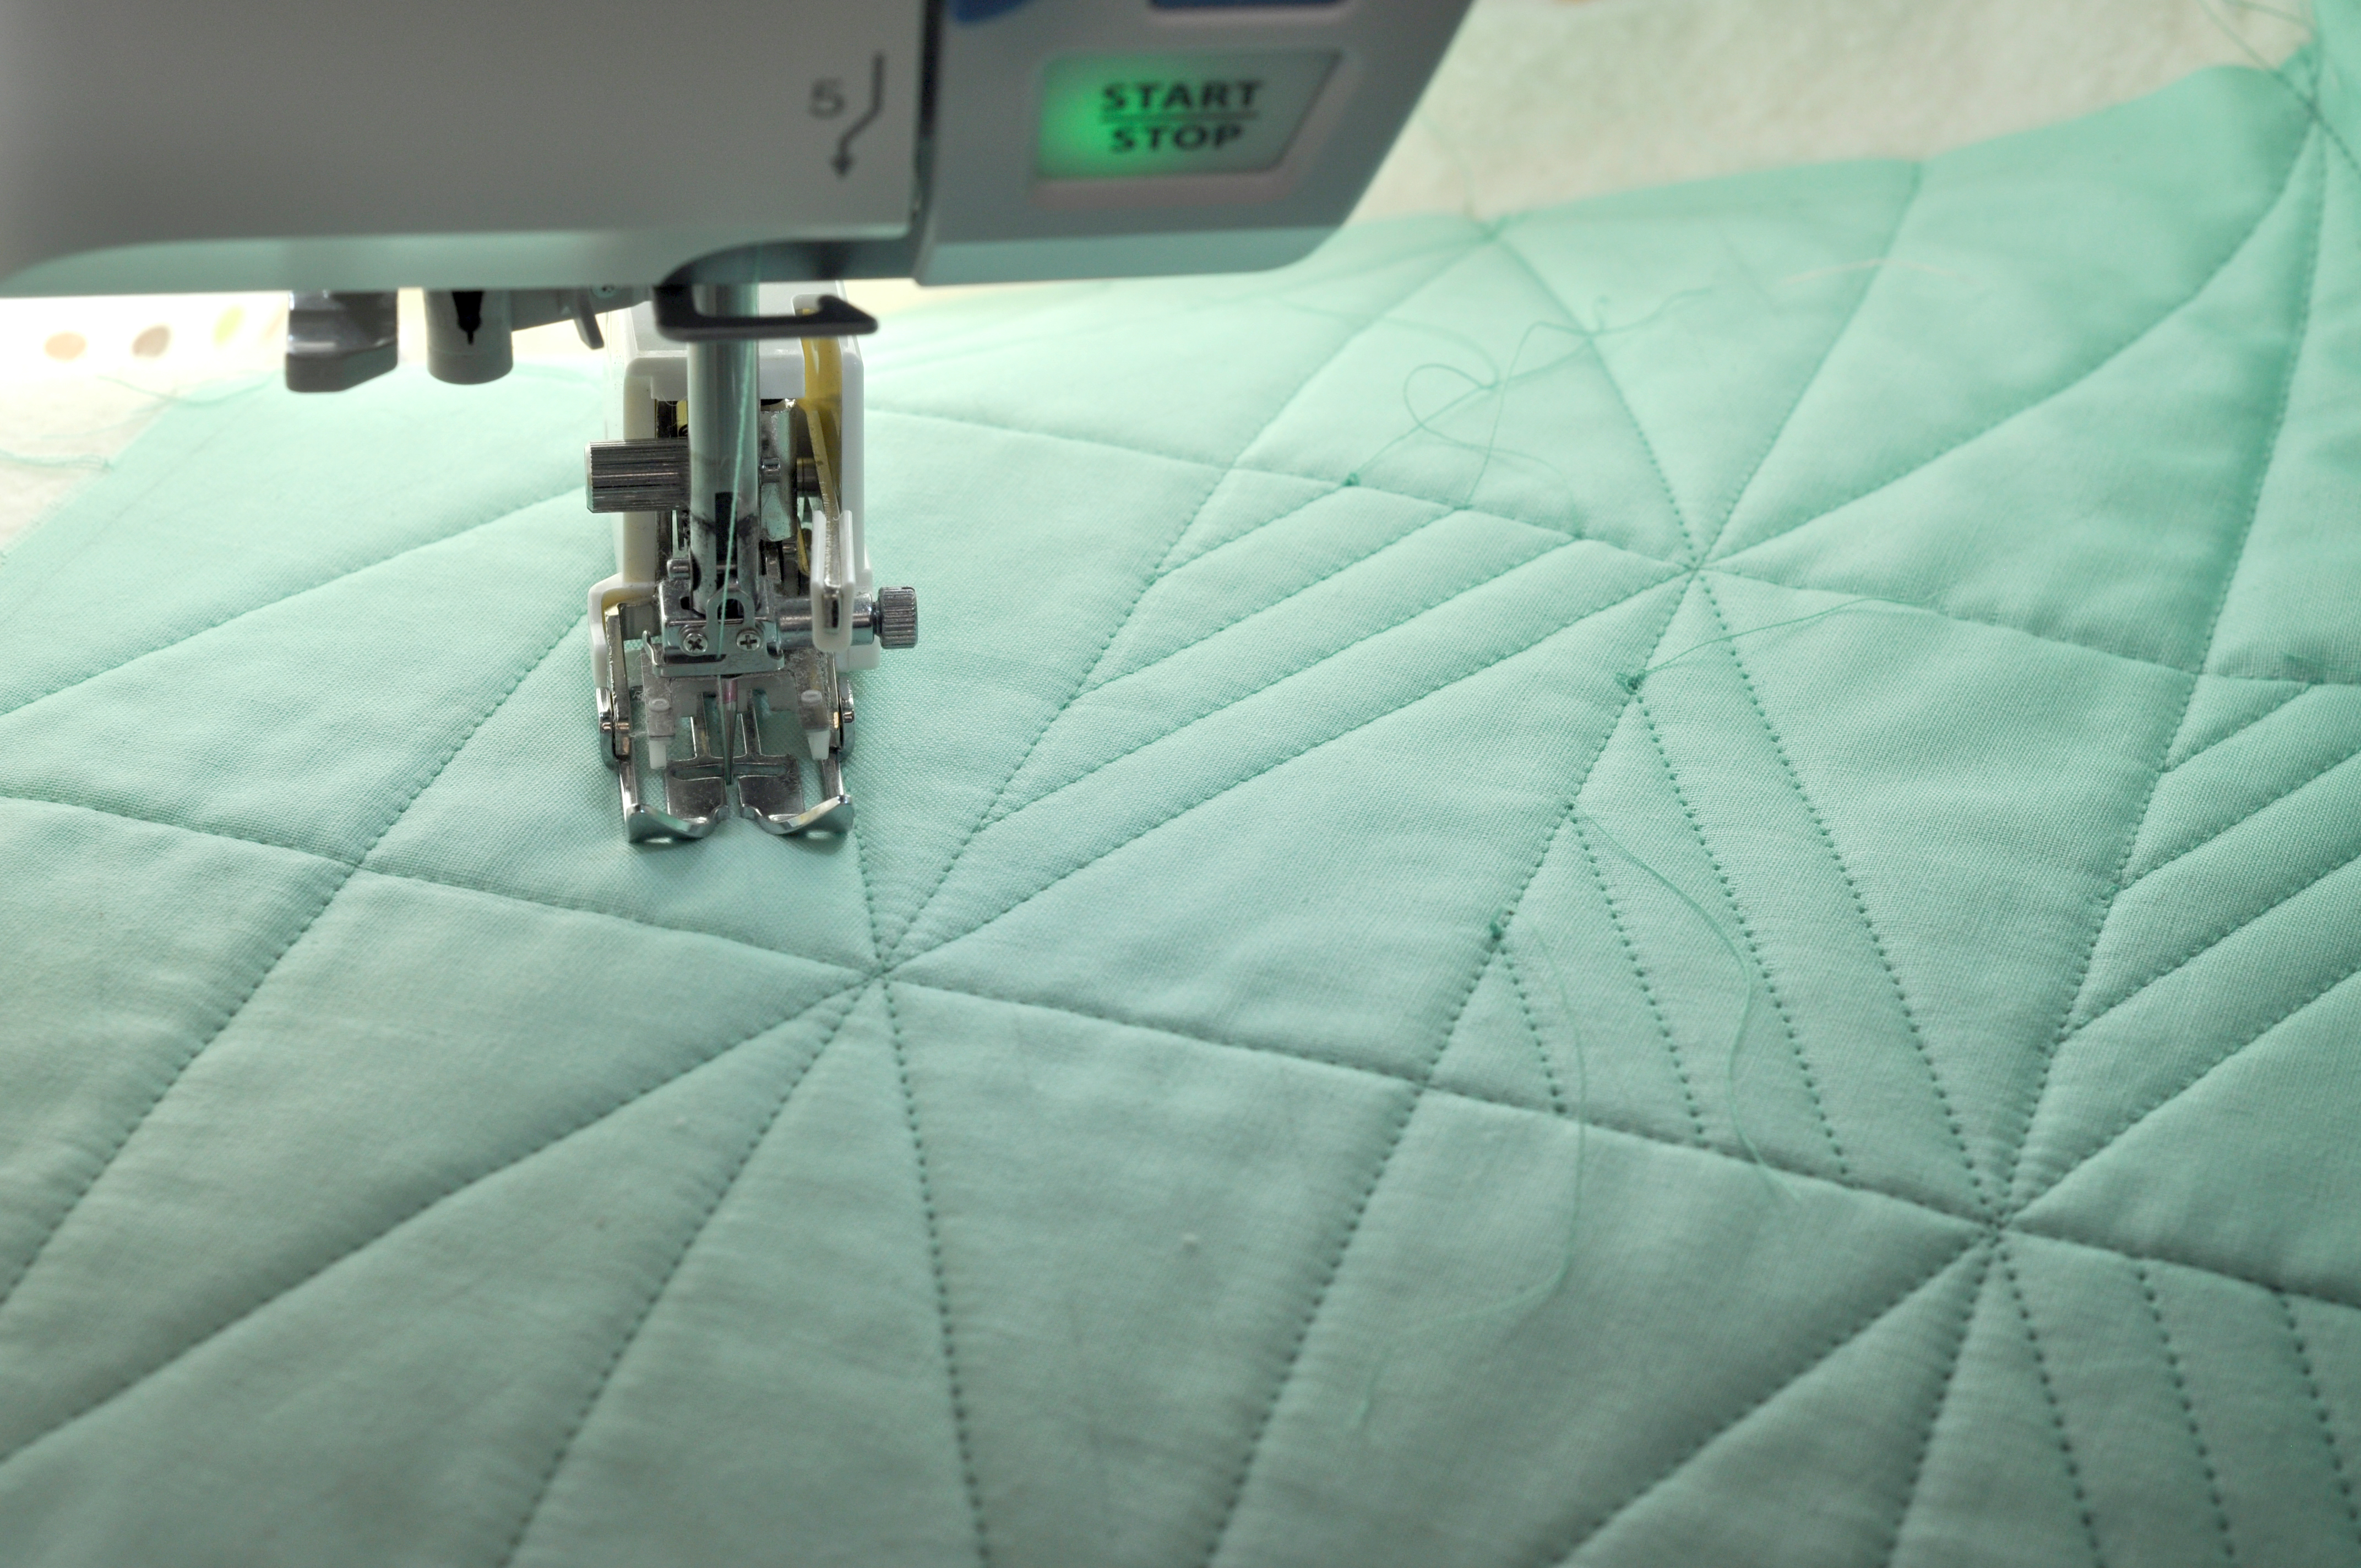
Now fill in the diagonal lines. Be sure to use a backstitch or locking stitch at the start and end of each line of stitching. Once the whole cushion is quilted, pull the loose threads to the wrong side (WS) of the work and trim them.
Step 7
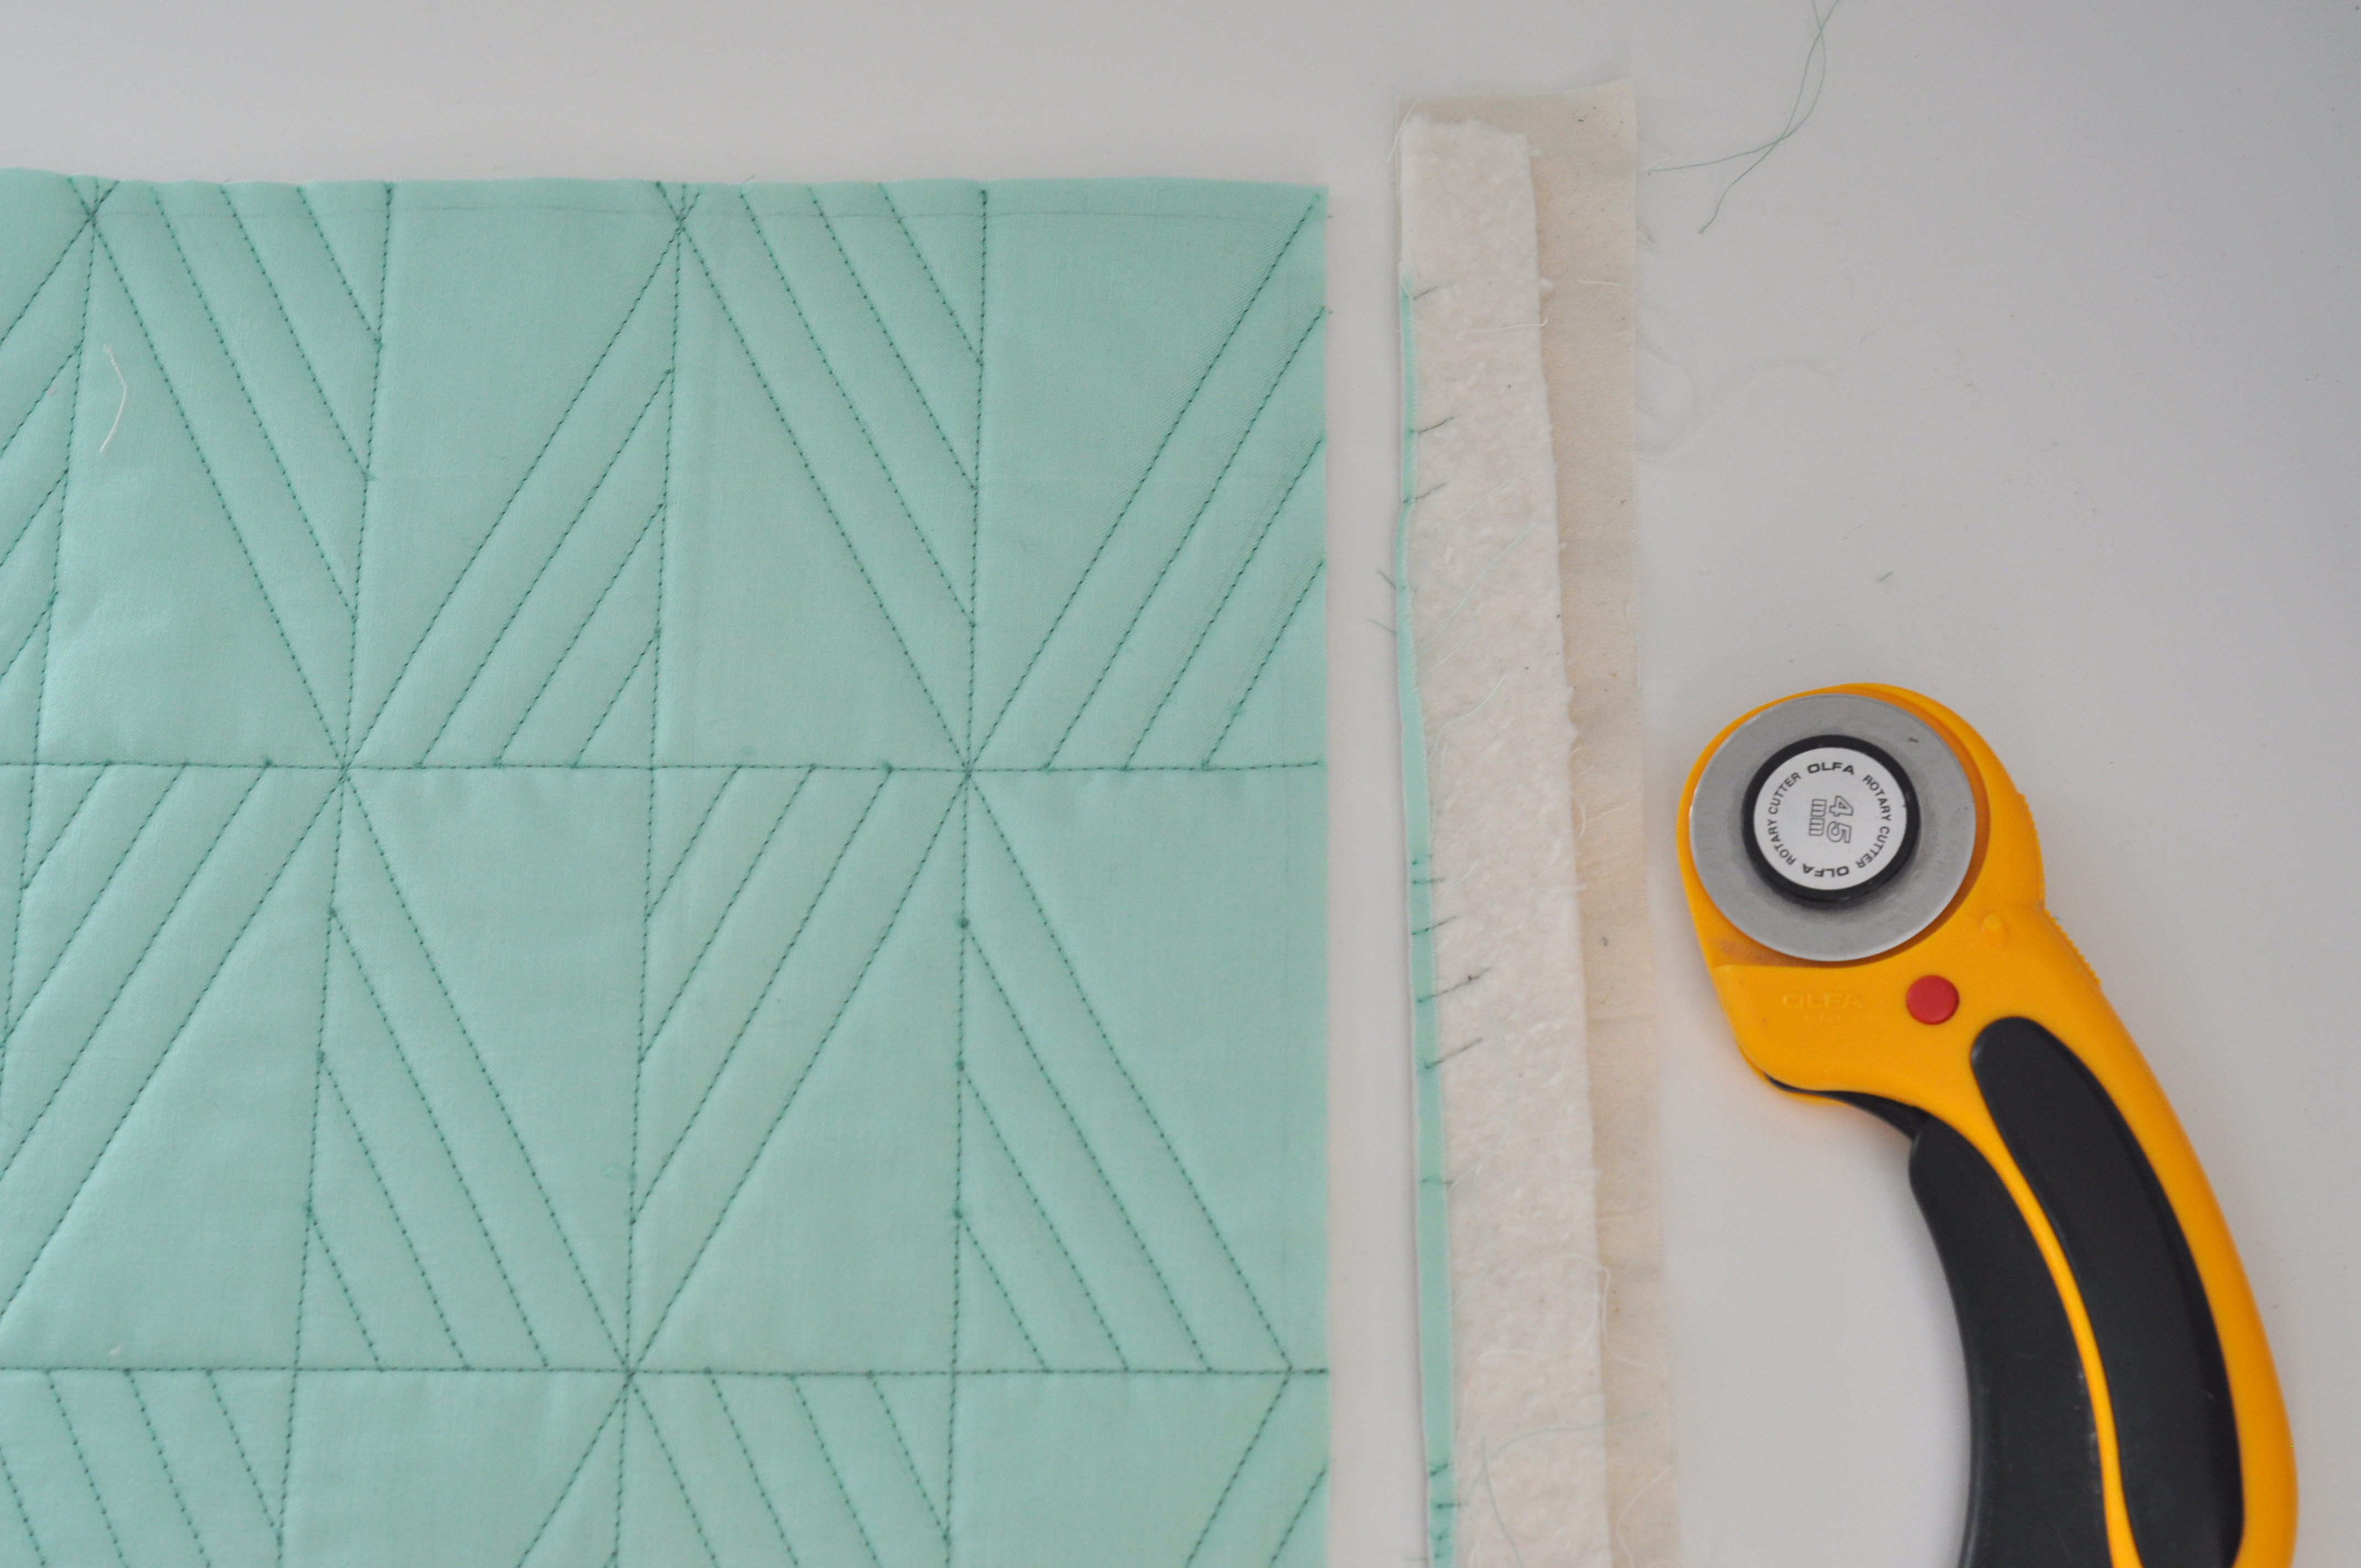
Using a ruler and the rotary cutter, trim off the excess lining and wadding in line with the cushion front. The cushion should measure 42cm (16½”) square.
Step 8
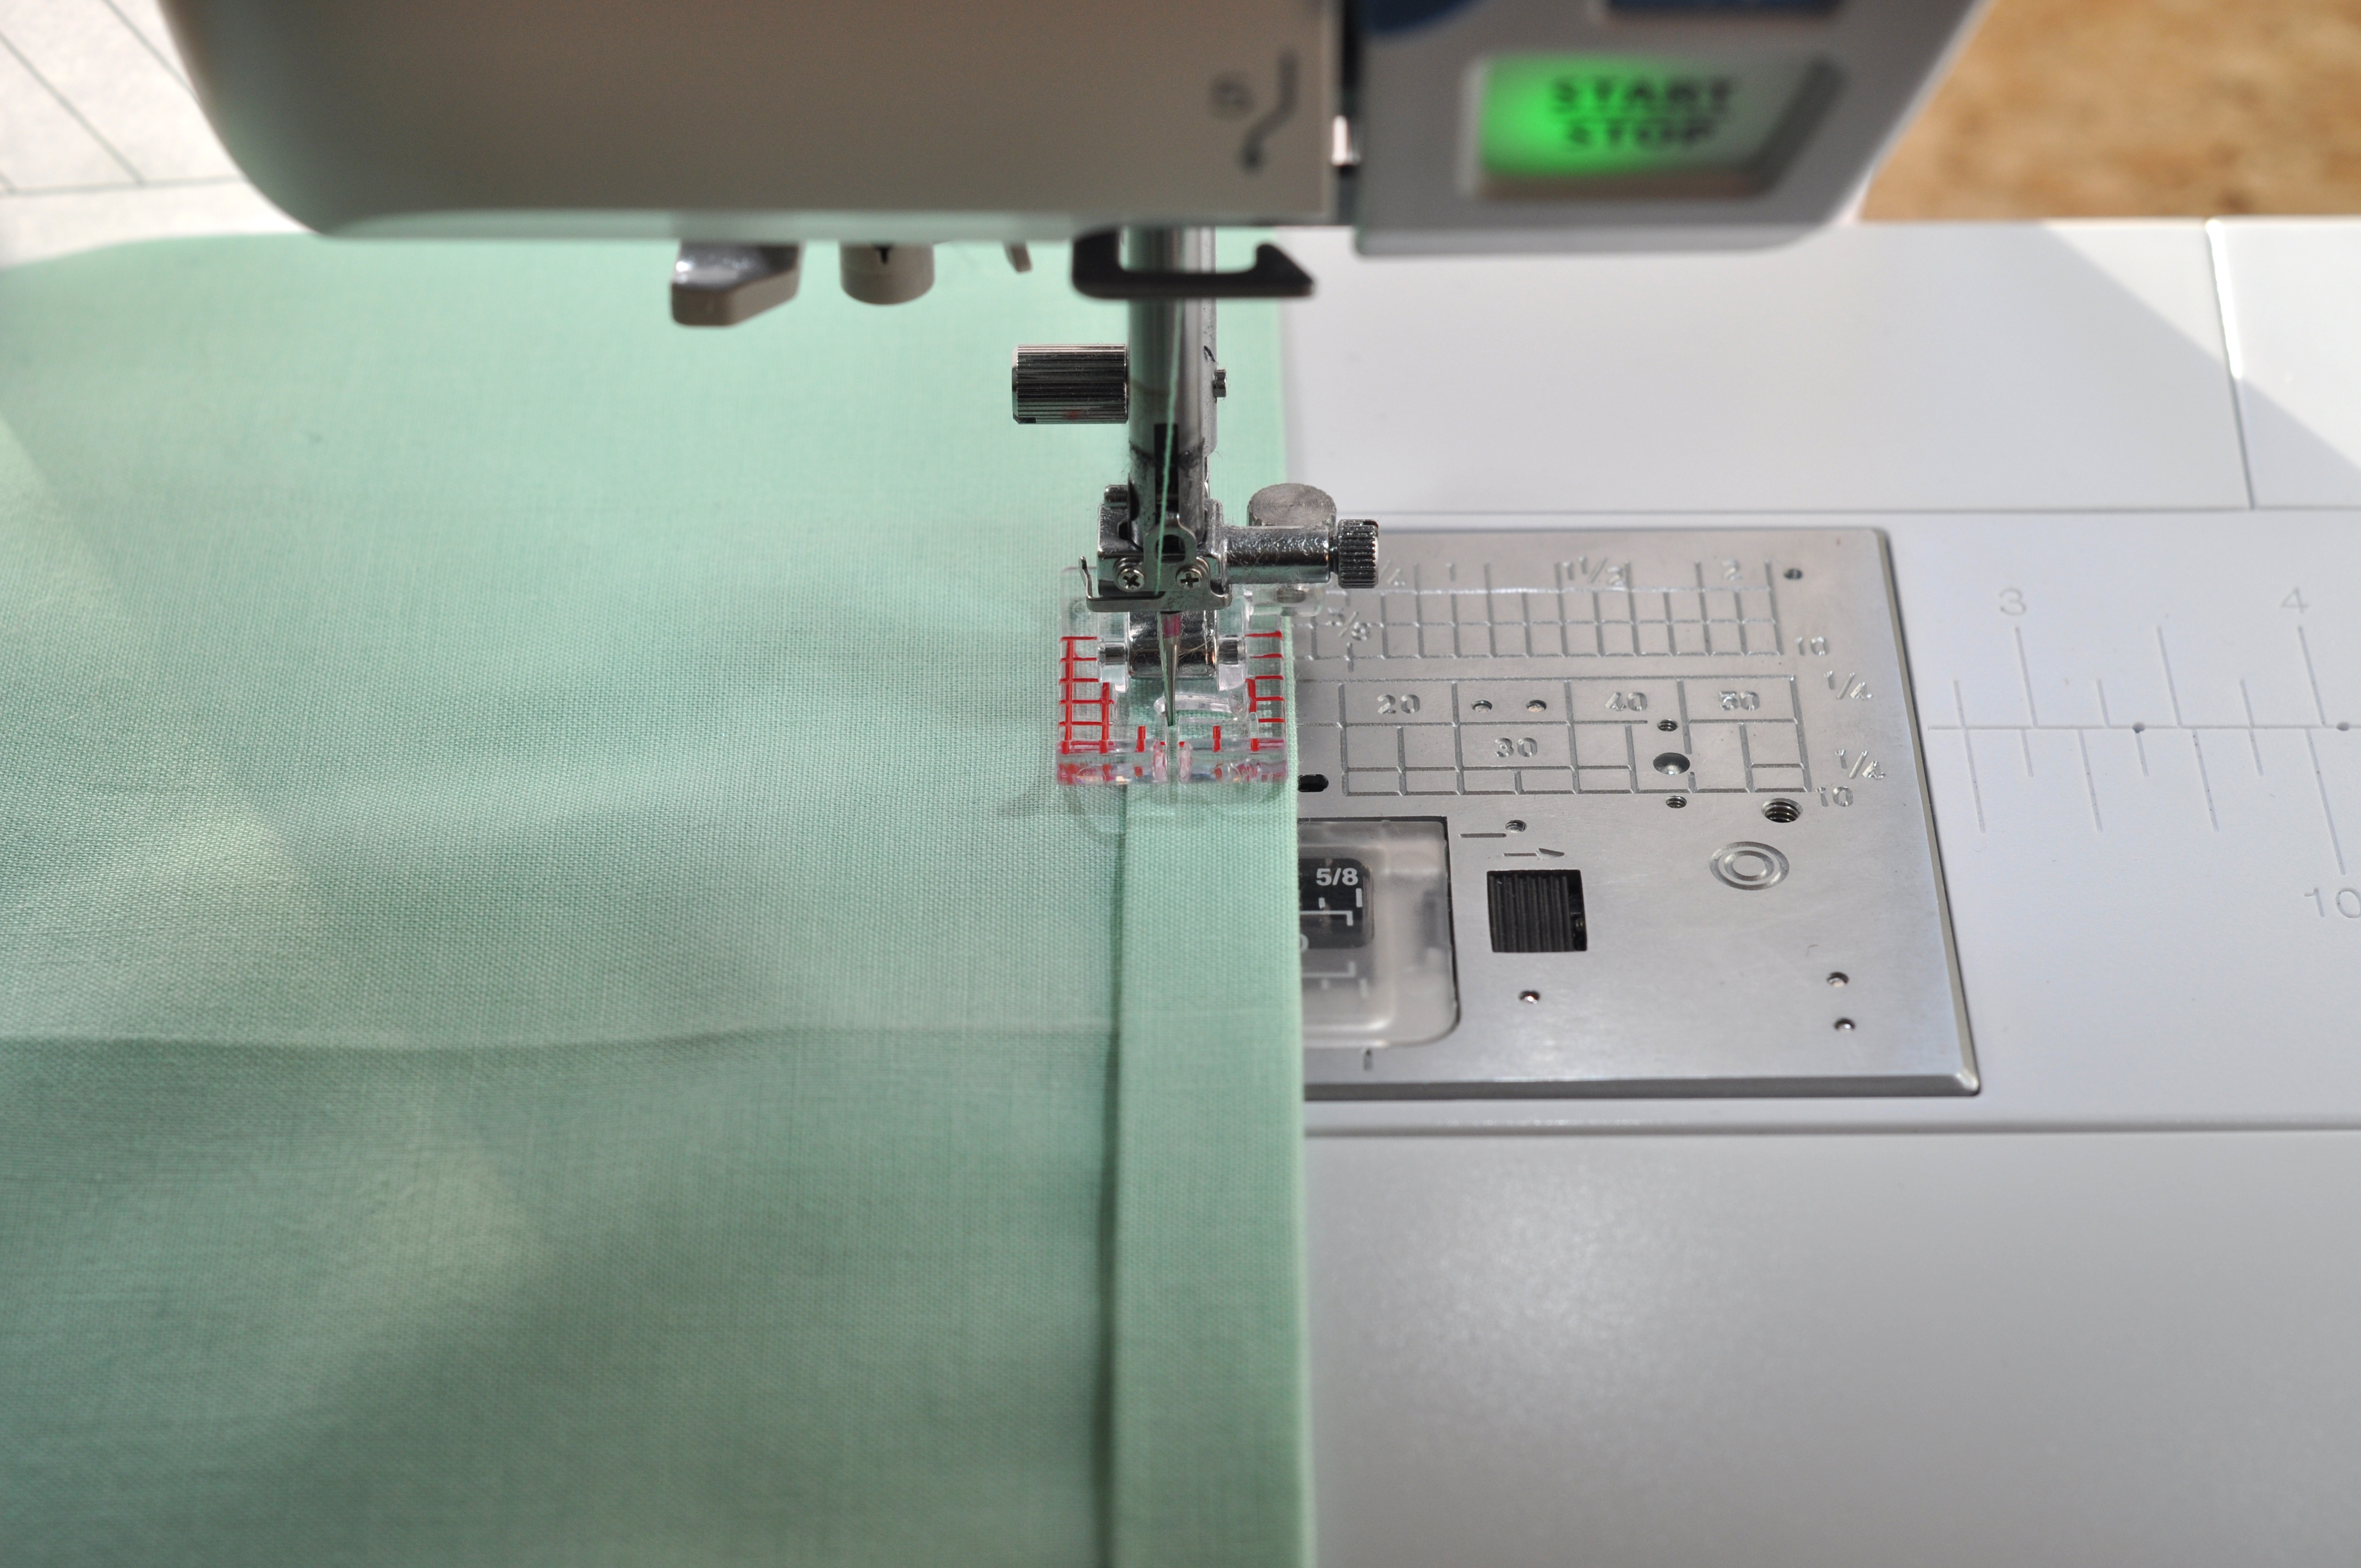
Take the backing pieces of fabric set aside in Step 1. Fold a 1cm (3/8″) hem to the wrong side, twice, on one long edge of each piece, then top stitch to secure.
Step 9
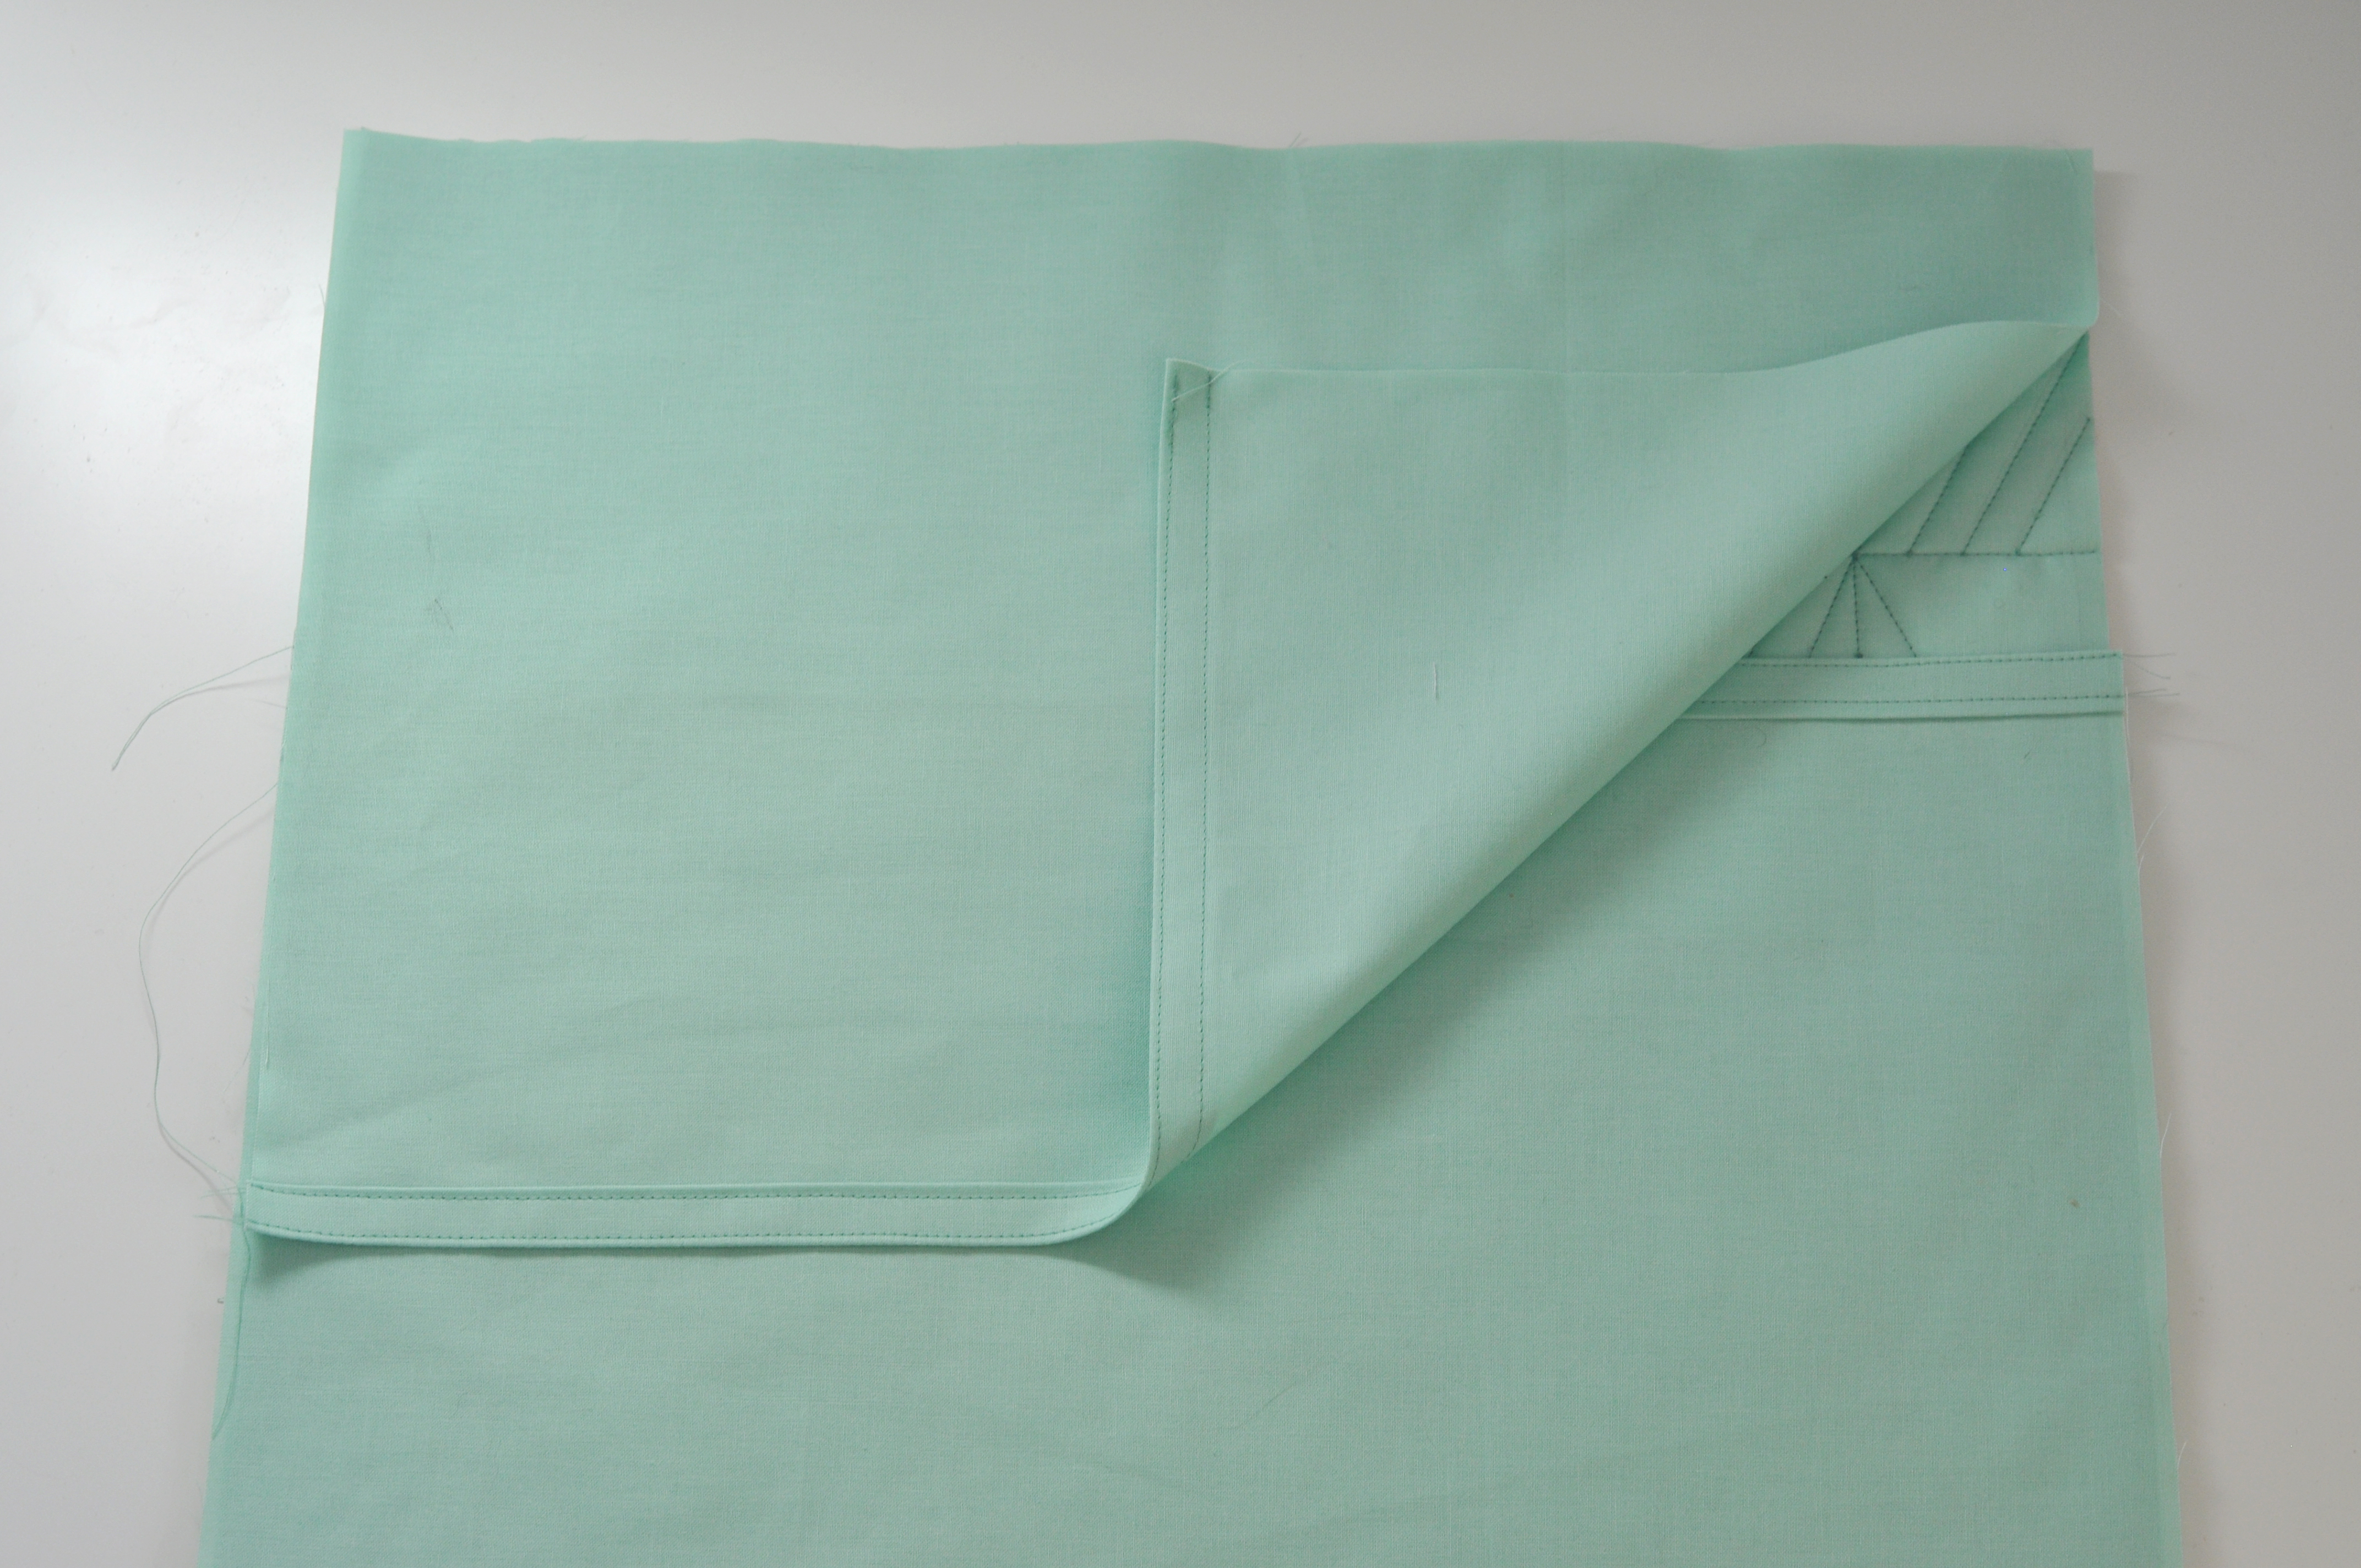
Place the quilted cushion front RS up. Layer the two backing pieces on top with RS down, aligning the raw edges so the hemmed edges overlap in the middle. Clip the layers together around all four edges.
Step 10
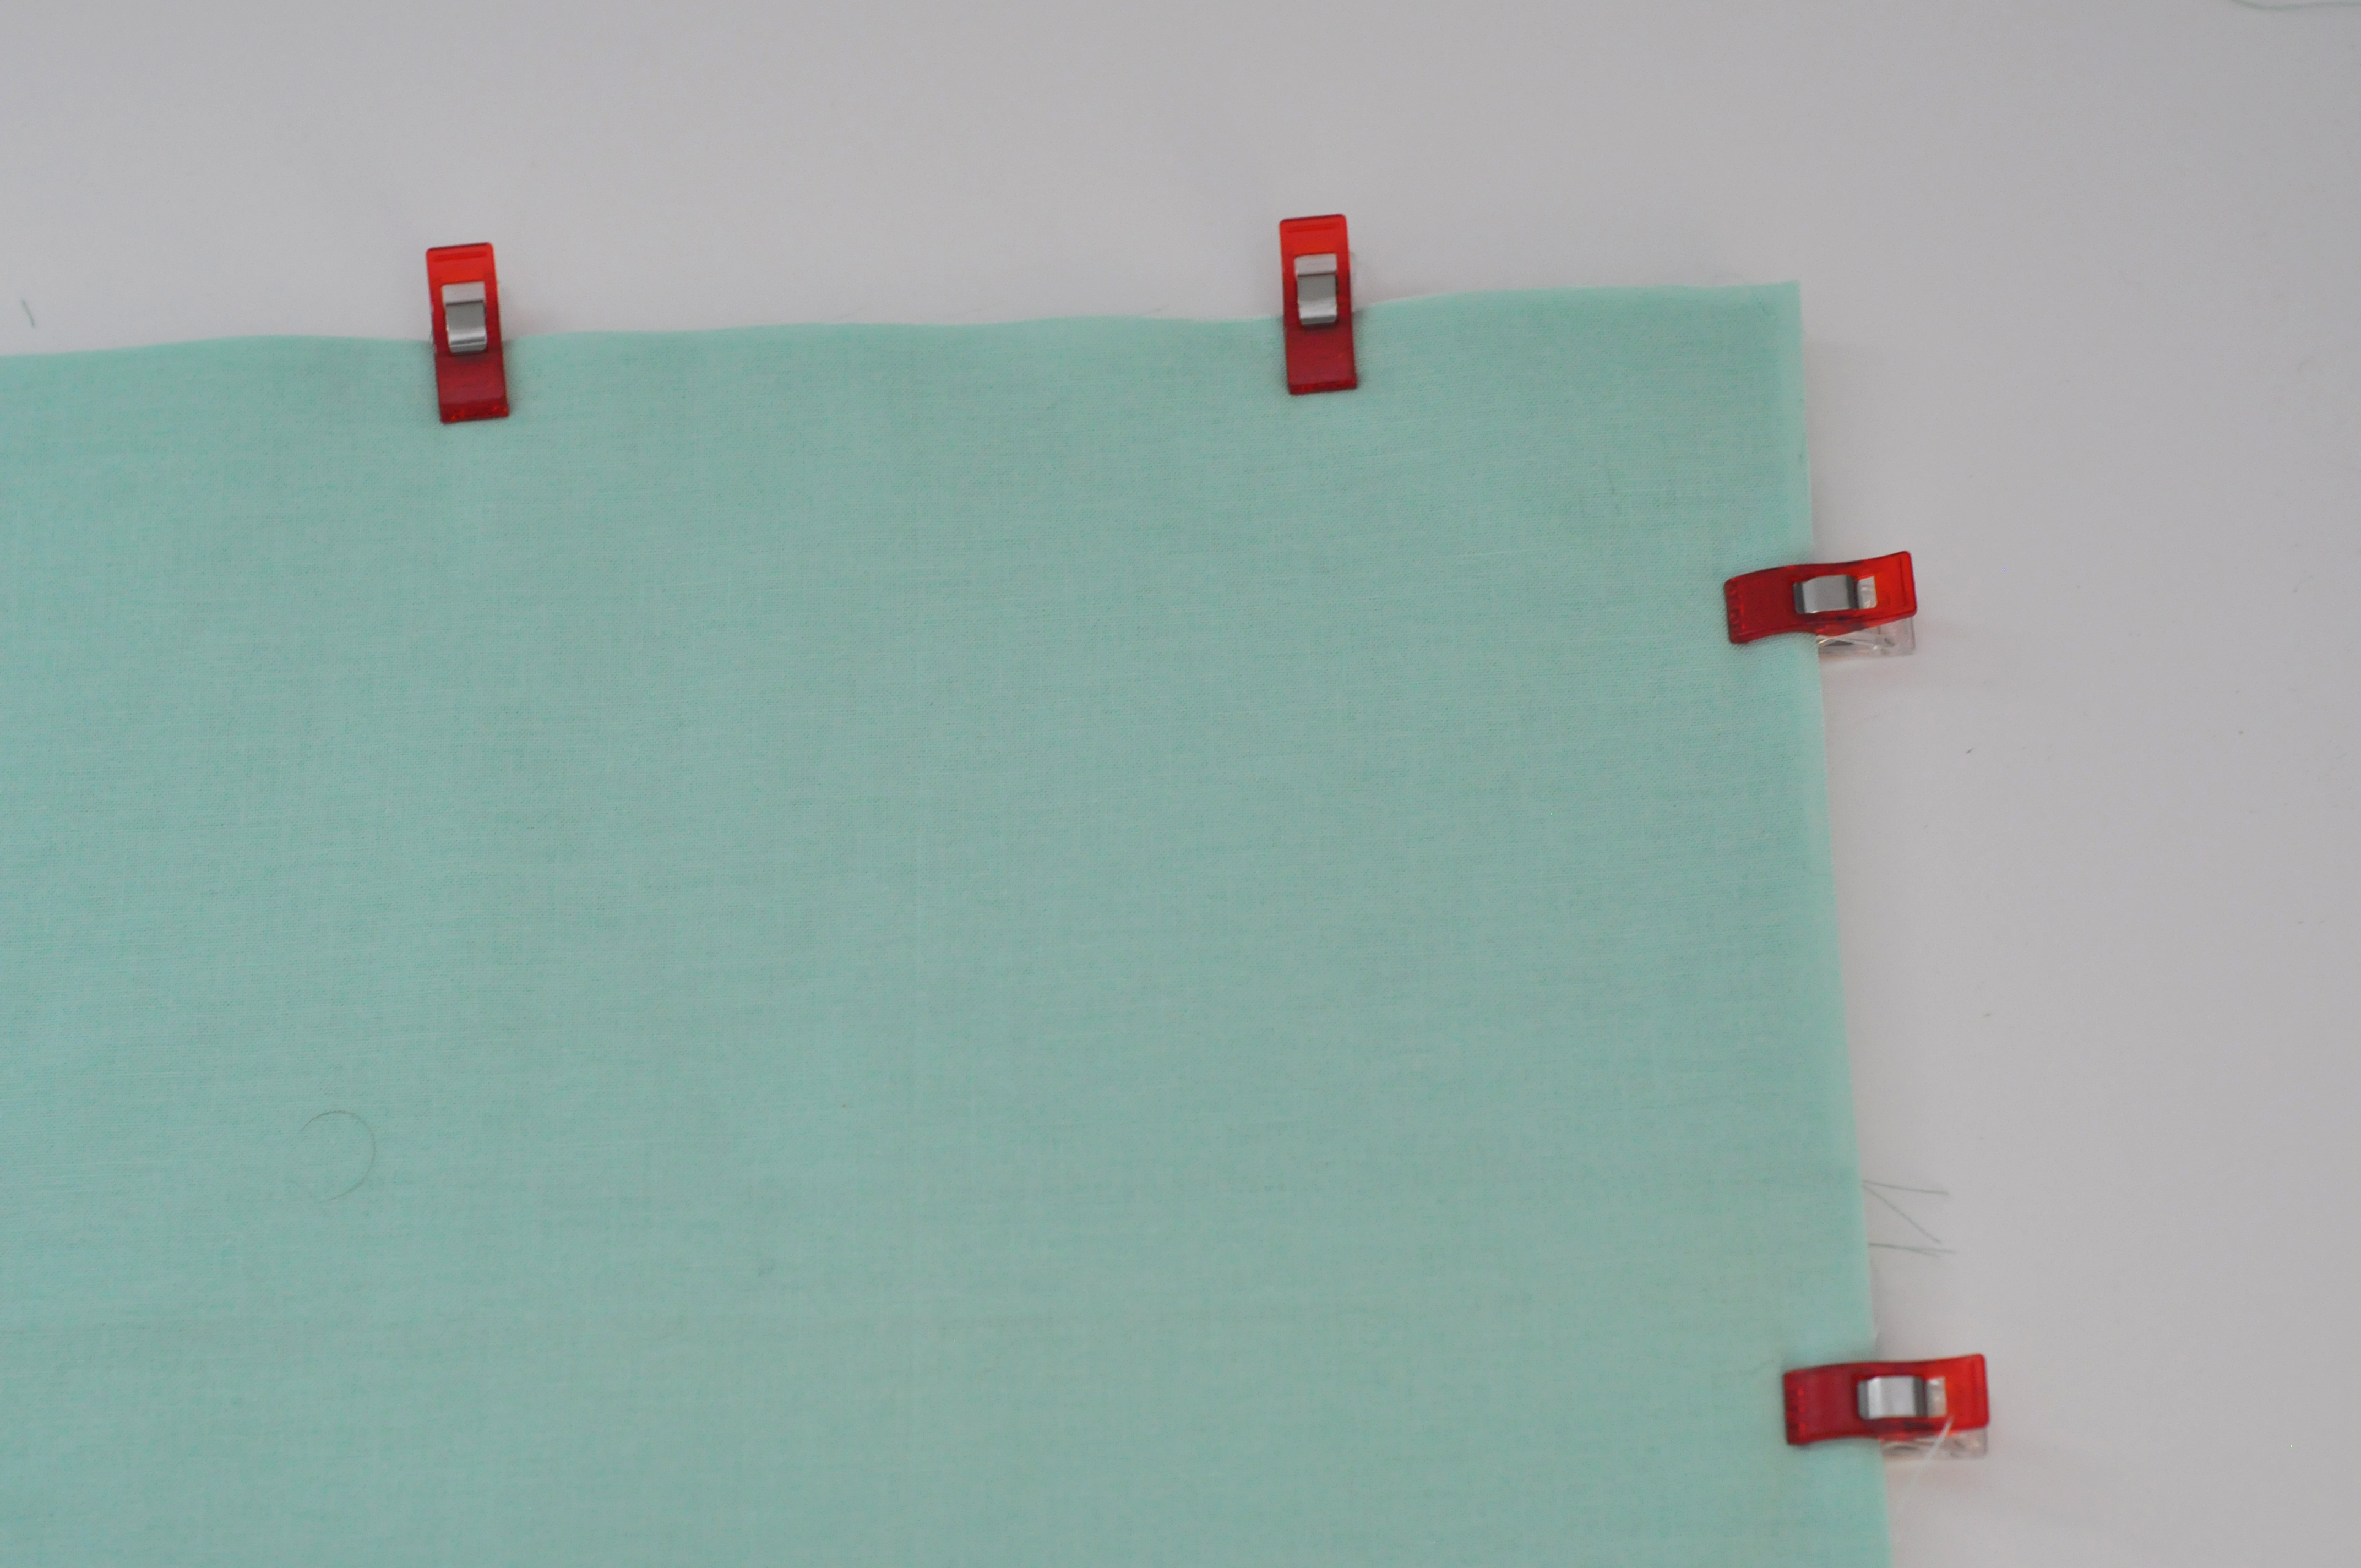
Clip the layers together around all four edges.
Step 11
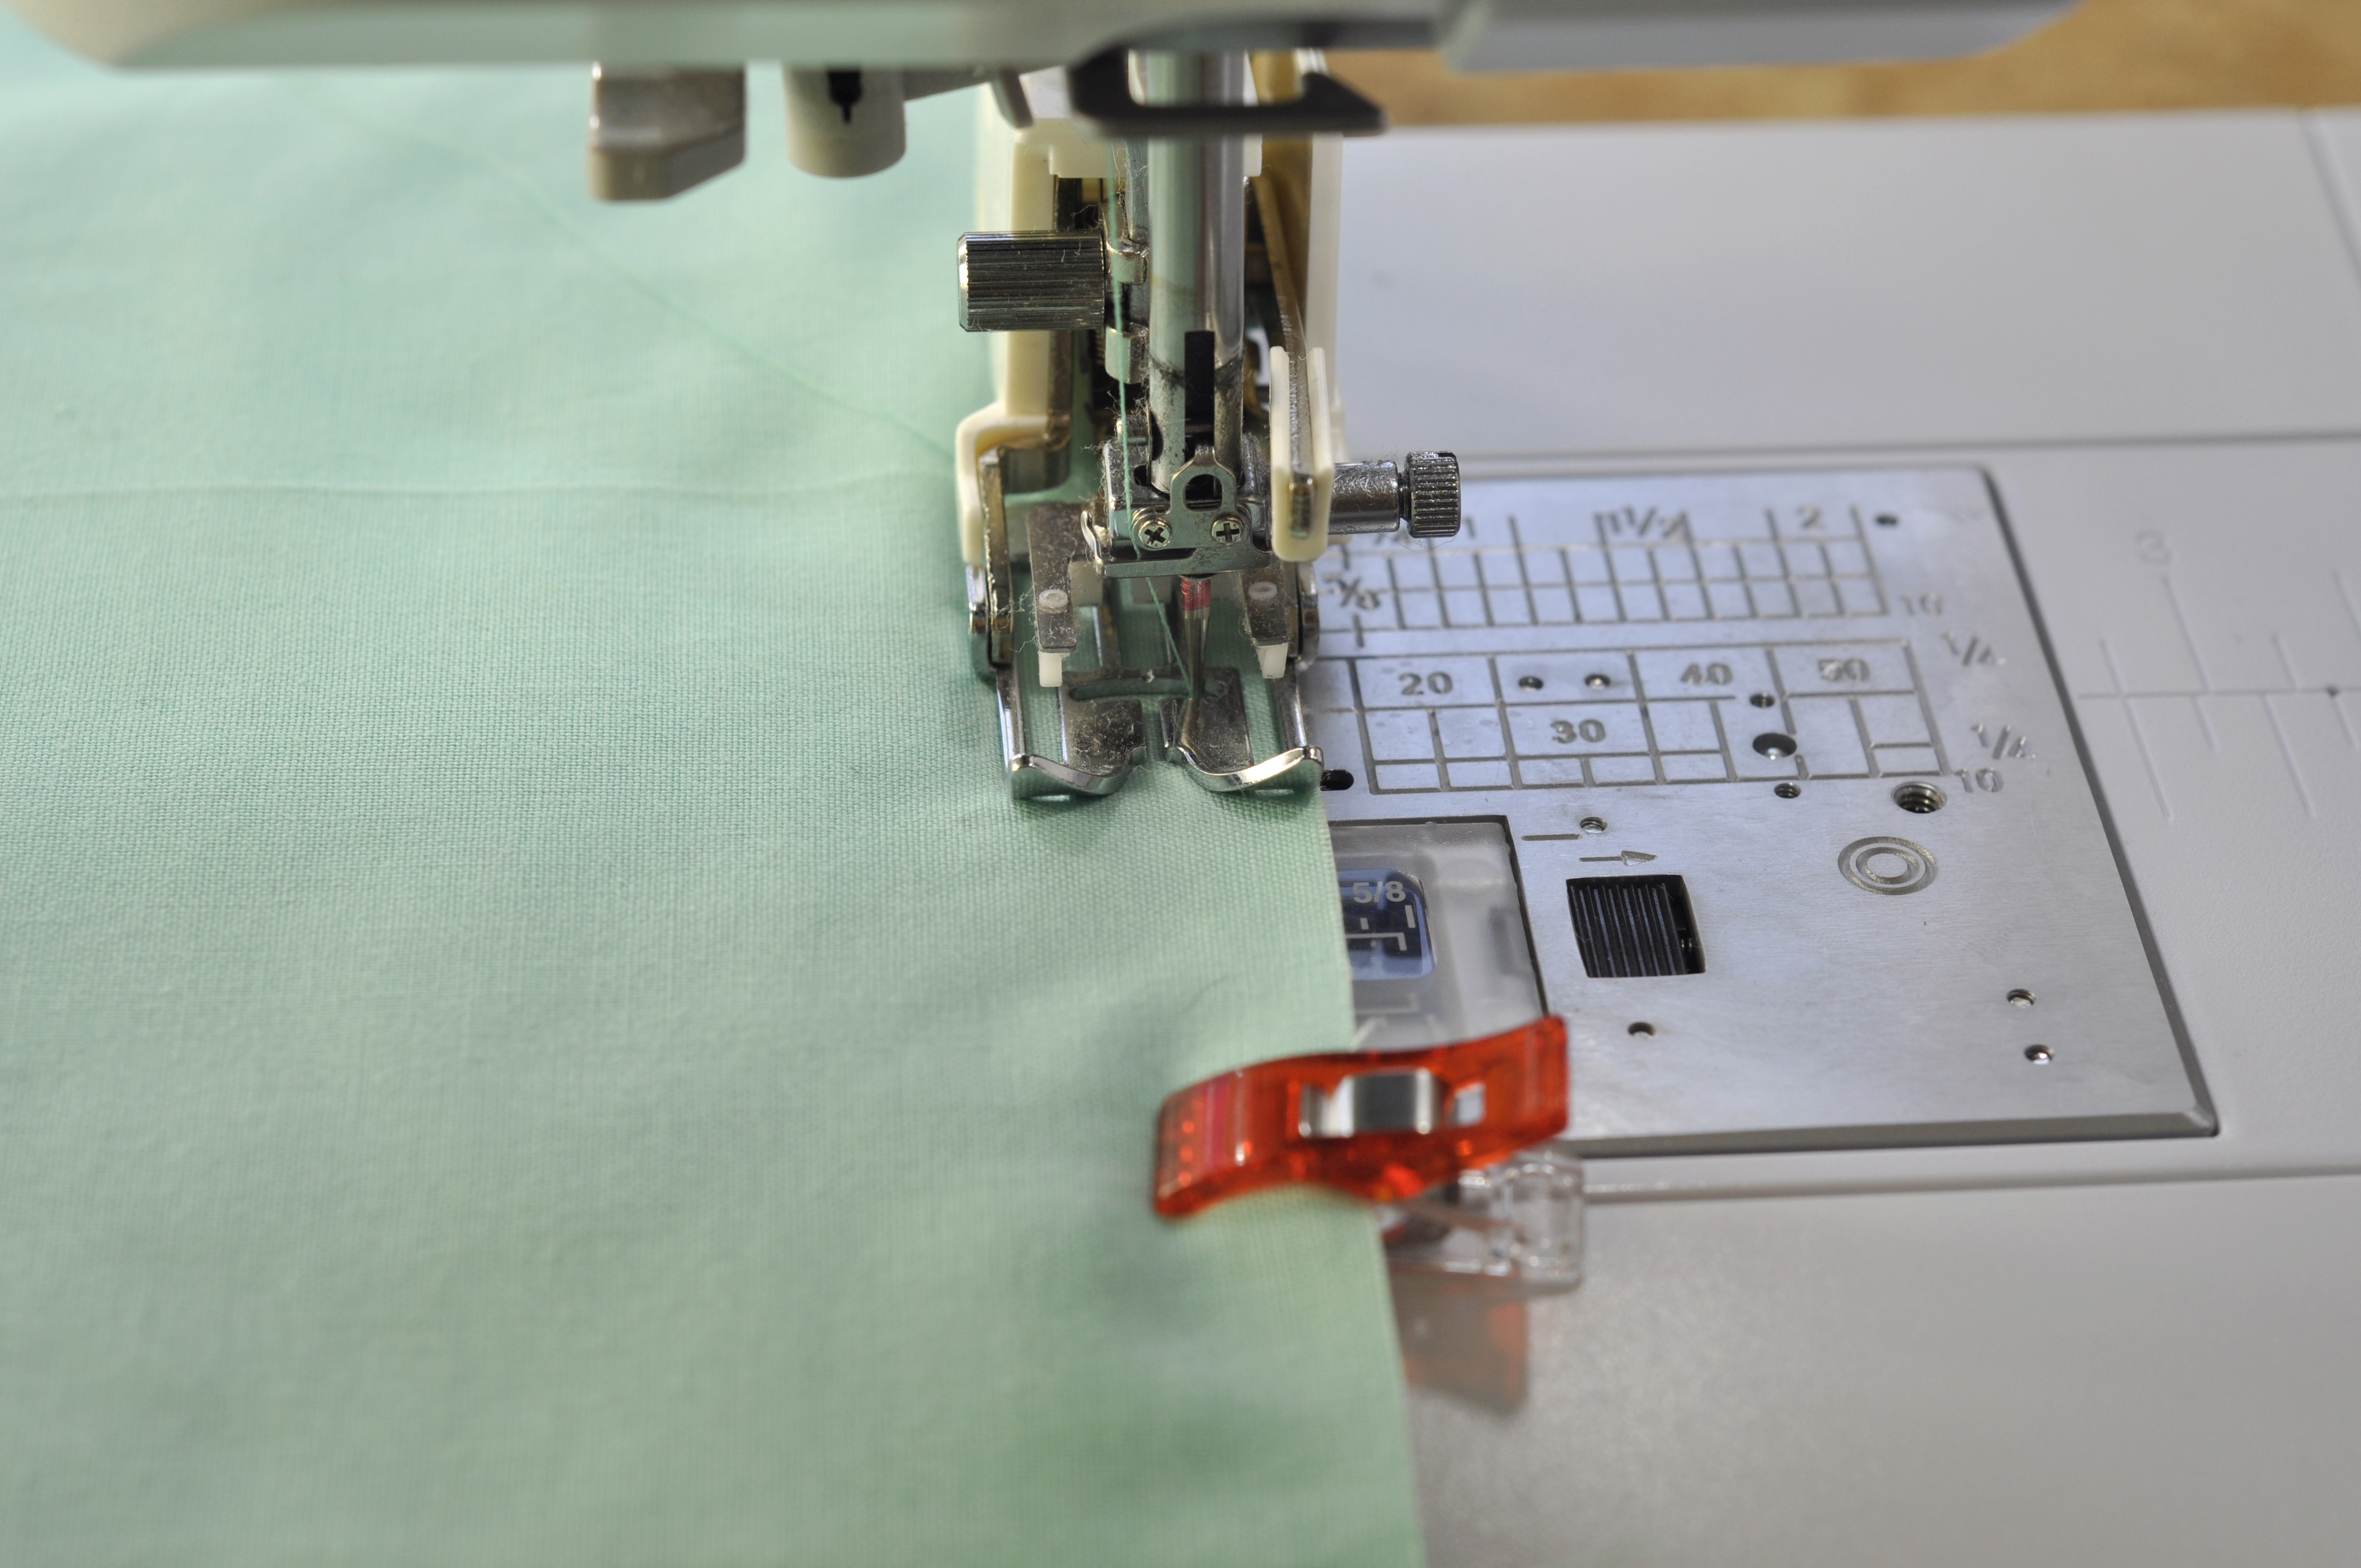
Using the walking foot, sew around all four edges of the cushion using a 0.5mm (¼”) seam, and removing the clips as you go.
Step 12
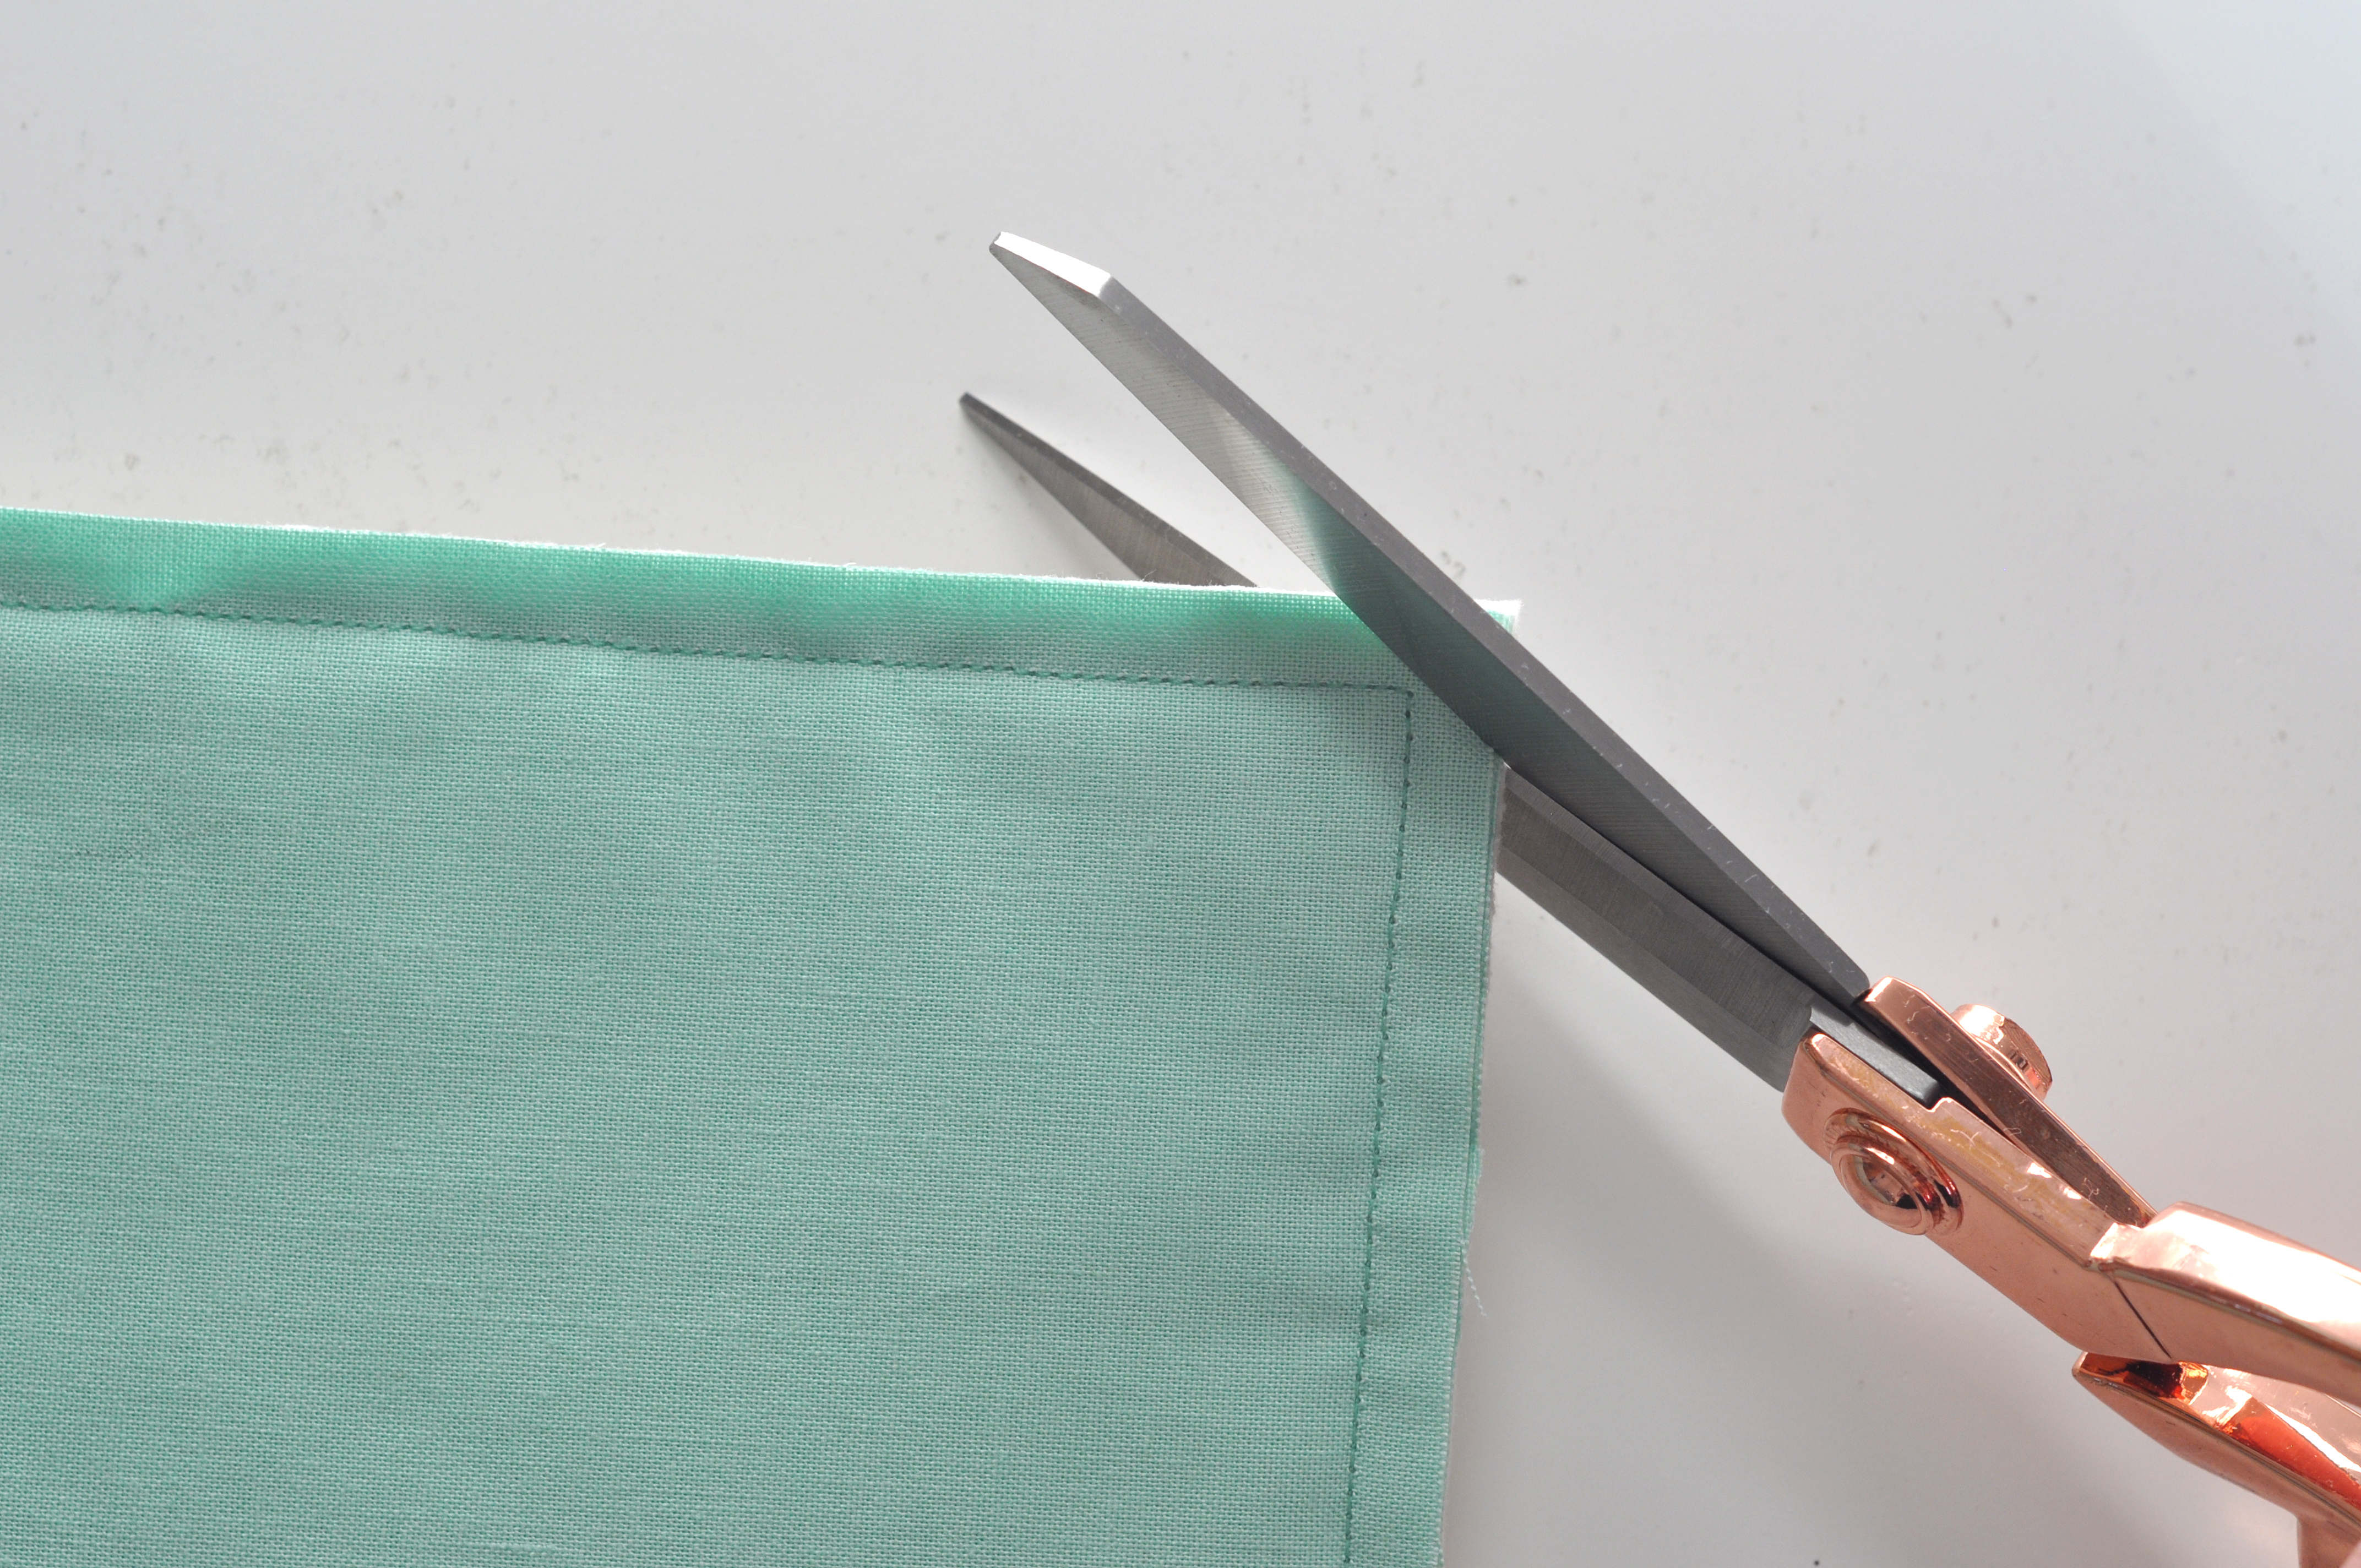
Trim the seam allowance at each corner of the cushion, being careful not to cut too closely to the stitching. Turn the cushion cover RS out, pushing out all four corners, then insert the cushion pad through the back to finish.


