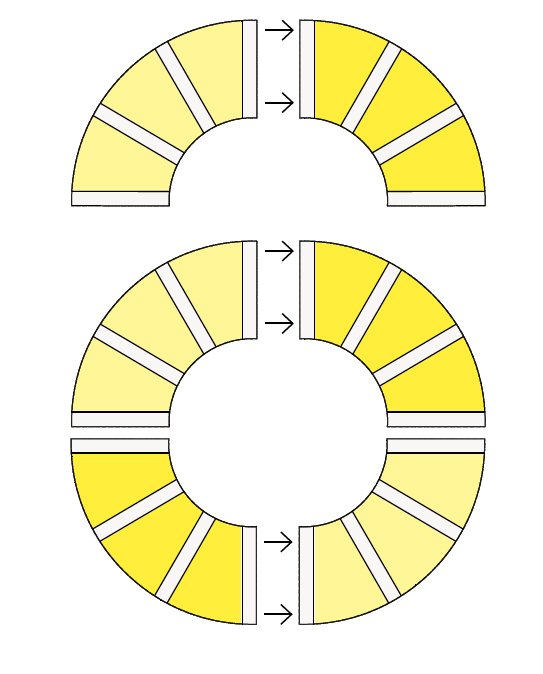
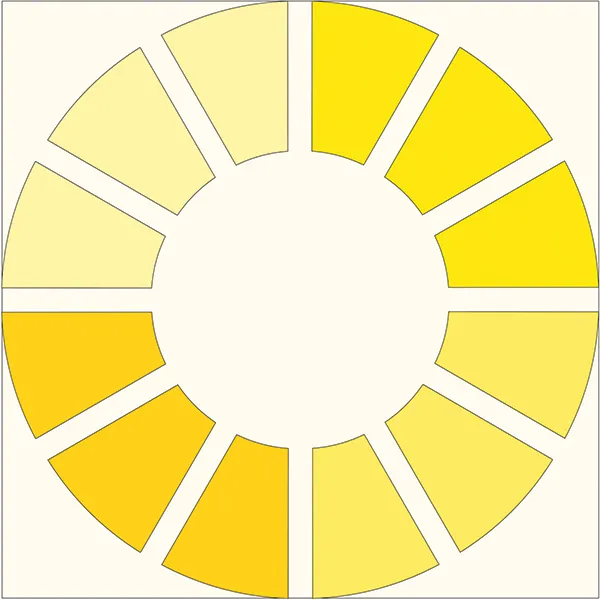
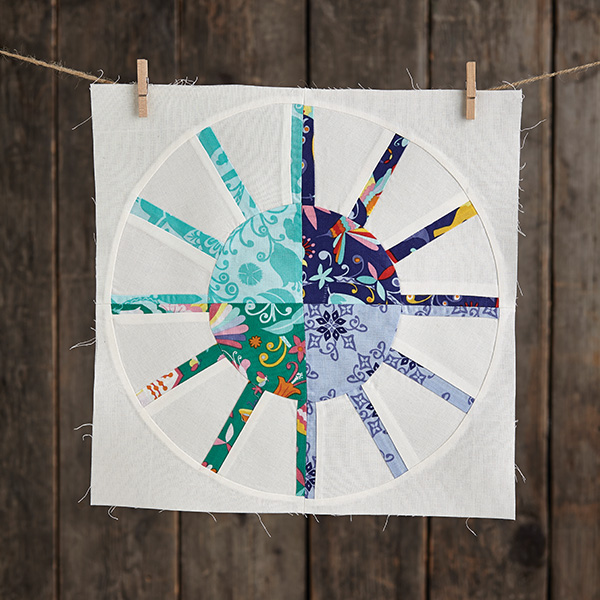
Piecing the templates
Step 1
Download and print out four of template B from our Free foundation paper piecing quilt block pattern onto regular printer paper or foundation paper.
Step 2
Pre-cut fabric pieces for template B. Cut three 4in x 5in rectangles from each of the four yellow fat eighths and cut four 1½in x 4½in strips from the background fabric. Templates A and C can be cut from one 6½in square of background fabric (four required in total).
Step 3
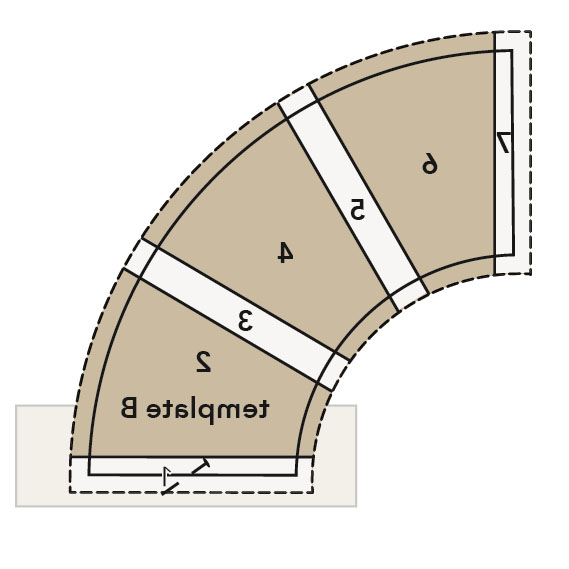
Foundation paper piece each template using background fabric for sections 1, 3, 5 and 7 and yellow print fabric for sections 2, 4 and 6, as follows.
Step 4
To start piecing template B, flip it so that you are looking at the back and pin one of the background rectangles to the back of the template with the right side facing up. Make sure that it covers the whole of section 1 and overlaps on all sides by at least a ¼in.
Step 5
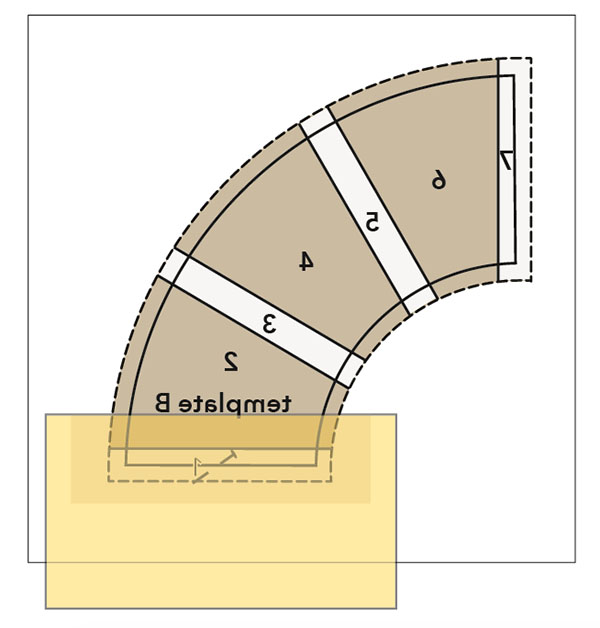
Next take one of the yellow fabric rectangles. Line this up right sides together with the piece of background fabric already pinned in place and pin it so that once the seam is sewn between sections 1 and 2 and the fabric is flipped over it will cover section 2 and overlap it on all sides by at least a ¼in.
Step 6
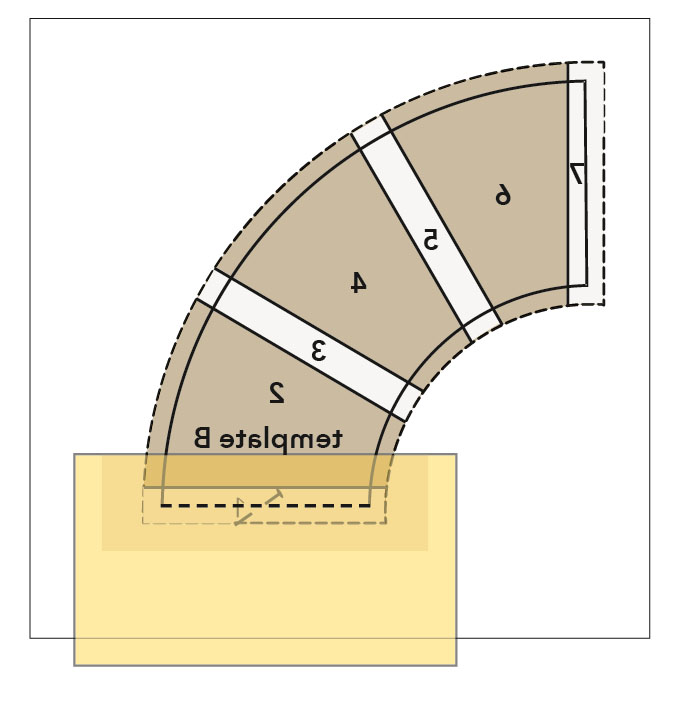
Flip the template so that the printed side is face up. Shorten your machine stitch length and sew along the seam line between sections 1 and 2. Continue the seam to the edges of the template. Trim seam allowances to ¼in.
Step 7
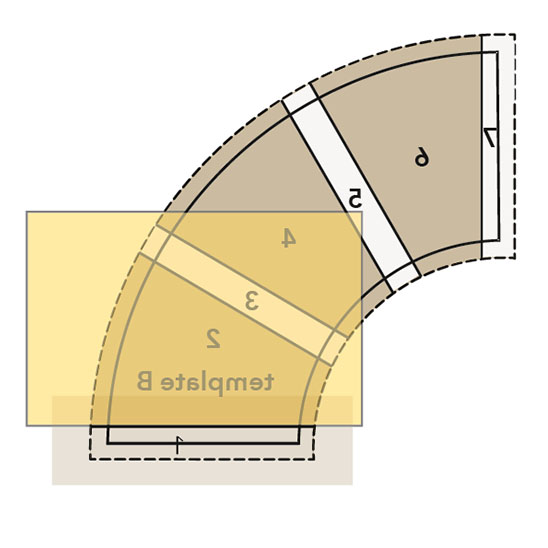
Press the yellow fabric rectangle over to cover section 2. If desired, you may roughly trim it to size at this stage using scissors, but make sure you don’t trim it to less than ¼in beyond each edge of section 2.
Step 8
Repeat this process for sections 3, 4, 5, 6 and 7 of the template, alternating background fabric and yellow fabric.
Step 9
Make three more units like this, using your remaining templates.
Step 10
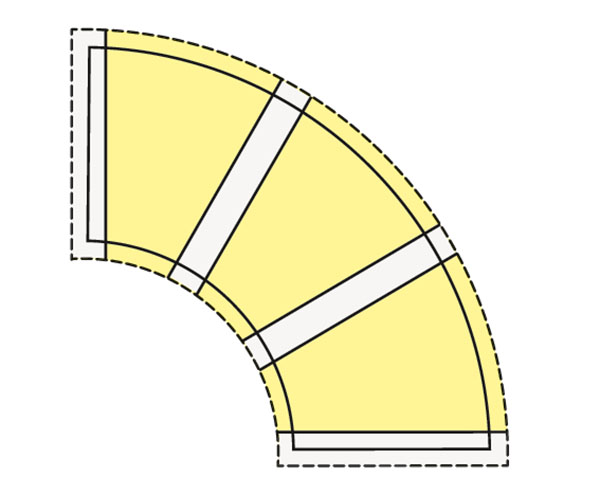
Cut off excess paper and fabric using scissors following the dashed lines around the template. Remove the papers.
Completing the quadrants
Step 1
Using our Free foundation paper piecing quilt block pattern, download, print and cut out four each of template A and template C from background fabric. Cut notches as shown on the templates (red triangles). Pin each B piece on top of each A piece, matching the notches with the seams. Use a pin at each end, one in the middle and one at each notch/seam.
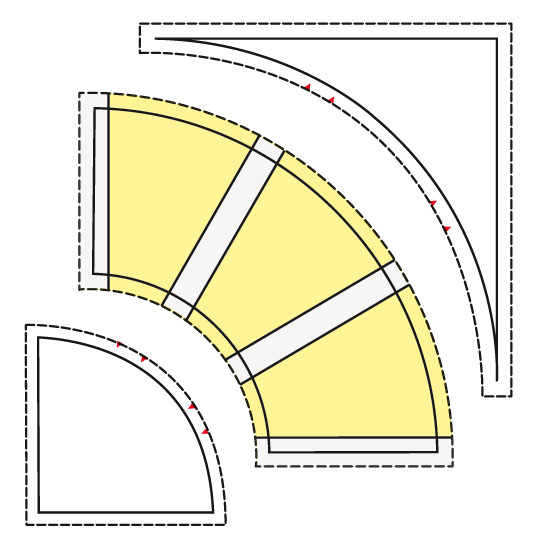
Step 2
Sew the seam slowly and carefully from one pin to the next, stopping and removing pins as you go and re-adjusting the fabrics at each pin to align the edges. Press the seam towards piece A.
Step 3
Now pin the A/B piece to piece C, with piece C on top this time and matching seams to notches. Sew the curves together as you did before. Press the seam towards piece C. To get the seams nice and flat, use a bit of steam or spray starch.
Piecing the block together
Step 1
To sew the block together, first sew two quadrants into halves. Now sew the two halves together to make the finished block.
