Kirsty Hartley is our go-to-gal for bright and fun children's projects (check out her playful designs over at Wild Things Dresses).
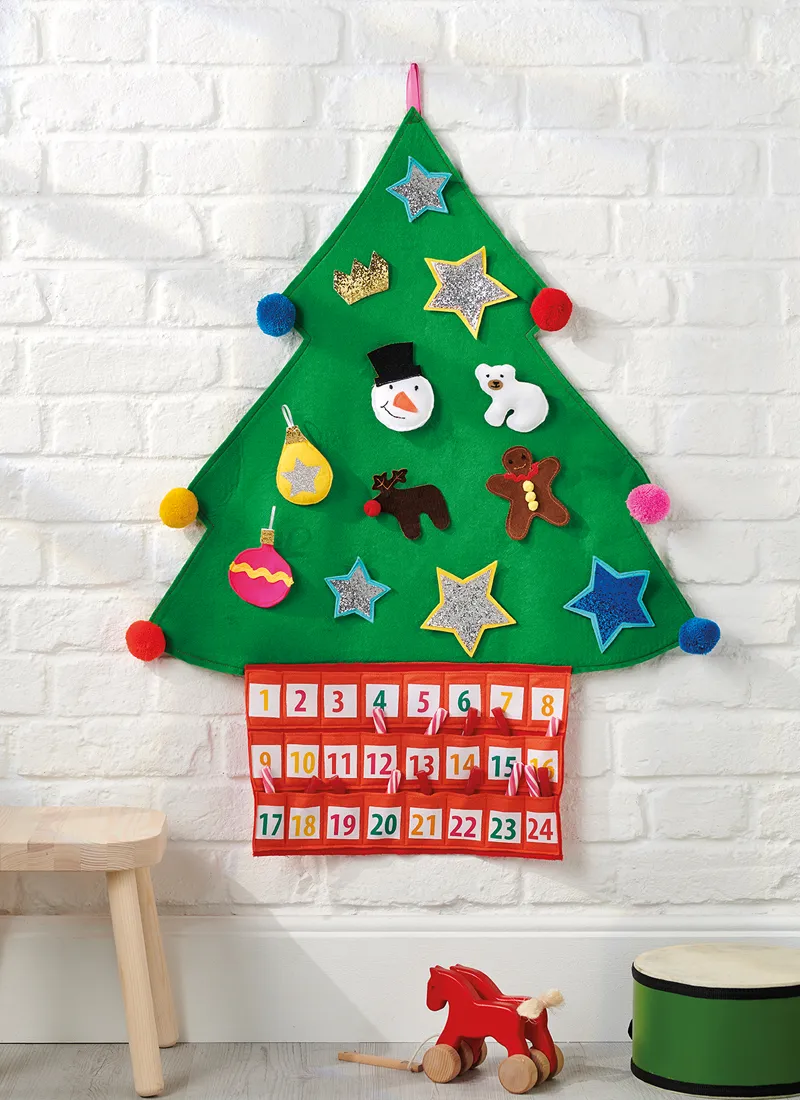
Kirsty's come up with this cheery Christmas tree design with velcro shapes so children can make it their own, and 24 miniature pockets for the countdown to Christmas. It's quick to sew so you've still got time to whip up your own version before December.
You will need
- Green felt: 70x150cm (28x60in), for the tree
- Red felt: 40x25cm (16x10in), for the base
- Orange felt: 40x25cm (16x10in), for the pockets
- Bondaweb: 2mx44cm (21⁄4ydx17in)
- A4 sheets of brightly coloured felt, for the decorations
- Printable cotton poplin (optional)
- Black stranded cotton
- Ribbon to decorate and form a loop for hanging
- Assorted glitter fabrics
- Assorted ric-rac braid and ribbons, to decorate
- 6 pom poms
- Self-adhesive Velcro
- Wadding, to fill the shapes
- Embroidery needles
- Basic sewing kit
We used printable cotton poplin from www.cottonpatch.co.uk for the numbers.
Download our free advent calendar templates
To make this project, you'll need to download our two free patterns from issue 49 of Simply Sewing magazine:

How to make your advent calendar
Cutting out
Due to its narrow width, you may need to piece together the Bondaweb to create an entire tree/base shape.
Step one
Download, print and cut out the templates.
Step two
From the green felt cut: Tree: two using the template.
Step three
From the red felt cut: Base: two using the template.
Step four
From the orange felt cut: Advent number strips: three strips each 40x7.5cm (153/4x3in).
Step five
From the Bondaweb cut: Tree: one using the template. Base: one using the template. Step six From the bright felt sheets cut: Decorations: two for each of the decoration using the templates.
Preparing the tree and base
Craft felts are likely to melt under a hot iron, so test the temperature on a scrap first. Don’t press for too long in any one area, just enough to bond the felt pieces together.
Step one
Back one side of the felt with Bondaweb, pressing the paper side to the wrong side (WS) of the felt.
Step two
Layer the felt panels together and press the backing felt piece to bond.
Step three
Stitch around the outer edges 5mm (¼in) from the edge to secure, and then repeat for the base.
Step four
Cut a 12cm (4 ¾in) length of ribbon and fold it into loop. Fold the ends of the ribbon under and stitch across the folded base of the ribbon to secure it to the top of the tree, backstitching to secure.
Step five
Thread your needle and hide the end knot between the two felt layers, and bring the needle up to the right side (RS). Step six Securely hand-stitch each of the six pom poms to the ‘branches’ of the tree.
Making the base
Step one
Bond the base pieces together in the same way as the tree pieces. Step two Stitch around the outer edges 5mm (¼in) from the edge to secure.
Printing the advent numbers
To print the numbers onto the cotton poplin you will need access to a desktop printer. Alternatively, you could appliqué or embroider numbers onto the pockets.
Step one
Print the number template onto the cotton poplin sheets following the manufacturer’s instructions. Mark the eight sections onto each orange felt strip before pressing the numbers in place to get the positioning correct. Cut out all 24 squares.
Step two
Peel back the backing sheet to reveal the adhesive bonding web.
Step three
Place the squares into the marked sections, cover with a soft cloth and press each of the number squares to the orange felt.
Appliquéing the numbers
Step one
Cut felt for each number using the template. Mark the eight sections onto each orange felt strip before pressing the numbers in place to get the positioning correct.
Step two
Topstitch the numbers to the orange felt – you could also experiment with hand embroidery stitches such as blanket stitch, or machine decorative edge stitches.
Step three
Arrange the numbers on your ironing board, pressing the numbers eight per row into place (take care with the temperature of your iron when pressing the felt).
Step four
Pin then sew the orange felt strips to the red tree base along the lower edge and sides of each strip.
Step five
Sew along the marked lines to create eight pockets, back stitching to secure.
Step six
Overlap the assembled base and the bottom edge of the tree by 1cm (3⁄8in) and topstitch on the base to secure it to the tree.

Making the felt decorations
Step one
The flat decorations can be made by bonding layers of felt together to create flat shapes, using the same technique as for the main tree.
Step two
Once the pieces have been bonded together, draw around the template on the WS of the felt or fabric (this will be whichever side will be the back of the decoration). Using a small stitch length, sew carefully 5mm (¼in) within the marked shape to define.
Step three
The decorations can be embellished with stitch patterns to highlight areas such as the reindeer antlers.
Step four
If you are making a stuffed decoration, first cut out the chosen shapes from the felt using the templates.
Step five
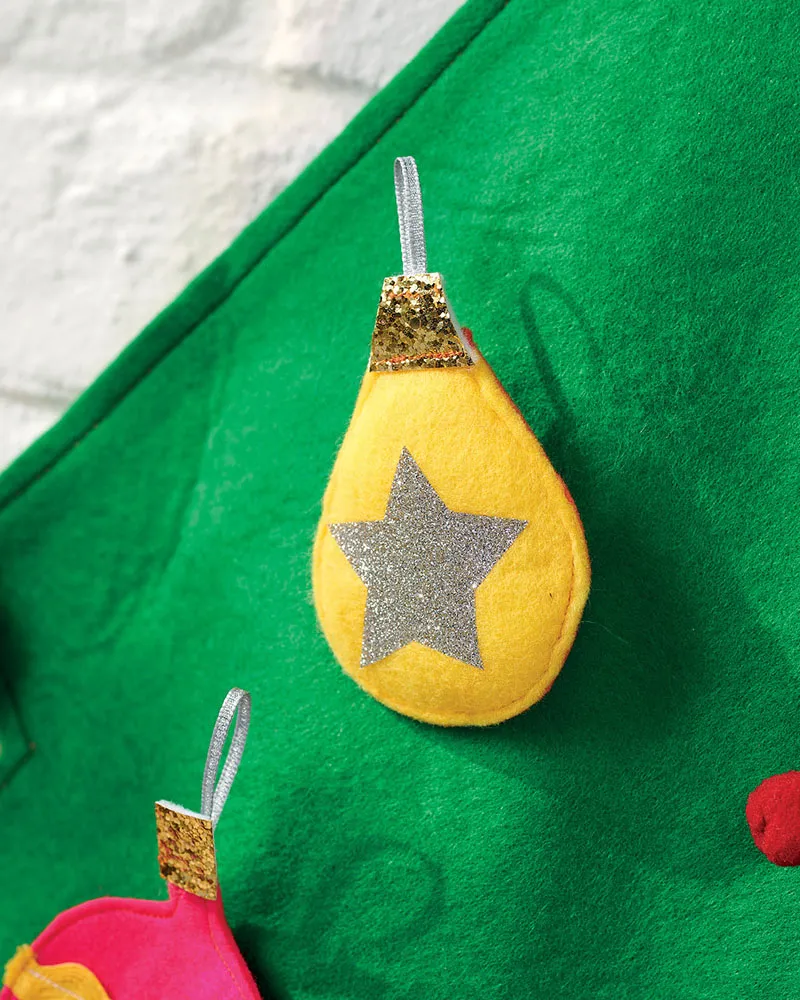
Decorate the felt pieces with stitches, beads, ricrac, braid, etc. before assembling. Step six Sew WS together, leaving a turning gap. Step seven Stuff the decorations and topstitch the turning gap closed.
Making the glitter star decorations
Step one
Trace the star template onto the glitter fabric and cut it out. Sew the star onto a piece of felt before cutting out. Layer this with a second colour of felt if desired.
Step two
Trim back the felt backing. You can trim right up to the glitter fabric, or leave a felt border around the outside.
Finishing off
Step one
Add the hook side of self-adhesive Velcro to the reverse of each decoration.
