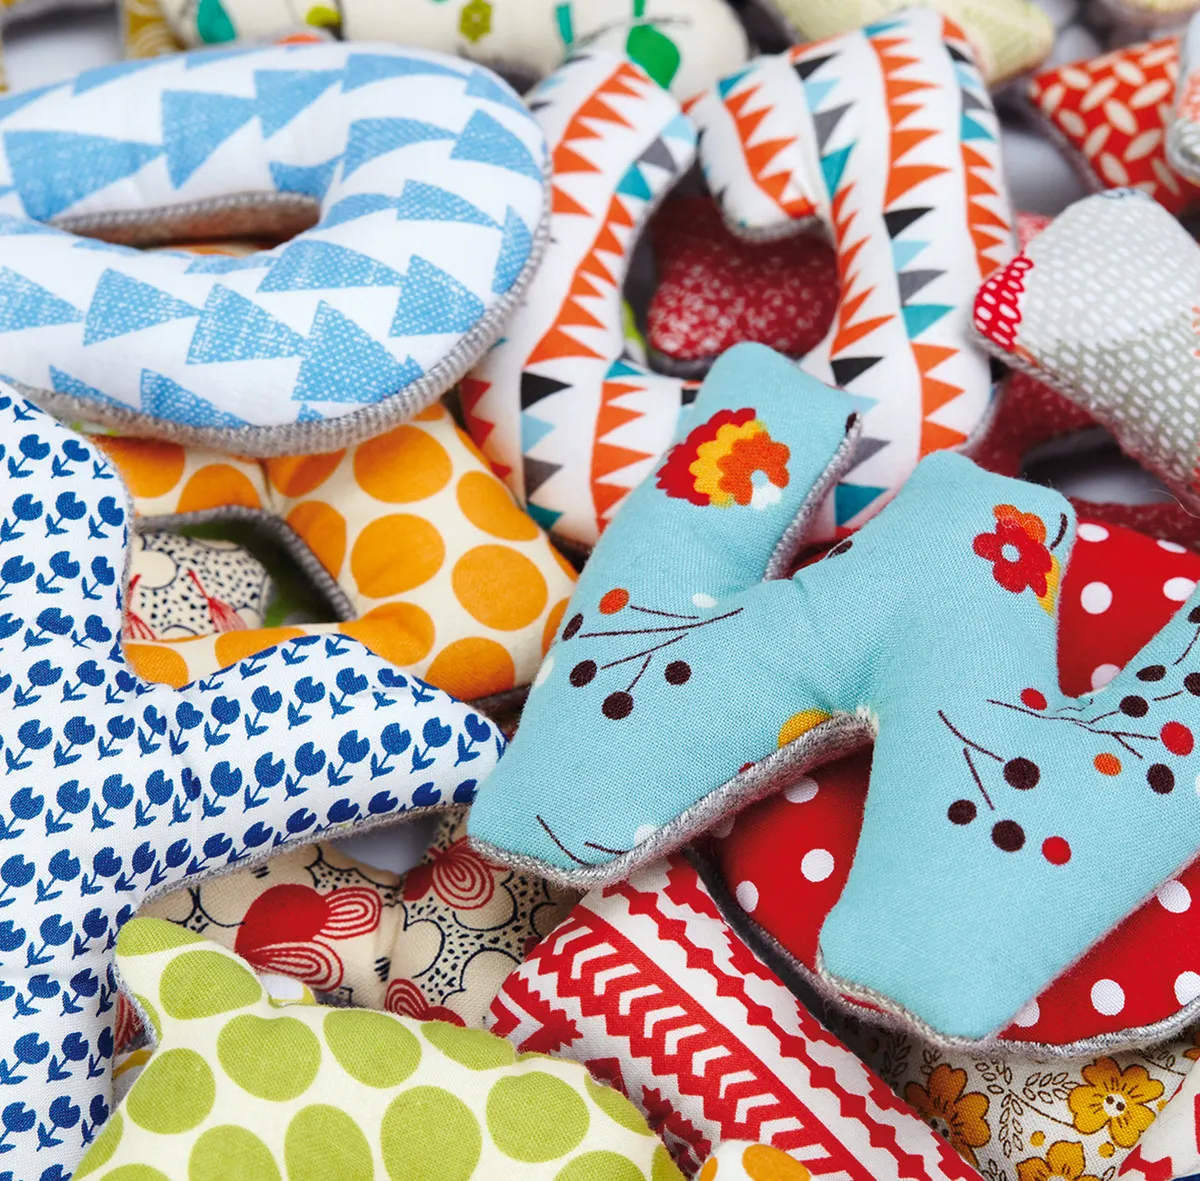
Sew your very own ABC with this sweet soft alphabet set by Manda McGrory – use it to add a personal touch to nurseries and living rooms or whip up a bag for tidying up when playtime’s over.
Make a softie A-Z using just a few small pieces of fabric, your sewing kit and some stuffing with our free alphabet sewing pattern. Pair pretty prints with a simple backing fabric from your stash.
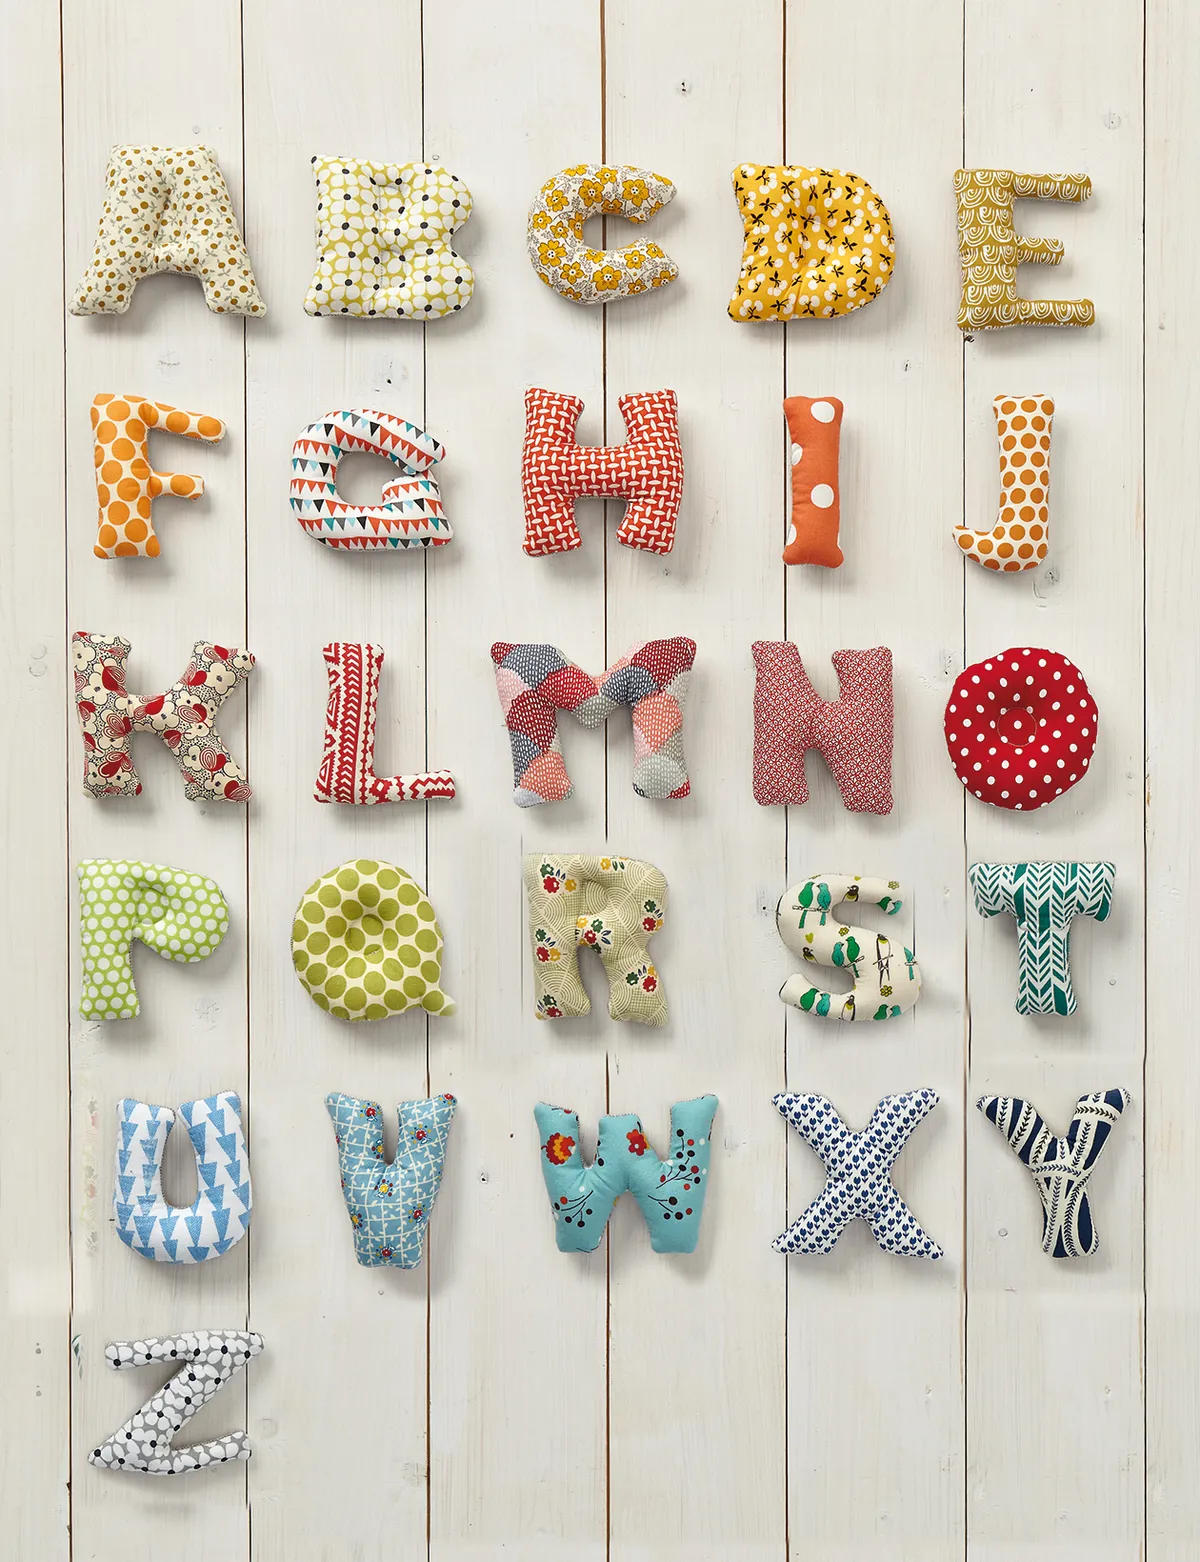
Choose between sewing the full set or just spell out a name or word of your choice for nursery decor, party decorations or to add a homespun touch to your home. If you're making these free sewing patterns for children in the family, sew the full alphabet and we'll also show you how to make a sweet and simple-to-sew drawstring bag is perfect for storing your alphabet set.
Whip up a special set for a personalised gift – it's so easy to design your very own templates!
Fabric requirements
To make the full alphabet, you'll need
Twenty-six (26) scraps of fabric, each 6in square (for fronts)
Twenty-six (26) scraps backing fabric, each 6in square
Or adjust to spell out just the letters you want to make!
Notes
All seam allowances are a scant ¼in, unless otherwise stated.
Finished Size
4in square (per letter)
Softie alphabet sewing pattern
You will need:
Cotton fabric (See project notes) (For the letter fronts and backing)
Fusible Fleece (2yds)
Polyester filling
Sewing machine
Basic sewing kit
Thread
Cutting out
Step 1
Use a text editor (like Word, Notepad or Illustrator) to print out letter templates. Choose a font you like and type in the first letter. Change the size of the font to achieve the size you want and print out to check. Once you are happy, type in the rest of your letters and print out. Cut out each letter.
We used Gill Sans Ultra Bold with a font size of 450 to get letters about 4in square. You can make the letters any size you want, but will need more fabric for larger letters.
Step 2
Cut out the first letter. Then turn the template over to mark out a second one on paper so that the two letters will be mirror images of each other. Cut out. Repeat for each letter.
Step 3
Cut out fleece letters, using all fifty-two (52) templates and leaving any central holes uncut (as on A, D, etc), and iron on to the back of your fabric scraps. Make sure that the letter is the correct way around on your top fabric, with the reverse letters on your backing fabric.
Step 4
Cut out fabric letters, front and back pieces, still keeping central holes uncut.
Step 5
Lay the templates on top of the cut out letter and trace any inner markings, using a water soluble pen (Fig a).
Figure A
Assembling the letters
Step 1
Place your front and back letters right sides together and stitch around the edges, making sure to leave a gap for turning (Fig b).
Figure B
Step 2
On letters with curves make sure to clip around the curves (Fig c).
Figure C
Step 3
Carefully turn the right way out, making sure to push out the corners.
Step 4
On the letters that have inner markings, stitch on the line you have drawn (Fig d).
Figure D
Step 5
Carefully stuff the letters with polyester filling and slip stitch the gap closed.
How to make a drawstring bag to keep your letters in
Step 1
You will need
Two (2) pieces of linen, each 15in square
Three (3) print fabric scraps, each 4in square
Cord, 40in long
Fusible web 8in x 24in
Finished Size
12in square approx
Notes
All raw fabric edges should be finished with either an overlocker or a zigzag stitch, to prevent fraying.
The linen is a linen/cotton blend and is available online at Celtic Fusion Fabrics
Adding the appliqué letters
Step 1
With the two linen pieces right sides together, sew down one edge, creating one long piece of linen. This will be the left side seam of your finished bag.
Step 2
Follow step 1 of the Soft Alphabet instructions (above) to create appliqué letter templates. Trace the letters onto fusible web, making sure that the letter templates are face down (so that they are the right way up when cut out of fabric).
Step 3
Cut around each letter roughly and iron on to the wrong side of 3 scraps of fabric – you could match the fabrics used for your soft alphabet (Fig a).
Figure A
Step 4
Cut out carefully along the lines, including inner letter areas (Fig b).
Figure B
Step 5
Decide where you want the appliqué letters to be on the front piece of your drawstring bag and iron in place. (Fig c)
Figure C
Step 6
Zigzag stitch around the appliqué letters to stop the raw edges from fraying.
Assemble the bag
Step 1
Along the two short sides of your bag fabric, fold and press 1/8in to the wrong side. Baste in place, if desired.
Step 2
To create the channel for the drawstring, fold and press the long top edge (check your letters are facing the right way here) by ¼in to the wrong side, then fold over again by 1in and press.
Step 3
Stitch along the edge of the channel, encasing the raw edge and leaving the ends open. Backstitch at the beginning and end to secure (Fig d).
Figure D
Step 4
Fold the bag in half, right sides together, along the central seam line. Stitch along the bottom and side, stopping at your line of channel stitching and backstitching at both ends.
Step 5
Turn right side out. Attach a piece of cord to a safety pin and thread through the channel. Knot the ends of the cord together to finish.
Zoe launched Gathered.how as editor in 2019. A keen crafter, quilter and sewist, she has worked with the UK’s best-selling craft magazines – from Today’s Quilter to Love Patchwork & Quilting, Simply Sewing and The World of Cross Stitching. With over a decade of craft publishing experience under her belt, she loves crafting with her kids and curling up on the sofa with a spot of hand patchwork.
Zoe has previously written for radiotimes.com, Simply Knitting and The World of Cross Stitching and was previously Deputy Editor of Papercraft inspirations magazine. She has guest-lectured at Bath Spa University.
She’s a keen quilter with 5 projects in progress at any one time and another 12 or so planned. Specialist skills include hand modelling for YouTube craft tutorials and fabric foraging (she has an inbuilt radar for local haberdasheries and community craft gatherings).
This website is owned and published by Our Media Ltd. www.ourmedia.co.uk