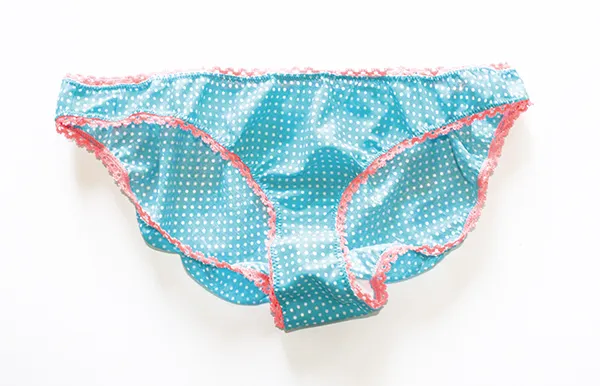
If you've been inspired to sew your own lingerie by The Great British Sewing Bee, then start with our simple knickers tutorial. Use your brightest fabric, frilliest lace and prettiest ribbon for these beauties!
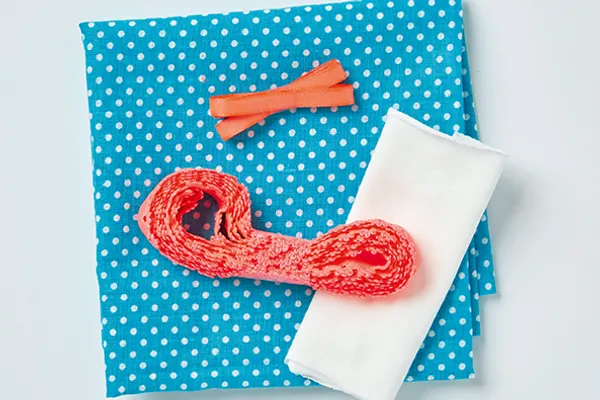
You will need
- Knickers pattern, from issue 9 of Simply Sewing magazine, free to download here
- Cotton fabric: 58x52cm (227/8x201/4in)
- Cotton jersey gusset: 10x20cm (4x77/8in)
- Lace elastic: 1.5cm (5/8in) width x 2m (79in)
- Ribbon: 7mm (1/4in) width x 50cm (193/4in)
- Matching thread
- Basic sewing kit
Notes
- The pattern includes a 1cm (3⁄8in) seam allowance.
Size chart
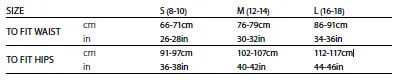
Step one
Trace and cut out the knickers pattern pieces. You need one back, one front and one gusset.
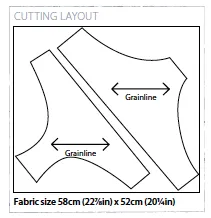
Step two
Your knickers front and back need to be cut from your cotton fabric on the bias. This means placing your pattern diagonally across the fabric to give the pieces more stretch. Follow the cutting layout to position these on your fabric, then pin them on and cut them out.
Step three
Pin the gusset piece centrally onto the white gusset fabric and cut this out.
Step four
Cut your elastic into three pieces:
- Small: waist 64cm (25¼in) x 1; legs 47cm (18¾in) x 2
- Medium: waist 72cm (28½in) x 1; legs 51cm (20in) x 2
- Large: waist 80cm (31½in) x 1; legs 55cm (21½in) x 2
Step five
Place the knickers front fabric right side (RS) up on a flat surface then place the back piece RS down on top, matching the lower edge. Now place the gusset piece on top of these, again matching the lower edge. Stitch together along this lower edge.
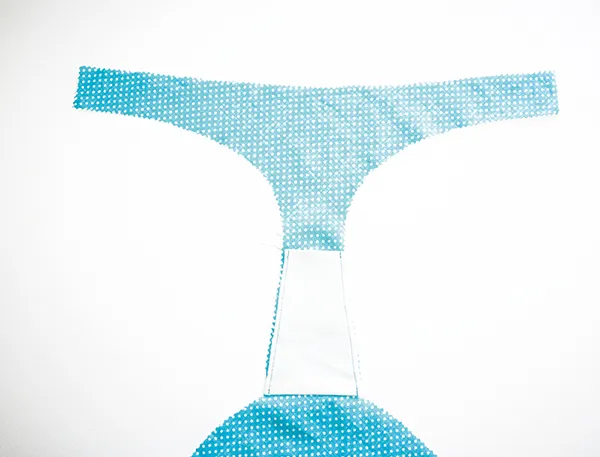
Step six
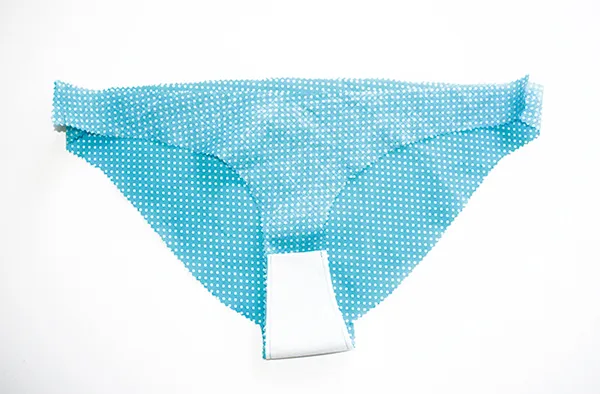
Open out the front and back and place them RS down. Fold the gusset over them flat along the gusset section of the front piece. Turn the unstitched short end of the gusset under by 5mm (¼in) then press into place.
Stitch the sides of the gusset to the front fabric along both long edges, just 5mm (¼in) in from the edges. Trim any small corners of gusset or fabric that stick out from the seam.
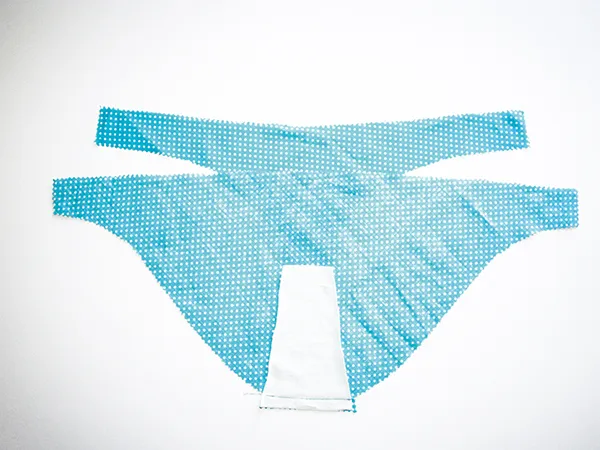
Step seven
Place your front and back pieces RS together and stitch at the side seams.
Step eight
Starting with one leg, divide it into four equal sections either by measuring or folding and mark these points with a pin. Take one of the lengths of elastic you cut for the legs and divide this into four in the same way, marking each point with a pin.
Step nine
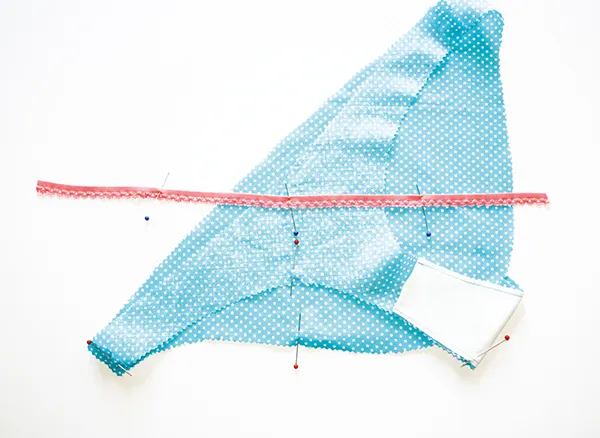
The elastic is stitched on using a machine zigzag stitch. You need to set your machine so the zigzag stitch is medium length and width to ensure it fits neatly on the non-lacy part of the elastic. The elastic is stitched on top of the RS of the fabric, with the lacy section pointing inwards and the raw edge of the fabric meeting the flat part of the elastic.
Pin the end of your elastic securely at one of the leg pins so it holds firmly in place (choose one near the seam or at the back so the join doesn’t show up at the front).

Step ten
Put the fabric and elastic under your machine foot and lower the needle into the elastic to hold it in place. Now pull the elastic and pin the next pin along at the next pin on the fabric. You can now zigzag your elastic into place; you will need to keep pulling your elastic tightly so that it covers the fabric to be stitched on.
When you reach the next pin, lower the needle, pin the next pair of pins together and continue zigzag stitching your elastic on. When you reach the final set of pins, turn the end of the elastic under by 1cm (3⁄8in) then overlap the beginning end of the elastic by 1cm and zigzag into place.
Step eleven
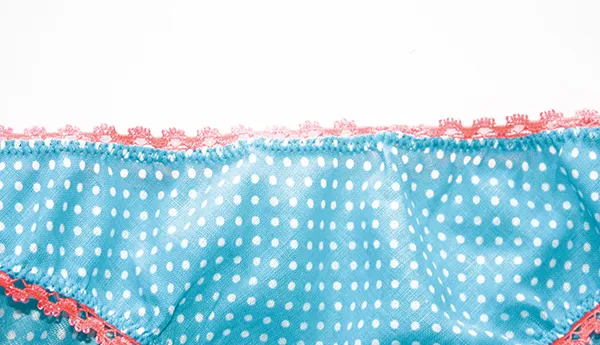
To neaten the elastic and hem the edge, turn the elastic to the wrong side (WS) of the fabric so that you can just see the lacy edge sticking out from the RS. From the RS, stitch this turned-over edge down, stretching the elastic as you go in the same way as before. Keep your zigzag stitches neat so they come just up to the turned-over edge of the fabric, as these will be seen from the RS.
Step twelve
Stitch the other leg and waist in the same way.
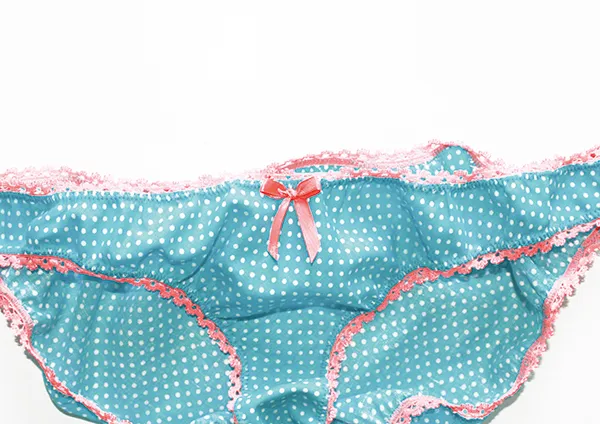
Step thirteen
To decorate and prettify your knickers, tie the satin ribbon in a bow, trim the ends and stitch to the centre of the front using small, neat stitches. Your beautiful new undies are now ready to wear!