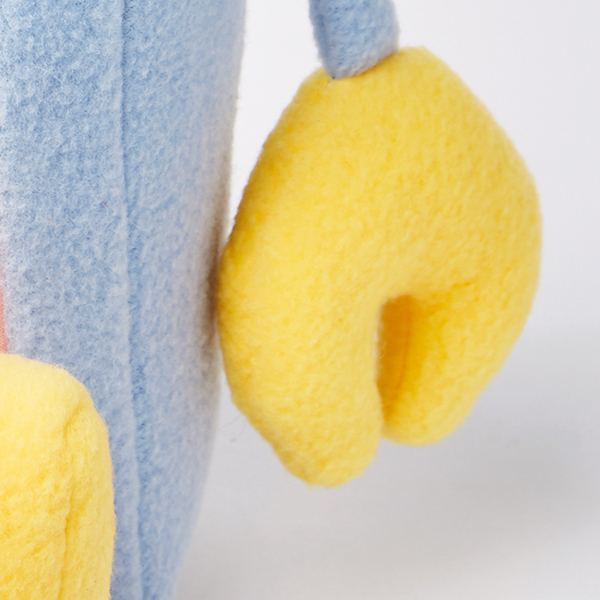
Free robot toy sewing pattern

We're sharing this free softie tutorial here on the website today: how to sew a pair of softie robot pals... intergalactic sewing goodness!

6 issues of Simply Sewing magazine for £14.99|Save 78%!

Published: October 14, 2019 at 9:53 pm

Here's our free softie tutorial – how to sew Jo Carter’s plushie pair of romantic robots in super-soft fleece. Batteries not included (or needed!).

You will need

  • Fleece fabric: silvery grey, 50x90cm (20x35in)
  • Fleece fabric: yellow, 35x45cm (14x18in)
  • Felt: white, 20x12cm (8x5in)
  • Cotton fabric A (colour 1 for keypad): 7x10cm (23/4x4in)
  • Cotton Fabric B (colour 2 for keypad): 7x10cm (23/4x4in)
  • Cotton Fabric C (for side control panel): 6x9cm (3x4in)
  • Cotton Fabric D (for bottom control panel): 11x6cm (5x3in)
  • Safety eyes: black, 12mm (½in) x 2
  • Metal teeth zip: white 15cm (6in)
  • Polyester toy filling
  • Stranded cotton: black and extra colours for detailing
  • Water erasable pen
  • Download our free robot sewing pattern here

Oh happy days. Each year, July brings the arrival of Sew a softie day. The event is organised by author, designer and teacher Trixi Symonds, who blogs about craft and hand sewing projects at colouredbuttons.com. Sew-a-softie day is an annual celebration of the age-old skill of sewing, and was launched to encourage adults and children of all ages to turn off their computers, put down their smartphones and experience the joy and fulfilment of creating a unique object with their own hands.

Finished size

Approx 35cm (14in) from bottom of body to tip of aerial.

Notes

Use a seam allowance of 5mm (¼in) unless otherwise stated.

Cutting out

You will find all the templates needed to make this project on the free pattern sheet from issue 13 of Simply Sewing magazine. They all include seam allowances and the arrows indicate the pile direction for marking and cutting out. When the pattern specifies to cut two or more of a template, after marking out half of the pieces required the template needs to be turned over to mark out the remaining half so that the pieces are cut as mirror images.

Begin by tracing and cutting out the pattern pieces. Next, using a water erasable pen or pencil, draw out all of the pattern pieces onto the reverse of the fabric and cut out as follows:

From the grey fleece:

  • Front/back head: cut one from template and one piece that is 14x16cm (5½x638in) which will be trimmed to size later.
  • Bottom head: cut one
  • Side and top head: cut one
  • Limb: cut four
  • Top/bottom front: cut two
  • Side front: cut two
  • Top body: cut one
  • Side and back body: cut two
  • Bottom body: cut two

From the yellow fleece:

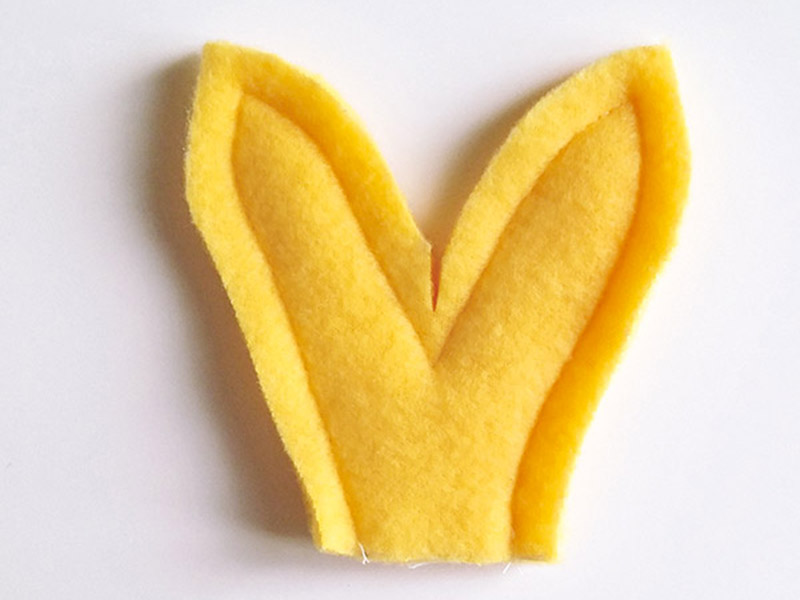
  • Aerial: cut two
  • Hand: cut two
  • Foot: cut two

From the white felt:

  • Eye patch: cut one

From Fabrics A and B:

  • Keypad on control panel: cut two of each

From Fabric C:

  • Side control panel: cut one

From Fabric D:

  • Bottom control panel: cut one

Making the head
You will need:

  • Cotton fabric
  • Fleece Fabric
  • Toy stuffing
  • Basic sewing kit
  • Safety Eyes
  • Water erasable pen
  • Zip
  • Scissors

Step 1

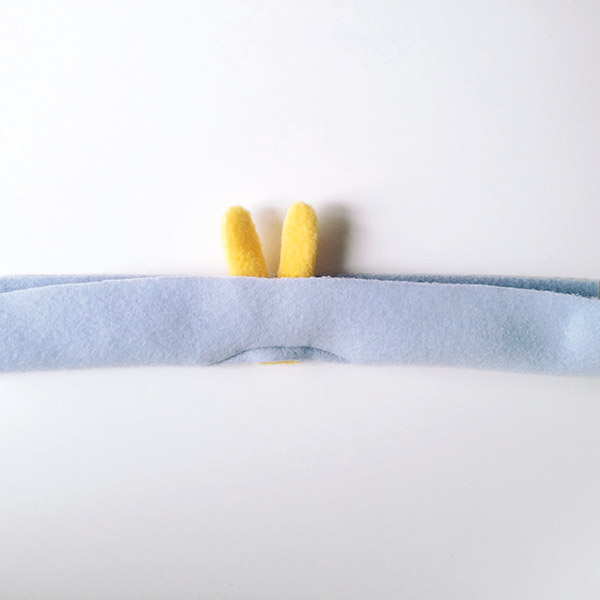
With right sides (RS) together place one aerial on top of the other and sew together, leaving the bottom open. Clip the seam allowance at the internal corner then turn RS out.

Free robot toy sewing pattern step 1

Step 2

Snip the aerial opening on the side and top of the head piece as marked on the template. With RS together, fit the open end of the aerial through the opening in the middle of the side and top head piece and sew, tapering both ends of the seam.

Free robot toy sewing pattern step 2

Step 3

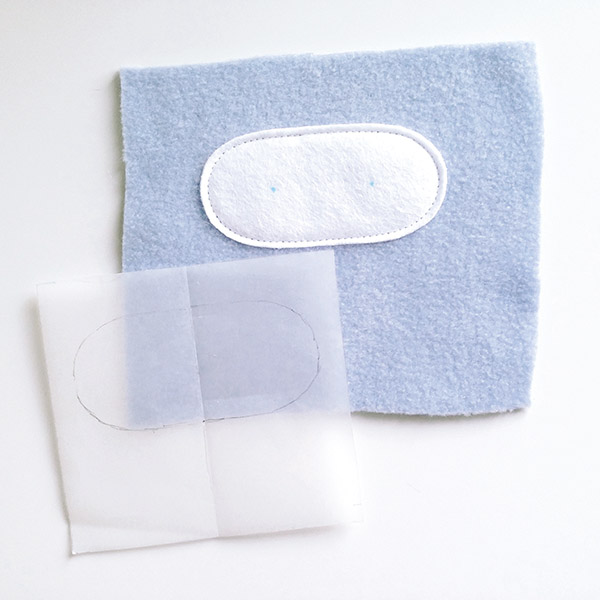
With RS up, place the felt eye patch on top of the larger front/back head piece just above the centre and sew around the inside edge of the eye patch (approx 3mm (18in) in) to fix it in place. Use the front/back head template to get the correct position of the eye patch and mark out and cut the front head piece to size. Mark the position of the eyes on the eye patch.

Free robot toy sewing pattern step 3

Step 4

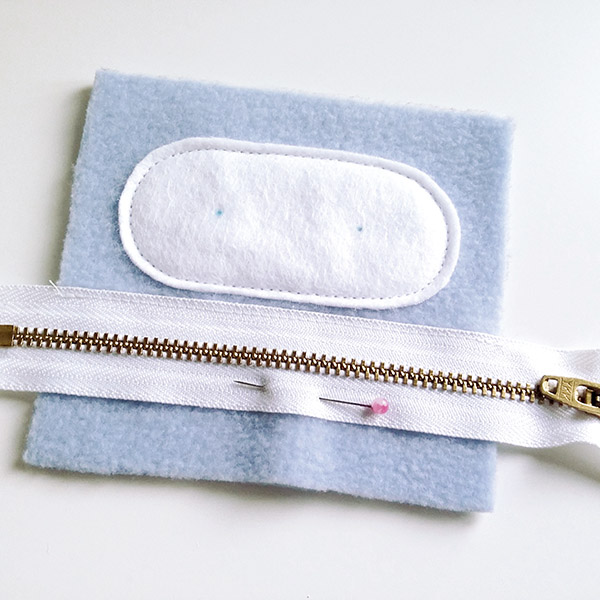
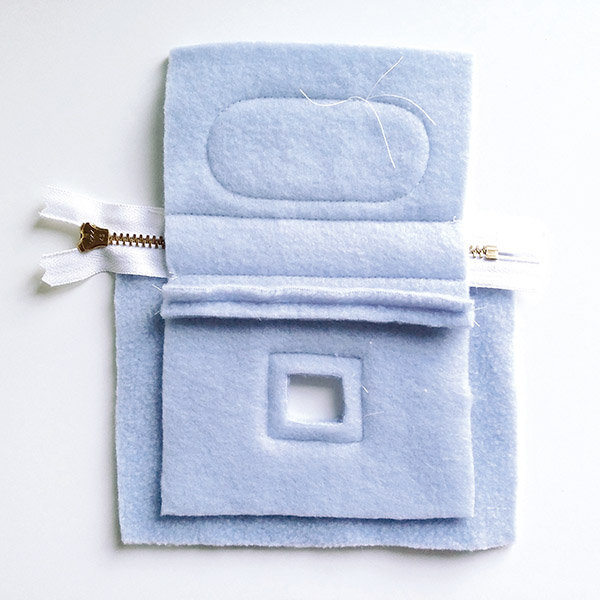
Place the zip horizontally RS up across the front head just below the eye patch so they extend beyond the sides of the felt. Pin and sew in place along either side close to the edge.

Free robot toy sewing pattern step 4

Step 5

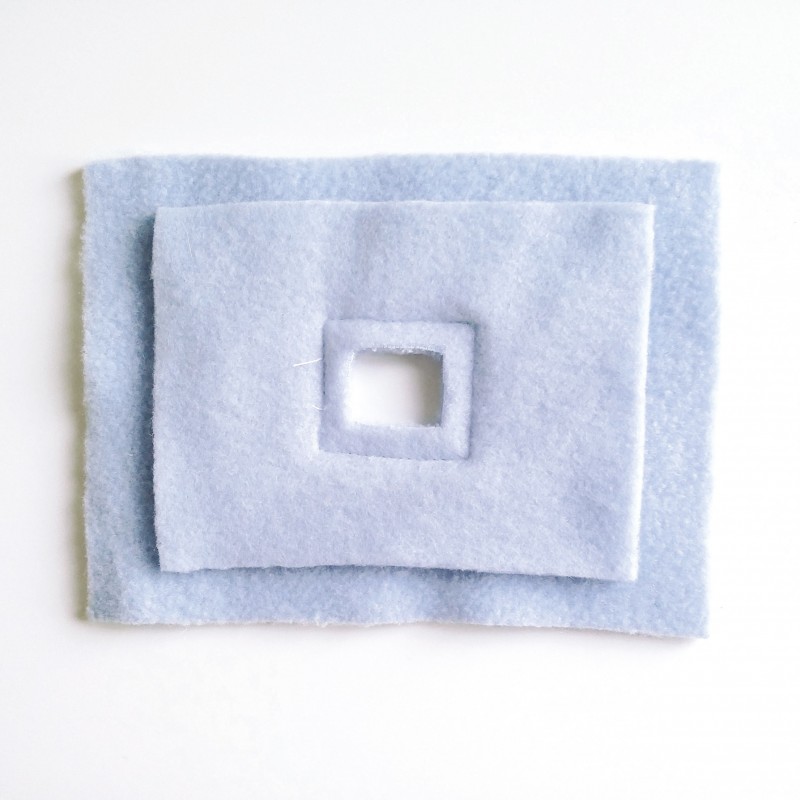
Place the bottom head on top of the top body with RS together so that the rectangular openings on each are aligned. Sew together around the rectangular opening. Snip the hole inside the opening.

Free robot toy sewing pattern step 5

Step 6

With RS together, sew the bottom edge of the face to one of the longer sides of the bottom head.

Free robot toy sewing pattern step 6

Step 7

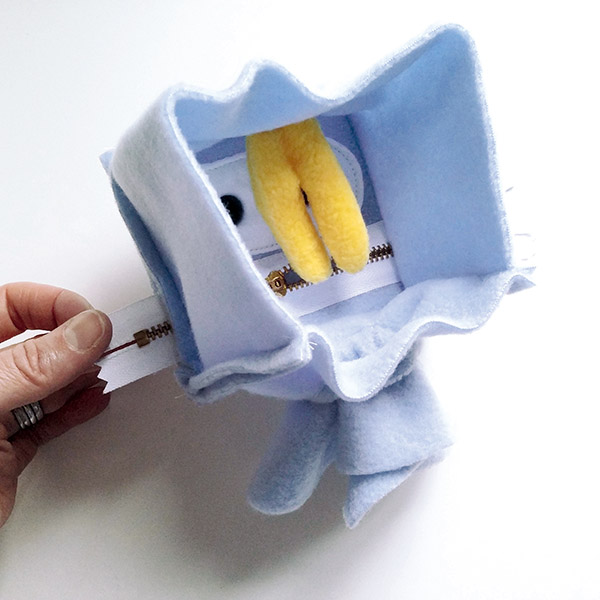
Open the zip to about halfway, avoiding sewing the zipper tab outside of the head. Beginning at the back of the bottom head and with RS together, sew one end of the side and top head piece along one short side of the bottom head, around the front head and back along the other short side of the bottom head.

Free robot toy sewing pattern step 7

Step 8

Keeping the holes to the smallest size possible through which to fit the shanks of the safety eyes, carefully make two holes through the eye patch and fleece behind it where marked. Fit the safety eyes following the manufacturer’s instructions.

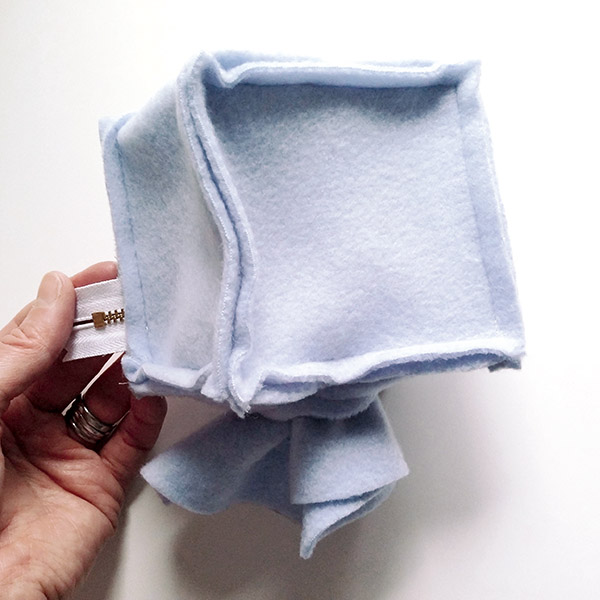
Push the top body piece through the rectangular opening so that it is the right way out and then with RS together sew the back head to the bottom head and around the side and top head piece.

Free robot toy sewing pattern step 8

Making the arms and legs

Step 9

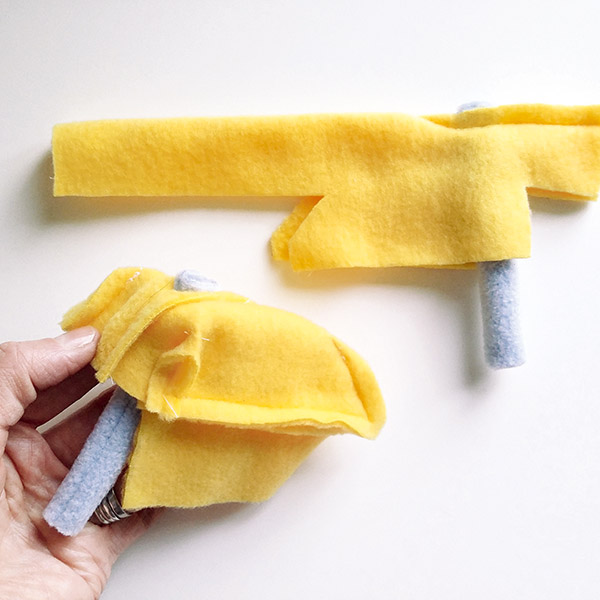
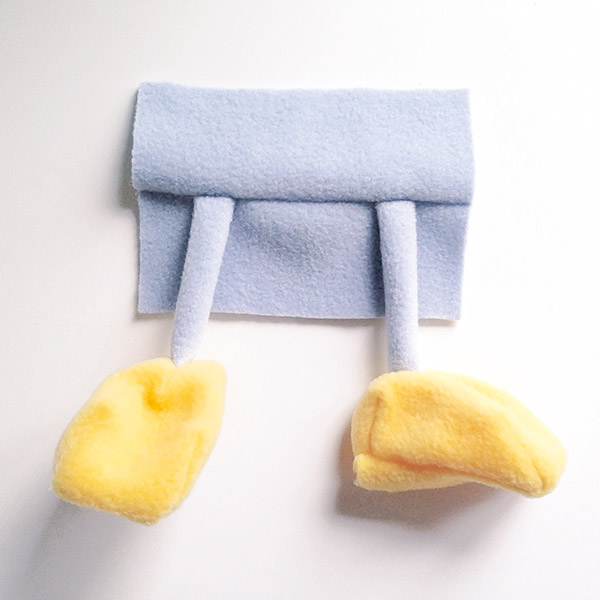
With RS together fold a limb piece in half lengthways. Sew together down the length and then turn it RS out. Fold a hand piece over RS together and sew from the bottom of the folded edge around the hand, finishing at the outside top of the second pincer. Clip the two internal corners. With RS together, fit one end of the limb so that the raw edges are together at the top of the hand and sew in place. Turn the hand RS out and then repeat for the remaining arm.

Free robot toy sewing pattern step 9

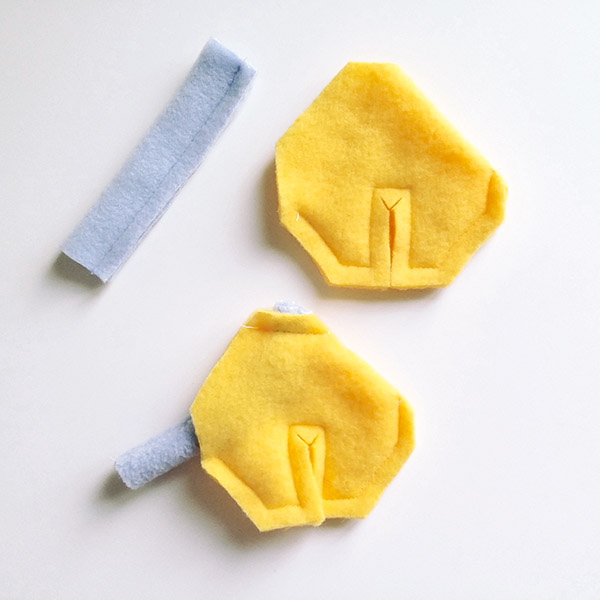
Fold and sew a limb piece in half as for the arm. Cut along the dart line for a foot piece then with RS together fold the foot over. Fit one end of the limb, raw edges together, into the top of the central dart at the back of the foot and sew the dart closed, tapering the top end.

Stitch together each of the two remaining darts at either side of the back of the foot.

Step 10

Sew one side of the foot together starting at the top of the angled section; leave the needle down through the fabric at the bottom of this slope, lift the presser foot and pivot the fabric into place before sewing along the side finishing at the side back dart. Repeat to close the other side of the foot and then turn the foot RS out. Repeat to make the remaining leg.

Free robot toy sewing pattern step 10

Making the control panel

Step 11

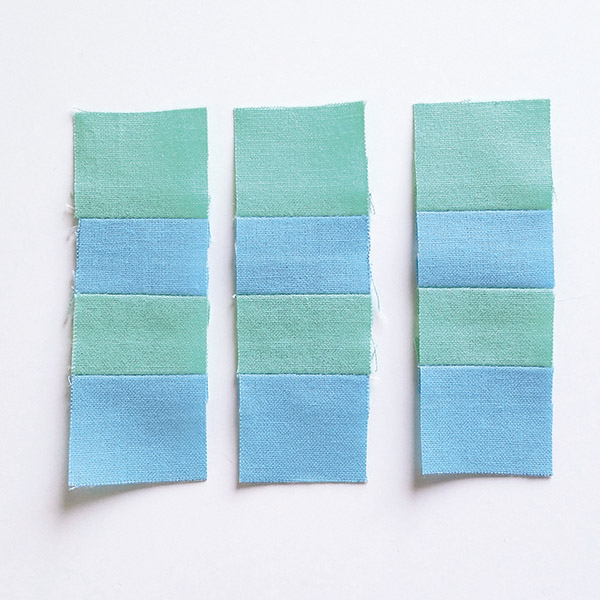
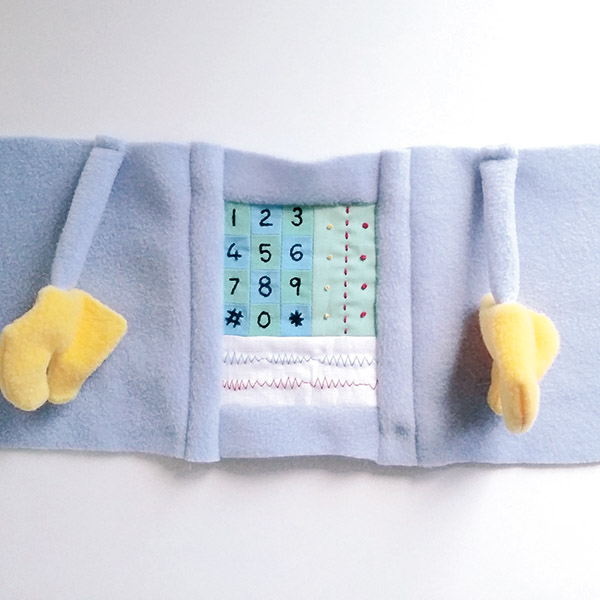
With RS together, sew the keypad strips together along the length, alternating the colours. Press the seams open and, at right angles to the seams, cut into three equally sized strips.

Free robot toy sewing pattern step 11

Step 12

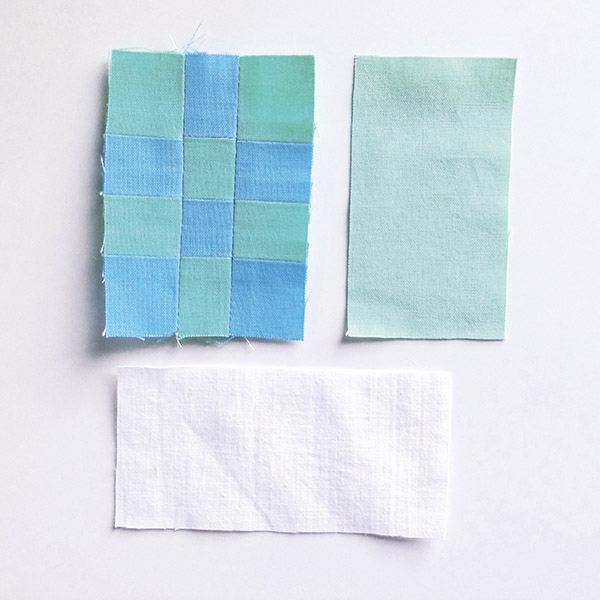
Turn the middle strip around so that the colours alternate to give a chequerboard effect and sew together along the newly cut edges. With RS together, sew the side control panel to one longer side of the keypad and then sew the bottom control panel piece across the bottom of both.

Free robot toy sewing pattern step 12

Step 13

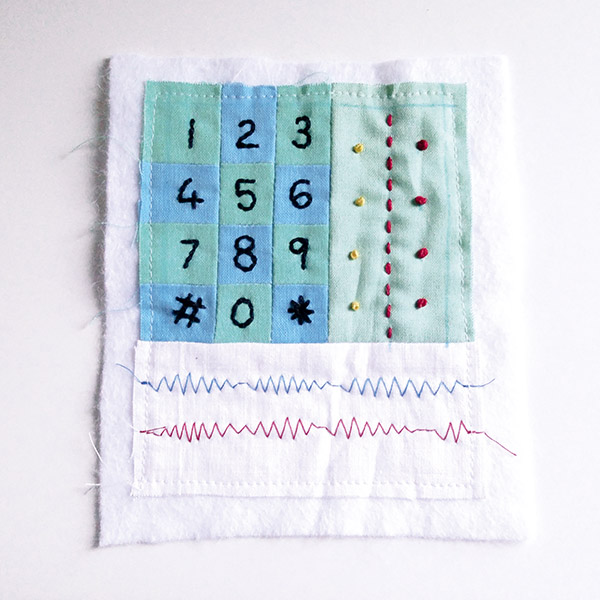
Place the control panel on top of a piece of white felt that is overall larger and sew two zigzag lines in coloured thread across the bottom of the keypad, alternating the stitch width and depth during sewing. Tack the control panel to the felt just inside the edge. Use a water erasable pen to mark the seam allowances around the sides then draw out numbers on the keypad and backstitch over them by hand with black embroidery thread. If using a plain fabric on the side control panel, embellish it with coloured stitches and French knots.

Free robot toy sewing pattern step 13

Assembling the robot

Step 14

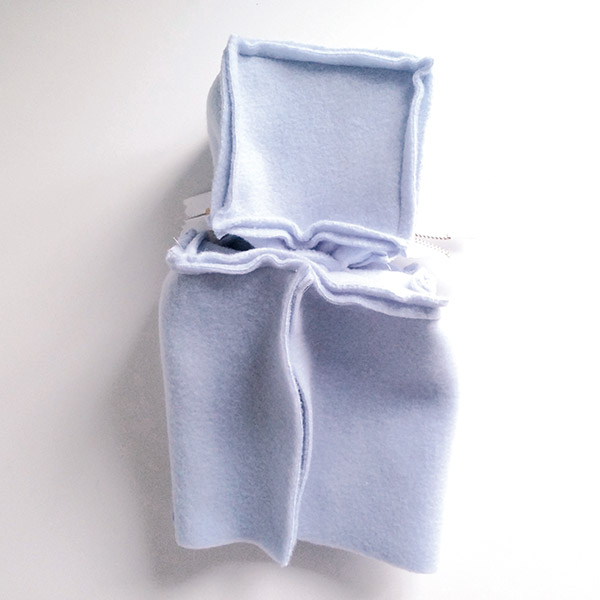
Trim away the excess felt from around the control panel. With RS together, sew a top/bottom front piece to the top and bottom of the control panel before attaching each side front pieces. Sew a side and back body to each of the front sides and then tack an arm in place between the markers on each side so that the hands are at right angles to the body and the opening in the hand is against the right side.

Free robot toy sewing pattern step 14

Step 15

Tack the legs onto a bottom body piece on the RS in between the markers, ensuring that they are both pointing the same way. With RS together, sew the bottom body pieces together along the middle, fixing the legs in place.

Free robot toy sewing pattern step 15

Step 16

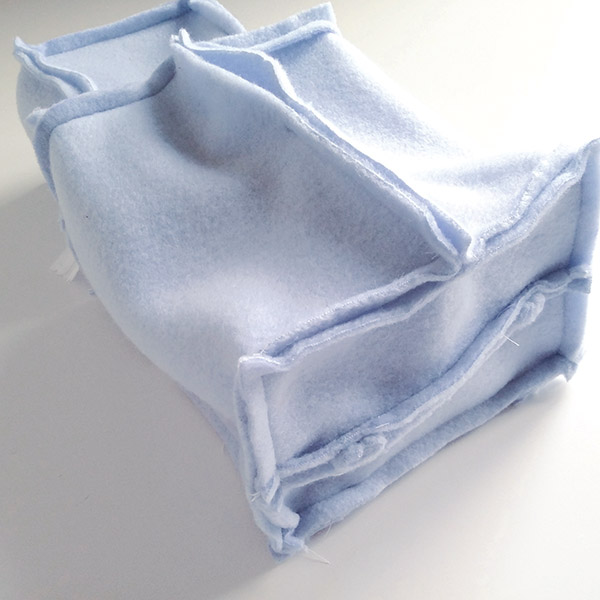
Starting at the centre back and with the RS together, sew the top body around the side and back, across the front and then around the remaining side and back of the robot.

Free robot toy sewing pattern step 16

Step 17

In the same way as for the top body, attach the bottom body, checking before sewing that the feet will be pointing in the right direction.

Free robot toy sewing pattern step 17

Step 18

Turn the robot RS out and stuff the body, hands and feet. Close each opening by hand using ladder stitch or similar.

Free robot toy sewing pattern step 18