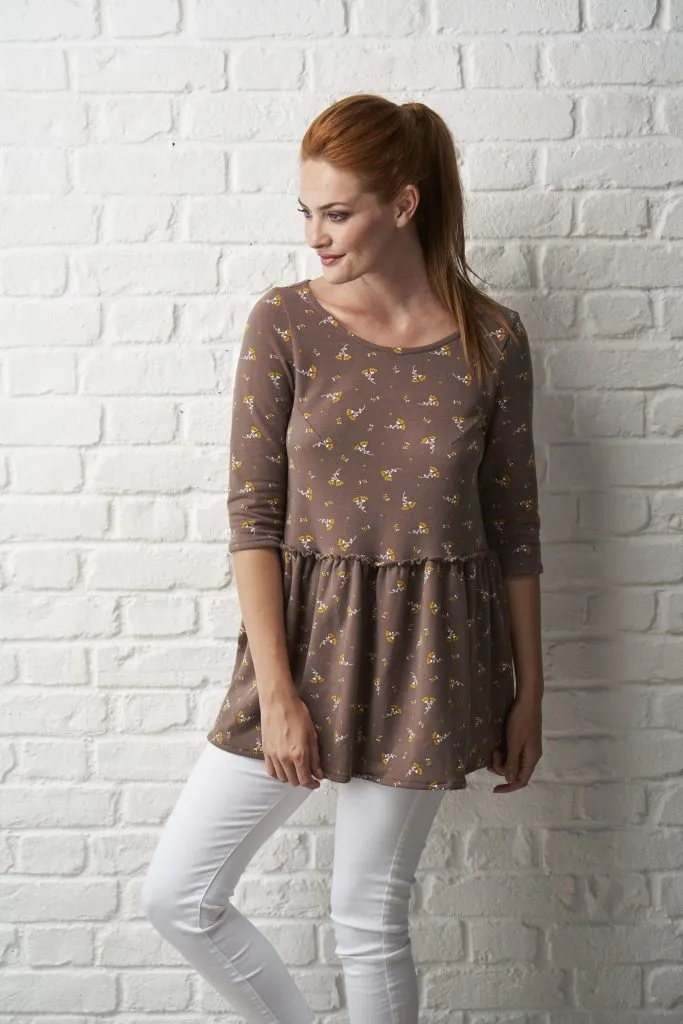
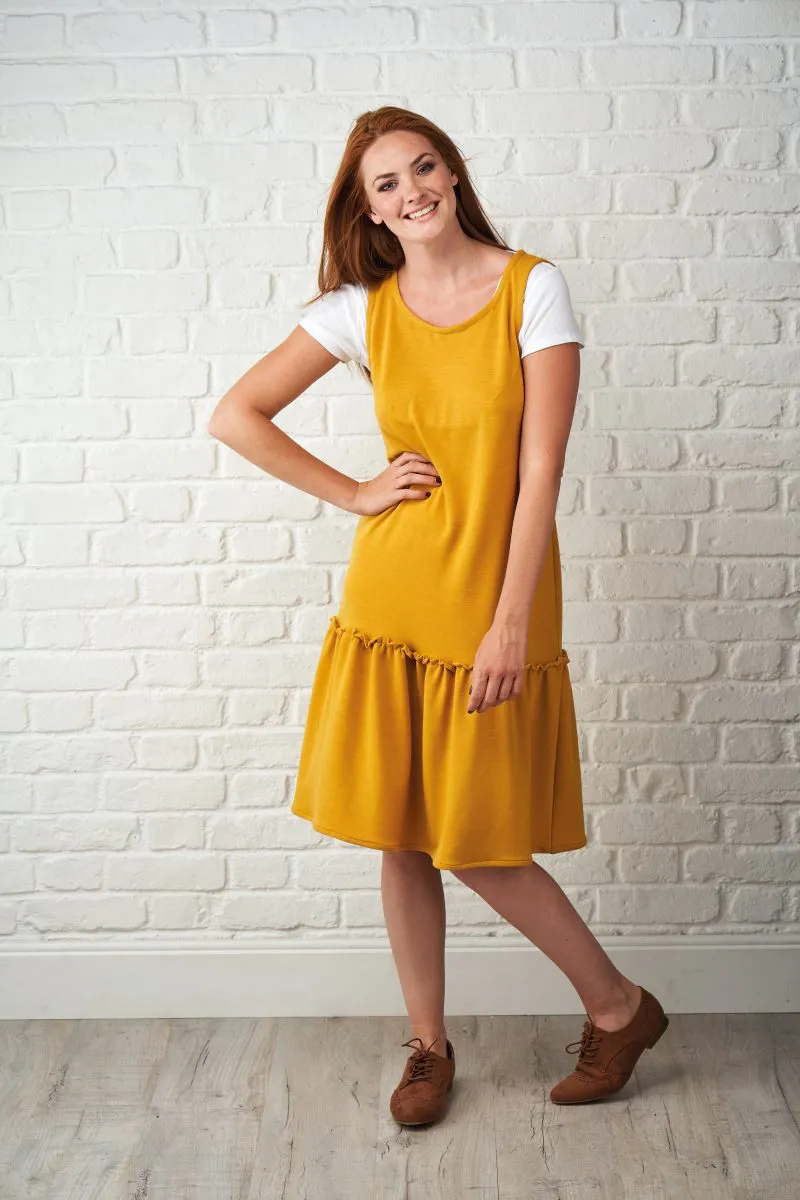
The full version of The Alexa Dress Sewing pattern was available with issue 47 of Simply Sewing, and if you're sewing it at home, you can make your Alexa as a top as well with our bonus pattern pieces!
Just print out the PDFs for pieces A, B and D below at 100%, stick the pieces together, and then get your cutting scissors at the ready.
CLICK HERE to download bonus Alexa Top pattern pieces A and B
CLICK HERE to download bonus Alexa Top pattern piece D
- Print the 10cm test square on page 6 to check the size before printing the rest of the pattern.
Follow the instructions for making the Alexa Dress included in your pattern pack to make your top, but use the following method to insert the sleeves:
Inserting the sleeves
Step 1
With right sides together, pin and stitch the sleeve head to the armhole of the bodice, using the flat insertion method. This can be achieved by first placing the sleeve head and bodice right sides together at the armhole. Make sure you match the front and back notches on the sleeve head with the corresponding notches on the bodice. Pin and stitch in place along the sleeve head. Finish the seam and press in place.
Step 2
With right sides of the fabric facing, stitch the underarm and side seams of the bodice. Start at the sleeve hem finish at the waist of the bodice. Finish the seams and press towards the back.

Step 3
Hem both the sleeves by pressing 0.5cm and then 1cm to the inside. Start and finish stitching at the underarm seam, 0.8cm from the sleeve hem.
Save
Save
Save
