Making the fabric doorstop handle
Step 1

The first step is to iron fusible interfacing on the wrong side of your fabric squares. Then set this aside.
Step 2

Next take the handle piece of fabric and fold it wrong sides together towards the middle and press.
Step 3

Now fold it over itself in half so that the edges are tucked inside and you have a double thickness handle. Top stitch down both sides so it’s really polished looking.
Step 4

Press well before sewing.
Step 5


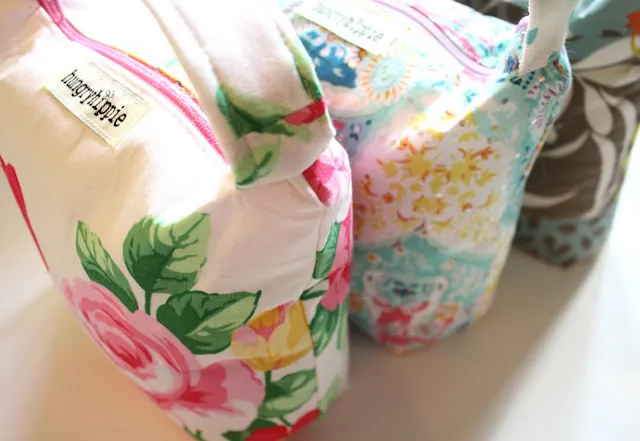
The handle is finished. You can now set this aside.
Making the fabric doorstop
Step 1

Now take one of the fabric pieces that measure 10 x 10″ and fold the top down by half and inch. Press and repeat this for the other square of fabric.
Step 2


Pin the folded edge to the zipper tape. Sew in place. If you have a zipper foot on your machine, it does make life easier. But I don’t, so I’ll wing it!
Repeat for both pieces and then open the zipper at least half way…
Step 3

Pin the sides and bottom together and sew around. Go slowly over the zip teeth. Sew around the edges again for extra strength, especially if you are planning on making this a heavy doorstop.
Step 4

Mark the corners in 1″ (2.5cm) squares.
Step 5

Then cut them out.
Step 6

Put the seams together and then sew across the edge about half an inch in. I’ll explain with pictures…
Step 7


Sew across the seams about half an inch in. I always sew three times back and forth to ensure this seam is strong. Try to line up the seams as best you can, so that when they are done they are lined up on the outside too. This takes practice. I goof it up often enough!
Step 8

This is what you come out with, once it’s turned right side out again. I didn’t get it perfectly lined up, but you get the idea.
Step 9

Trim off the excess zipper.
Step 10

Pin the handle onto one side, right sides together. (You will flip it later.) Sew it on, passing over it several times. I use a double stitch for extra measure.
Step 11

Flip it up and sew down again to hide the raw end.
Step 12

Repeat with the other end of the handle. Make sure the handle is not twisted.
Step 13

Now it’s time to fill it. I used a combo of cat litter and polyfill. The polyfill makes it nice and full looking, while the cat litter weighs it down nicely and cheaply. You could use beans but they are more expensive!