Snuggle up with our DIY plushie unicorn – find out how to make one with this free pattern and step-by-step guide.
You will need
- Main body fleece: white, 100x75cm (40x30in)
- Fleece A: pink 44x18cm (18x7in)
- Fleece B : blue, 28x52cm (11x21in)
- Fleece C: green, 22x14cm (9x6in)
- 2 safety eyes: black, 12mm (½in)
- Felt scrap: white, for eye fixing
- Polyester toy filling
- Stranded cotton: 1 black and 1 pastel shade
- Water-erasable pen or pencil
Fabrics used
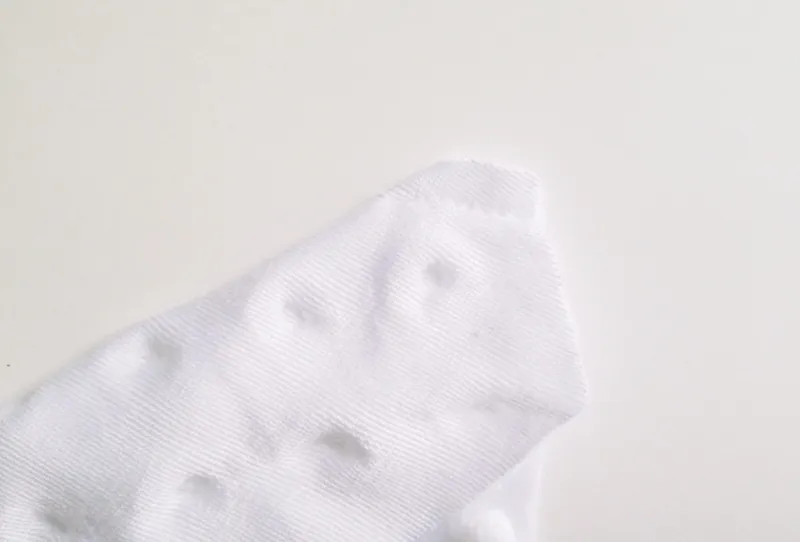
- Main body: Cuddle Dimple, Snow White. www.plushaddict.co.uk
- Fleece A, B and C: any pastel shades of plain fleece fabric.
Finished size
- Approx: 35cm (14in) sitting.
Notes
- Find the templates to make this project here. Seam allowances included.
- Use a 5mm (¼in) seam allowance unless otherwise stated.
Cutting out
- Trace and cut out all of the template pieces. Seam allowances are included and the arrows indicate the direction of the fabric pile for marking and cutting out. The notches are used to match pieces when stitching together so mark these on the template pieces too.
- When the template specifies to cut two or more of a template piece, after marking out half of the pieces required, turn the template over to mark out the remaining pieces so they are cut as mirror images.
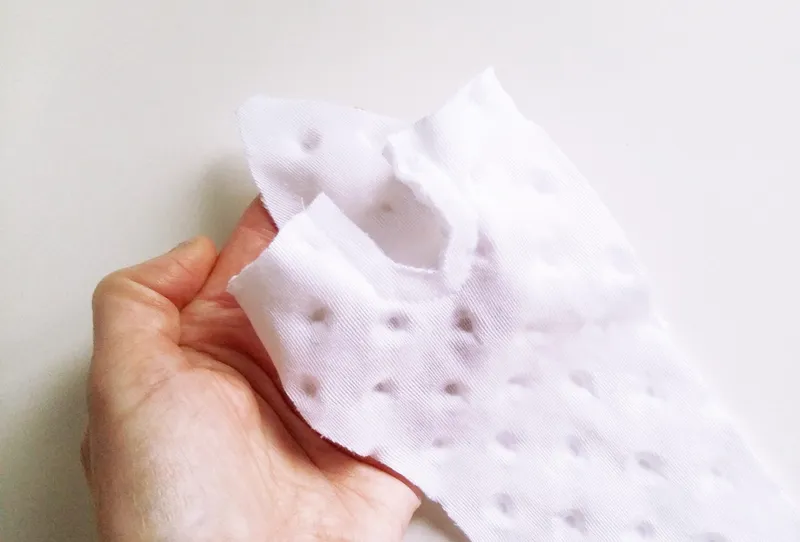
- Using a water-erasable pen or pencil, trace around all of the template pieces onto the wrong side (WS) of the fabric and cut as follows.
From the white fleece, cut out the following:
- Middle face: cut 1
- Horn: cut 1
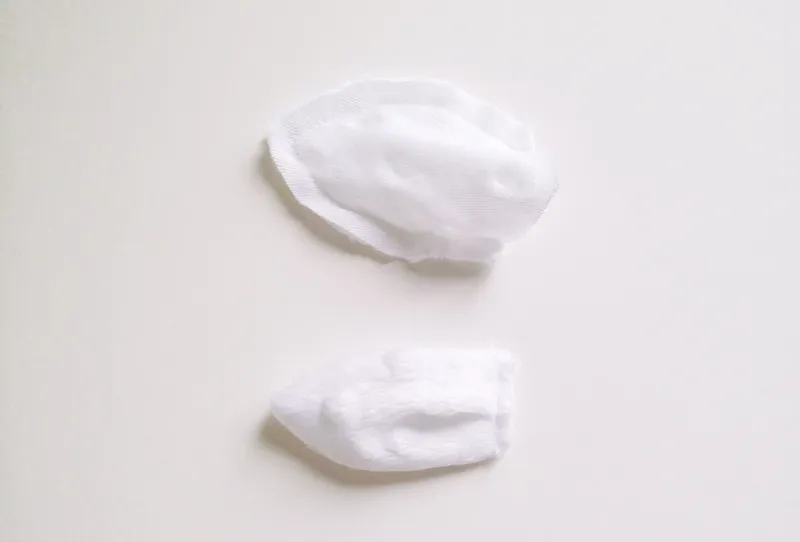
- Side face: cut 2
- Front ear: cut 2
- Back ear: cut 2
- Stomach: cut 1
- Inner front leg: cut 2
- Outer front leg: cut 2
- Inner back leg: cut 2
- Side body: cut 2
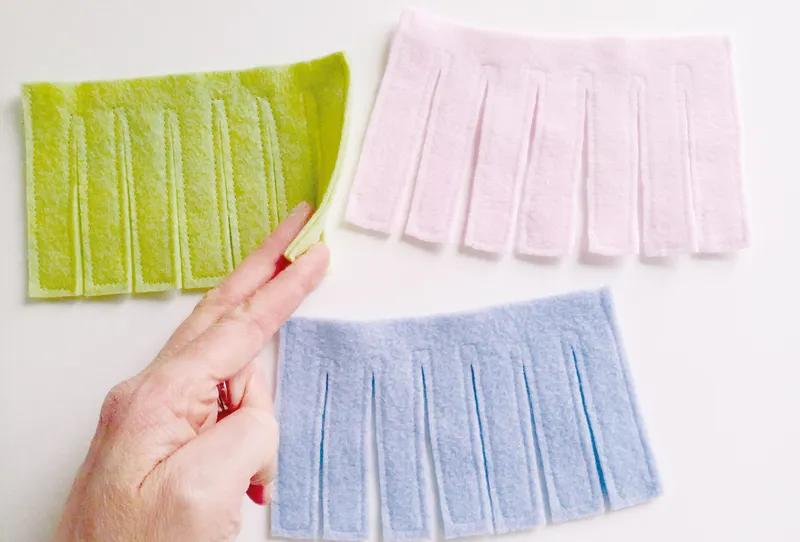
From fleece A, cut out the following:
- Fringe: cut 2
- Mane: cut 1
- Tail: cut 1
From fleece B, cut out the following:
- Mane: cut 1
- Tail: cut 1
- Top hoof: cut 4
- Bottom hoof: cut 4
From fleece C, cut out the following:
- Mane: cut 1
- Tail: cut 1
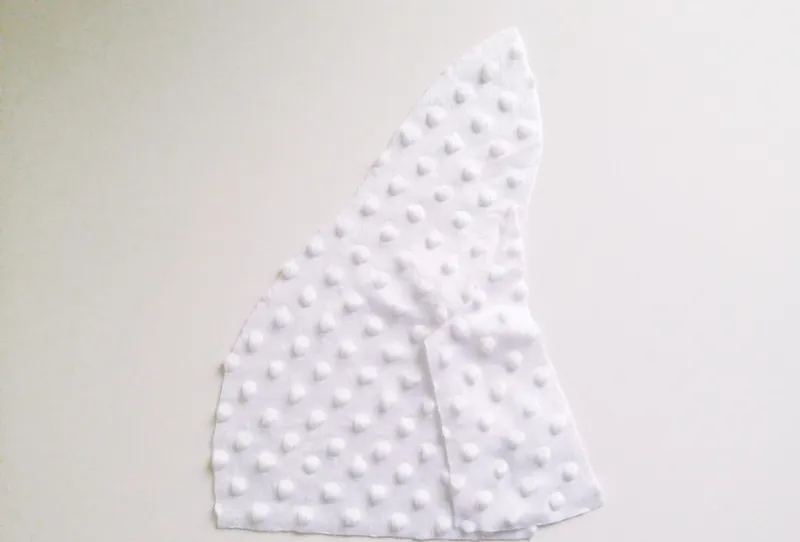
Making the head
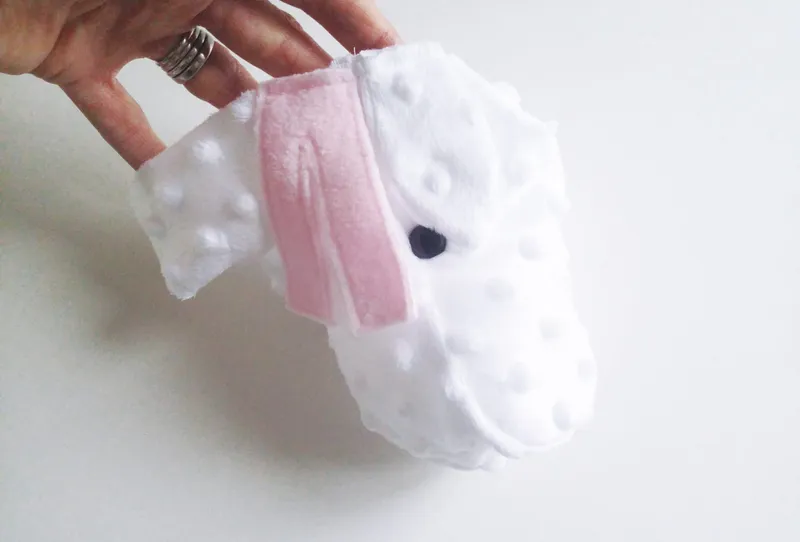
- With right sides (RS) together, place a front ear on top of a back ear and sew together around the curved sides, leaving the bottom open.
- Turn RS out and make a fold in the centre of the front ear so that it mirrors the shape and width of the back and then tack the fold in place across the bottom of the ear. Repeat for the other ear, but this time making the front ear fold in the opposite direction.
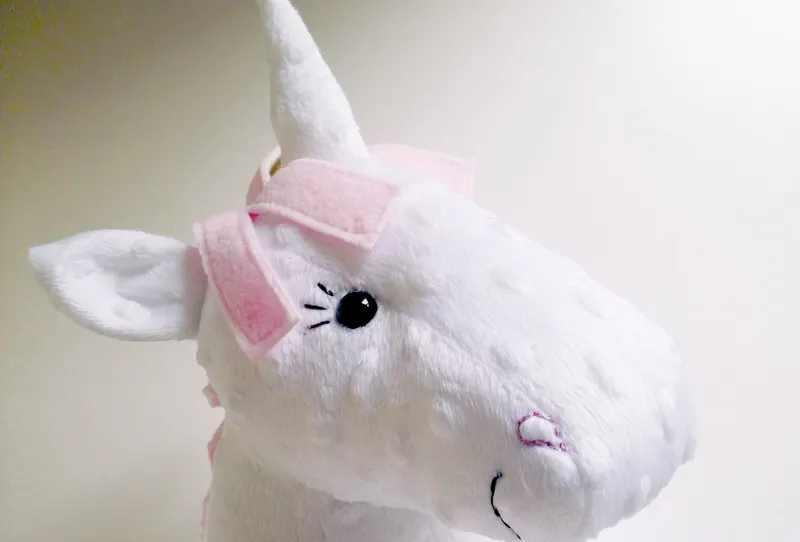
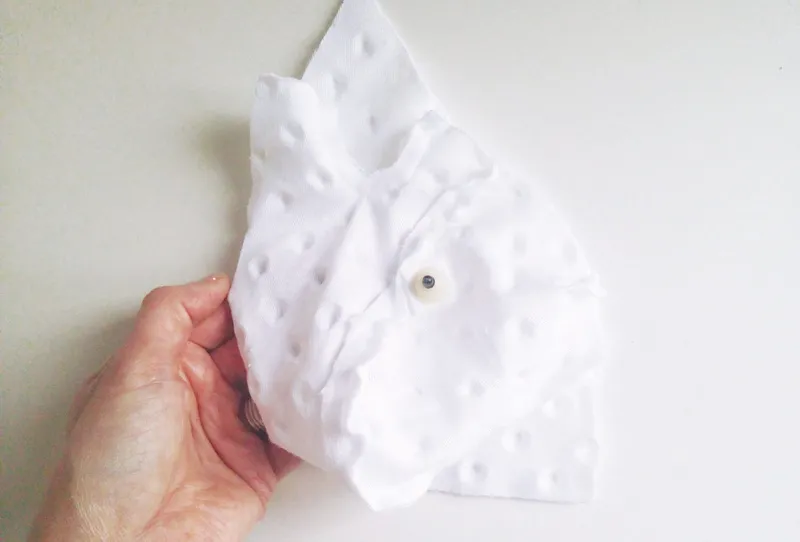
- With RS together, sew the bottom three edges of the horn around the opening in the top of the middle face. When you reach each corner, pause with the needle down through the fabric and lift the presser foot and pivot before continuing for ease of sewing.
- Fold one side face piece RS together so that the sides of the dart align and sew closed. Repeat to close the dart on the other side face piece.
- With RS together, sew a side face piece along the curved edge to the corresponding side of the middle face. Take care to ensure that it is the correct side and the side face will not be upside down.
- Make a small hole where marked on the side face and fit the shank of the safety eye from front to back through it. Cut a square of white felt to approximately 1.5x1.5cm (5⁄8x5⁄8in). Make a small hole in the centre and then fit it over the eye shank on the wrong side (WS) of the face. Fix the back of the eye in place following the manufacturer’s instructions. Repeat for the other side of the face.
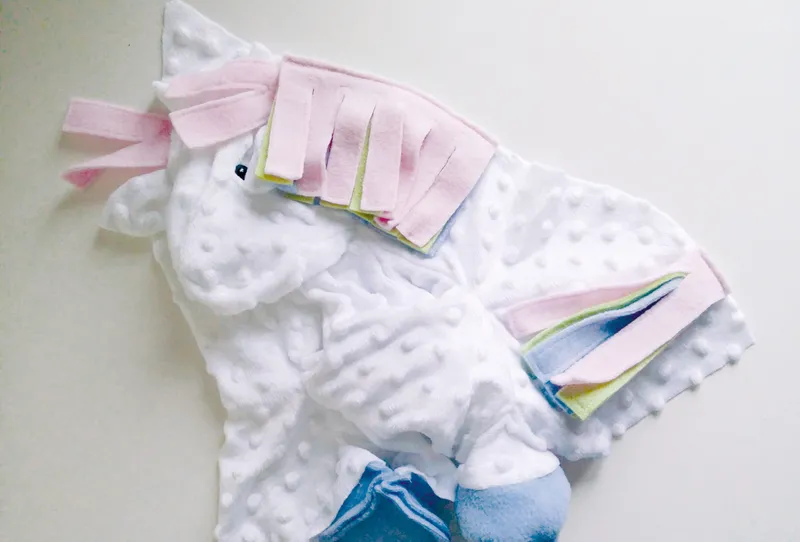
Making the mane and tail
- To fringe the mane and tail pieces cut along the vertical lines as marked on the template, stopping before the top edge.
- Topstitch 3mm (1⁄16in) in from the edges of the fringe, mane and tail pieces to give the raw edges a more finished look.
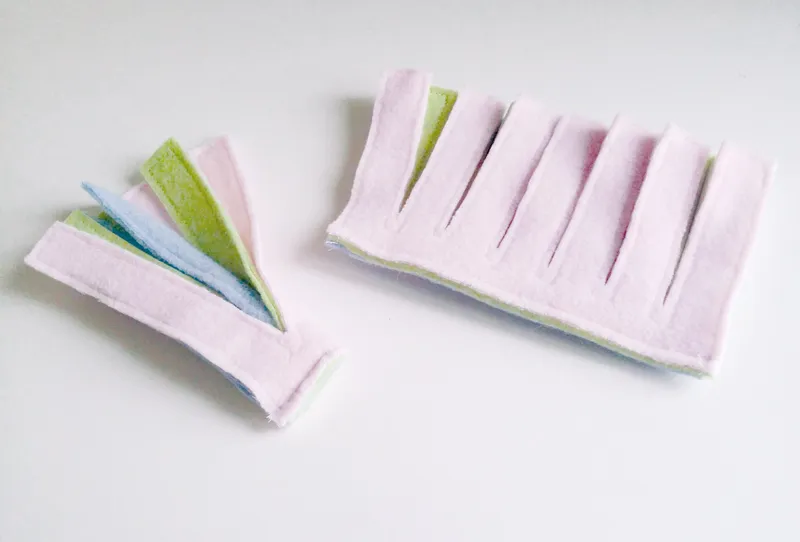
- With RS up, place the mane pieces, one on top of the other, and tack together along the top edge.
- Tack the tail pieces together in the same way and then fold the tail over at the top so the pieces are WS together and tack the fold in place.
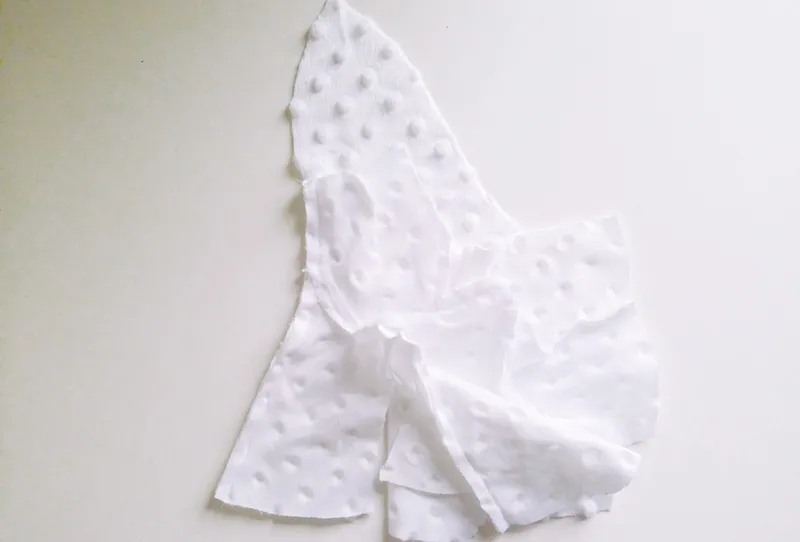
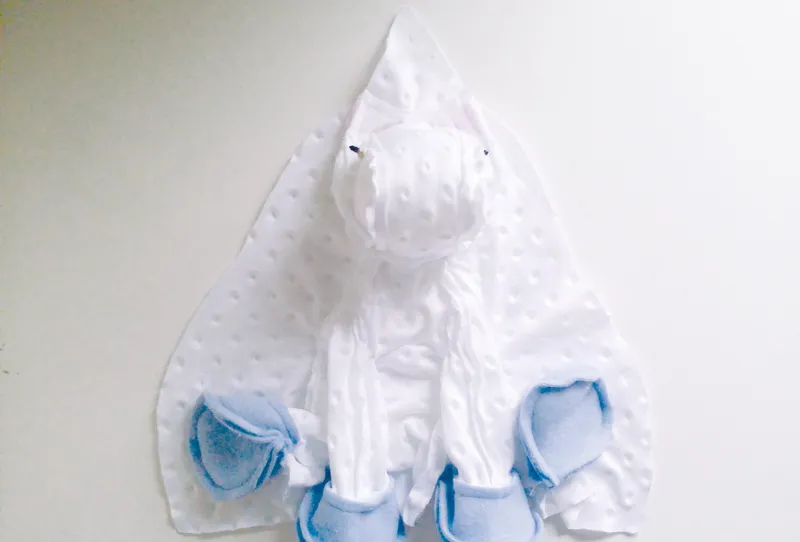
Making the body
- With RS together, close the dart at the top of the stomach, then sew the inner front and inner back legs around the corresponding openings in the sides of the stomach.

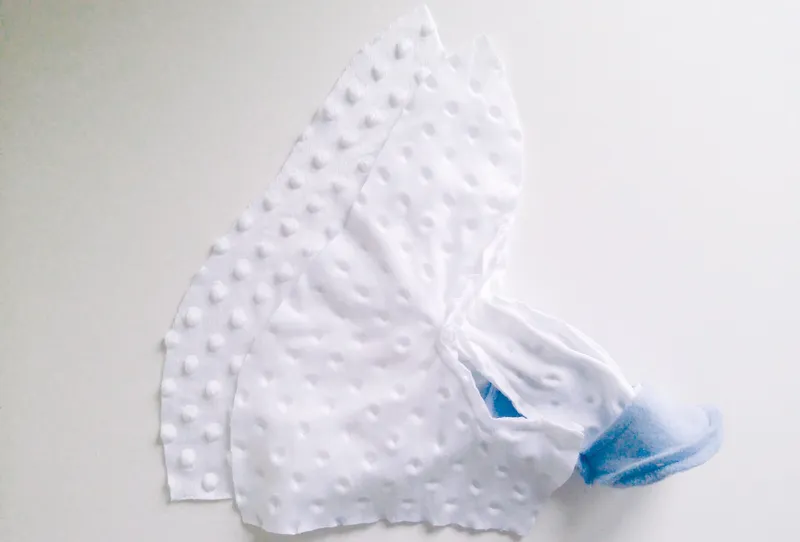
- With RS together, sew an outer front leg to the corresponding side body piece between the notch and the top edge of the side body. Repeat for the opposite side.
- With RS together, sew an outer front leg to its corresponding inner front leg and top part of stomach along the front side. Repeat for the opposite side.
- Open out one front leg and with RS together sew the top of one top hoof around the bottom of the leg. With RS together and beginning at the back of the hoof, sew a bottom hoof around the bottom edge of the top hoof. Repeat for the other front hoof.
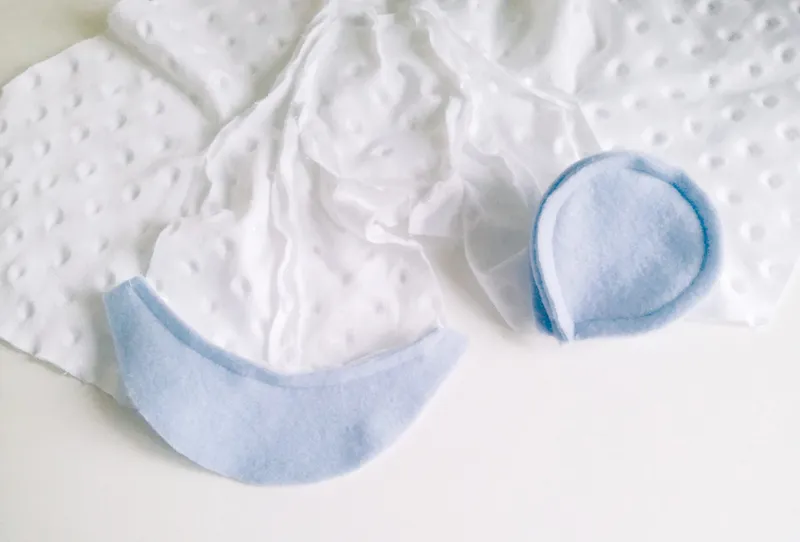
- With RS together, sew the back of the front hoof and leg together as one seam. Adjust the fabric and then sew the small side section between the legs and the top of the back leg together as a second seam. Repeat for the opposite side.
- Sew a top hoof and bottom hoof to each of the back legs in the same way.
Assembling the unicorn
- Position a fringe piece so that the WS is against the RS of the middle head in between the horn and the seam joining the side face and tack into place.
- Position an ear so that the front side is against the RS of the side face in between the seam and the marker (ensuring that the fold in the ear points away from the horn) and tack in place. Repeat for the other side of the face.
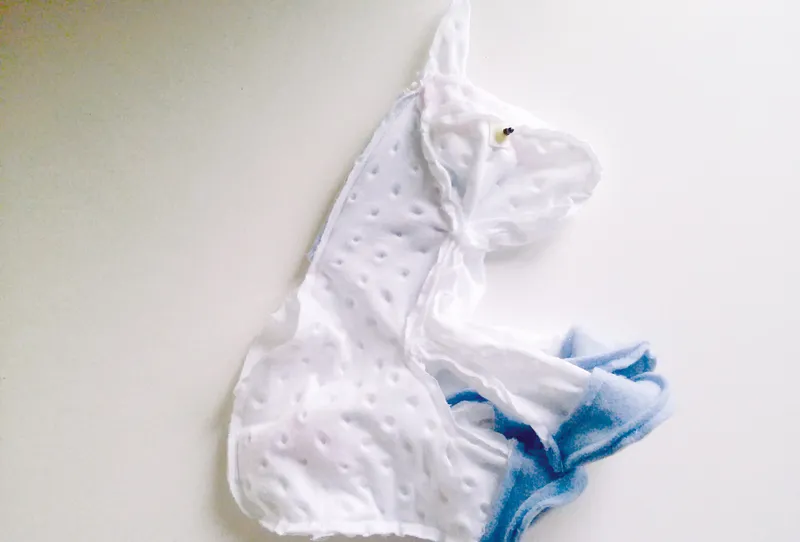
- With RS together, starting at the top next to the horn, sew the face to the body. Stitch over the ears twice to secure them firmly in place (in the seams).
- The mane and tail are sewn into the seams; to ensure they are securely held and limit the likelihood of them being pulled out, it is important to oversew the joins. Tack the mane in place to the RS of one of the side body pieces in between the top seam and the marker. Tack the tail in place between the markers on the same side body so that the folded side faces up towards the head.
- With RS together, sew one side at the bottom of the body together from the back of the top hoof along the leg and continuing on to join the side body to the stomach, finishing in the centre at the bottom of the stomach. Repeat for the other side.

- With RS together, sew the horn together from the tip down and continue along the back of the body ending the seam approximately 2cm (¾in) past the end of the mane. Sew the lower part of the body together from the bottom upwards and ending the seam approximately 2cm (¾in) past the top of the tail, leaving an opening in the back of the body.
- Turn the unicorn RS out, stuff with polyester filling and sew the opening in the back closed using ladder stitch or similar.
Stitching the features
- Sew some shaping between the eyes by bringing the needle out at the bottom inside of one eye, securing the thread with a few small stitches. Take the needle through the face (don’t make the shaping stitches too small as they may pull and damage the fabric) to the other eye and back to the first eye and then back again to the second. Pull lightly on the thread to draw the eyes together slightly, giving the face a little more character. Secure the thread by taking the needle back into the head and out again then snip away the excess.
- Draw a guideline for the mouth using a water-erasable pen, and then backstitch over it in black thread and sponge or water spray away the erasable pen lines.
- Add some eyelashes too in the same way using three or four strands.
- Finally, using some thread in a pastel shade, stitch some nostrils onto either side of the face above the mouth.