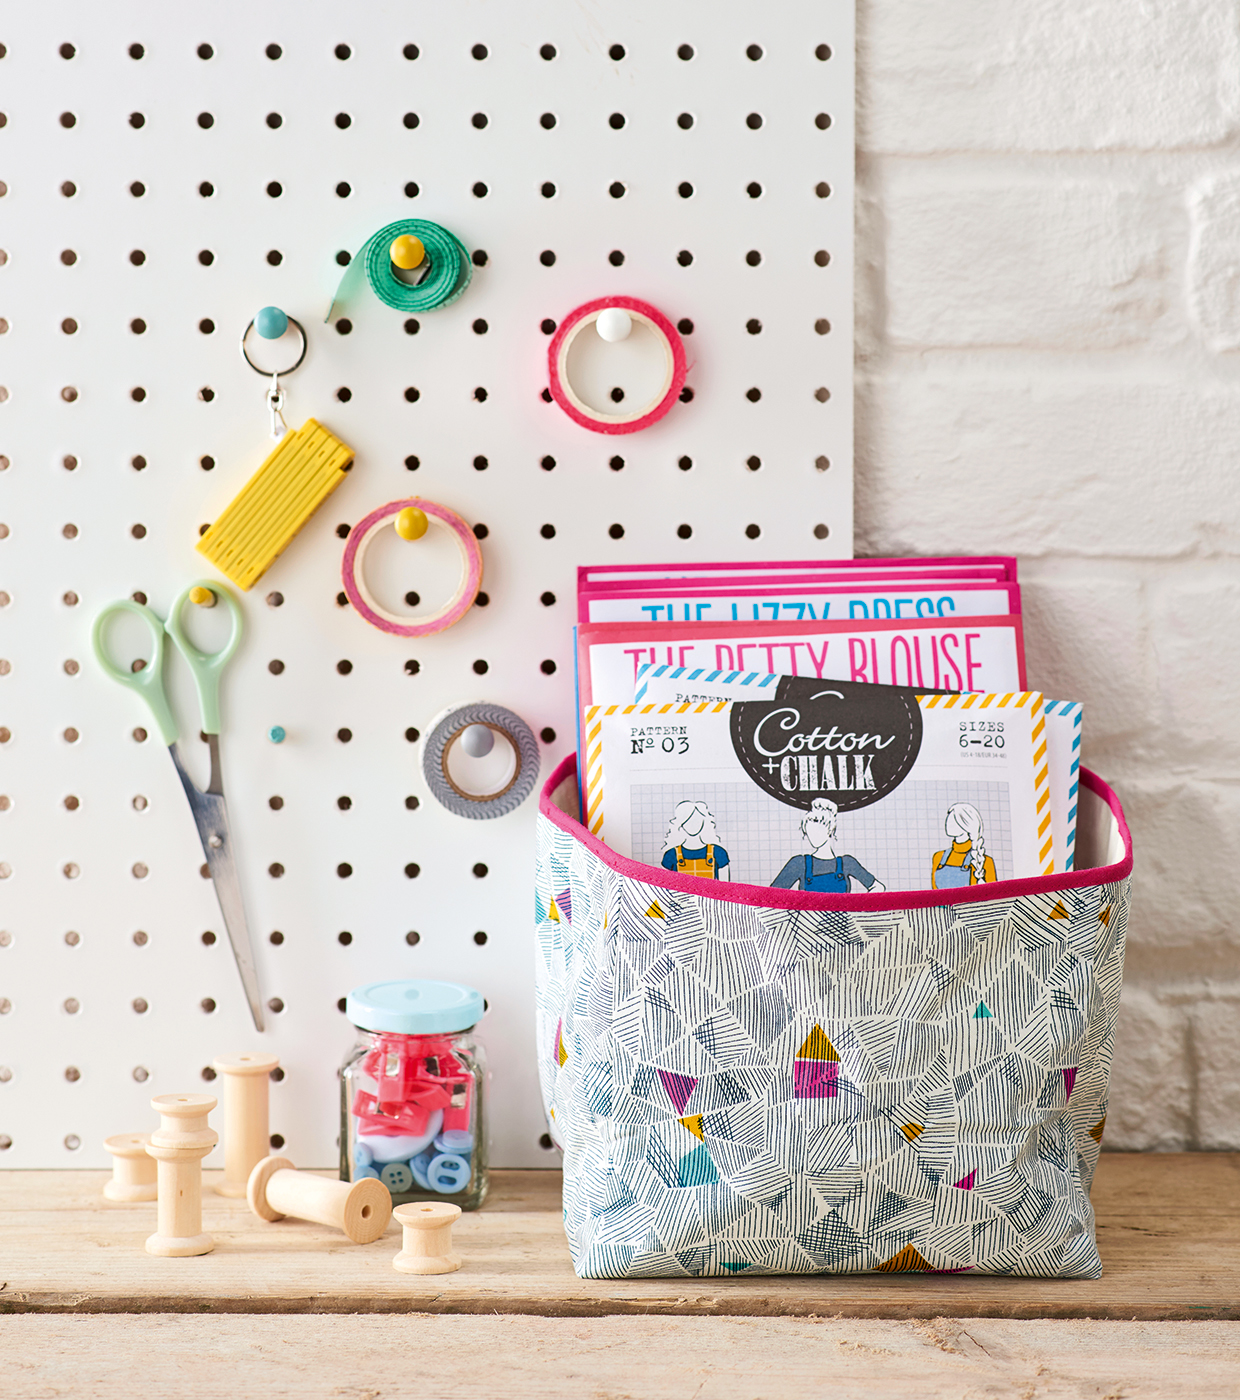
Cutting the fabric
Step 1
Cut your fat quarter into a 46x46cm (18x18in) square and fold into quarters.
Step 2
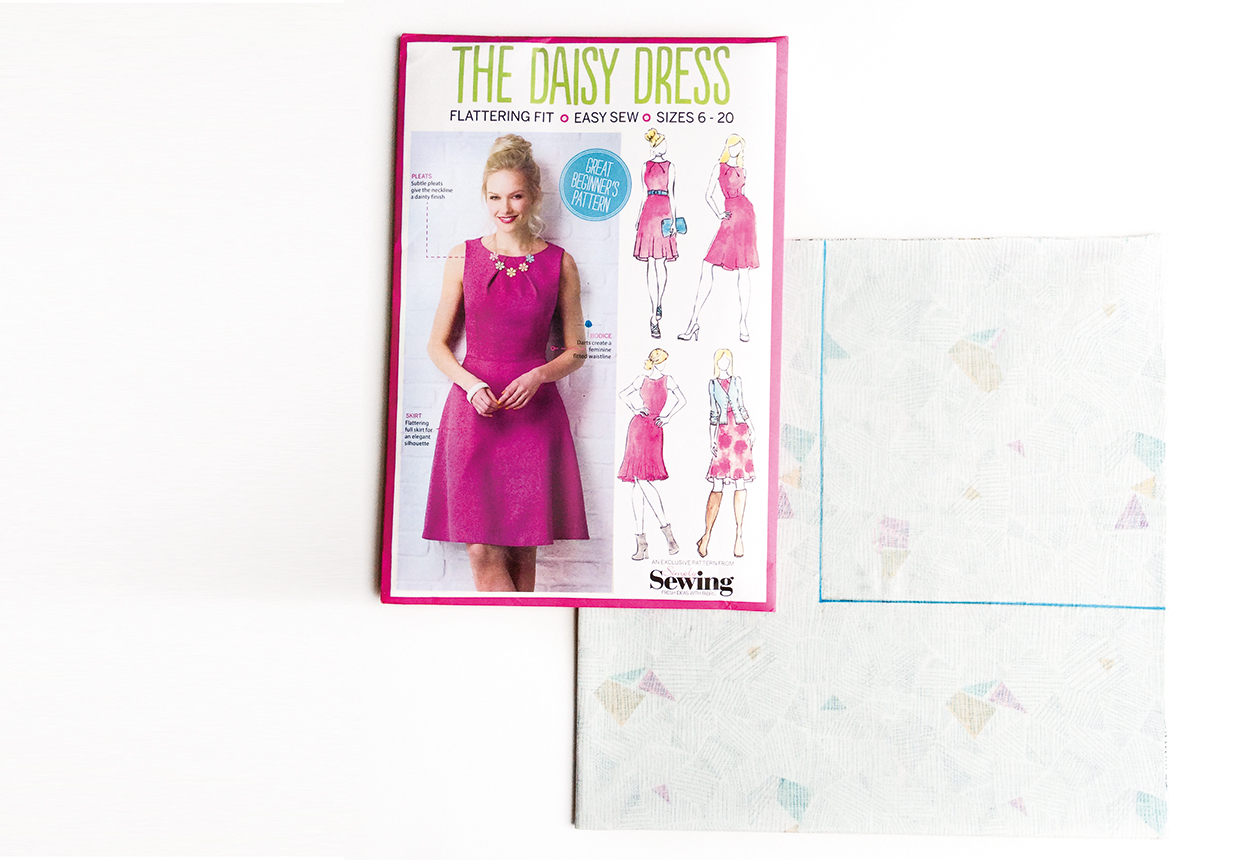
Find the centre point of the bottom of a sewing pattern and line up the folded side of the fabric with this centre point. You then need to pin a line 1cm (3/8in) outside this for the seam allowance.
Step 3
Repeat this to pin a line on the other folded side of the fabric, again centering your pattern against the fold.
Step 4
Fold your fabric diagonally to ensure your pin lines are centred, then draw two lines following the pin lines, making an L shape on the folded side.
Step 5
Cut your fabric out along both of the drawn lines to use for the box outer.
Cutting the lining and interfacing
Step 1
Place your lining on top of your opened out box outer and pin into place.
Step 2
Cut around the fabric shape to make the lining the same size and shape.
Step 3
Repeat this to cut the interfacing.
Making the box outer
Step 1
Open the fabric out and place the interfacing on the wrong side (WS) with the glue side down.
Step 2
Press the interfacing firmly into place. This will help to stiffen the sides of your fabric box.
Step 3
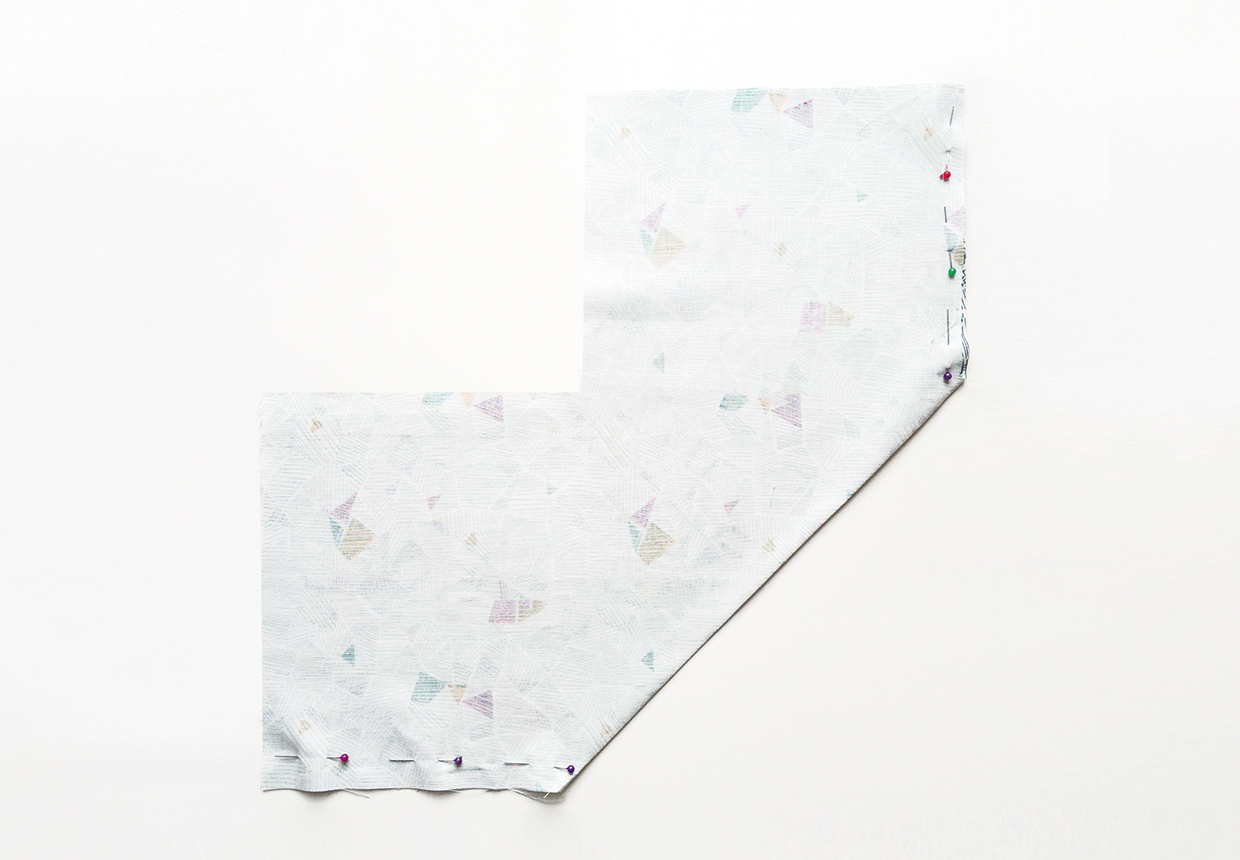
Fold the fabric in half with right sides (RS) together so the opposite edges are touching and pin then stitch together.
Step 4
Repeat this on the remaining two sides to make a box.
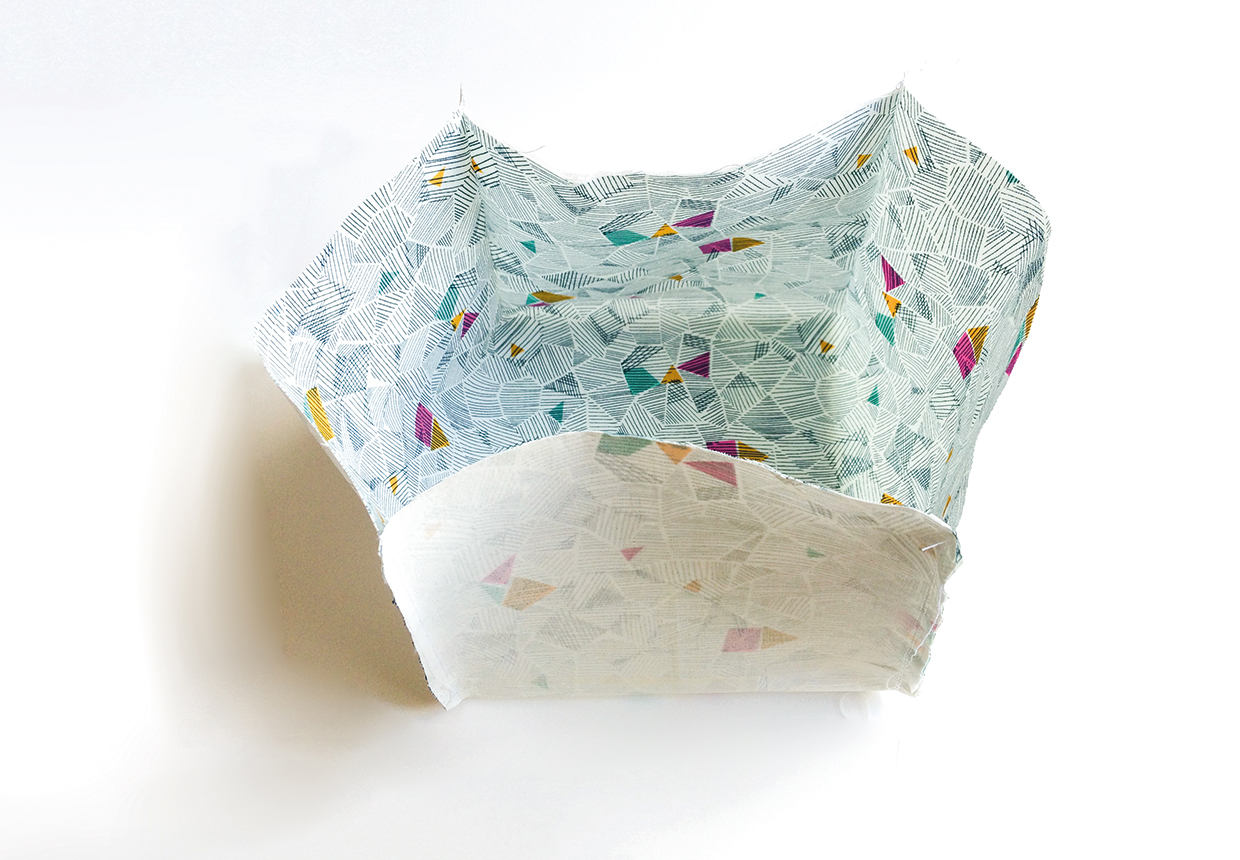
Lining the box
Step 1
Join the four corners of the lining fabric together in the same way as for the box outer, pinning then stitching together.
Step 2
Place the lining inside the outer with WS facing and match the seams at the top. Pin the lining to the fabric around the top edge.
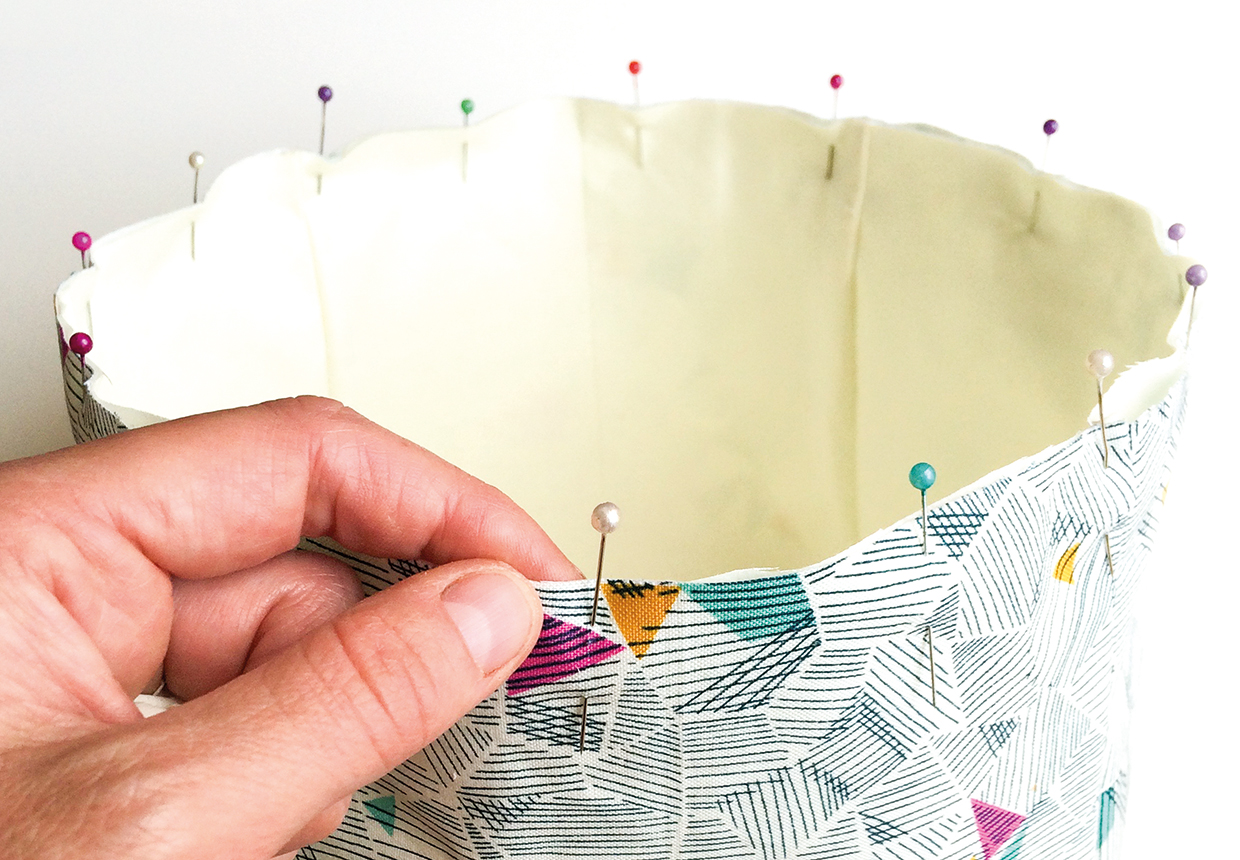
Step 3
Stitch together around the top using a machine zigzag.
Binding the top edge
Step 1
Fold the bias binding around the top edge to enclose the raw edges of the outer and lining.
Step 2
Turn one short end of the binding under to overlap on top of the other then topstitch into place all the way around.
Step 3
Now you can organise your sewing patterns neatly inside.


