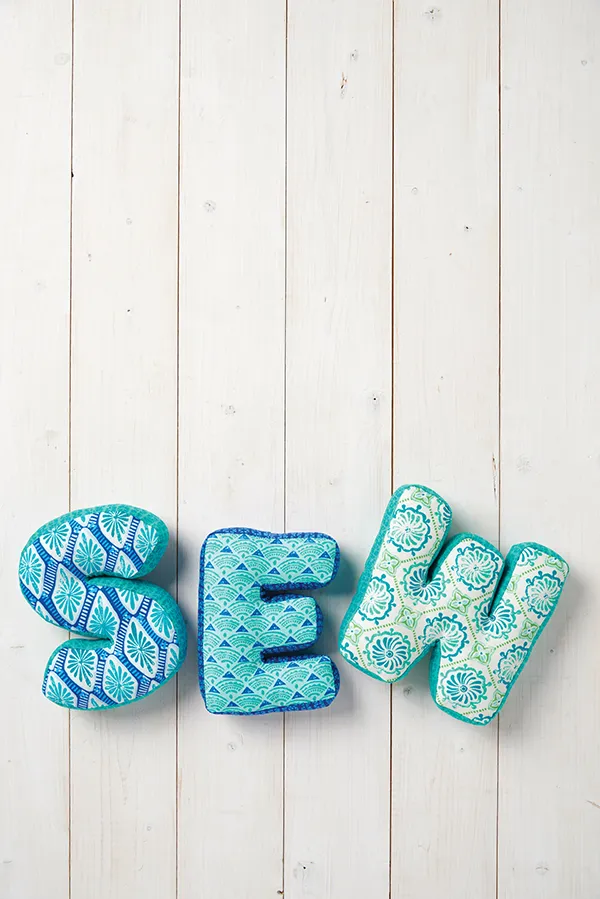
This free project by Rebecca Reid is a taster from the home sewing ideas from our archive, hand picked by us to get your sewing machine busy sewing up projects for every room of the house! These DIY fabric letters are a stylish addition to any room of the house, from craft rooms to kitchens, and they'd also make great personalised decorations for weddings or special occasions too.
The beauty of this project is you can spell out any word you like (we'll show you how), so why not try NOEL for Christmas or HOME for a hallway?
You will need
- Main fabric
- Contrast fabric
- Soft toy stuffing
- Matching sewing thread
Fabrics we've used
Main fabric
Horizon by Kate Spain for Moda – S: Intersection - Ultramarine (ref 27195/13), E: Tide - Ocean Ultramarine (ref: 27197/24), W: Atmosphere - Ivory (ref: 27194/ 14)
Contrast fabric
Horizon by Kate Spain for Moda – S and W: Constellation - Ocean (ref 27199/14), E: Constellation - Ultramarine (ref: 27199/13).
Notes
Seam allowance: 1.5cm
How to create the letter templates
To create the letter templates, choose a font and print them out from your computer, or draw by hand to the size you want. Try to avoid fussy fonts or the letters will be too difficult to make – rounded edges work well. Cut out the letters from paper to form templates.
Cut out the shapes
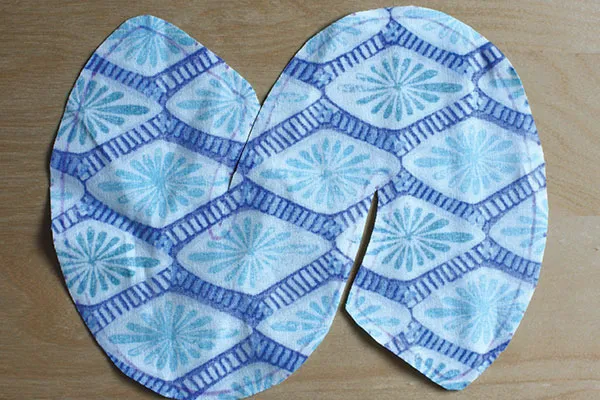
Step one
Place your paper letter template onto the wrong side of your piece of main fabric (this will need to be approx 4cm bigger than your letter shape). Trace all the way around the letter shape. Now flip the letter template over and repeat the process, drawing around it onto the wrong side of another piece of main fabric.
Step two
Cut out your letter shapes, 0.5cm outside the drawn line all the way around. You will need this narrow seam allowance so that the gusset will fit more easily around the curves of the letter.
Adding the gusset
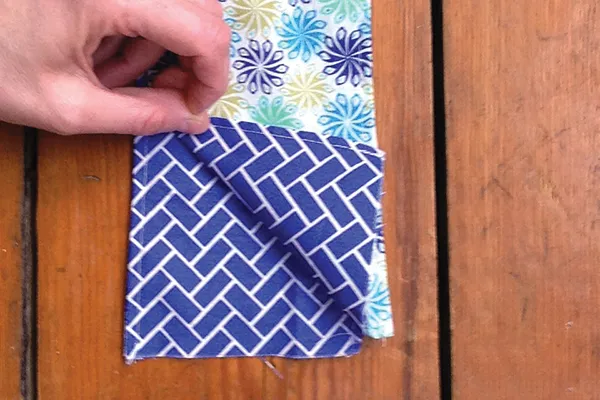
Step three
Cut a gusset strip of contrast fabric to 5cm wide and long enough to go all the way around your letter, plus 5cm for the overlap. Fold one short end to the wrong side by 1.5cm. Place the gusset strip right sides together with one fabric letter shape and stitch together all the way around. Stitch very slowly and carefully around each of the curves and corners.
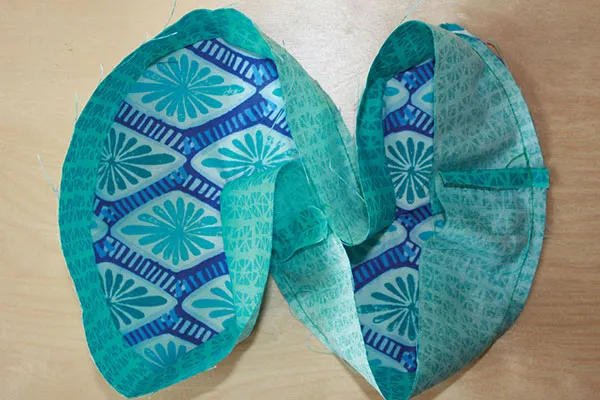
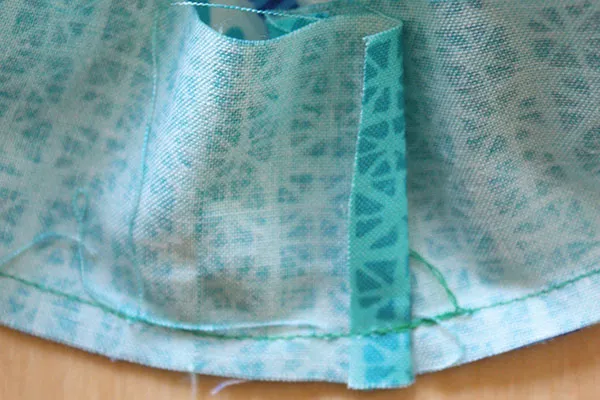
Step four
When you get back to where you started, fold the other short end to the wrong side by 1.5cm as before, making sure the two ends overlap by 2cm – this is the gap where you will stuff your letter.
Step five
Take the other fabric letter and place it right sides together with the other side of the gusset and stitch into place. It’s important that this letter matches up exactly with the other letter so pin it in a few places to make sure your gusset isn’t twisted.
Finishing off
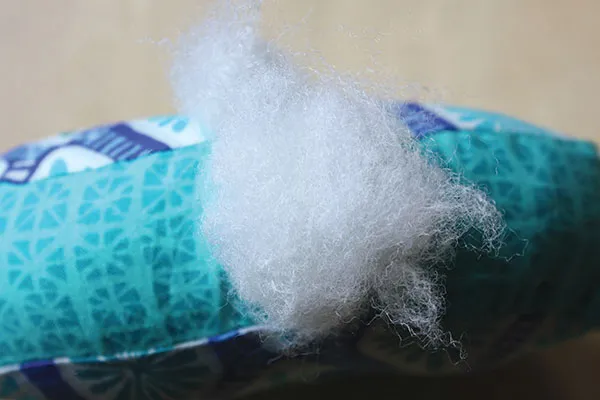
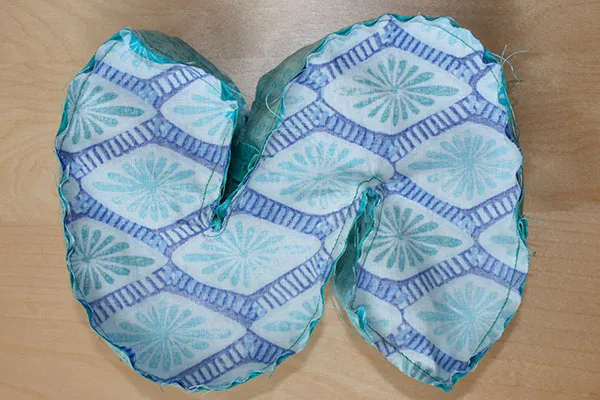
Step six
Turn your fabric letter right sides out through the gap in the gusset and press the seams. Now stuff, pushing the stuffing through the gusset gap and easing it up into the letter as you go so it is firmly stuffed. Slip stitch the gap closed to finish.