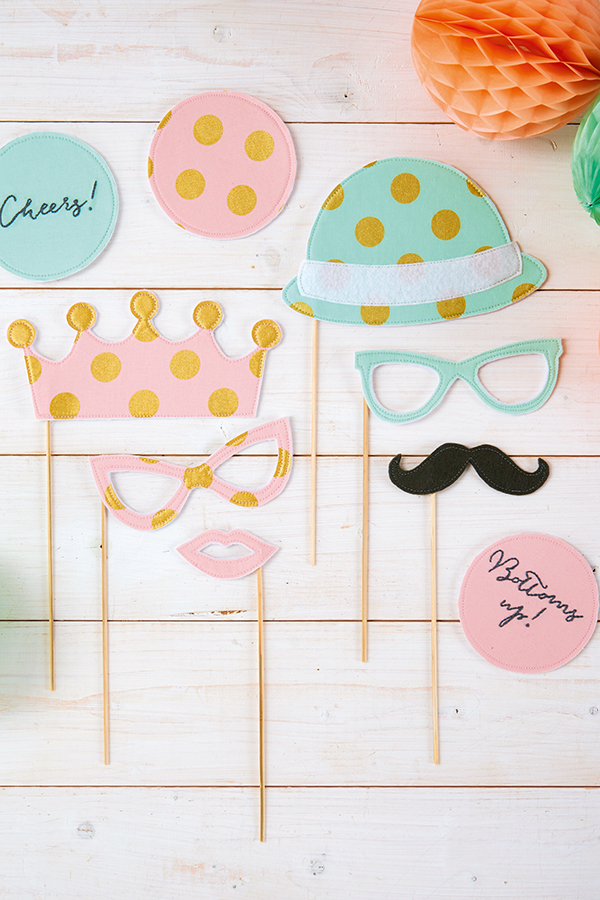
Making the lips
Step 1
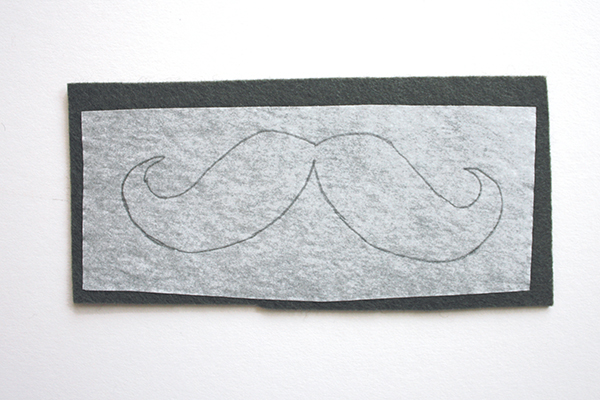
Place the Bondaweb paper side up over the lips template and trace over it.
Step 2
Place the traced Bondaweb paper side up on the wrong side (WS) of your fabric and press firmly into place. Cut out along the drawn outer and inner lines.
Step 3
Remove the paper backing from the Bondaweb then place it fabric side up on top of the felt. Press into place.
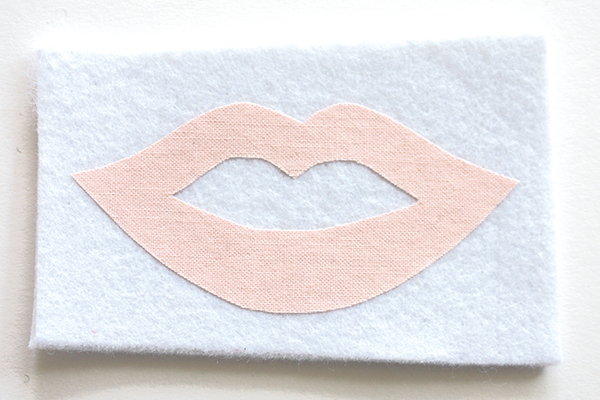
Step 4
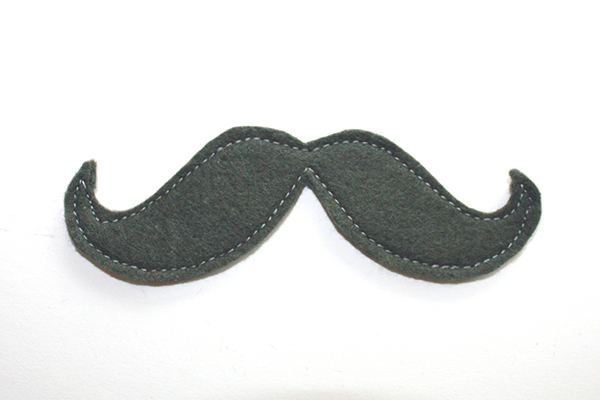
Topstitch around the outer and inner edges, close to the edge of the fabric.
Step 5
Cut out the felt all the way around the edge of the fabric, snipping carefully on the inner lines to create neat curves.
Step 6
Stick a bamboo skewer to one side of the back of the lips to complete.
Making the crown
Step 1
Place the Bondaweb paper side up over the template and trace over it. You need to trace the hat band separately from the hat.
Step 2
Place the traced Bondaweb paper side up on the WS of your fabric and press firmly into place. Press the hat band piece onto the hat band white felt. Cut out along the lines.
Step 3
To decorate the circles on the top of the crown, we pressed a square of Bondaweb to the back of five gold dots on some spare fabric, then cut these out and pressed them on top.
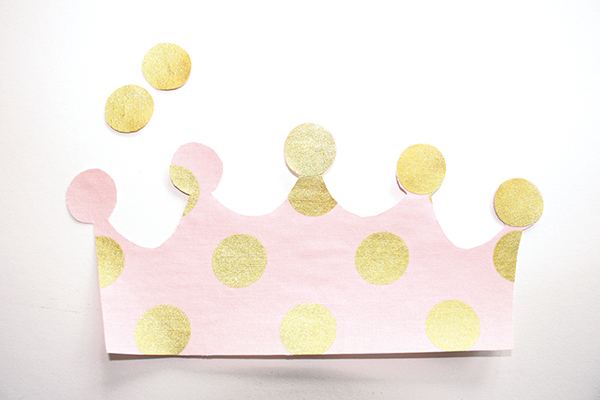
Step 4
Remove the paper backing from the Bondaweb then place it fabric side up on top of the felt. Press into place.
Step 5
Topstitch around the edges of the fabric.
Step 6
Cut out the felt all the way around the edge of the fabric. If making the hat, press the felt band into position on top and topstitch into place.
Step 7
Stick a bamboo skewer to the back.
Making the glasses
Step 1
Place the Bondaweb paper side up over the glasses template and trace over it.
Step 2
Place the traced Bondaweb paper side up on the WS of your fabric and press firmly into place. Cut out along the drawn lines.
Step 3
Remove the paper backing from the Bondaweb then place it fabric side up on top of the felt. Press into place.
Step 4
Topstitch around the the outer and inner edges close to the edge of the fabric.
Step 5
Cut out the felt around the edge of the fabric, snipping carefully for neat curves.
Step 6
Stick a bamboo skewer to the back.
