Are we the only ones that somehow constantly lose our favourite fabric scissors? We've come up with the perfect way to keep your scissors safe (and prevent well-meaning family members from accidentally using them to cut wrapping paper or sellotape) – by making a stylish scissor keep to store them in style! Read on to find our step-by-step tutorial for how to make scissor keeps – it's the perfect project to sew up in an evening & feel that warm glow of a sewing mission accomplished in just a couple of hours.
This free sewing tutorial is part of our mission to spruce up our sewing space, starting with this bonus free tutorial for how to make scissor keeps. You can make these to fit any size of scissors or make a matching set to fit all of your collection, from your pinking shears to your embroider scissors.
You will need
- Main fabric (we've used Glint by Lorena Siminovich for Cloud 9 Fabrics – Turquoise, Flock Grey and Dawn Turquoise)
- Lining fabric of your choice (we've used Figures, Zen Chic by Brigitte Heitland for Moda – Saffron)
- Press fastener
- Basic sewing kit
Note: Use a 1cm (3/8in) seam allowance throughout.
How to make a scissor keep tutorial
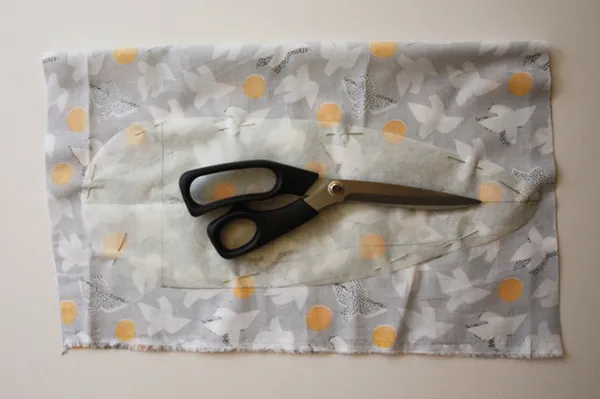
Step one: First you need to make a paper pattern so that your scissors case fits your scissors. Place your scissors in the centre of a piece of paper and draw round them. Now make this traced outline into a curved shape, like the photo. You need to draw a straight line across the top (note that the 'top' of your finished scissor keep is actually the left-hand area of the scissor outline shape in our photo) – this should be 3cm (11/4in) above the top of the scissors. To make sure your pattern is symmetrical, fold it in half lengthways and trim so it matches exactly. This pattern will form the scissors case front.
To make the scissors case back, trace around the front pattern then add a semi circle to the top which has the same diameter as the top of the front pattern. Add a 1cm (3/8in) seam allowance to each pattern round all edges then cut them out. Pin both the front and back patterns to your main fabric for the case outer and cut them out. Repeat to cut out the two patterns from the lining fabric for the case lining.
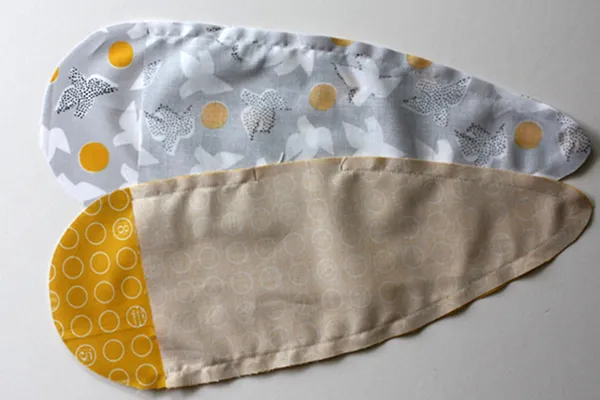
Step two: Place the two case outer pieces right sides (RS) facing and stitch together around the curved edge of the front pieces Repeat this to sew the two lining pieces together but leaving a 5cm (2in) gap in the centre of one side.
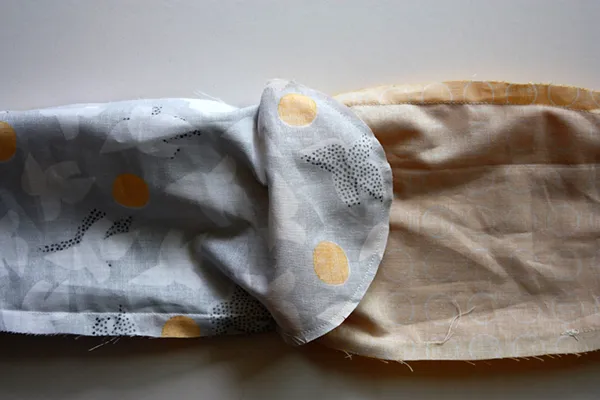
Turn the joined inner pieces wrong sides (WS) out then place inside the outer pieces inside so they are RS together. Now stitch the outer to the inner all round the top straight and curved edge. Separate the inner from the outer by pulling them apart then trim and clip all seams to help the finished scissor case lie flatter. Turn the fabric RS out by pulling them through the gap left in the inner fabrics.
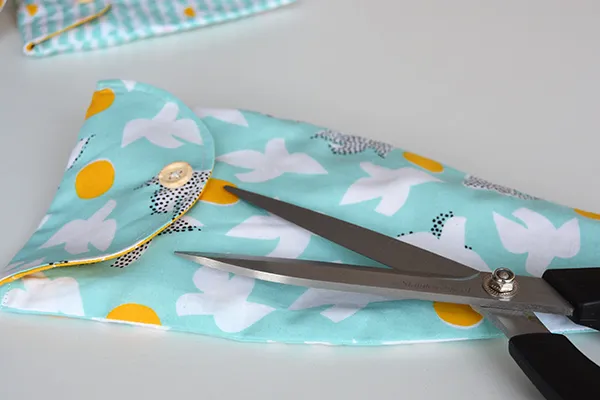
Press the edges of the turning gap under to the inside then slip stitch the gap closed. Push the inner inside the outer and press so all the seams lie exactly on the edge. Topstitch round the top straight and curved edges to neaten and keep them laying flat.
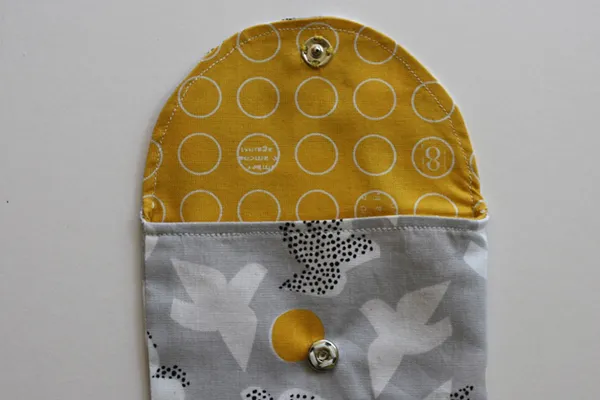
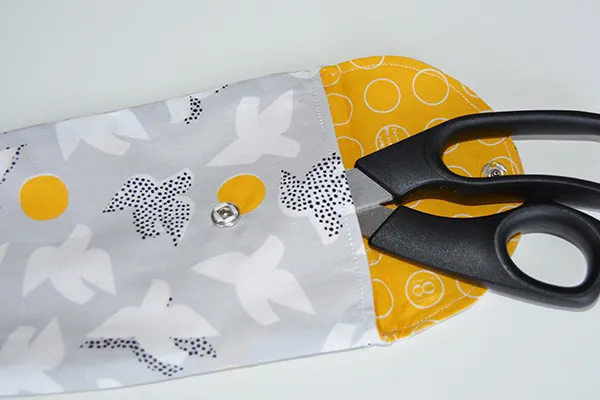
Step four: To hold your scissor case closed, stitch a press fastener to the top of the flap. Stitch the male part to the centre of the inside of the top of the flap. Fold the top of the case over and mark where the press fastener you’ve sewn on touches it with a pin then sew the female part into this position. Now put your scissors inside the case and close the press fastener to hold them safely inside.