How to make spaghetti straps

This step by step guide shows you how you how to make a rouleau loop – use this handy technique when you're making clothes to add elegant waist ties and perfectly sewn spaghetti straps for a professional finish.

6 issues of Simply Sewing magazine for £14.99|Save 78%!

Published: April 9, 2020 at 10:03 pm

While these straps might look like they would be quick and simple to whip up, many sewists can find strap-making frustrating. The process itself – cut, sew, turn and press – is relatively simple, but the grain of the fabric, the length of the stitch and the pressing all make a difference to the quality of the finished straps. Some straps are cut on the bias grain as opposed to the straight grain; bias-cut straps have a little stretch to them and can be easier to turn through to the right side, but they can be a headache for beginner sewists if the true bias grain is missed by the slightest amount.

Fabric grain

It is really important that the grain of the fabric for spaghetti straps is accurate. If you have attempted spaghetti straps before and found that they twisted or puckered, the most common reason for this is the fabric being cut off-grain. To determine the true grain of the fabric (as patterns are not always printed straight!) you can snip into the selvedge edge of the fabric by approx 2cm (3/4in) and rip the fabric from this point. This will rip along the grain of the fabric and is more accurate than cutting with scissors. Once you have this straight grain indicator you will be able to rip the strips for the straps accurately. Alternatively, you could cut the strips with scissors or a rotary cutter, following the ripped edge as a guide.

Neatening the edges

If you have ripped the straps, the ripped edges will be slightly distorted by the ripping process. It is important that the fabric is not distorted for a spaghetti strap that sits perfectly flat. Press the strips to smooth out the edges, and if the edges are still pulled in the rip direction you can lay the strip flat and finger press in the opposite direction to the pull. You can also trim off a few millimetres along each edge to neaten – remembering to remove this amount from your seam allowance later on.

Bias-cut straps

If you are cutting strips on the bias, then rip the fabric selvedge to selvedge to form a 90-degree angle. This will help you to determine the exact 45-degree angle. If you find that your two edges do not form an exact 90-degree angle, you may need to true your fabric, which involves stretching the fabric across the bias to straighten the grainlines. There are many tutorial videos online demonstrating how to do this.

Spaghetti straps make pretty waist ties, such as with month’s cover project The Maria Dress, as well as delicate straps as for our Lola Dress pattern (available in our Etsy pattern shop).

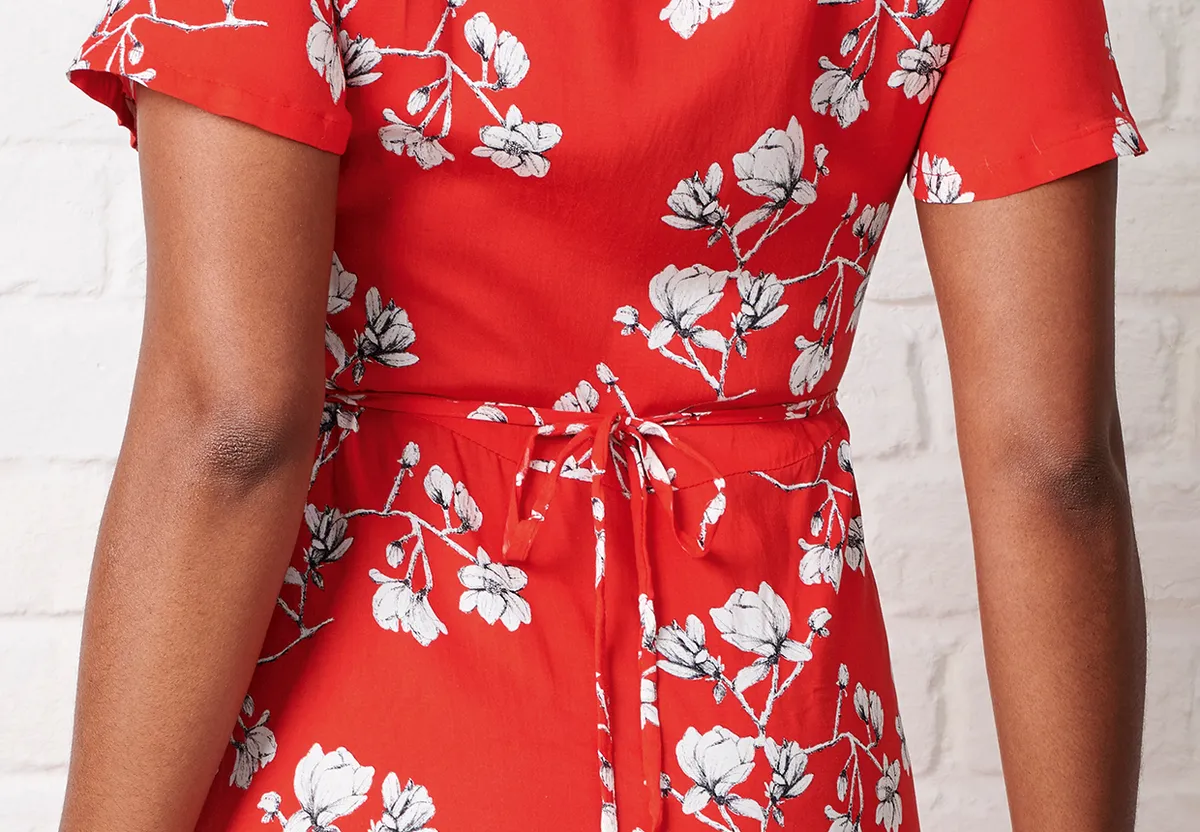
Top tips for how to sew spaghetti straps

Set up your sewing machine following these simple tips to create perfect-looking spaghetti straps.

  1. Use a stitch length of 3mm for stitching spaghetti straps. The stitches need to be close enough together that the fabric is held together well and do not rip out when turned right side out.
  2. Use a thread that matches your fabric type. A general all-purpose polyester/cotton thread works well for most fabrics. It is always worth spending a little more on brand name threads as cheaper threads tend to break and tangle easily.
  3. Use your machine’s standard presser foot and a straight stitch. If your machine allows you to change the needle position you can move it to accurately space your seam allowance so that the raw edge is against the right-hand side of the foot and the needle is at the seam allowance point.

How to make spaghetti straps

Cutting out

Step 1

Decide how wide you would like the straps to be, double this number and add 1cm (38in) seam allowance to each side. We wanted our finished straps to be 1cm (38in) wide so the strips should be 2cm (¾in) plus 2cm (¾in) for seam allowance, meaning the strips were cut with 4cm (158in) total width. The length will be the desired strap length plus 2cm (¾in) for seam allowance (1cm at each end).

Step 2

Cut the strip out following the exact grain of the fabric. If the fabric isn’t cut to grain your straps will twist and be difficult to sew. You can rip along the fabric grain following the instructions above.

Step 3

Press the strips well on the wrong side (WS) to straighten and flatten the edges.

How to sew spaghetti straps step 1

Step 4

Fold the strip WS together and press along the fold.

How to sew spaghetti straps step 2

Stitching the straps

Step 1

Stitch along the long edge 1cm (38in) in from the raw edge using a short length stitch (2.5-3mm). Follow the guides on the machine plate to get an accurate seam allowance or mark the seam allowance on the fabric before stitching. Press to set the stitches.

How to sew spaghetti straps step 3

Step 2

Trim the seam allowance down to 5mm (¼in) It is not advisable to trim your seam allowances down further than this as when the straps are pulled through the raw edge is likely to fray a little. You could also choose to grade the seam allowance, trimming one of the two layers slightly smaller than the other, making sure the smallest layer is not less than 5mm (¼n) to reduce bulk once the strap is turned through – this is only necessary for straps that will be 1cm (38in) wide or less. If you are using a fabric that frays easily, use a little fray stop glue along the raw edge to help keep things in place as you turn the strap through.

How to sew spaghetti straps step 4

Step 3

Turn the strap through with a loop turner or attach a safety pin to one end and thread the safety pin through the strap. If you are making straps longer than 50cm (20in) a loop turner is an inexpensive investment that will make turning straps through a breeze!

How to sew spaghetti straps step 5

Finishing off

Step 1

Press the strap on the WS, rolling the seam inwards slightly as you so that it is not visible from the RS when complete. Also ensure the seam allowance is sitting flat inside. Providing your fabric can withstand the heat and moisture, use steam to really set the creases of the strap in place.

How to sew spaghetti straps step 5

Step 2

Stitch the straps to the garment as instructed by your pattern.

How to make spaghetti straps tutorial
These finished straps could be added to a vest top, as a cross-over back detailing, or as a waist tie.