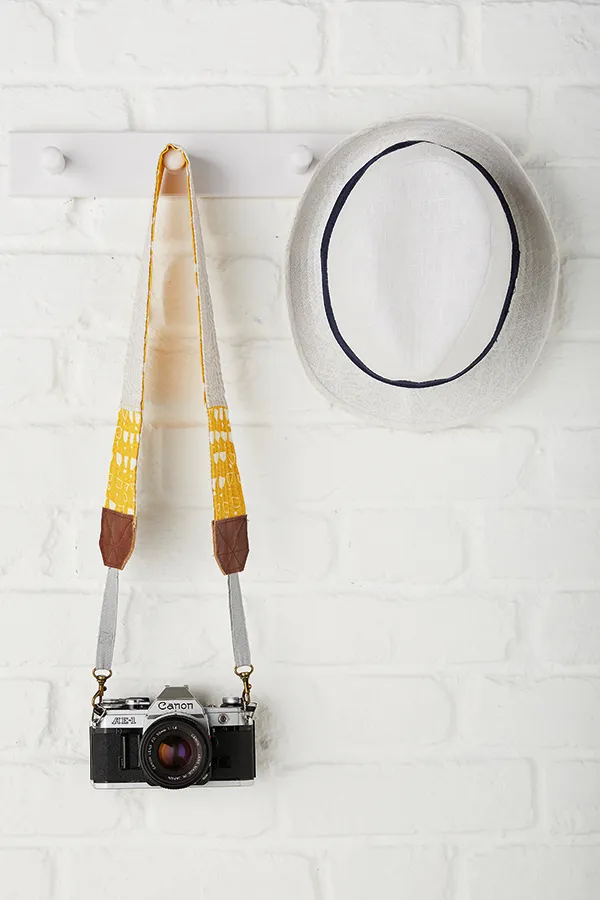
Treat the photography fan in your life to Jennie Jones’ quilted reversible camera strap. Here's how you make it...
You will need
- 2 fat quarters
- Leather or faux leather (light to medium weight) 10x12cm (4x43⁄4in)
- 2oz wadding 70x8cm (28x3in)
- Webbing tape: 1.5cmx1m (5⁄8x40in)
- 2 trigger or lobster clasps
- Leather machine needle
- Basic sewing kit
Note
- Use a 1cm (3⁄8in) seam allowance.
- Download our free camera strap sewing pattern from issue 8
Fabrics used
The canvas fabrics in Ripple Grey and Swell Gold are from Anna Graham’s Rain Walk collection for Cloud 9.
Jennie says: “This project is an exercise in topstitching. By using some very simple techniques, you can create a stylish and durable reversible camera strap. As each camera is different, I took mine along to my local haberdashery to test a few clasps to get the right ones to fit.”
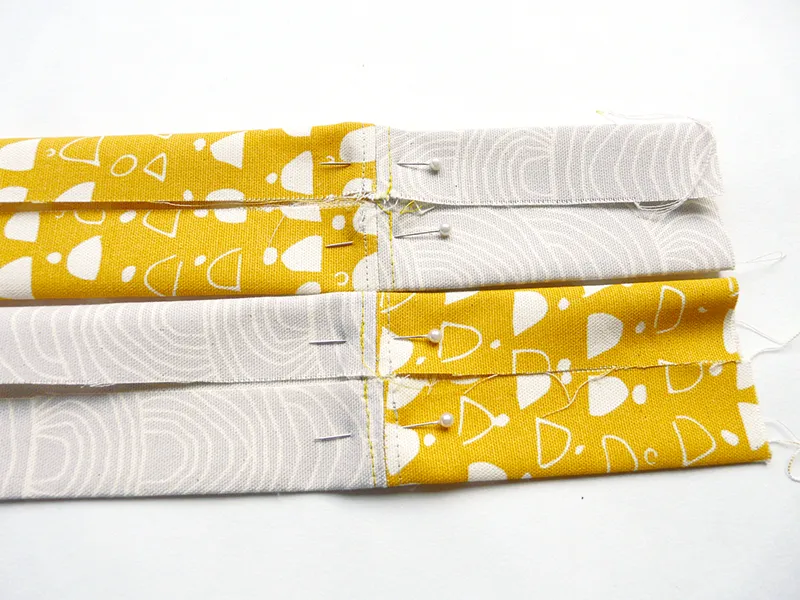
Step one: Cut two strips each measuring 49x11cm (193⁄8x43⁄8in), one from each fabric. Cut four 11x11cm (43⁄8x43⁄8in) squares, two from each fabric. Making two strips of square, strip, square, pin the pieces together right sides (RS) facing, and then stitch, with the stitch on your machine set at around 2. Open out the seams and topstitch along both sides of the seam, increasing your stitch to 2.5.
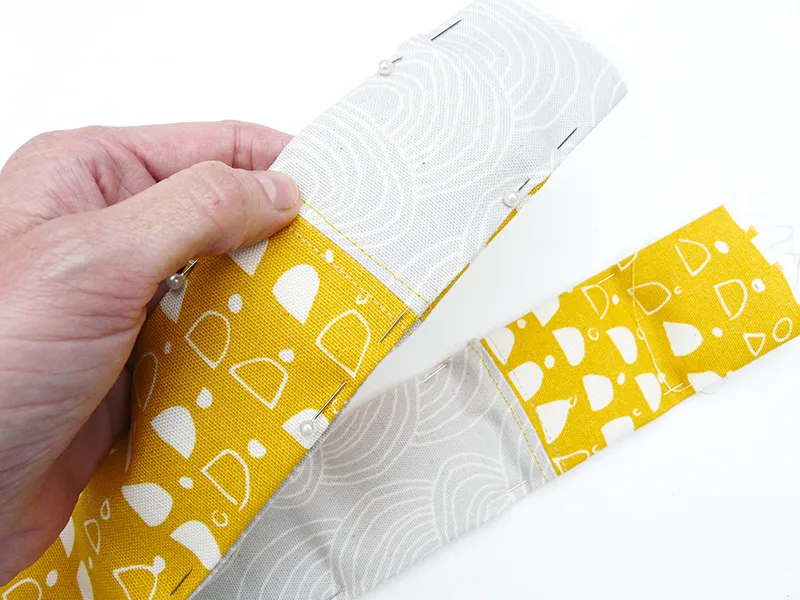
Step two: Fold the long edges of the strip into the centre so that they meet in the middle. Pin and press, then repeat this process with the second strip.
Open out one of the strips and place the wadding inside, trimming it to fit. Pin the two strips together, with turned under edges facing, matching up all the edges.
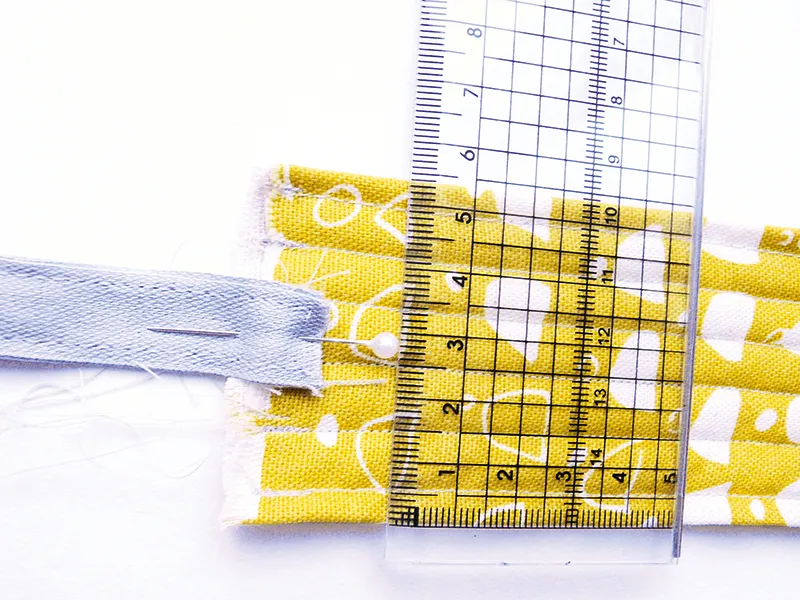
Step three: Increase the stitch length on your machine to 3 and topstitch the strips together along both long edges 0.5cm (3⁄8in) from the edge. To create the quilted lines, place your foot so that the right edge is in line with the right hand seam, then stitch, ensuring the foot stays in line with the first line of stitching. Repeat until you have six lines of stitching.

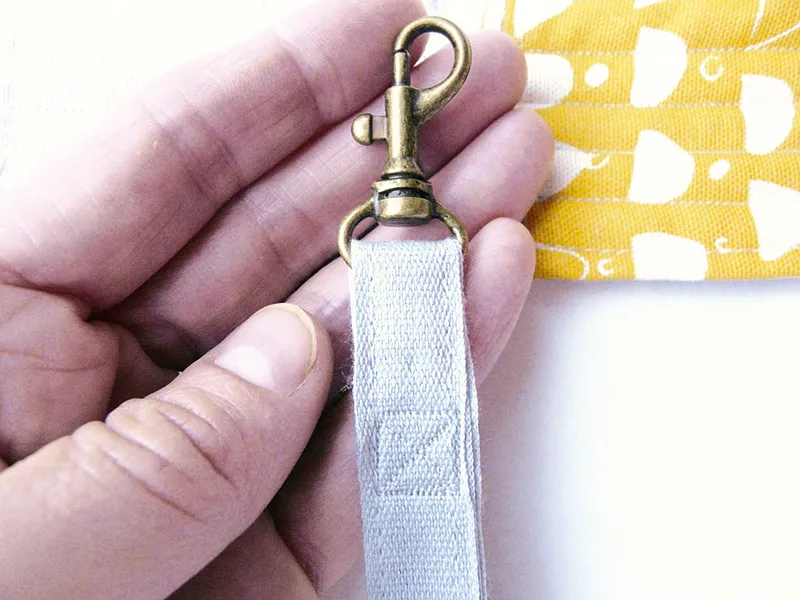
Step four: Cut the webbing tape in half then, taking one piece, fold it over to make a 25cm (10in) piece. Sew together down both long sides. Thread the tape through the clasp, matching short ends, then sew together by stitching a box 2cm (3⁄4in) away from the clasp. Repeat with the next piece.
Step five: Pin the webbing to the middle of the quilted strap and stitch in place – backstitch a few times here for strength.
Step six: Cut four pieces of leather using our template. Pin one piece to the strip over the join of the webbing tape, with another on top sandwiching the strap between them. Repeat at the other end.
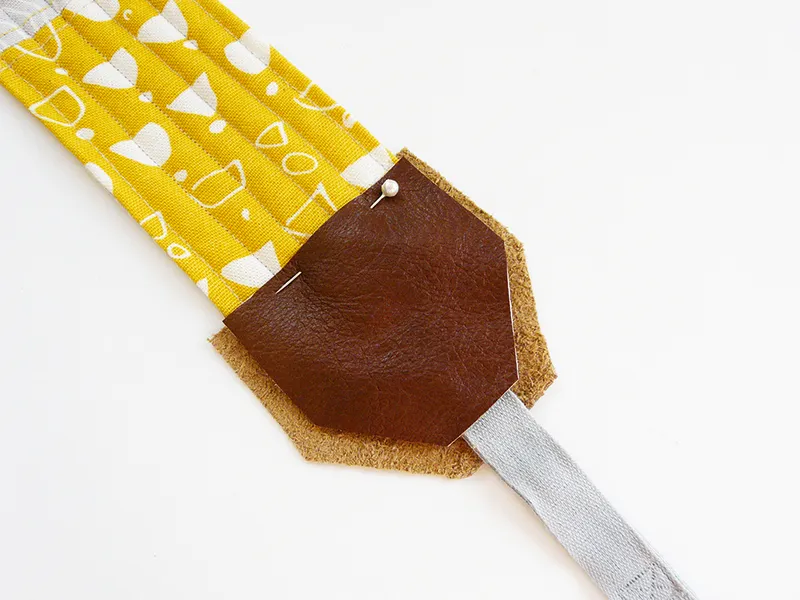
Step seven: Switch to a leather machine needle and sew along the edges of the leather, keeping your stitch length at 3. Begin stitching from the middle of a straight edge, as this will give you more control. Remove from the machine and draw a star pattern using a pen and a ruler onto the leather then topstitch, following the lines.
Step eight: Trim off the excess leather before attaching to your camera to finish. Now sling over your shoulder and get snapping!