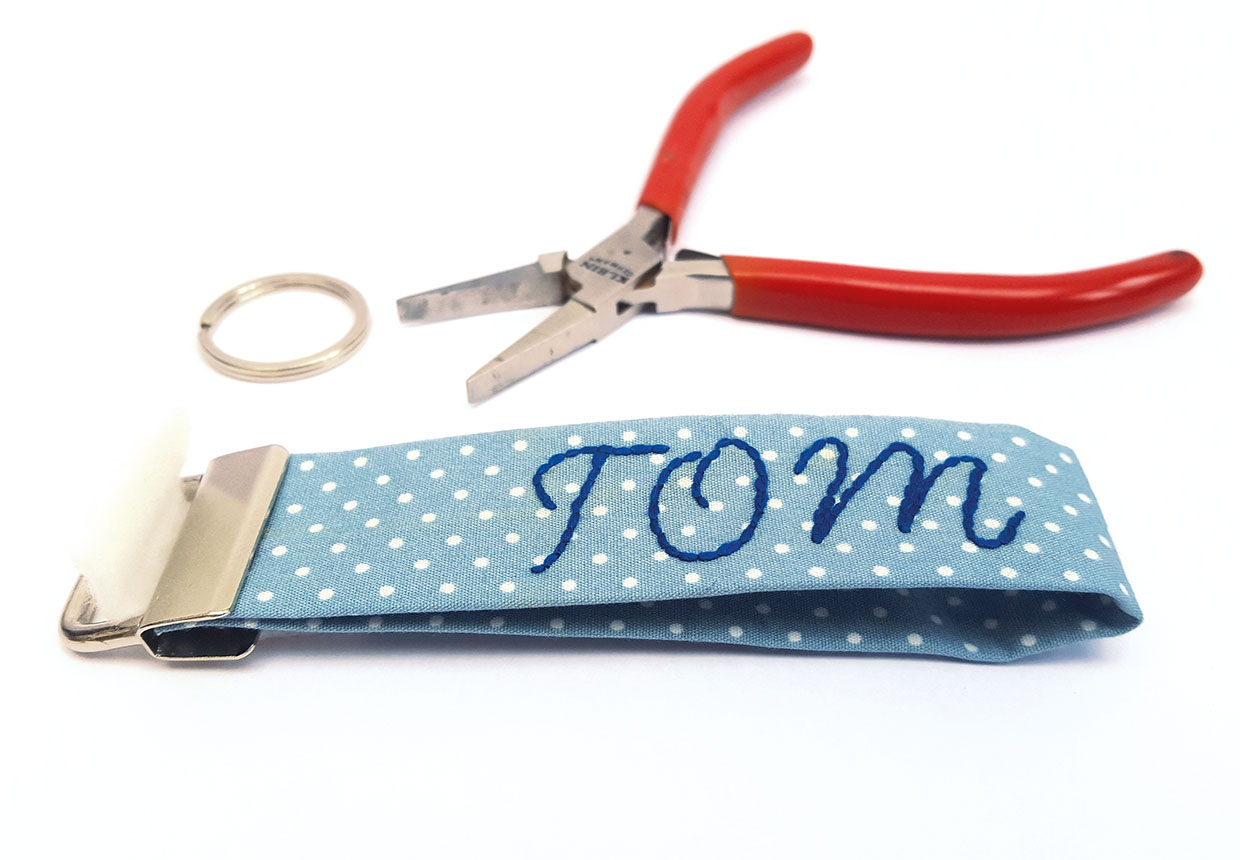
How to sew a key fob

Always losing your keys? Us too! Keep track of your keys at all times by making your own key fob

6 issues of Simply Sewing magazine for £14.99|Save 78%!

Published: September 21, 2020 at 11:03 am

It's easy to lose our keys when they slip to the bottom of your pockets or float around in your bag. Adding a key fob can make them easier to find – and certainly easier to spot when you're rummaging through your possessions!

Making your own key fob is a very simple sewing project and you'll be able to make this in an afternoon. This key fob sewing pattern can also make a wonderful gift for a friend or relative (especially if they're known for losing their keys!).

Read on to find out how to sew a key fob.

Fabrics used

The fabrics used are from the Les Petits collection by Amy Sinibaldi.

  • Petits Strokes, Midnight.
  • Petits Dots, Midnight.
  • Petits Stipples, Sky.

Notes

  • Use a 1cm (38in) seam allowance.
  • To embroider your fob, cut your fabric to fit into an embroidery hoop then trim it afterwards.
You will need:

  • Main fabric (7x22cm (2 3/4 x 8 3/4in))
  • Iron-on interfacing (7x22cm (2 3/4 x 8 3/4in))
  • Clip and key ring fob set (25mm (1in) wide)
  • Stranded cotton
  • Matching thread
  • Basic sewing kit

Embroidering the design

Step 1

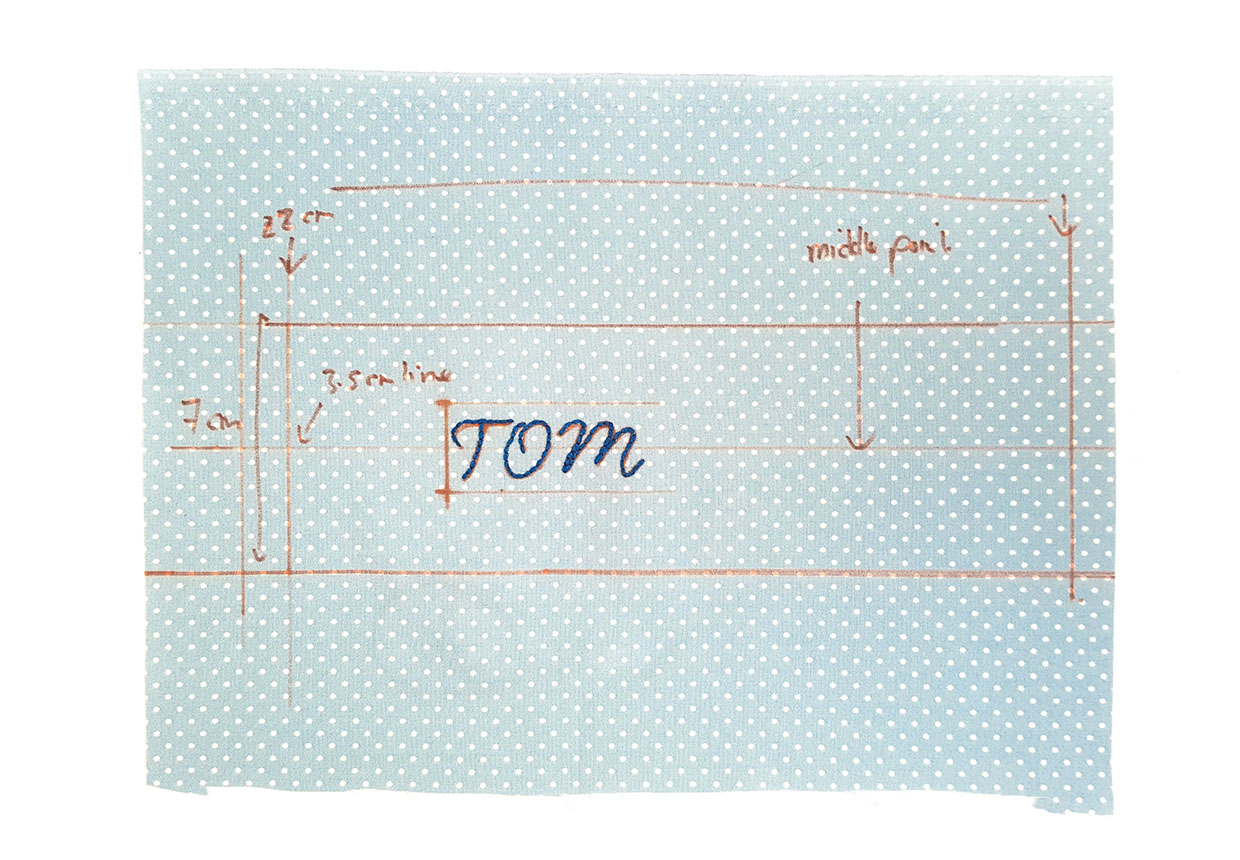
If you want to embroider a name or initials onto your key fob then mark a larger piece of fabric with the 7x22cm (234 x 834in) rectangle in the centre.

Step 2

The embroidery needs to start 3cm (112in) in from the left short edge and worked centrally within the width.

Step 3

Trace the letters onto the fabric then backstitch over them using three strands of stranded cotton.


How to sew a key fob step one

Assembling the key fob

Step 1

Trim your stitched fabric to 7x22cm (234 x 834in), if you’ve embroidered it, then press the interfacing onto the wrong side (WS).

Step 2

Fold the strip in half lengthways with right sides (RS) facing and stitch together down the length.

Step 3

Turn RS out and press with the seam in the centre of the back.

Step 4

Fold the strip in half RS out, matching the raw edges, and stitch together just 5mm (14in) in from the raw edge to hold.

Step 5

Put the two ends inside the metal clasp then attach it using pliers.

Step 6

Place a piece of scrap fabric between the jaws to protect the metal from scratching the key fob to finish.

How to sew a key fob